Just Unboxed a 3D Printer? The Honest Guide to Avoiding ‘Hobby Burnout’

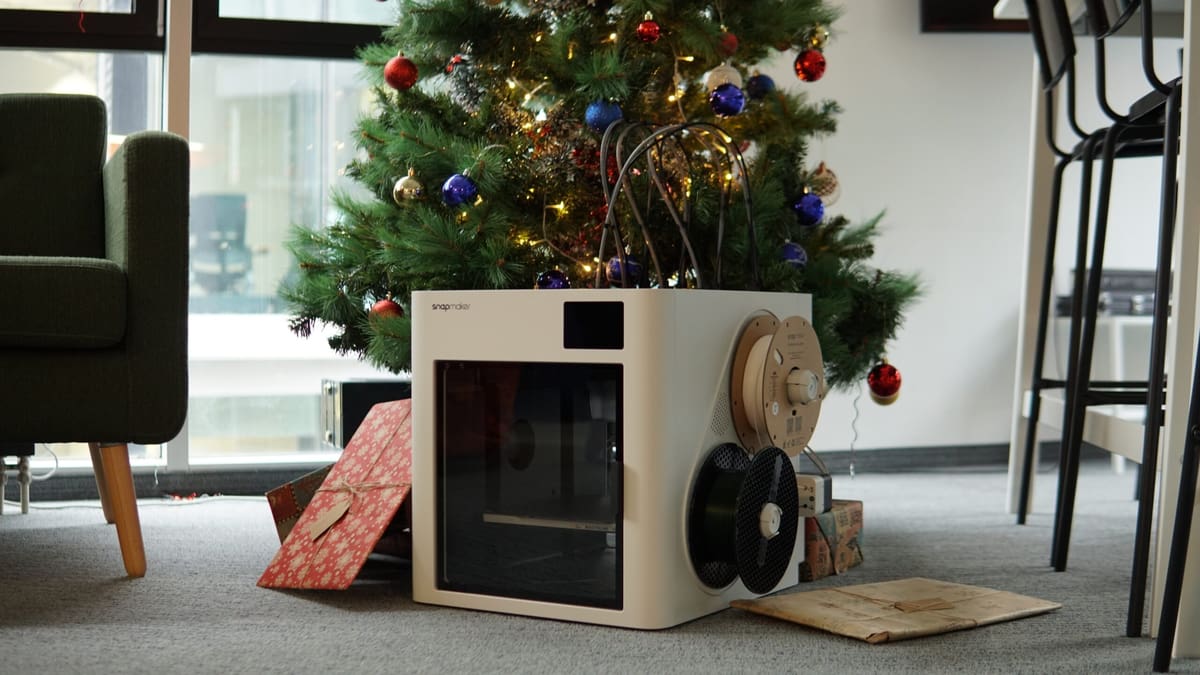
If you were one of the lucky many to find a 3D printer underneath your tree this year, here’s everything you need to know about your new machine: including setting it up, what it’s actually doing, the first print, and what you should do next.
Unlike the paper printer you ignore until you need a return shipping label, the 3D printer you’ve just unwrapped is a small-scale manufacturing plant.
While it offers a gateway to joyful making, let’s be honest: without the right approach, it can be a fast track to frustration. The difference between a life-long hobby and a machine collecting dust by February is organization, not skill. Here is your honest guide to mastering the first month and avoiding “hobby burnout”.
At a Glance:
- Mise en Place: Organizing Your Production Line
- Getting to Know You: Anatomy and Calibration
- The Translation Layer: Slicing 101
- Understanding Materials: Life Beyond the Sample Coil
- The First Print
- What to Print Next
(Want to stay ahead of the learning curve? Consider subscribing to our free newsletter for bi-weekly tips, deals, and guides.)
Get our bi-weekly newsletter for the latest 3D printing news, deals, and guides.
We do not share your information! You can unsubscribe at any time.
By subscribing you agree to our Privacy Policy.
Mise en Place: Organizing Your Production Line
Chefs don’t have the monopoly on useful French expressions. Mise en place is commonly applied to the professional kitchen, but it’s just as relevant in 3D printing as it is there. It means having a workspace where you aren’t hunting for your tools, equipment – ingredients – when you need them; that there’s space to work in, and that the waste can be conveniently dealt with instead of piling up.
Printers have a habit of sprawling. Filament spools stack up, tiny screws vanish into the floor, and scrap plastic accumulates. One of your first jobs should be to establish your printing zone.
- The foundation: You need a sturdy, stable surface. Modern printers can handle a table that rocks a little while they work, but being inherently wobbly appliances with fast-moving parts that resonate, they’ll make whatever surface they’re on shake and shimmy, too. It’s annoying.
- Ventilation: 3D printers melt plastic, and while many materials – particularly PLA, the go-to material for general printing – are safe enough to be around, it’s important to be mindful of your environment. Some folks (and pets) are more sensitive to the fumes, and in any case, it is within your power to not expose yourself to this. Ensure your workspace has reasonable airflow. This will be less of a concern if your printer is enclosed and equipped with an air filter. If you’re curious about the specifics of air quality and 3D printing, we have a practical guide to 3D printing fumes and safety that breaks down what you need to know.
- The toolkit: Most printers come with basic tools. If yours didn’t, these are the bare essentials you should have on hand, always.
- Flush cutters: for preparing the ends of filament, and useful for support removal and general tidying of prints.
- Scraper: for the removal of stubborn prints from the print bed, as well as purge lines and other detritus left on the build plate.
- Acupuncture needle/s: for some mid-print physical therapy (not really – you need them to help unclog the nozzle)
- Build plate cleaner & paper towels: to keep the build plate clean between prints.
- Grease: not all motion systems are the same, and if your 3D printer didn’t come with a little sample tubey of lubricant, research exactly what type your printer needs. You won’t need it immediately, but the printer will benefit from it as part of your regular maintenance routine.
- Waste management: If cleanliness is next to godliness, then a dedicated bin for the scrap filament your printer generates (purge lines, skirts, supports, “poop”) is as pure a move as they come. 3D printing is messy, no matter how clean some folks on social media make it look. But you can stay on top of it with an organized waste stream for your printer’s mess.
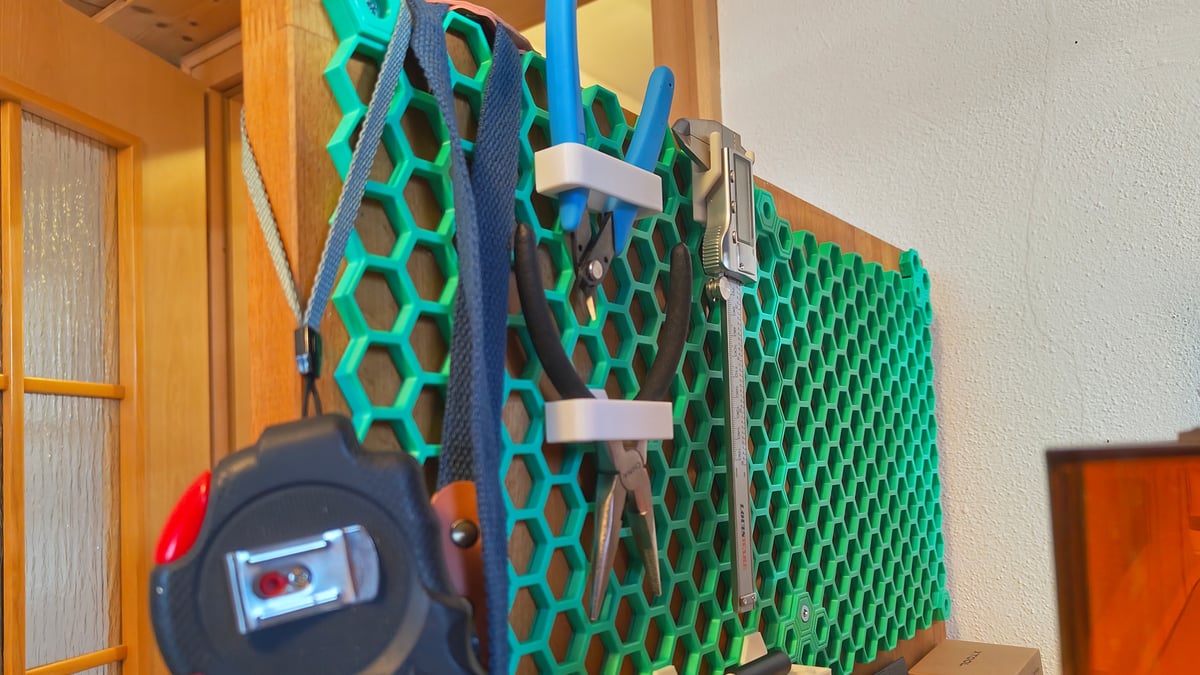
- Where to put it all: The printer is one thing. The tools, waste management, and filaments you’ll be printing are another. You need somewhere to keep all of these things close enough to hand when you need them. Fortunately, one of the first things you can print is an organizer to arrange it all. There are dozens (dozens!) if not hundreds of popular community-designed systems out there, from pegboard-style vertical tool storage to printer risers that integrate drawers, systems for drawer organization, and everything in between.
- And just in case: Many 3D printers today are safe, certified appliances. It is reasonable for you to expect them not to arc out, smoke, pop, or combust. But… invest in an automated fire suppression system or extinguished to keep close by. A certified solution like BlazeCut is particularly effective for enclosed printers, sitting above the build volume and flooding the area with extinguishing gas if a flame touches it. That or a small CO2 or ABC-type fire extinguisher is enough, if you know you’ll always be close enough to react. Accidents involving 3D printers can happen, and it’s better to err on the side of safety.
Getting to Know You: Anatomy and Calibration
Desktop 3D printers mostly share common characteristics and features. A printhead, through which filament is passed and melted. To get that molten filament into shape, the printhead moves, often in concert with the print bed. Different printers achieve this motion differently – but some things are universal. A roll of plastic filament sits somewhere on or around the printer, which then pulls the filament through a tube to a place where it then melts and is extruded onto a plate.
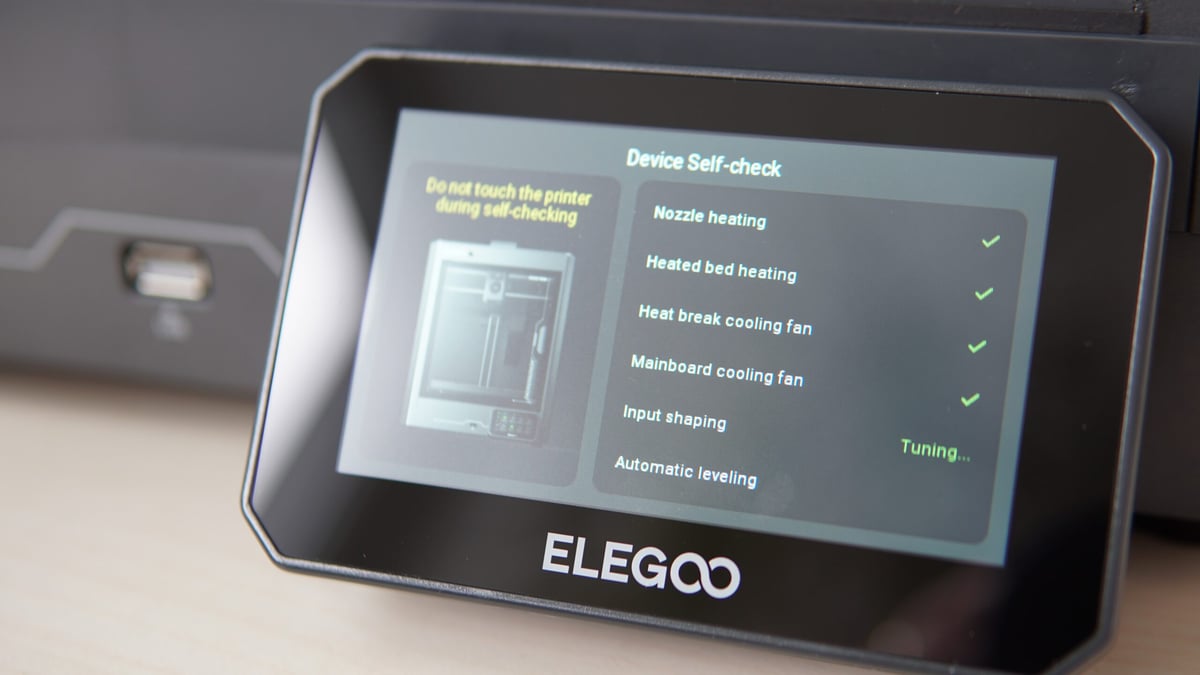
When you first power on your printer, it’s common for the printer to prompt a series of self-checks and calibrations. New printers in 2025 mostly perform these tasks automatically, with minimal input from you.
The machine performs a series of movements that can look (and sound) alarming. It might vibrate, tap the bed repeatedly, or purposefully ram the print head into the side of the frame.
Don’t panic. This is (usually) normal. Understanding it is the key to trusting your machine and being able to diagnose simple errors in the future.
What is the printer doing?
While every brand differs (some come fully factory calibrated and forego these steps), here’s a list of the general things your 3D printer may do after you first boot it up and before each print:
- Homing (finding zero): The print head and bed will move to one extreme or the centre of the build volume. It is looking for its “Home” position (0,0,0 on the X, Y, and Z axes). Why it does this will make sense once you read the section about slicers, below. Note: Some printers use physical clicky switches to find the edge. Others use “sensorless homing,” where the motor deliberately bumps into the frame to detect resistance. If your printer makes a thudding noise against the side, it’s likely just finding that axis’ 0 (zero).
- Auto-Leveling (creating the mesh): You will see the print head move across the bed, tapping its way across a grid of points. It is not physically flattening the metal plate. It is creating a “mesh” – a 3D topographical map of the bed’s imperfections. Even a flat-looking metal plate has subtle hills and valleys. They’re impossible to tell with the human eye, but when the printer is laying down a 0.2 mm thin layer of plastic, it matters. The printer memorizes these differences and actively compensates for them during the print
- Resonance/vibration compensation: The print head (and bed, depending on the model) repeatedly vibrates at high speed, often ascending in frequency as it goes. Modern desktop printers operate at high speeds, fighting against the inertia of the printhead. Left unchecked, this can show up in your prints as ripples (also known as ghosting). The printer measures the resonance from these vibrations and uses some algorithmic math magic to precisely alter how it moves, cancelling the ripples out.
- Cutting move: The printhead moves to the edge of the build volume and slowly pushes into a lever before withdrawing. Printers often feature a cutting blade inside the printhead. This is to make a clean cut on the filament when loading and unloading, improving reliability – particularly if using a filament changer like the Bambu Lab AMS, Creality CFS, and Anycubic ACE Pro.
- Heating up: The printer needs to heat the bed (usually to help the plastic stick) and the nozzle (to melt the plastic). You will see temperatures rising on the screen. The nozzle will often heat up after the probing is done to prevent oozing.

- Motor noise suppression: The printer makes repeated moves in phases, with the noise it makes sequentially getting quieter. Currently specific to Bambu Lab 3D printers, this process is similar to how active noise cancellation works on headphones. The printer registers the noise it’s making and tunes it out. I don’t really understand how making a noise to cancel out another noise works, but it seemingly does.
- Nozzle cleaning: The printhead buries the nozzle into a small pad of silicone bristles or a textured part of the build plate. It makes short, fast movements, or dances its way in a pattern through it repeatedly. Filament can build up on the outside of a nozzle, charring from sustained heat and transferring to the print. To avoid this, the printer “cleans” the nozzle – rubbing the debris free and preparing the nozzle for clean printing.
- The prime line: Finally, just before the real print starts, the machine will draw a thick line of plastic along the very edge of the plate. This clears out old, cooked plastic from the nozzle and builds up internal pressure so the print starts cleanly.
The Takeaway
During these routines, the best thing you can do is watch, admire your new printer, and keep your hands well clear. Not only is it for your safety (the printer moves faster than you), but if your printer uses strain sensors, touching the machine can throw off the calibration. Let it dance.
The Translation Layer: Slicing 101
Counterintuitively, your printer does not know what a 3D model is. In a very reductive sense, all it’s doing when it prints is follow a long list of text-based instructions (known as G-code) that translate to actions for the printer: “Heat to 200°C, move to these coordinates, extrude some plastic, move to these coordinates…”. Thousands, if not hundreds of thousands, of lines of instruction are required for a print. Printers only look forward through this instruction set to print. That’s why it’s important for the printer to know where its “zero” is. It orients itself from this point in order to safely operate within its physical boundaries and not crash into itself.
Fortunately, you don’t need to know any of these instructions. At least, not to begin with. You can do advanced stuff with this G-code instruction set later, but to begin, it’s buried behind a layer of abstraction – slicing software, or as they’re colloquially known, a slicer.
A slicer takes your digital model and “slices” it into layers, breaking each layer into component moves and actions the printer can understand.
The 3D models you slice are commonly found as the STL file type, though others, such as 3MF and Obj, or 3D design software files like Step, work with slicing software too. STL is the common community standard, though the landscape is shifting slightly, with multicolor printing becoming popular and necessitating the 3MF file type, which can contain additional data, such as where to change color. Keeping things simple, today, the file type you’ll encounter most if you download models from online 3D model repositories such as Printables and Thingiverse, is STL.
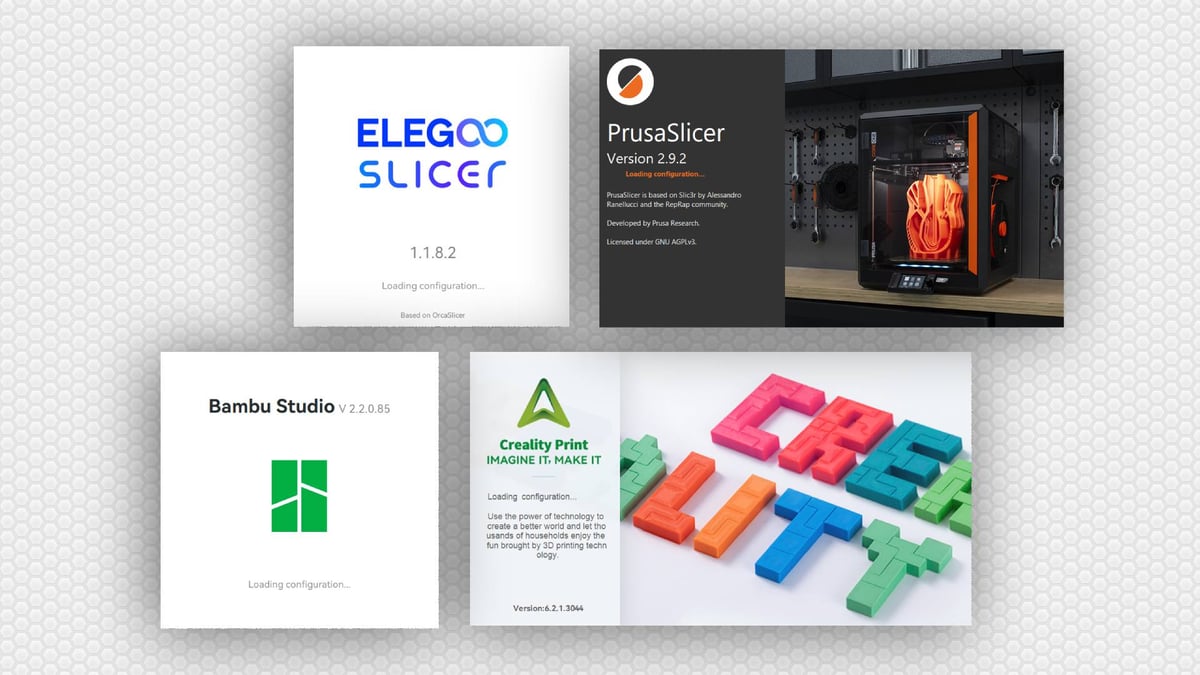
For your first 3D printer, the best slicer to use is the one that came with your printer. It should be the most compatible slicer for your new machine and help you get to grips with 3D model preparation for 3D printing. Experiment with other slicers and the marginally different feature sets they offer later, when you’re comfortable with the basics.
As a beginner, you only need to concern yourself with a handful of basic concepts in a slicer:
- Printer setup: Ensure the software is updated to its latest version and configuration files (this is usually prompted automatically, provided your computer is connected to the Internet). If not prompted automatically, you’ll need to find your specific model of printer from the slicer’s printer profiles section in order to slice models appropriately for your machine.
- Filament selection: Different plastics melt at different temperatures, and flow at different rates from one another – it’s important you choose the correct material when slicing your 3D model.
- Quality/layer height: A dropdown in the slicer that determines how thick the layers of the print will be (plus other related, ancillary settings). This is one of the primary things to determine the “resolution” of your print. Thinner layers mean more detail can be packed in, though at the expense of taking more time to print. Thicker layers reduce the overall print time, but can make the print look “rougher”. It’s a trade-off. 0.2 mm is the standard, middle-of-the-road option.
- Supports: If your model has overhangs (parts sticking out into thin air), you may need to enable supports. The slicer usually tells you if they are necessary with a pop-up tooltip, but you can check for yourself by scrubbing through the print preview after you’ve hit the “slice” button. Support structures act as scaffolding to hold floating or heavily leaning areas of your print, so if you see islands suddenly appear on a layer of the print, you’ll need supports for them.
Understanding Materials: Life Beyond the Sample Coil
It’s possible your printer came with a small loose coil of white PLA filament in the box. These sample coils are more trouble than they’re worth if you don’t have a dedicated spool to wind them onto – they twist, knot, and tangle if you so much as look at them wrong. Put it to the side and turn your attention to a full, fresh spool of filament.
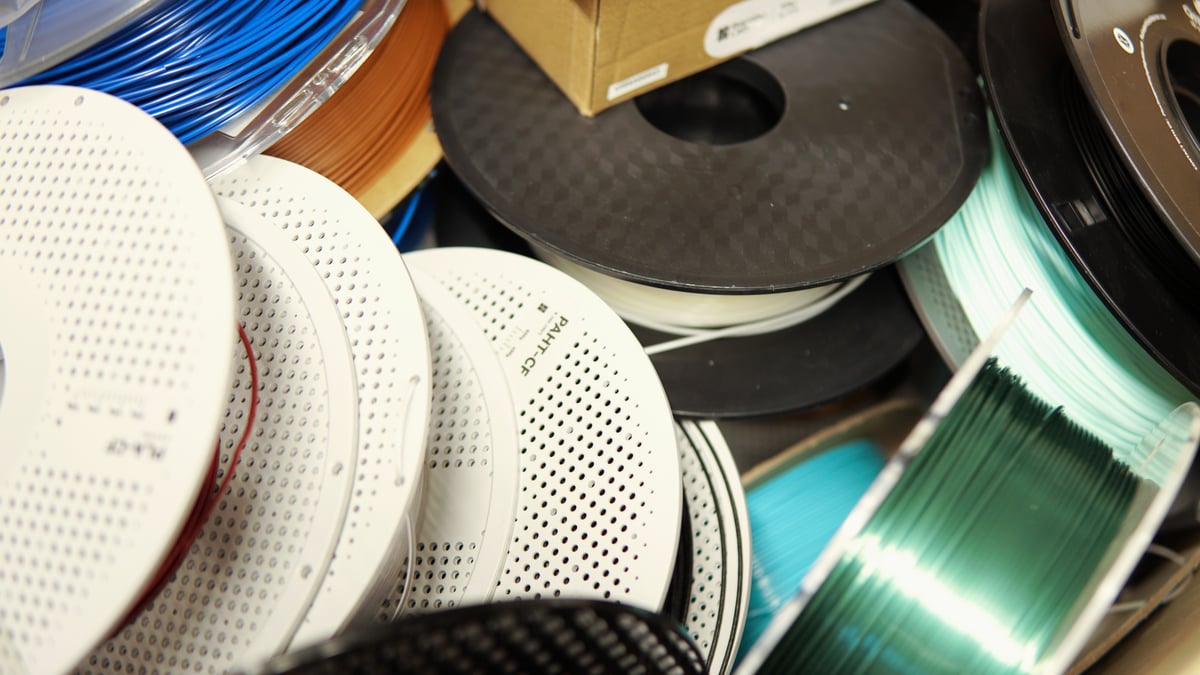
Filament comes in a huge variety of colors, finishes, and effects, but mostly derives from a smaller set of base plastics, each with its own characteristics and properties. If you’re just setting out, here are the two you need to know.
- PLA (polylactic acid): This is home base – the easy material. It prints at lower temperatures, has low to no odour, and is strong enough for general-purpose usage. It falls flat at impact absorption and heat resistance, so keep it out of strong sunlight (it’s a terrible choice for prints you keep in your car in the summer). It is a very forgiving material to print with, making it ideal for beginners. You can anneal it for additional strength, too.
- PETG (polyethylene terephthalate glycol): The next step up from PLA. It’s stronger and more heat-resistant, making it better for functional parts, though it can be a little stringy. It has better heat resistance and UV resistance than PLA, making it more suitable for prints that need to perform, though the trade-off is that it’s more hygroscopic. That means it’ll absorb moisture from the atmosphere, compromising its printability and requiring drying before you should continue using it.
Curious about how they compare? We’ve compared them head-to-head in our PLA vs. PETG (vs. ABS) guide.
With some exceptions, you can imagine the usage of the different filaments in 3D printing as a linear progression. PLA is easiest, and suits most undemanding purposes. As you find your prints needing additional strength, temperature resistance, UV stability, and chemical resistance, then you can row through PETG, ABS or ASA, PC, PA. Already, this short list reaches the limit of what most desktop 3D printers are capable of. Within each, you’ll find branching properties, such as lightweight foaming varieties (tough to print), tougher blends, carbon-fiber infused blends, and all sorts in between.
Moisture is the Enemy
All 3D printing filament is hygroscopic to some degree, meaning they absorb moisture from the atmosphere, resulting in “wet” filament. It’s not actually wet – you wouldn’t know from looking at it. When printing, the moisture vaporizes, making a popping, hissing sound as it goes. A print from wet filament may complete successfully, but is compromised and weak. Fortunately, the material can be salvaged with the appropriate drying setup.
If you live in a particularly humid part of the world, storing your filament in airtight containers is a good habit to get into. It is not necessarily necessary to dry filament before every print, particularly PLA, which is pretty forgiving – it’s even possible to dry your filament too much, so be wary of zealots that insist on drying before every print. Your mileage will vary, so pay attention to how your filament performs over time and strategize your filament storage accordingly. You can store filament in sealed bags with desiccant packets, or review our tips on how to dry and store filament to keep your materials in top shape.
The First Print
It’s time. Your new printer came with at least one sliced file on board for you to test out, so all you really need to do is load some filament, find the file, and hit “print”.
Watch the first layer go down. I can’t imagine why anyone with a new printer would, but do not walk away.
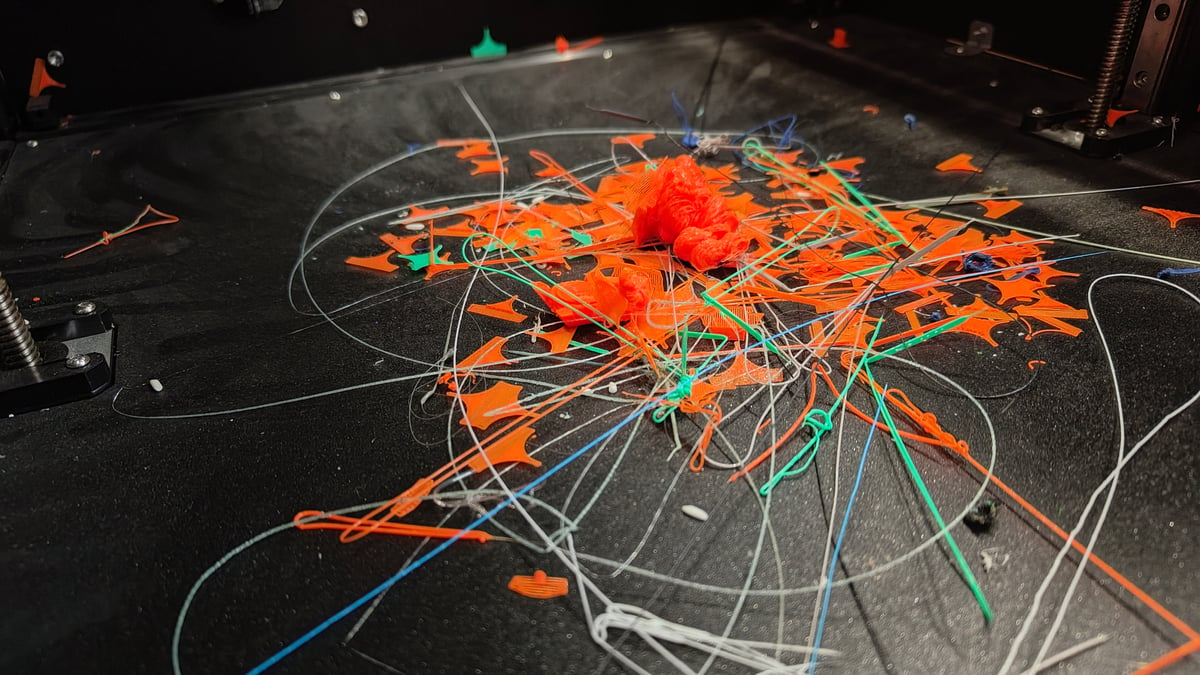
Failures happen – even with a foolproof print like the one that comes on the machine. Fortunately, the majority of major print failures stem from the first layers going wrong. Perhaps the print didn’t stick, or curled and warped. Whatever the reason, diagnosing and correcting the situation is simply a part of 3D printing, even with the smartest, most appliance-like printers available today.
Troubleshooting Quick Fixes:
- Print not sticking to the bed: The printer is extruding plastic, but it’s not sticking to the bed. There are a couple of reasons this could be: the main one is simply that the bed needs a clean. If you handled the print bed when setting the printer up, the natural oils from your fingers, not to mention any grease you may have accidentally picked up from other parts of the printer, deposit to form a plastic-phobic layer that prevents the filament from sticking. The solution? Take the print bed to your kitchen sink and give it a gentle wash with soapy water. Dry it thoroughly and try the print again.
- No plastic is coming out: The printhead is moving in the shape of the part, but no plastic is coming out. Now we’re getting into the weeds. This issue can be caused by many things, so additional clues and cues from the machine will help. If the printer is making a regular clicking sound, then your nozzle or filament path is blocked; the printer is trying to push the plastic, but can’t overcome the barrier. If there’s no abnormal sound and everything looks fine, possibly the filament has snapped somewhere in the path from spool to nozzle; this would fool some printers’ filament sensors, but result in not having any material to grab and feed.
- Plastic is coming out, but it looks terrible: The printhead is extruding plastic, it’s following the shape of the object, but the plastic is not neat, uniform, and smooth. For the very first print, the only plausible thing that comes to mind is that there’s a material mismatch. Improper temperatures and flow can result in under-extrusion (not enough plastic getting out of the nozzle for the move being performed), plus blobbing and bunching the material. Double-check that the filament you have loaded matches the filament required by the print.
Thankfully, many of today’s 3D printers are highly optimized and packed with sensors and failsafes to ensure you have a smooth printing experience. Things can still go wrong, though. Our troubleshooting guide is a decent place to start diagnosing issues and learning how to go about fixing them.
What to Print Next
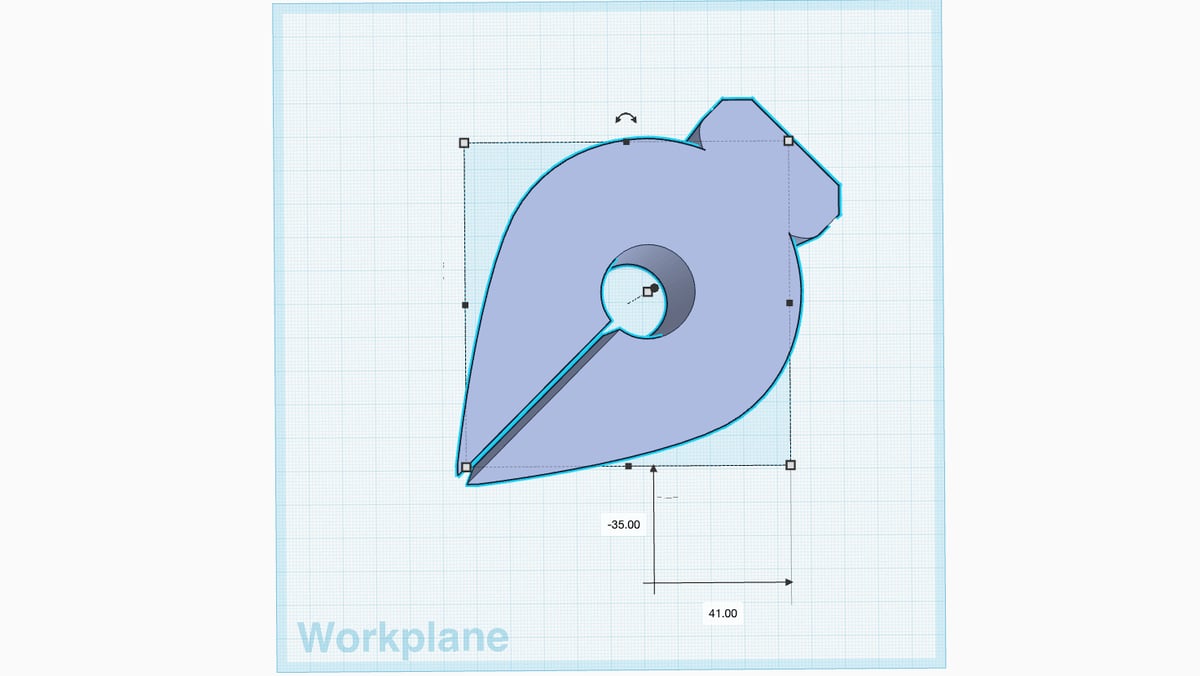
If your first print is complete. Congrats! Now the big question remains: “What do I print next?” If you’re the kind of person who learns best through doing, my recommendation is to immerse yourself in making your own models. Start basic; smash together primitive shapes in free, browser-based tools like Tinkercad with the goal of creating simple solutions to household issues and irritations. It’s easy enough to grasp at a glance and powerful enough to achieve complex models. Investing in a reliable pair of calipers helps you to measure your world accurately and design models to fit in it.
The only downside to Tinkercad from the get-go is that if you plan to graduate to more advanced CAD software later, you’ll be missing the foundational knowledge of parametric solid-based modeling. That being said, your printer won’t break a sweat printing out the simple shapes, and it puts your nose up against the constraints of 3D printing – what’s possible, what’s not – giving you a starting point to build on.
If you’re more of the “shut up and just suggest things to print” type (rude), our list of cool things to 3D print is a popular resource. It’s updated monthly, and always has something surprising and fresh to flex your 3D printing muscles.
Outside of your imagination and our curation, there are vast, open 3D model repositories you can trawl for things to print. These sites are based on user-generated content (like, say, YouTube) and function just like a search engine; type in what you’re looking for and see if anyone else thought of it (and had the motivation to design it). When you hit “download” the file will land in your computer’s downloads folder.
3D model repositories have been around since the very early days of desktop printing. In the case of manufacturer-operated repositories, they are soft moats designed to encourage participation and inspire brand loyalty with design competitions and reward points which are often redeemable in said brand’s webstores.
This can mean there are differences in availability of models from site to site – so as a consumer, best not to stick with just one. Handily, given all 3D printers work from the same source 3D model file types (STL, 3MF, etc.) you can just download the models you like, no matter the site, and they’ll work with your printer’s slicer.
Manufacturer-operated repositories are a choice of convenience, with useful features like letting you directly open files in your slicer for example. They’re useful, but not essential.
The main brand-operated sites are:
- MakerWorld (Bambu Lab)
- Printables (Prusa Research)
- Creality Cloud (Creality)
- MakerOnline (Anycubic)
- Nexprint (Elegoo)
- Thingiverse (UltiMaker)
Other popular model repositories:
The Bottom Line
The above is, really, just the tip of the iceberg. There’s a lot to learn but, fortunately, almost all of it can come through simply doing. 3D printing is a hobby that rewards observation. Listen to the machine, watch how it’s behaving (or not behaving); learn to identify what a “good squish” looks like; take requests from friends and family, spread the hobby.
And design your own things. It’s easy to take and take and take from 3D printing as an activity, and there are so many talented creators out there worth supporting, but the most satisfying thing you can do is make the perfect solution to an issue that’s uniquely yours. To me, that’s the magic of 3D printing.
Welcome to the club.
Get our bi-weekly newsletter for the latest 3D printing news, deals, and guides.
We do not share your information! You can unsubscribe at any time.
By subscribing you agree to our Privacy Policy.
Read more recent news:
- Creality K2 Pro Combo Review: The Creality Flagship I've Been Waiting For
- Einstar Cuts More Cords with Two New Handheld Laser 3D Scanners
- Time Magazine Names Two Bambu Lab Products as "Best Inventions of 2025"
Tired of Reading? Try Listening
License: The text of "Just Unboxed a 3D Printer? The Honest Guide to Avoiding ‘Hobby Burnout’" by All3DP is licensed under a Creative Commons Attribution 4.0 International License.