3D Printing Tips: How to Improve 3D Print Quality

Perfecting 3D print quality can feel like a long journey, but it's worth it. Check out these 3D printing tips to improve print quality!
Perfect-quality prints don’t always come easily. It often takes patience and some fine-tuning to get to know your printer and your filament of choice.
In this article, we’ve compiled our top 10 tips to improve print quality, tinkering with everything from hardware to slicer settings to post-processing. We recommend that when faced with quality problems, you look at your setup and change only one thing at a time before trying a new print. Then, take notes about the change and how the new print differs from the previous one. If you change too many things at once, you won’t know which made a difference!
And a bit of advice before we begin: Be patient, and don’t expect perfection right away. Every print is an opportunity to learn something and improve the quality of the next. So with that, let’s get to the tips!

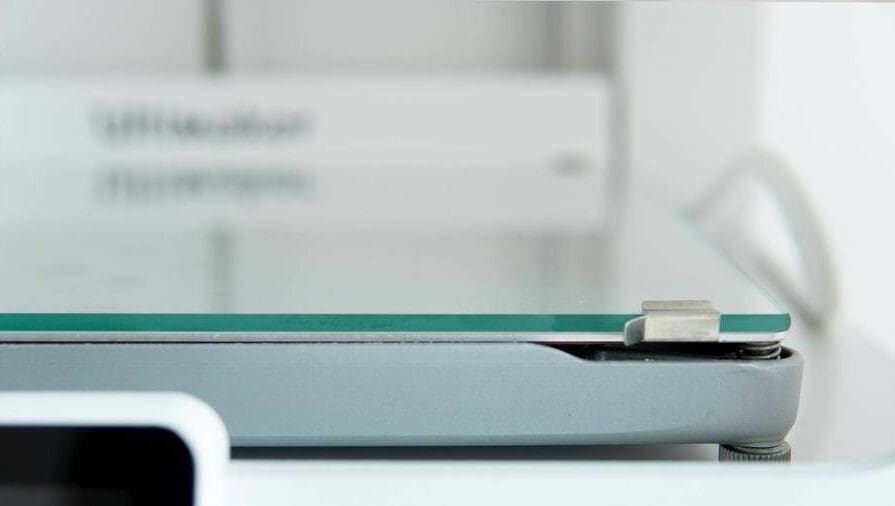
Level the Bed & Set the Z Offset
The most fundamental way to improve the quality of a 3D print is to make sure that the bed is completely level and the nozzle is set at the optimal distance above the bed (this is known as the Z offset).
To manually level the bed, you can use a sheet of paper or feeler gauge to determine the distance between nozzle and bed at several points across the bed. When the (clean) nozzle is the appropriate distance from the bed, it’s a bit like Goldilocks: The paper or gauge will have minimal resistance when pulled free but will also slide back underneath the nozzle without force. Repeat this procedure two or three times to ensure accuracy.
Alternatively, you could install a bed-leveling sensor like a BLTouch to automate the process. This of course carries the cost of the sensor and the effort of updating your printer’s firmware, but will save you time in the long term!
Test the Temperatures
The temperature of the nozzle – or nozzles, if there are more than one – directly affects the appearance of the final print. If the nozzle is too hot, it could leave strings of filament between separate parts. When printing tall pieces, high temperatures or inadequate cooling can melt the earlier layers, resulting in malformation.
When you’re planning to print a tall object, include a one-centimeter cube on the opposite side of the build plate in your slicer. This removes the hot nozzle from the print between layers and allows time for cooling. If there are strings of filament between structures, use a wall or ooze shield structure, a common feature in slicer programs.
On the other hand, controlling the temperature of the build plate helps with print adhesion and prevents other defects. When printing, the layers of a model contract as they cool, which can cause the bottom edges of the print to pull away from the build plate. Issues like warping might be an indication that the bed temperature is too low, or that you should look at your bed adhesion.
However, when the bed temperature is too high, the model may develop elephant’s foot. This is an indication that you should slightly reduce the bed temperature for the next print.

Upgrade the Build Surface
A key part of your printer that affects the materials you can print with and the surface of your printed objects is the build plate. Different build plates yield different textures on the bottom of the print: Bed materials like glass, PEI, or Kapton tape leave a smooth surface, while glue-on polycarbonate sheets or painter’s tape leave a matte finish.
If you’re using a spray or glue on the surface as an adhesive, use just enough to stick to the print. Too much glue or spray makes it difficult to remove the print, too. Forcing it off could leave the print damaged or, if enough pressure is used, break or warp the plate.
Experiment with different surfaces and adhesives to see which method not only works the best with your setup but also leaves a finish that complements the print.
Keep Up with Maintenance
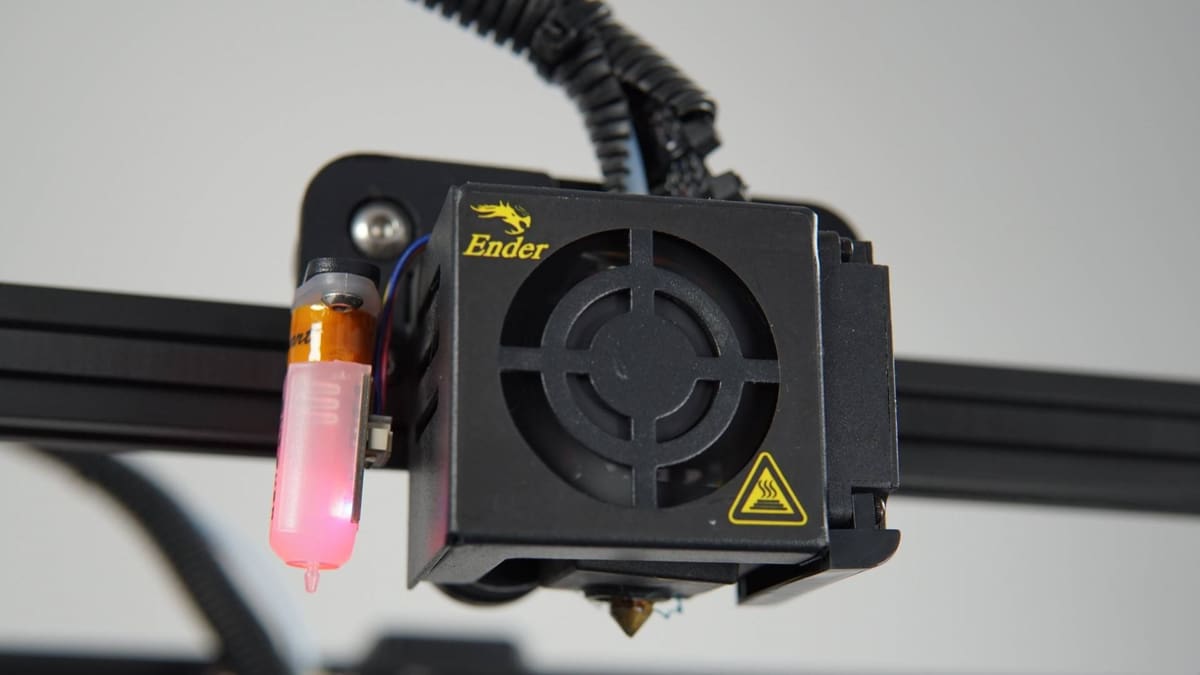
Each 3D printer has its own standout features, and probably some things that need attention to improve print quality. For example, the Ender 3s from Creality are some very popular printers that can still benefit from a few upgrades.
But optimizing your printer isn’t just about mods. It involves many small steps, like keeping the bed clean and lubricating the rails using manufacturer recommendations. As we mentioned previously, you should be leveling the bed regularly, and calibrating the extruder is also a maintenance task that shouldn’t be neglected. If the printer has two stepper motors for the Z-axis, regularly check that the gantry is at the same height on each side.
If you’re experiencing some unexplained quality issues, check to see if there is any sort of wobble anywhere in the frame. Ensure that the bolts and belts are tight and that all 90-degree angles are square. If all looks okay on the hardware side, don’t forget to check the manufacturer’s website for updated firmware.

Treat Filament with Care
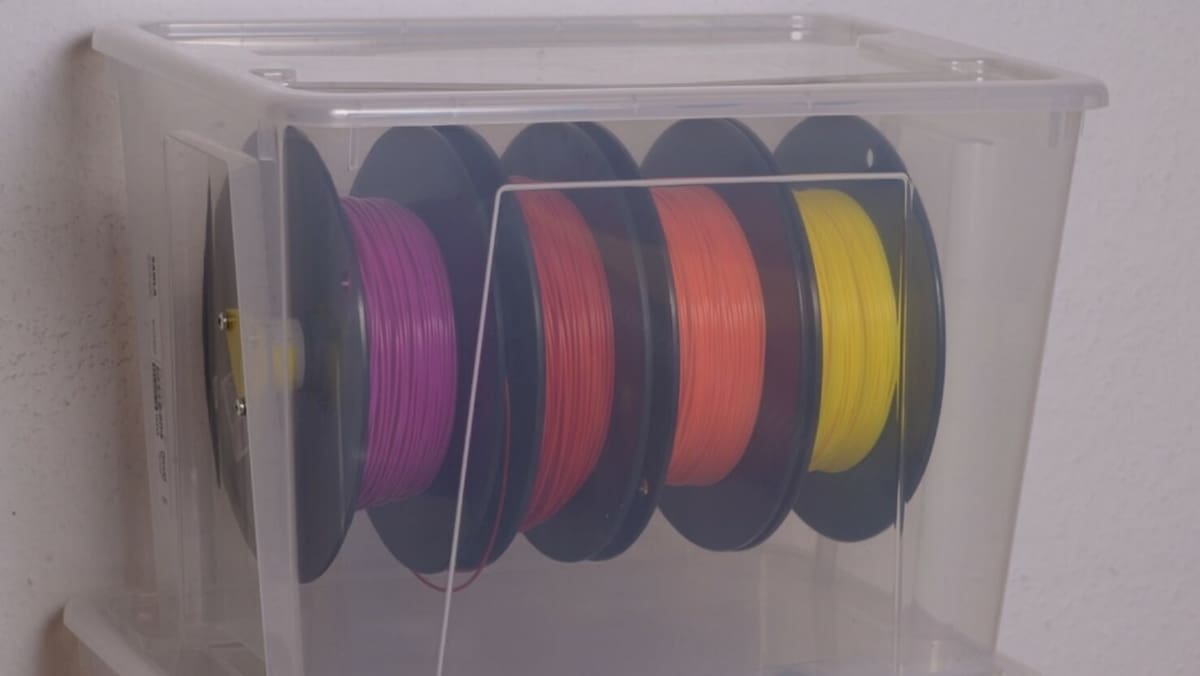
Many filaments are hygroscopic, meaning they love water, absorbing it from the surrounding air. Exposed filament, especially ABS, nylon, and flexible materials, drink moisture in, resulting in problems.
Damp filament expands during extrusion as the water turns to steam and bubbles out of the plastic. The filament pops or crackles as it moves through the nozzle, and when observed closely, something that looks like smoke may be present. The biggest problem, however, is that the print will look rough when finished.
Store spools in plastic bins with desiccant between uses. If the damage is already done, in some cases, it’s possible to dry the spool of filament in the oven for a few hours at very low temperatures. Otherwise, building your own heated bin that feeds into your 3D printer is a fun and easy project!

Learn Your Slicer
We couldn’t have a list of tips to improve 3D printing quality without mentioning slicers. A slicer is what converts a 3D model into the instructions (known as G-code) that drive the printer. The slicer controls the printer’s temperatures and movement, whether additions like supports or rafts are printed, and countless more factors about the printing process. Learning the possibilities of all the different settings will help improve quality, regardless of the slicer chosen.
There are many slicers out there, many of which are free, but if you’re looking for a particular feature, you might need to consider paid options, too. Just don’t jump to a different slicer when a few prints come out bumpy: It’s likely the settings, not the slicer, that are at fault for any issues you’re seeing. Research the problem, then change one setting at a time. Print again and see if it helps.
There are many settings to get your head around, but here are some hints to get you started. If the print isn’t as neat as it could be, one possible quick fix is to see if your slicer has a “fine” or “hyper” quality setting. It will slow the print down a bit, but the results may be worth the wait.

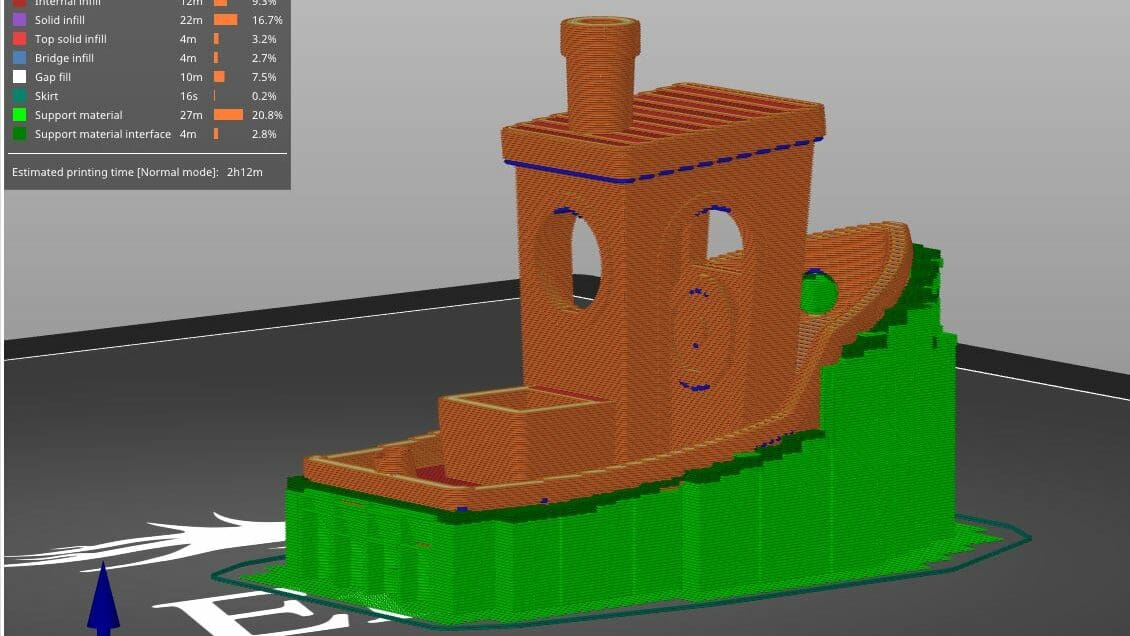
Add Supports

FDM 3D printers work by pushing out melted filament that bonds to the layer below it. When there’s no layer below for it to bond with, you’re essentially asking your printer to print in mid-air! If a bridge is too long or the angle of an overhang is too high, there will be sagging, or even complete failure of the print.
If you activate supports in your slicer, bridges and overhangs can be planned for, but it takes a little research and experience to know how and when to use them. There are different types of supports that suit different models, and a whole host of additional settings that you can tweak to perfection. Just note that when using supports, a bit of post-processing (like trimming and sanding) might be needed to hide the attachment places. But more on that later!
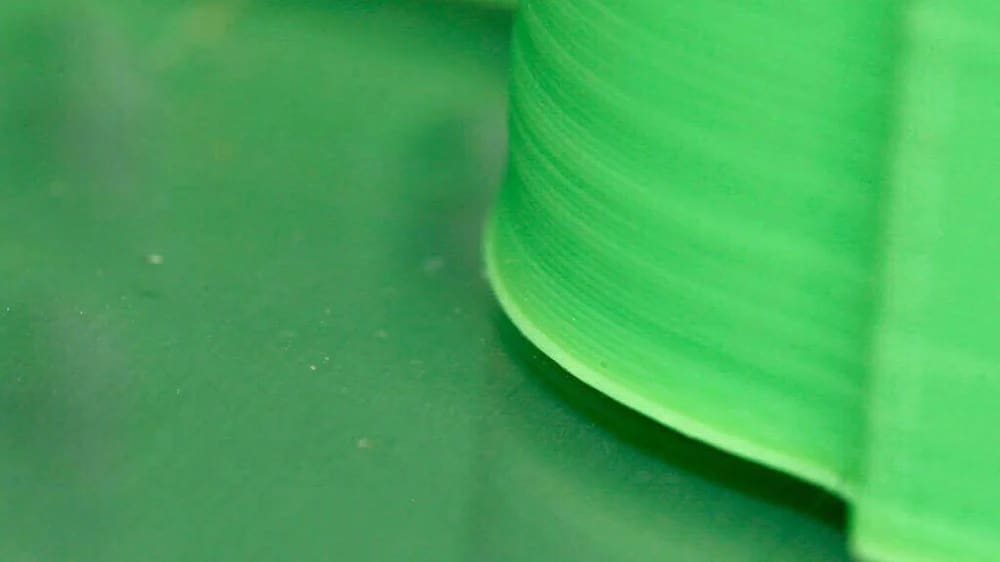
Close Up Gaps
Gaps appearing in a 3D print are often related to over- or under-extrusion. A good place to start is to take a look at the flow rate (known as the Extrusion Multiplier in Cura). When changing this value, do it with very small adjustments followed by a test print with each change. Calibrating the E-steps might also resolve extrusion issues.
Other types of gaps can be caused by insufficient perimeters. When printing something with detail, small holes can appear around the top and sides. Quality issues along the sides might be helped by slowly increasing the amount that the perimeter overlaps with the infill.
Alternatively, if the speed is too high while producing infill, the extruded filament may not stay with the perimeter as the nozzle is moving too quickly for the filament to form a bond. In this case, reduce the print speed. Just don’t go too far, as other problems may arise, which we’ll get to next.
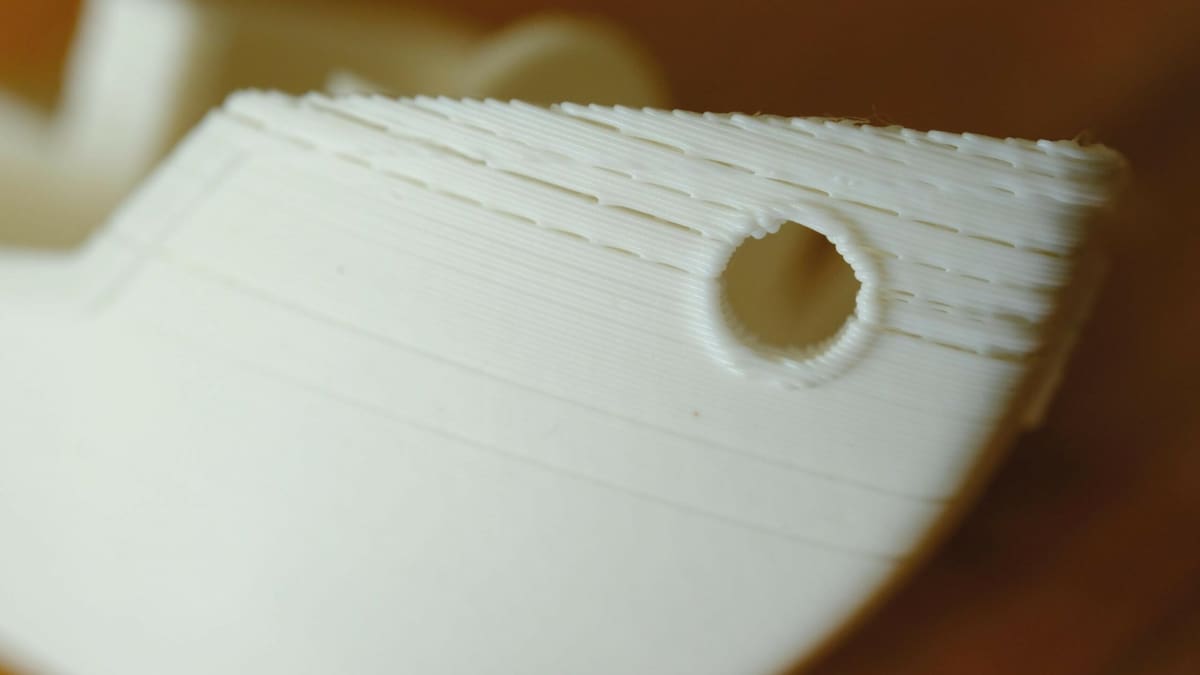
Adjust Speed & Movement
The speed and movement of the printhead have a clear impact on print quality. For example, after getting the first layer to stick, sometimes you might see a line where the nozzle drags across the surface or perimeter of the print. This could be caused by a lack of filament retraction.
In addition, some slicers have the ability to instruct the printer to raise the height of the nozzle while traveling over empty spaces. See if this is included in the advanced settings of your slicer, as it can avoid any accidental collisions.
While it might be tempting to increase the speed of movement to be as efficient as possible, too much speed can quickly lead to a reduction in quality. Ringing, or echoes around edges or around print features, is caused by vibrations from movement of the extruder. To fix the problem, reduce print speed. However, be sure that the extruder is still moving quickly enough; if it’s too slow the printed area could overheat and cause other quality problems.

Post-Process Your Prints
Removing supports or getting rid of small imperfections can be accomplished with a sharp hobby knife or sandpaper, especially if painting or polishing is in order.
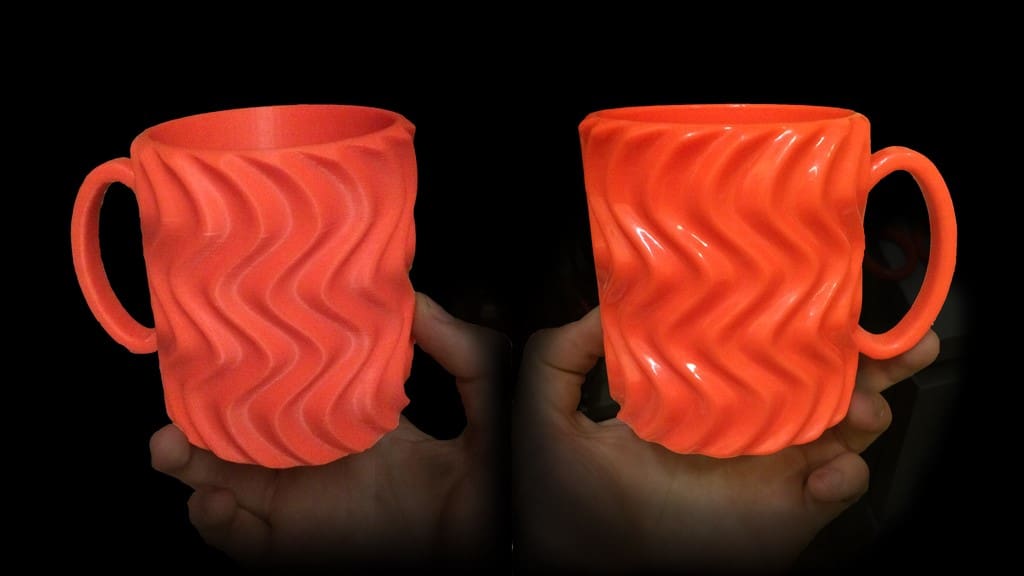
Some plastics, like ABS, work very well with an acetone vapor treatment. The result is a glossy finish, but be aware that the process can weaken the model as it dissolves the plastic.
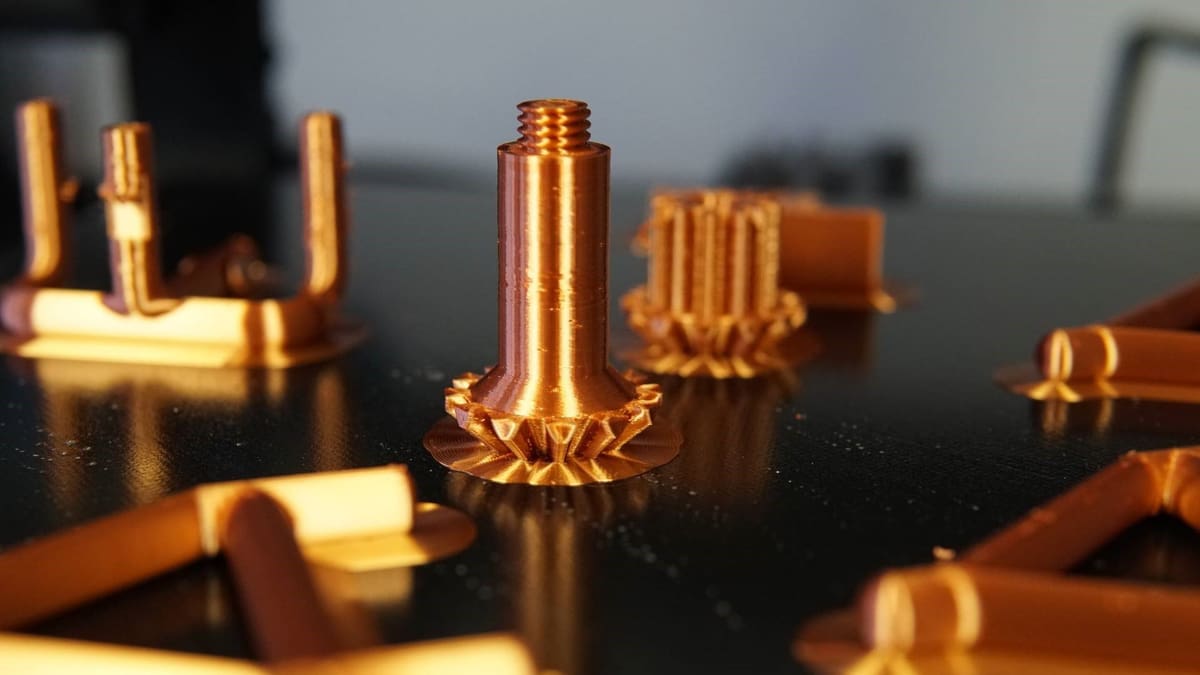
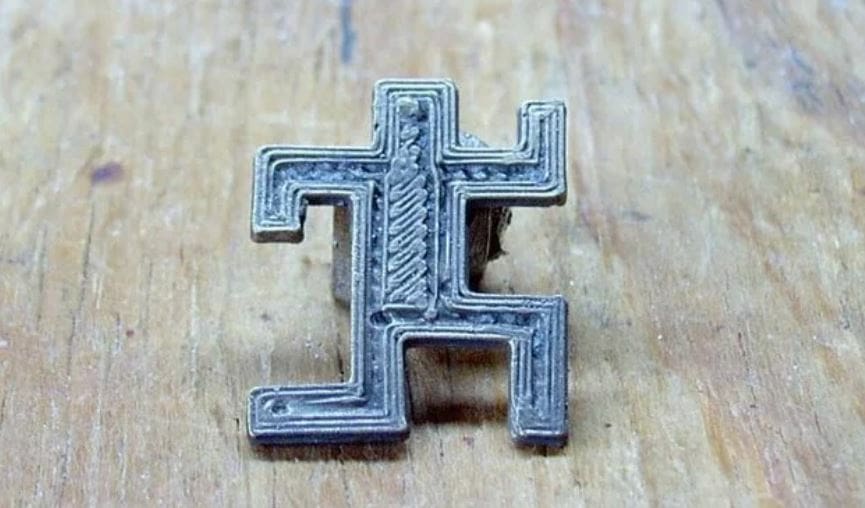
Composite plastics, like brass- or copper-infused, are improved with sanding and a metal treatment to bring out a tarnished look. For example, Brasso makes brass have an authentic, worn appearance. And there are other ways to make your prints look even more impressive, like hydro-dipping!
License: The text of "3D Printing Tips: How to Improve 3D Print Quality" by All3DP is licensed under a Creative Commons Attribution 4.0 International License.