Secrets, Tips & Tricks to Painting PLA for Flawlessly Smooth Results

Want multicolor prints without a multicolor 3D printer? Paint them! Check out our complete guide to painting PLA.
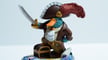
You’ve found the perfect model to print, and your 3D printer has done a great job – but something’s missing. Prints fresh off the print bed are hardly ever showroom-ready. Fortunately, they’re relatively easy to paint. Despite the proliferation of multi-color 3D printers these days — Bambu Lab can print up to 24 colors on a single print — painting offers more color, more fine details, plus, model-painting is a hobby in itself.
However, painting your 3D prints is not as simple as merely applying a coat of paint to your freshly printed model, mostly because of the plastics used. If you’re used to painting model airplane kits, there’s a bit more to painting 3D models. It demands a more labor-intensive preparation phase of sanding, filling, and priming to conceal the layer lines and ensure the paint adheres properly.
If you plan to paint your parts and are considering which filament to use, PLA is the easiest to paint, and carbon-fiber PLA is even easier. In this guide, we cover the basics of painting PLA 3D prints, from smoothing to the actual painting process, but these tips also work on other materials, such as carbon-fiber PLA, ABS, and ASA.
Now, let’s get artsy!
Smoothing & Prep Work
Before you dive into painting your 3D printed model, you need to prepare the surface. The secret to a professional-looking finish lies not just in the paint itself, but in the preparation of the model. The first step is removing defects, then there’s sanding and more sanding. Here’s how to get started:
Pre-sanding
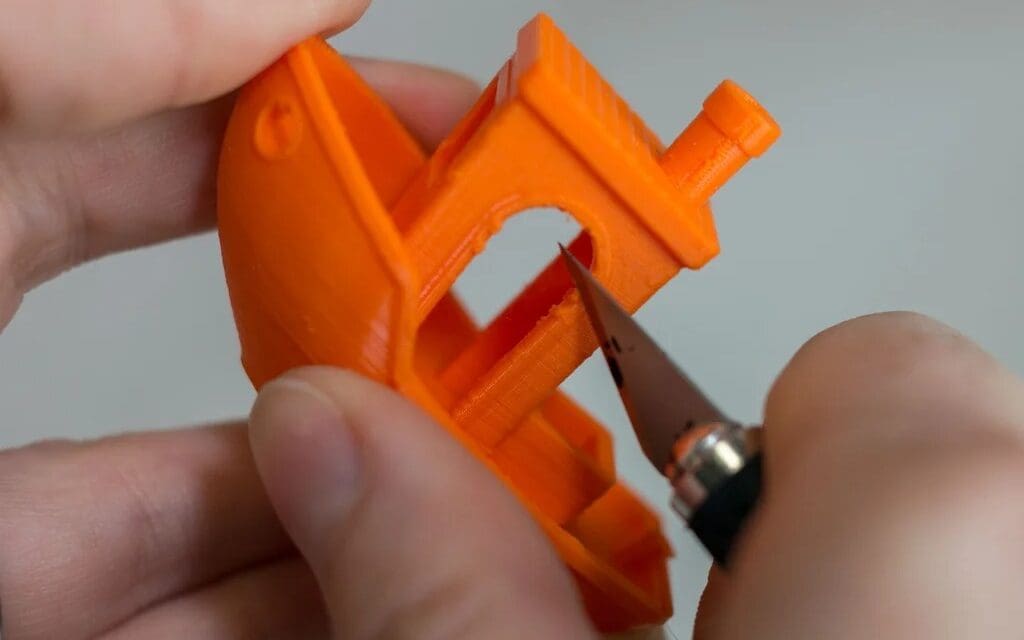
This is considered the first stage, and it involves trimming rough print features, such as support stubs, before sanding.
You can use some of the following materials in this stage:
- Craft knife (X-acto knife)
- Sandpaper
- Tweezers
- Toothbrush
- Pliers
The key is to eliminate any protrusions and make sure the print is clean. You can peel off supports with your bare hands or you can use a knife. It doesn’t matter, as long as the final result doesn’t have bumps or protrusions. And no matter how you’re removing supports, be careful! It’s not just about the sharpness of the blade or tweezers but also about where flying fragments may go.
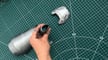
Sanding
PLA prints inherently have visible layer lines. For a high-quality paint job, these need to be smoothed out. Don’t rely on multiple layers of paint to hide layer lines.
Start with a lower grit sandpaper (around 120-220) to remove the most prominent lines and then progressively move to finer grits (400, 600, and even higher) to achieve a polished surface. The higher the grit number, the finer the sandpaper.
Use circular motions to avoid visible scratches, and pay more attention to the sides while avoiding the edges, corners, and any other fine details; 120 grit can be too strong for small details.
Sanding smooths deformities and can be time-consuming depending on the size of the print or finish you’re aiming for. Sand down the support marks and make sure you’ve removed any filing or tooling marks.
Progress through the grits depending on your print, but once you’re finished with 200 grit, start using water. This prevents clogging and gives a finer finish. While sanding, feel the surface of the print at intervals to get an idea of how smooth it is. Once the smoothness is to your liking, use a brush and water to wash away any trapped dust. Naturally, you’ll want to let the print dry before moving on to the next steps.
Check out our beginners’ guide to smoothing PLA if you want to get into the gritty details on this process.
If you want to skip the sanding and go right to the painting stage, print in carbon-fiber PLA. The primary advantage is that PLA-CF has a natural “tooth.” This is a term painters use to describe a surface that isn’t perfectly smooth, giving primer and paint a textured surface to physically grip onto. The embedded carbon fibers create a slightly rough, micro-textured matte surface. This texture acts like a built-in primer, promoting strong adhesion for subsequent layers of actual primer and paint.
Essential Priming
A coat of paint primer helps turn your 3D print into a professional product and makes the painting process effortless by creating a flawless final surface. Priming not only helps hide all the flaws, especially when you’re aiming for a near-perfect object, but helps the paint cling to the model.
If you’ve painted hobby model kits that you buy and assemble, the paint seems to stick easily to the model. This is because most model kits are made of a plastic called high-impact polystyrene (HIPS). The plastic works very well with the solvents found in many primers and paints, which allows the paint to “bite” into the plastic, creating a strong bond. This doesn’t happen as easily with PLA, so a good quality primer is absolutely essential to prevent paint from chipping or peeling off easily.
You can use a model primer or look for a filler primer, often found in a store’s automotive section, such as Rust-Oleum’s plastic primer spray. We prefer using a spray-on primer because it can quickly cover the entire surface with an even coating. This is different from brush-on primers, which are better for fine touch-ups.
Application Steps
- Mix the primer: The goal is to dissolve the pigment into the solvent by swirling the spray primer in a circular motion for a few minutes. Swirl until you hear the mixing ball (sometimes called “pea”) rolling inside the can. Avoid shaking, as it can cause bubbles to form when the coat is sprayed.
- Spray the first coat: Hold the spray roughly 10-12 inches from the part and spray in short, rapid strokes. Rotate the part as you spray. You want to mount your model onto a makeshift support to facilitate the spraying process. Also, don’t let the spray pool on the part.
- Inspect the first coat: Check if any areas need extra sanding or filing. If sanding is required, you’ll have to clean off the dust again before respraying. You may have to alternate between sanding and spraying with primer until you get a smooth surface.
- Eliminate blemishes: If needed, use spot putty to rebuild blemishes. You can apply it using a scraper. Spread it across the surface of the part to fill the gaps, but be careful not to lose detail. Once your print is well-covered, wait about 15 minutes until it has cured, then begin sanding.
- Spray the final coat: Add another layer using rapid strokes and keep it light. Avoid adding a thick coat, as it will fill the fine details. The best technique is to always sweep across the part with quick and rapid bursts. This method prevents the paint from building up and dripping.
Allow your primer to dry before adding extra layers. Usually, two layers are sufficient for a clean surface finish.
The first two coats should be very light since we’re only using them to improve adhesion for the successive layers. Since a primer is enough to improve the surface finish and the aesthetic of the printed part, some people choose to use a primer without even doing any additional painting.
After your final primer coat is added, your part is now ready for painting.
Which Paint to Use
Once your model is properly primed, you can move on to painting. Although acrylics, enamels, and lacquer paints can be used on PLA, read the label to avoid particular solvents used in some paints. Avoid any paint or coating, particularly certain spray paints, that list acetone as a primary solvent, since this can damage PLA.
Acrylics, the go-to for most hobbyists
Paints can fall into various categories based on their solvent. The most common ones are oils, enamels, lacquers, and acrylics, most of which will work well with PLA. As a newbie, you’d be wise to stick to acrylic paints since they dry fast, are available in an enormous range of colors and finishes, and can be cleaned with water.
Usually, you have to decide whether you’re going to use an airbrush, a brush, or canned spray paint. While a brush is cheaper compared to the other options, it can be tough to accomplish an even coat of paint, with noticeable blobs in some spots and the underlying color appearing in others. An airbrush, on the other hand, is costly and typically has a steep learning curve.
This leaves us with spray paints, which strike a balance between affordability and ease of use.
Enamels, for the advanced painter
Enamels are solvent-based paints that offer a harder, more durable finish once cured. They are a great option for models that might be handled more frequently or for achieving a high-gloss look. Although they’re durable, excellent for glossy finishes, and adhere well, they have some downsides. They have a strong odor, require mineral spirits or proprietary thinners for cleanup, and take longer to dry.
Lacquer, for airbrush pros
Once you’ve advanced in model painting to invest in an airbrush, you’ll likely move on to lacquers. These are also solvent-based and offer the fastest drying times and a very durable finish. While hobby lacquers have solvents that are compatible with PLA (brands such as Tamiya and Mr. Color), industrial lacquers could have solvents that will damage PLA. Avoid dichloromethane (DCM), tetrahydrofuran (THF), and ethyl acetate in any lacquer paint.
Lacquers are a popular choice among advanced modelers, especially for airbrushing, as their thin consistency is excellent for preserving fine surface details. These paints have the strongest fumes (requires a respirator and excellent ventilation), and can potentially damage the plastic if applied too heavily without a proper primer barrier.
Caution: If you’re unsure about a particular type or brand of paint, test it on a failed print or a piece of scrap PLA first. Spray or apply a small amount and see how the plastic reacts after a few hours.
Paint Markers, for easy detailing
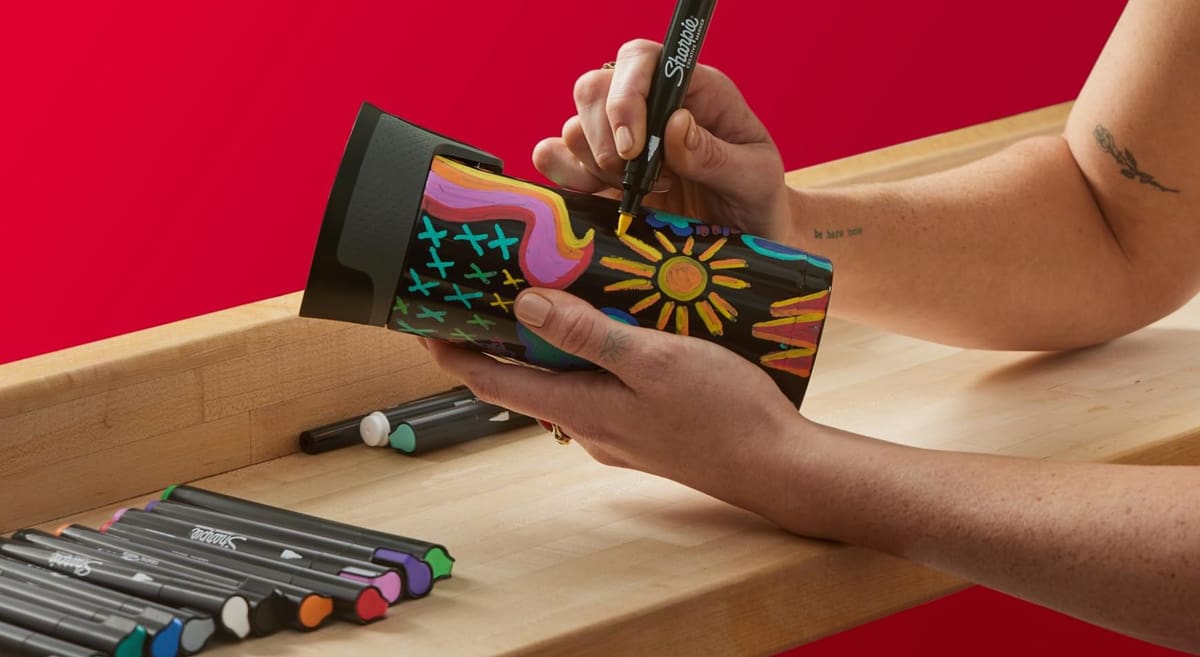
While brushes and spray paints (or airbrushes) are the traditional powerhouses of model painting, a paint marker is great for convenience, control, and simplicity. Markers may not replace the other methods, but serve as an excellent complementary tool for specific tasks, such as detailing with a metic paint marker or freehanding small letters or symbols. Plus, you can’t spill a paint marker.
You definitely can’t skip the primer step if you’re using markers. The color can smudge on raw PLA prints.
While you can make alcohol-based markers work with the right prep, acrylic paint markers are a far better and easier choice for PLA. Brands like Posca, Gundam Markers, Liquitex, and even Sharpie (the company’s oil-based paint markers and newer water-based acrylic creative markers, not the standard Sharpie marker).
Once the primer is completely dry, you can color your model. You will find that the markers behave much more like they would on artist’s paper. The color will be more vibrant, lines will be sharper, and you can even blend colors effectively.
Because the ink can still be susceptible to smudging or wearing off over time, it is essential to protect your work with a clear coat, such as a spray-on acrylic clear coat. Apply several thin, even layers, allowing each to dry in between. This will protect the ink and give your model a professional, finished look.
Painting Craft & Tips
At this point, you should have a mental image of the finish you’re trying to achieve. The painting process is quite similar to priming.
You’ll need the following materials:
- Painter’s tape: Painter’s tape sticks firmly to surfaces yet comes off cleanly. This tape will be used to mask some areas of the printed parts to prevent the paint from seeping underneath. Use a hard object, like a credit card, to force the tape into the creases of your model.
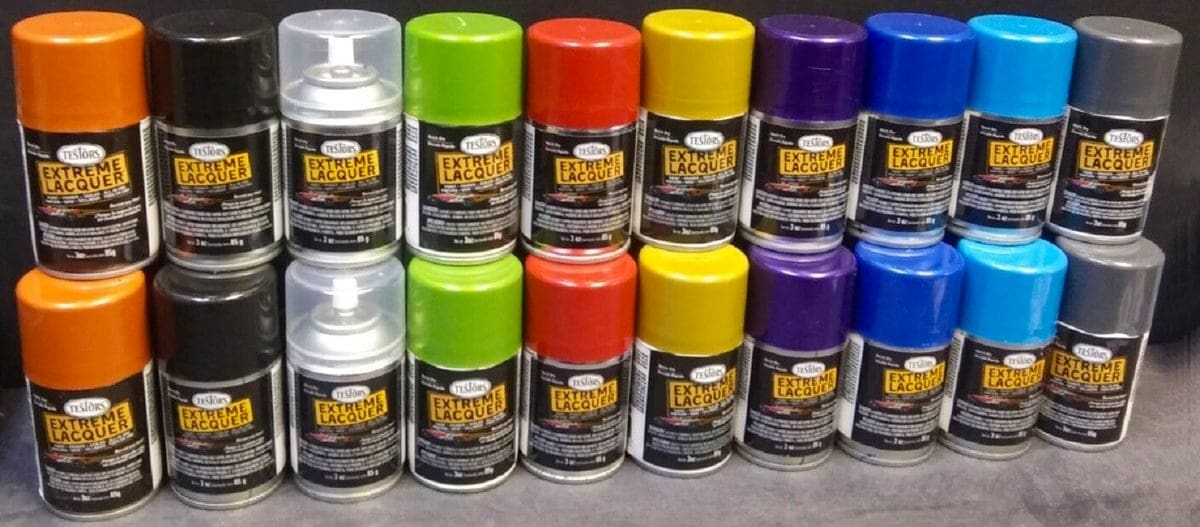
- Spray paint: Tamiya spray paints are highly recommended because they come in a variety of colors and finishes, and they go well with plastic.
Application Steps
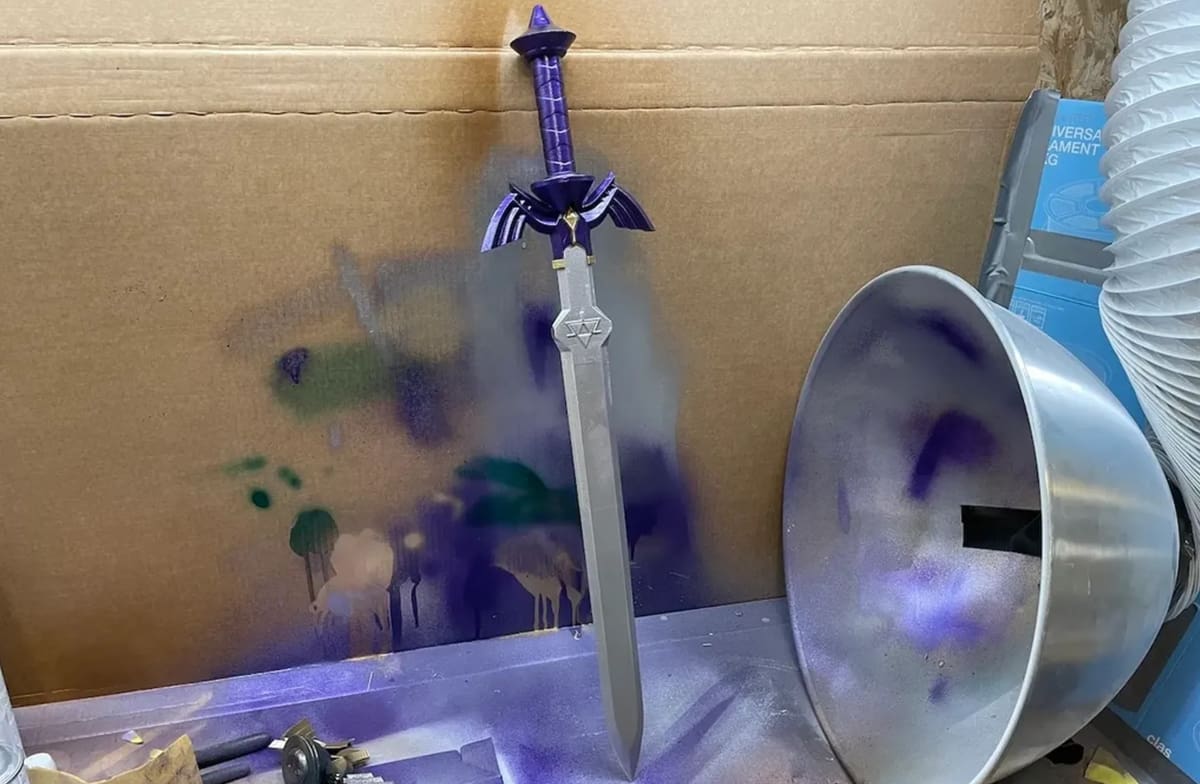
- Apply the first coats: Hold the nozzle near the rotating model and move quickly. You can start with two light coats and finish with three or four wet passes, waiting 5 to 10 minutes in between to avoid sagging. If you want to continue refining the surface, you may buff and polish the paint surface to maintain a smooth surface that will look glossy under the clear coat, but this is optional.
- Add topcoats: Mask the relevant areas to preserve details and add the topcoats. Think of topcoats as layers over the previous coats. The first and second coats will show more if the topcoat is thinner, but in between applications, let the paint sit for a couple of minutes and observe if the color is saturated enough.
- (Optional) Finish with a clear coat: This is meant to “seal” the painted model, protecting the paint surface and achieving the desired sheen. Apply the clear coat in one or two thin and even layers, waiting for about 10 minutes between applications. At this point, your painting is done, but you can still polish it further with wax or a fine polishing compound if you want a super glossy finish.
Let the paint dry overnight, then clean the part the next day using a tack cloth.
As you’re painting, the following are some things to keep in mind:
- Masking: Remove the tape right after masking to make sure you have clean, sharp edges between colors. Don’t worry about coating the mask, as the tape is supposed to prevent any paint from seeping through.
- First coat: A first coat blocks the neutral color of your primer and is recommended when you want a rich color. Generally, white is an ideal first coat for light colors, while black is perfect for darker tones.
- Topcoats: Topcoats are optional. When you apply a contrasting color, you’ll be able to create gradients of rich color blends. But if you want the first and second coats to show, go easy on the topcoat.
- Layering: Most intricate parts are painted in several layers, starting with the first coat, which acts as the foundation for the painted model. Note that there are a couple of tweaks you can make if you want to highlight details, create reflections, or get a weathered appearance.
Plastics That Hate Paint
Although PLA is the most paint-friendly plastic to 3D print with, if you need a more robust part, step up to ASA or ABS, which are similarly easy to paint but a bit more difficult to print.
If you’re parts are printed in PETG or nylon, you’re going to have a tough time painting them, but it’s not impossible.
PETG is known for its chemical resistance and slick surface, which makes it difficult for paint to stick. Painting the plastic requires very thorough sanding to create a rough surface for the paint to grip. A standard primer may not be enough; you often need a specialized adhesion promoter or a primer specifically designed for plastics to ensure the paint doesn’t peel or flake off later.
Nylon combines several properties that make it highly resistant to paint: it’s slick, flexible, and hygroscopic, meaning it actively absorbs moisture from the air. Before painting, the part must be thoroughly dehydrated (often by baking it in an oven). Even after sanding, it requires a specialty adhesion promoter to get anything to stick reliably.
For coloring nylon parts, dyeing is often a much more effective and permanent solution than painting. You can get nylon parts dyed as a 3D printing service.
You May Also Like:

License: The text of "Secrets, Tips & Tricks to Painting PLA for Flawlessly Smooth Results" by All3DP is licensed under a Creative Commons Attribution 4.0 International License.