As the future forge of cosplay armorers, the envy of “200%-ers”, and one of the largest build plates under $1,000, the Anycubic Kobra Max is a great starter printer.
Many reviewers compliment the relatively quick setup, ability to achieve quality prints right out of the box, fast heating, working runout sensor, and resurrection mode. They are also quick to point out the beginner lockouts that prevent fine-tuning, the difficult-to-adjust bed, a temperature sensor that rounds up a bit too much, the need for a larger nozzle, random stringing issues, and an easily damaged build plate due to over-adhesion.
While the Max undoubtedly has a few shortcomings, many of them can be addressed with some low-cost upgrades and modifications. It won’t be long until your Kobra Max will truly earn all that space it takes up.
In this article, we’ve compiled the best upgrades for the Anycubic Kobra Max. Whether you buy or print several of these upgrades and modifications, each will go a long way to helping you get the best prints off of your large printer.

Spare Build Plates
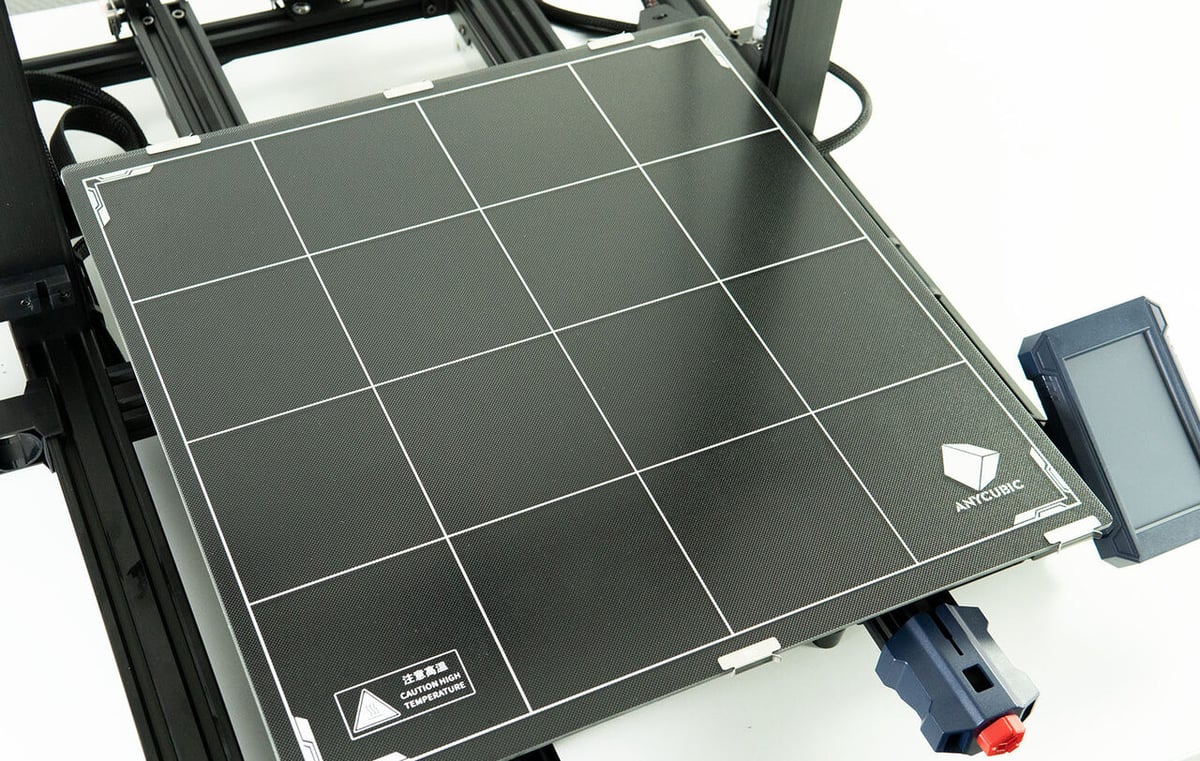
While the Kobra Max comes stock with a glass plate, having a couple of spare build plates could pay off in more ways than one. For example, having a spare glass plate on hand will keep the printing going from batch to batch. Once one print is finished, you can simply swap out the build plates and get the next job going so you can focus on removing it from the build plate.
There’s also the consideration that not all filaments work best with a glass plate. Anycubic offers two plates: glass and a flexible magnetic PEI sheet.
The glass plate should work for most small, quick PLA prints. If you’re trying to print PETG, TPU, ABS, or large PLA prints, the PEI sheet can help prevent adhesion issues. A flexible plate can make removal a breeze, especially for PETG, which tends to adhere too well to glass.
- What it improves: Quick and easy print removal
- Cost: ~$55
- Where to find it:
- Glass plate
- Magnetic PEI sheet
Filament Changer

Giving the Kobra Max the ability to change filaments would make it a formidable automated mid-scale creation device. Unfortunately, the Kobra Max does not natively include this feature.
If you’re looking to print multicolor parts or incorporate a dissolvable support material, like HIPS, an automated filament changer or splicer may be your best bet. There are a few options out there, from purchasable systems to DIY solutions.
A top-of-the-line filament slicer is the Matterhackers Mosaic Palette 3 system, which connects up to eight filaments into a single strand in coordination with the 3D printer.
The 3DChameleon is a slightly more budget-friendly kit that allows up to four colors to be inserted into the extruder. With an online G-code editor included, this is a solid choice for those not afraid of a little tinkering to get it set up.
Slicers such as Cura allow users to orient their models so they can create color changes along the Z-axis. This DIY method involves pausing the print at a height defined in the G-code to manually swap out filaments. This method may require some trial and error to get it working smoothly on the Kobra Max and is clearly limited in terms of the complexity achievable, but at least it’s free!
- What it improves: Multicolor and multi-material prints
- Cost: $200-$600+
- Where to find it:
- 3DChameleon
- Matterhackers Mosaic Palette 3
Filament Dryer
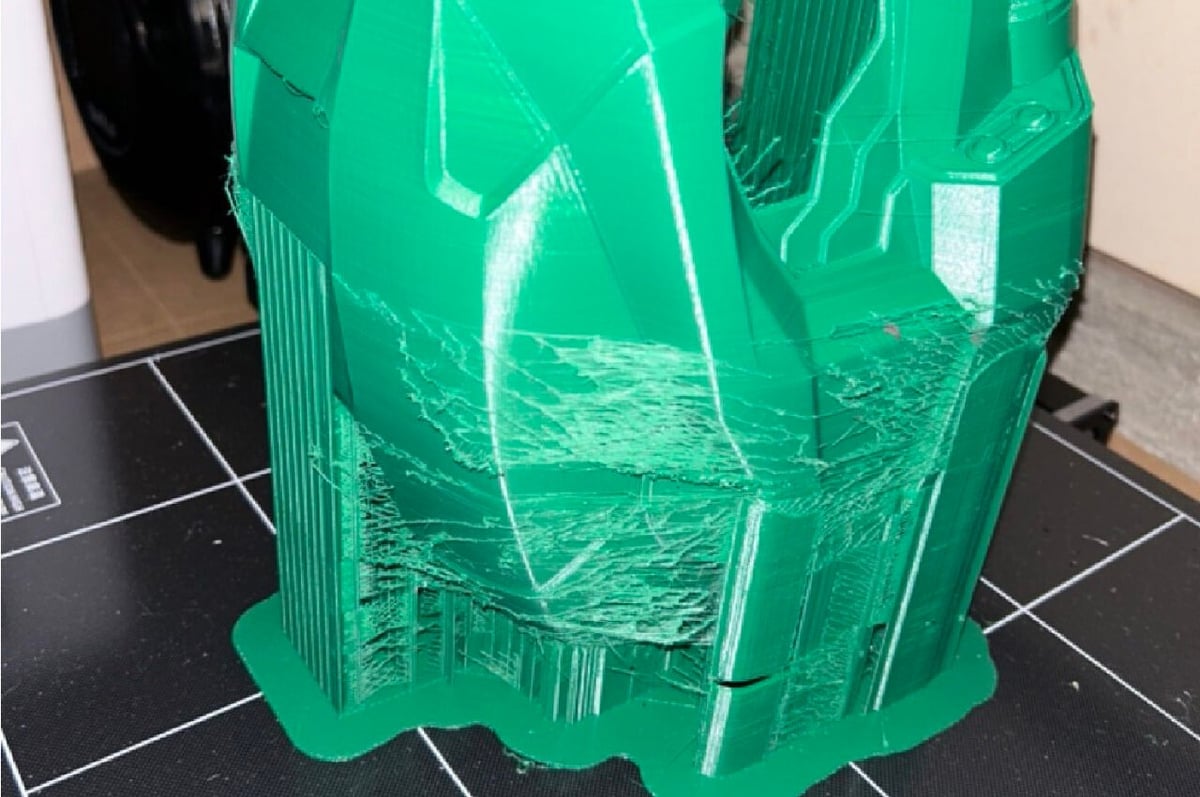
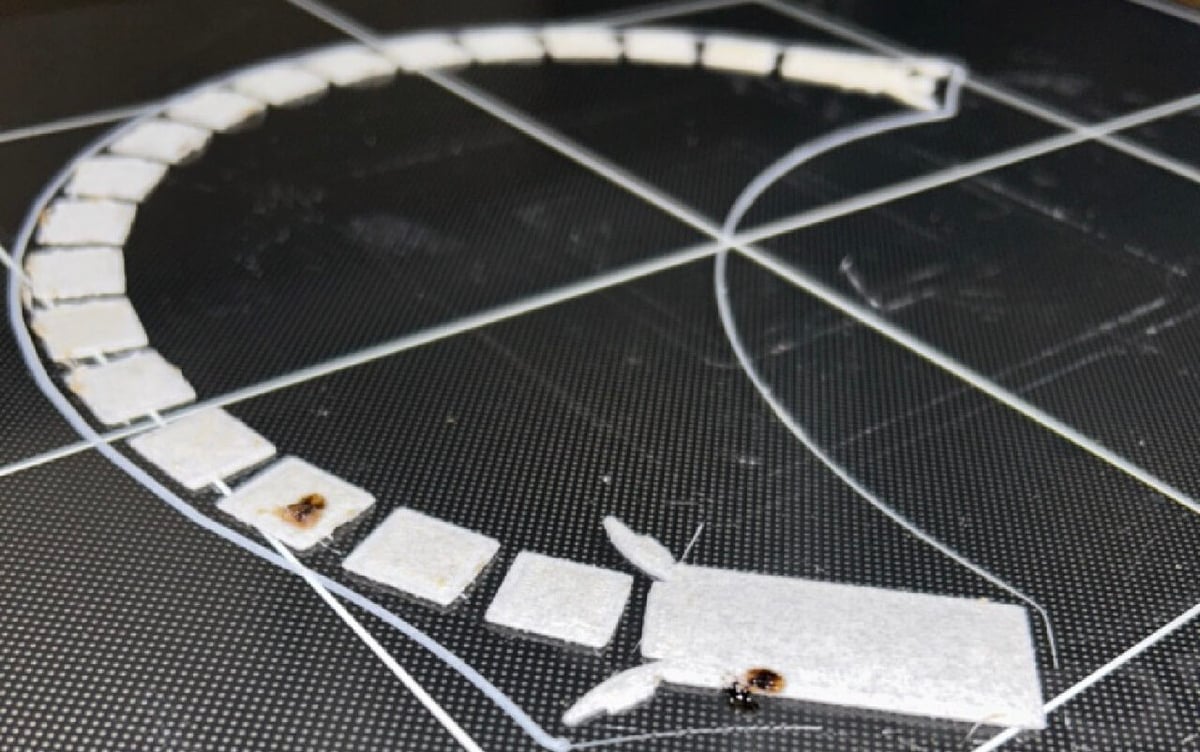
Moisture absorption of PLA and other hygroscopic filaments (i.e. most filaments) will cause visible stringing and possibly even poor layer adhesion. This has many 3D printing enthusiasts purchasing or DIY-ing their own filament drying boxes to keep the moisture at bay.
Thanks to the huge build volume of the Kobra Max, large prints on the Kobra Max can go on for days and may be subject to temperature and humidity swings. Rainy days in an uncontrolled environment can give the filament an excessively stringy effect.
Many printing advocates recommend drying the filament after prints run for several hours. Alternatively, opt for a dry box that doubles as a spool holder, like the one posted by bekathwia on Instructables, to keep the prints printing!
- What it improves: Reduces stringing and other moisture-related issues
- Cost: ~$55
- Where to find it:
- Instructables
- eSun
Spool Holder
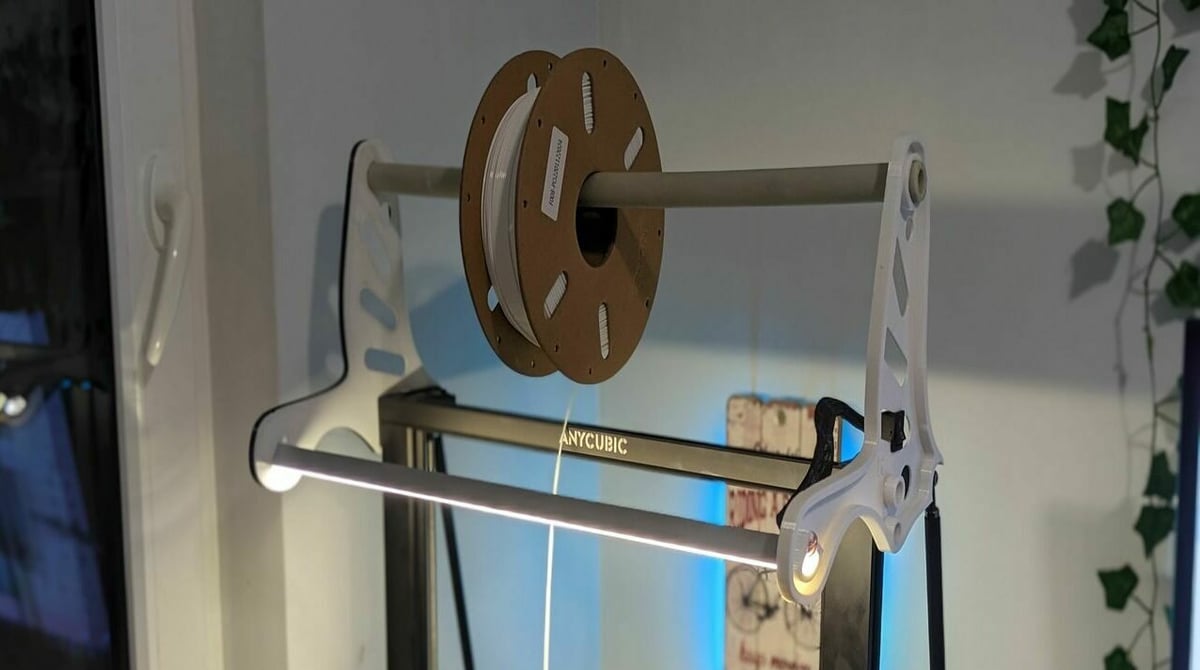
The stock filament roll holder included on the Kobra Max is the branch that you push out of the way only to be hit on its backswing. It is placed by the user along the bottom left side of the frame and offers poor tension between the roll and the filament sensor. Bumping it can cause the filament to unravel, which can prevent extrusion.
Replacing the spool holder with a DIY upgrade may be the most common and easiest mod for the Kobra Max. There are plenty of designs out there to get you started upgrading to just the right spool holder for your setup.
For those with more vertical space than horizontal, a top-mount spool holder may be the way to go. Depending on the setup, several options are available, including 3D printable filament shelves (if there’s more space along your wall) or portable holders for easy access.
- What it improves: Reduces the footprint of the printer
- Cost: ~$5
- Where to find it: Printables
Printer Enclosure
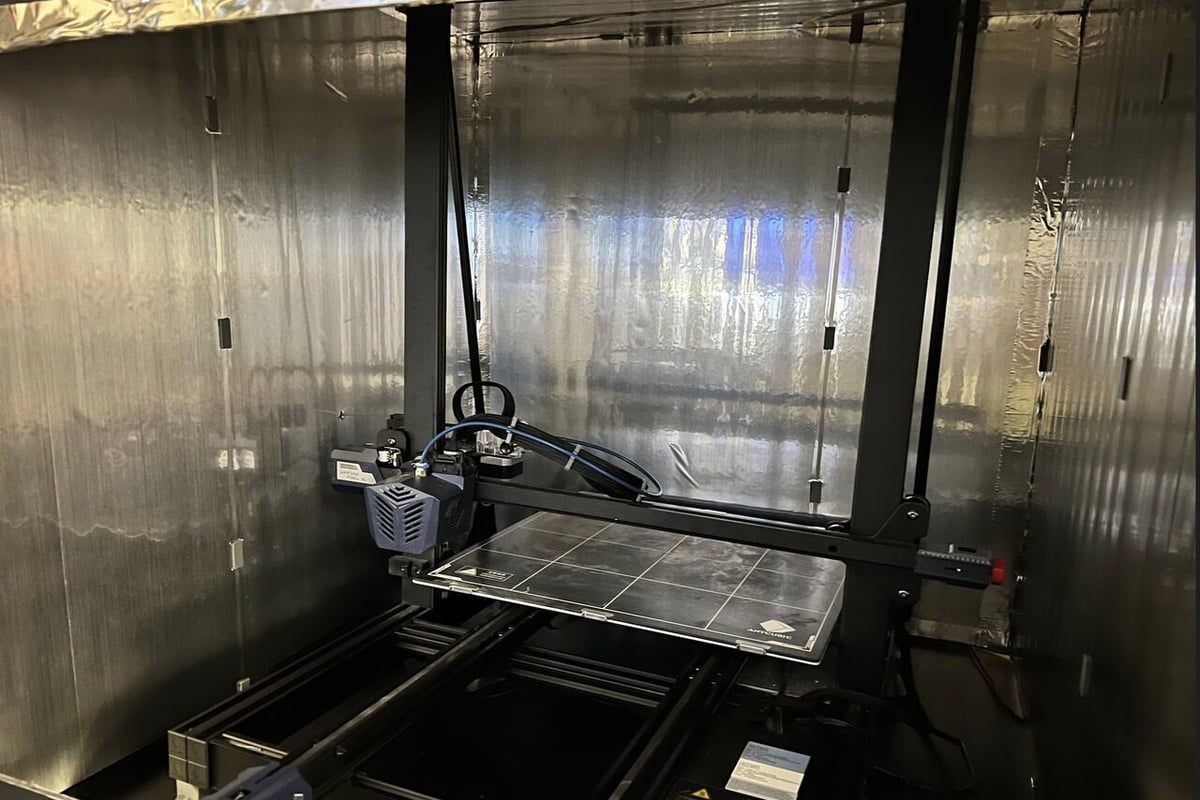
An enclosure helps ensure that nothing will violate the long reach of this printer. If the arm isn’t able to extend all the way back on the print start, your print will not begin, and you’ll have to restart the printer.
Enclosures are also extremely helpful when printing with materials such as ABS since they can help retain heat and prevent some instances of warping. Moreover, enclosures can help contain and filter potentially dangerous printing fumes, particularly with stinky ABS.
While considering the best enclosure option for your space, it would be wise to think about including some exterior ventilation. This can be as simple as installing a bathroom fan on the end of some ductwork located outside and placing the front end into the roof of your enclosure. Be careful to avoid any unnecessary decreases in the duct height or turns.
Many Kobra Max owners are building their own enclosures, but you can also purchase a prefabricated model. Since this printer is so large, the DIY option seems like the way to go if you’re on a tight budget.
- What it improves: Traps in heat and smells
- Cost: $50-$1,000
- Where to find it:
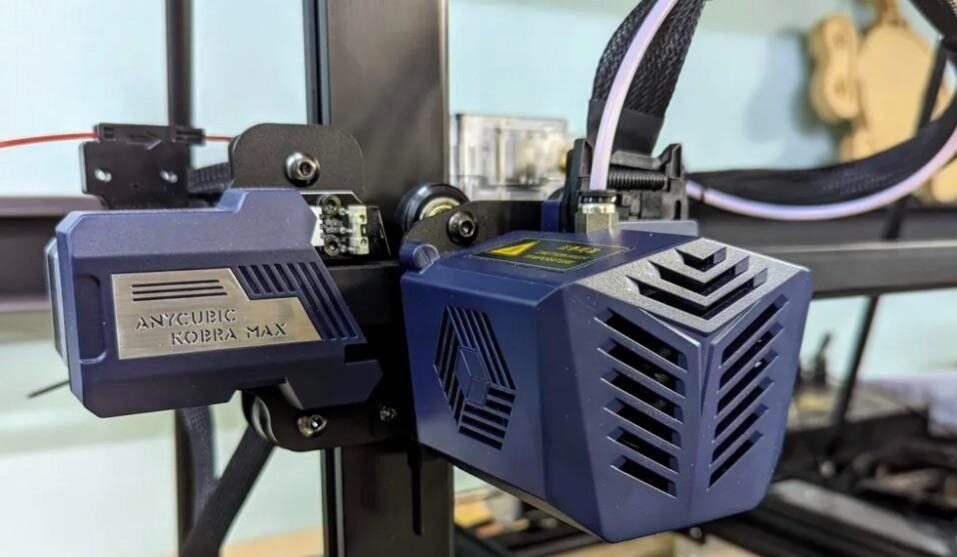
Fan Ducts
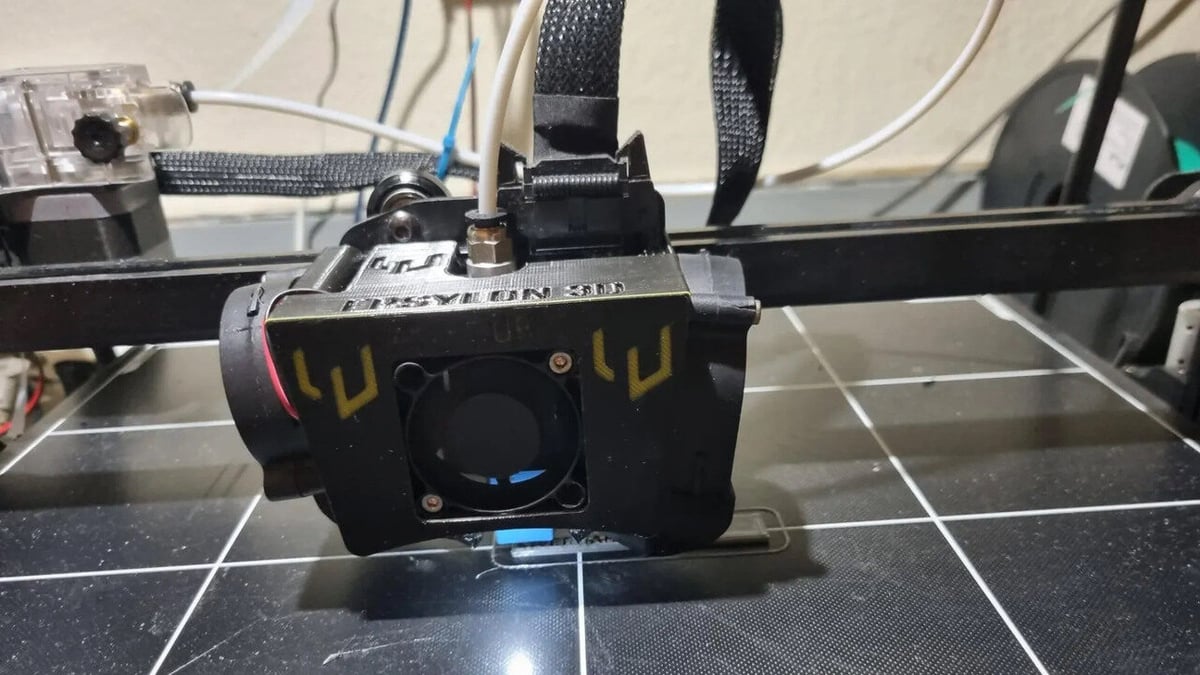
During printing, freshly deposited filament should solidify quickly enough to retain its intended shape. This is generally aided by a fan directed toward the exit of the extruder. Unfortunately, the stock fan on the Kobra Max doesn’t do a great job directing air where it needs to go.
Insufficient cooling can leave your print sagging, cause stringing, and, especially for this printer, blobbing. In short, prints won’t come out with a nice finish and will require more post-processing work. There are some replacement ducts on the market, but you can easily print exactly what you need.
Printable cooling duct files for the Kobra Max are available on Thangs and Printables and may only need a few screws to assemble.
- What it improves: Part cooling
- Cost: ~$5
- Where to find it: Thangs
Larger Nozzles
The Kobra Max comes with a standard 0.4-mm nozzle, but it’s unlikely that this will be your one-and-only. For larger prints or parts that require less detail, 0.6-and 0.8-mm nozzles can significantly reduce printing time as the faster the filament is laid down, the less time the print will take.
Moreover, if you are considering printing with filled filaments such as wood, metal, carbon fiber, or glow-in-the-dark, a hardened steel nozzle is recommended since brass is soft enough to be scratched and deformed by these more abrasive materials.
It is also worth noting that the heating block of the Kobra Max runs hot, making it prone to filament charring and nozzle blockage. All that is to say, it’s worth having several spare nozzles on hand. You can purchase multipacks from reliable manufacturers like E3D.
- What it improves: Faster printing for large parts and wider filament options
- Cost: ~$15 (single); ~$50 (multipacks)
- Where to find it:
- Hardened steel nozzle
- Multipack
Camera
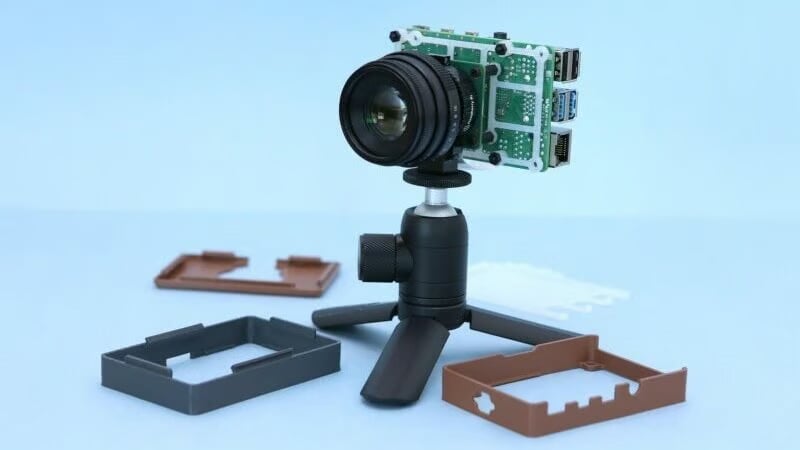
Kobra Max prints have the potential to go on for days, so whether a time-lapse or remote check-in is wanted, a dedicated printer camera will be helpful (and amusing). There are even programs out there that can detect printing failures and notify you on your mobile device.
From an Arduino or Raspberry Pi self-build (better for time-lapses) to a security cam (better for mobile phone check-ins), there are plenty of reliable options to choose from. If you are down for some DIY, the Raspberry Pi Camera module is great for working with OctoPrint. If you want a more plug-and-play approach, the Blink Mini will have you checking in on your prints in no time.
- What it improves: Print monitoring
- Cost: $15-40
- Where to find it:
- Raspberry Pi Camera module
- Blink Mini
Bowden Tube
The Kobra Max is built with a filament drive motor placed along the base of the printer. This takes the filament from the filament sensor and pushes it through a tube toward the extruder in what’s called a Bowden extrusion setup.
It’s common to experience some issues with the stock filament tube, aptly named the Bowden tube. Using recommended temperatures for filaments such as PETG or ABS will already have the hot end operating near the 260 °C softening point of the tube.
PTFE tubes, like the ones from Capricorn, are generally a safe choice due to their low friction on the filament, which is ideal for Bowden tube drives.
- What it improves: Overheating issues
- Cost: ~$15
- Where to find it: Capricorn
Power-Off Button
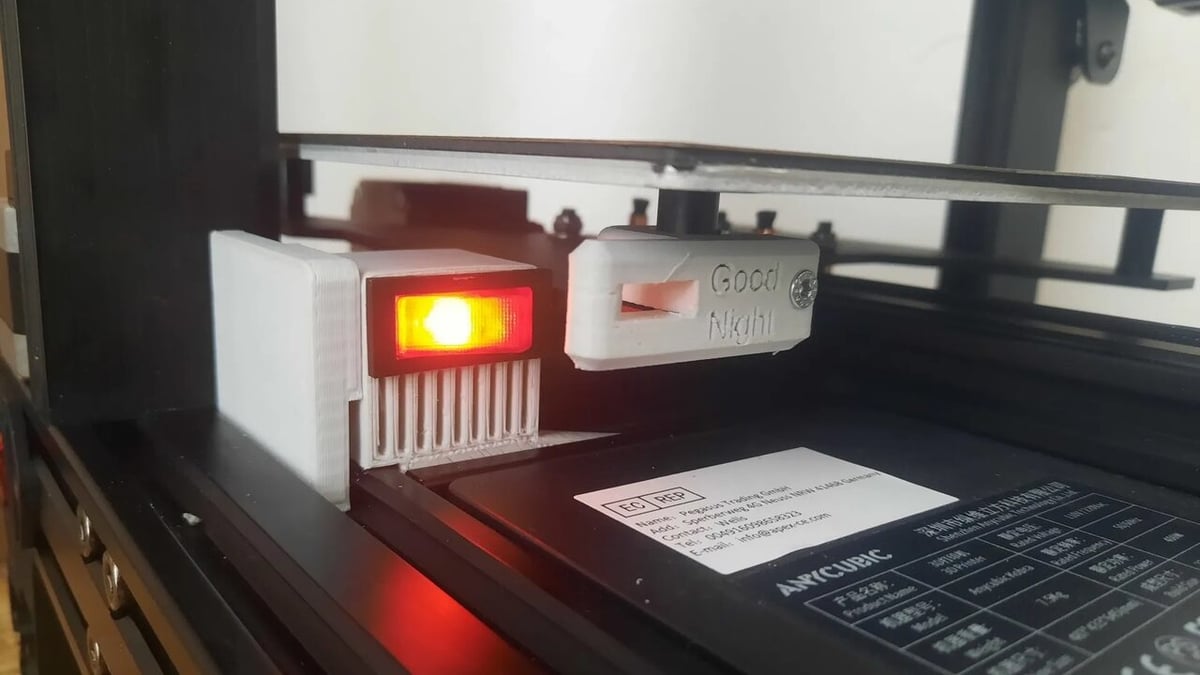
The Kobra Max uses significantly more electricity than the smaller printers many makers are used to. For example, its average and max usages are 260W and 400W, respectively, compared to 100W and 360W for a Creality Ender 3. Save yourself some money and help conserve energy by setting up an automatic timer for those times when you start a print and then walk away.
To create a functioning power-off button, you’ll need to add some additional lines to your G-code depending on the orientation of the extruder’s final position and the placement of your button or switch. One great project has been posted by Lucas Drovandi, including print and setup instructions as well as a video showcasing the final result!
The concept of a power-off button could also be approached using an Arduino or Raspberry Pi with a timer and physical switch.
- What it improves: Energy savings
- Cost: ~$5
- Where to find it: Printables
License: The text of "The Best Anycubic Kobra Max Upgrades & Mods of 2023" by All3DP is licensed under a Creative Commons Attribution 4.0 International License.