PrusaSlicer Expert Settings: Simply Explained

PrusaSlicer is powerful slicing software with a long list of expert-level settings. Read on to learn how to get the best out of your prints!
Slicing software is crucial to the 3D printing process. It allows anyone to transform a 3D model into thousands of instructions for a 3D printer to follow as it creates a part. One of the most popular slicing programs on the market is PrusaSlicer. Developed by Prusa Research, PrusaSlicer is a free, easy-to-use slicer that offers many advanced features.
PrusaSlicer works with a range of 3D printers, not just Prusa machines. The slicer can export multiple flavors of G-code, and the user community has developed printing profiles for a variety of manufacturers.
In this article, we’ll take a look at some of the most useful expert settings in PrusaSlicer. Seeing as the program was originally based on Slic3r, many of these settings will be useful for Slic3r users as well.
Overview
Part of what makes PrusaSlicer easy to use is its organization. Like Slic3r, PrusaSlicer groups settings into three categories: print settings, filament settings, and printer settings. In each section, the settings are categorized as simple, advanced, or expert. Here, we’ll take a look at some of the most relevant expert settings in each category, as well as a few advanced and expert tools available in the Plater window.
For the majority of prints, you’ll only need to tweak the simple and advanced settings. The default profiles in PrusaSlicer will automatically adjust the expert settings for the best results on most prints.
However, adjusting expert settings is crucial in helping unique or difficult-to-print models succeed.
While we’ll look at the most useful settings for single-extruder FDM 3D printers, there are many settings that apply to multi-extruder or multi-material printer configurations, as well as Prusa’s resin-based 3D printer. For more information on these settings, as well as those discussed throughout this article, check out the official Prusa Knowledge Base.
Now, let’s dive into the most useful expert settings in PrusaSlicer!
Layers & Perimeters
External Perimeters First
This setting reverses the order in which a model’s perimeters are printed. By default, internal perimeters are printed before external perimeters. Checking this box reverses this order, which can help improve the quality and accuracy of a print.
When the external perimeters are printed first, any retraction marks remain on the inside of the print. In addition, any extra filament is pressed away from the perimeter of the part, so dimensional accuracy improves as well.
However, this setting makes it more difficult to print overhangs, so it’s not recommended for parts with lots of unsupported areas.
Extra Perimeters If Needed
The layer-by-layer nature of FDM 3D printing can make it difficult to print sloping or curved parts. If a slope is too steep, the inner infill can show through the model. To remedy this, you can check the “Extra perimeters if needed” box. This setting checks for any slopes that are too steep and adds extra perimeters for those layers.
While this will decrease the likelihood of any infill showing, it will also increase the material used and slicing time of a print. As such, we only recommend this setting when a print has very steep curves or slopes.
Avoid Crossing Perimeters
This setting forces the nozzle to travel along the perimeter of the print as much as possible. This minimizes the oozing and retraction artifacts that can occur when the nozzle crosses between areas of a print. However, this setting greatly increases the time it takes to slice and print a model. As such, it’s best to enable this setting only if a print is experiencing noticeable artifacts from oozing or retraction.
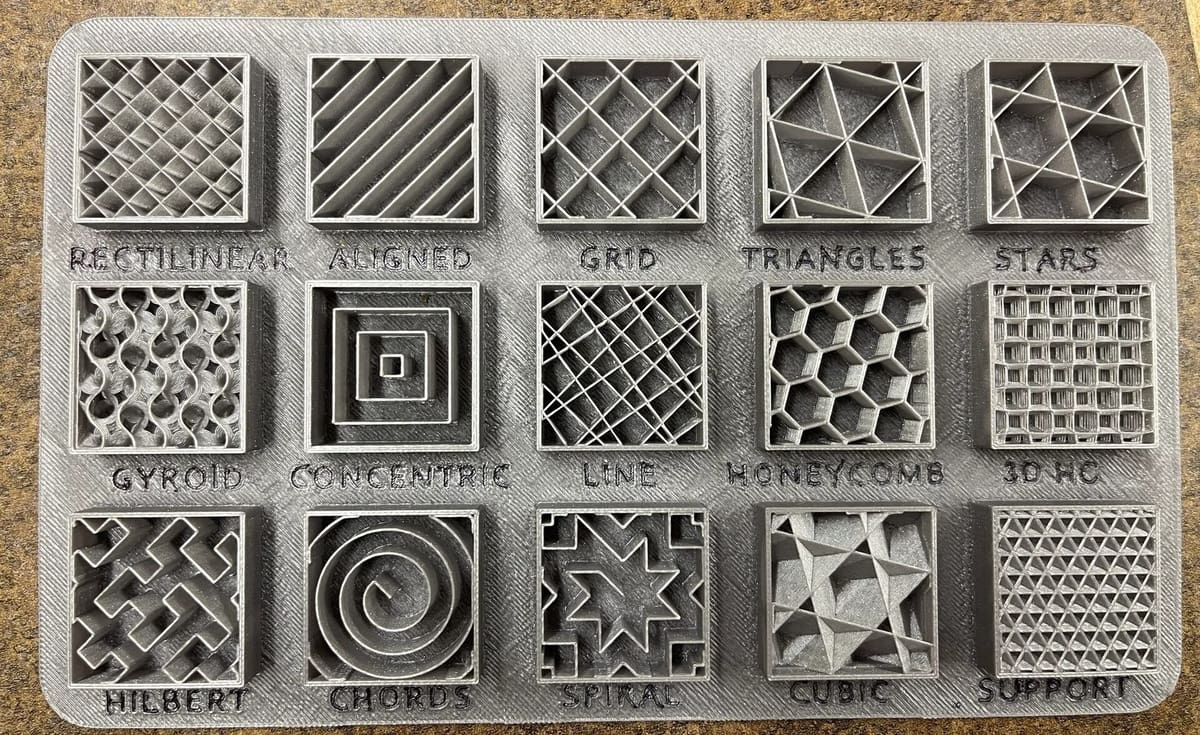
Infill
Ironing
When ironing, the print nozzle extrudes a small amount of filament to fill in any holes or gaps, leaving a smooth top layer. The “Flow rate” setting is a percentage relative to the normal extrusion flow for a full layer.
The nozzle always overlaps the previous passes several times when ironing. The “Spacing between ironing passes” setting allows the margin between passes to be adjusted. Increasing the value shortens the print time, but ironing results may suffer. Be sure that the set number is smaller than your nozzle size to keep the nozzle from making uneven ironing lines.
Solid Infill Every
This setting forces the printer to print a solid layer every specified number of layers. It typically isn’t necessary and is set to zero by default. However, it can be useful for strengthening a part at regular intervals.
It’s important to note that a part needs to have adequate infill in order for the printer to be able to create a solid layer. Otherwise, the layer won’t have enough support beneath it to properly form. As such, it’s oftentimes better to increase the number of perimeters or the overall infill percentage to strengthen most prints.

Support Material
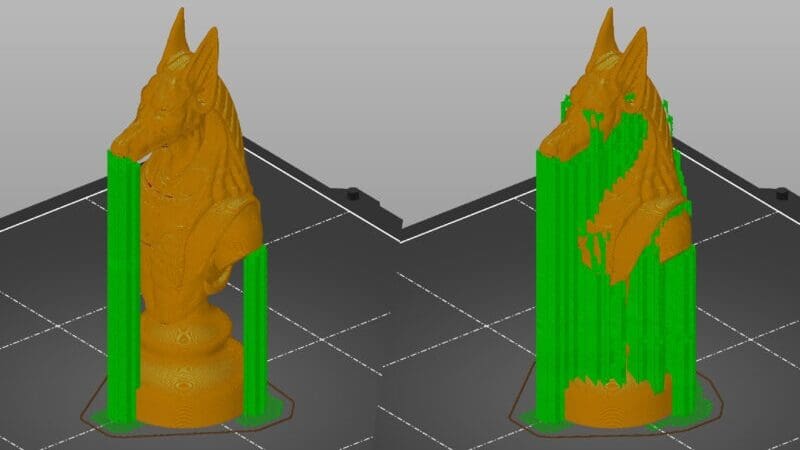
Enforce Support for the First
Making prints stick to the build plate is one of the greatest challenges in 3D printing. For parts with a small footprint, modifying this setting can be extremely helpful in remedying this issue.
This setting generates supports for a specified number of layers, regardless of any other support settings. This will help increase adhesion to the build plate, especially for parts with little contact to begin with. However, this setting will also increase material usage and the chances of damaging the part when the supports are removed.
First Layer Expansion & Raft Expansion
The first layer expansion settings allow the first layer of any support material or raft to be expanded by a certain distance for increased bed adhesion. The raft expansion setting expands the entire raft by a certain distance and improves XY stability in addition to the better adhesion already offered by the raft.
With Sheath Around the Support
This setting adds a single perimeter line around the base of a support structure. It’s especially useful in ensuring that tall, narrow support structures don’t fall over while printing. However, this will also make the supports more difficult to remove post-printing.
Pattern Angle
This setting rotates the generated support structure by a specified number of degrees. While this won’t be necessary for most prints, it may be useful in optimizing a printer’s speed. For example, it may be helpful to align a rectilinear support structure along a single axis to reduce the distance the nozzle has to travel while printing.
Speed

Dynamic Overhang Speed
This setting allows the print speed to be slowed by a certain amount or to a specific value when printing an overhanging section. The amount of speed reduction can be set according to the amount of overlap with the previous layer. 0% overlap is a pure bridge and can be slowed to 15 mm/s, for example, while 75% overlap can be set to a faster speed like 25 mm/s, as it has plenty of support. 25% and 50% overlap can be set to a speed somewhere in the middle of the two extremities.
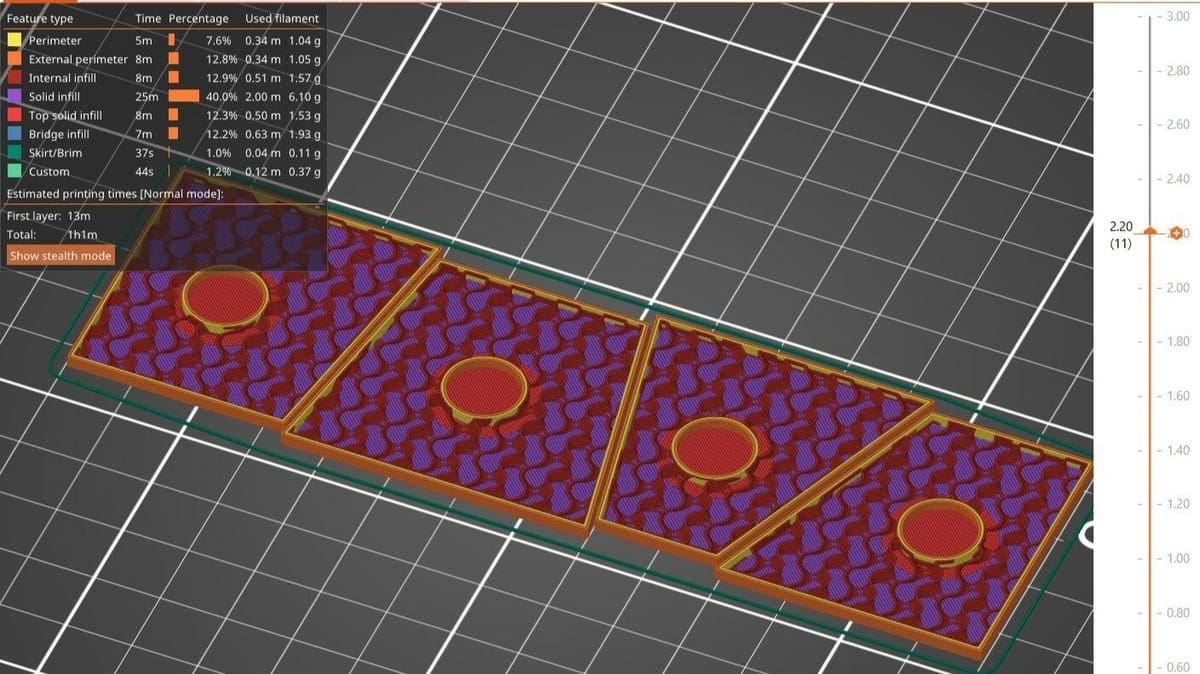
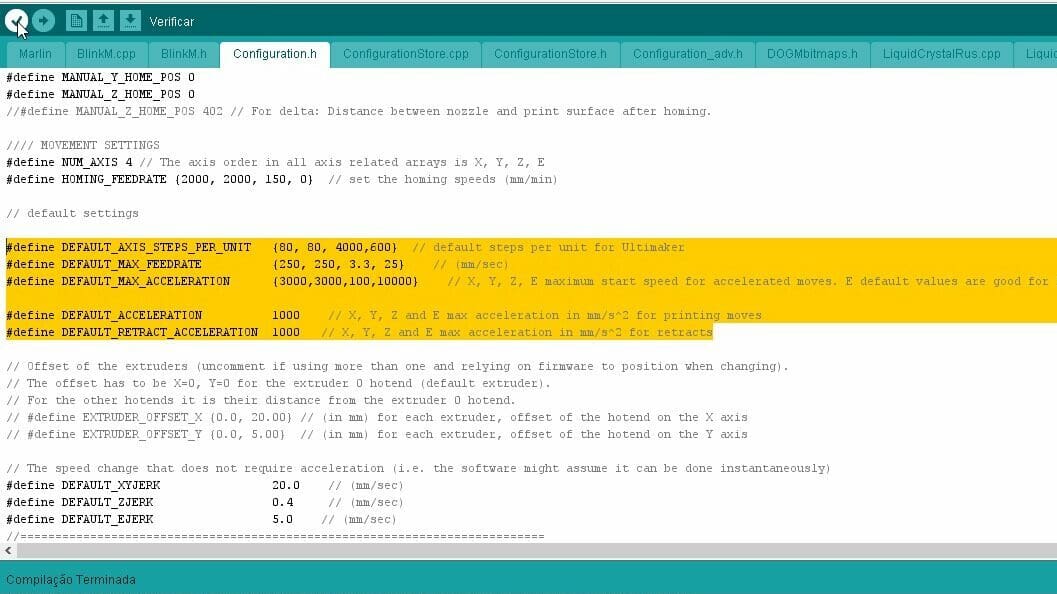
Acceleration Control
These settings control how quickly a 3D printer accelerates during different sections of a print. Although the default settings should work well for most prints, these settings allow you to fine-tune based on the specifics of a model.
Generally, it’s best to use higher acceleration for less detailed areas and lower acceleration for more detailed areas. Infill typically has the highest acceleration value, while perimeters tend to have the lowest.
For maximum acceleration, high values like 500-1,000 mm/s2 work well if the hardware is capable. However, be sure not to set these values too high. Too much acceleration can cause ringing and ghosting in a print, as seen in the image above.
Auto Speed
Auto speed is a group of experimental settings that can be used to control the speed of a printer. If all other speed settings are set to zero and disabled, the slicer will calculate the speeds necessary to keep constant extruder pressure using these settings.
For information on configuring these settings, there’s a good guide on the Prusa Knowledge Base. It’s important to note that auto speed is not optimized or necessary for most prints. If you’re getting strange, inexplicable artifacts from uneven extruder pressure, it may be a useful option. However, we recommend checking for other common issues before trying it.
Pressure Equalizer
The Pressure equalizer smooths sudden changes in speed between two features (e.g. between printing infill and perimeters). This allows for a more gradual pressure discharge in the nozzle and prevents the formation of blobs and bulges on the side of the model. Contrary to Linear advance, which modifies the acceleration of the extruder, the Pressure equalizer acts on the speeds only and doesn’t affect the flow rate. These two features can be used at the same time.
The only downside to this is a slightly increased print time. Prusa recommends using values between 2 and 10.
Advanced
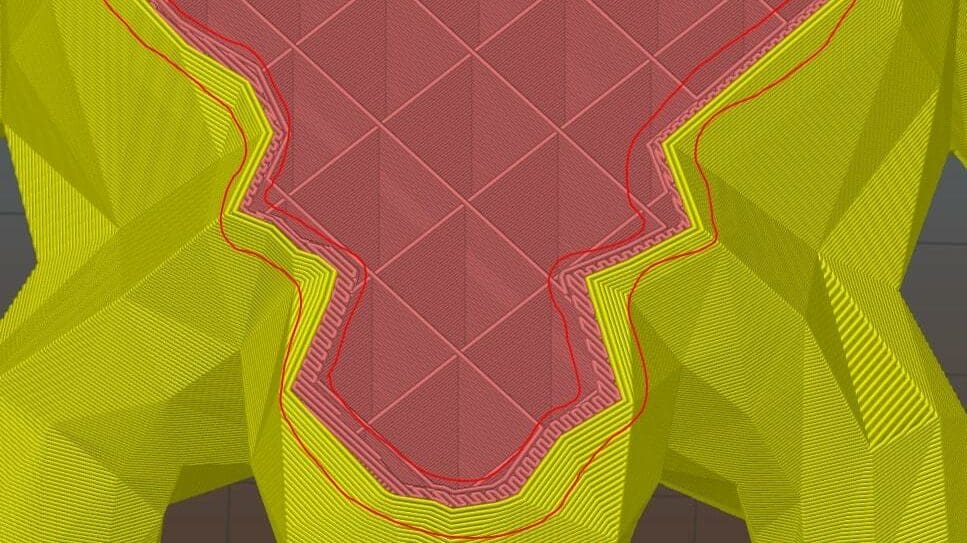
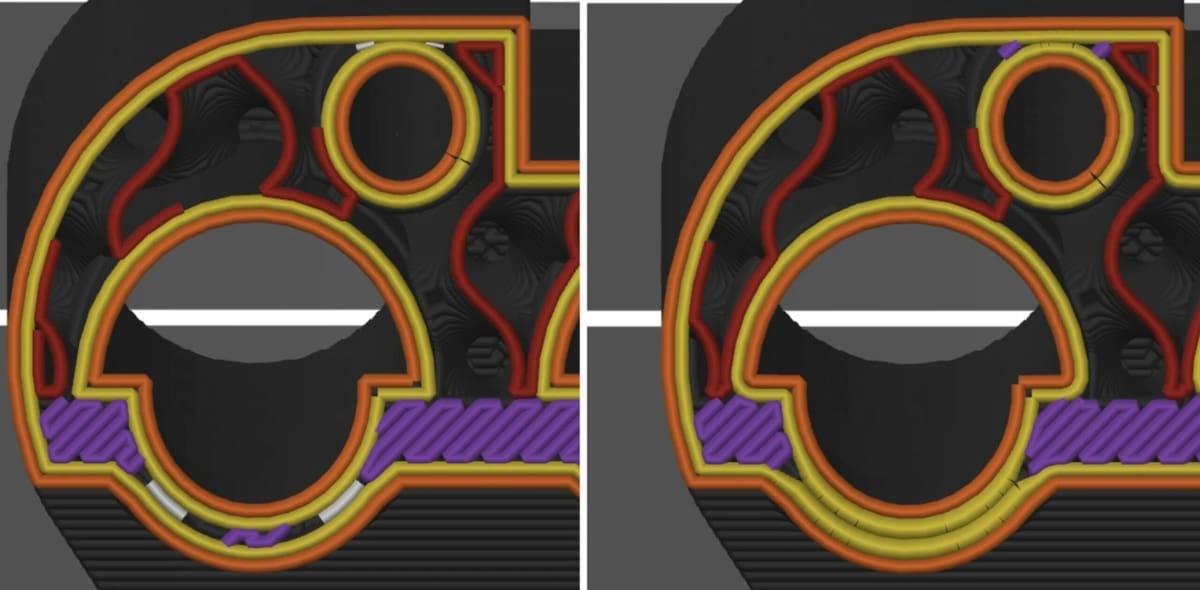
Overlap
When printing, the infill and the perimeter of the print are usually bonded securely together as the sliced model provides sufficient infill/perimeter overlap margins. Occasionally, there may be an unfortunate issue of some gaps appearing between the infill and the perimeter. In this case, the infill/perimeters overlap setting can be raised to terminate any gap problems that may occur.
Slice Resolution
Most desktop 3D printers are not capable of achieving the level of detail outputted by a slicer. To account for this, you can adjust this setting to reduce the resolution of an inputted model. This simplification can greatly speed up the slicing process and reduce a computer’s memory usage. However, it’s not recommended for resin-based 3D printers or other machines capable of achieving very high resolutions.
XY Size Compensation
This setting grows or shrinks a model in the XY plane by a specified amount. It’s most commonly used when a printer is consistently printing too large or too small. To remedy this, you can check your 3D printer’s dimensional accuracy and then compensate with this setting. This is especially useful for fine-tuning models that need to be dimensionally accurate (such as mechanical parts).
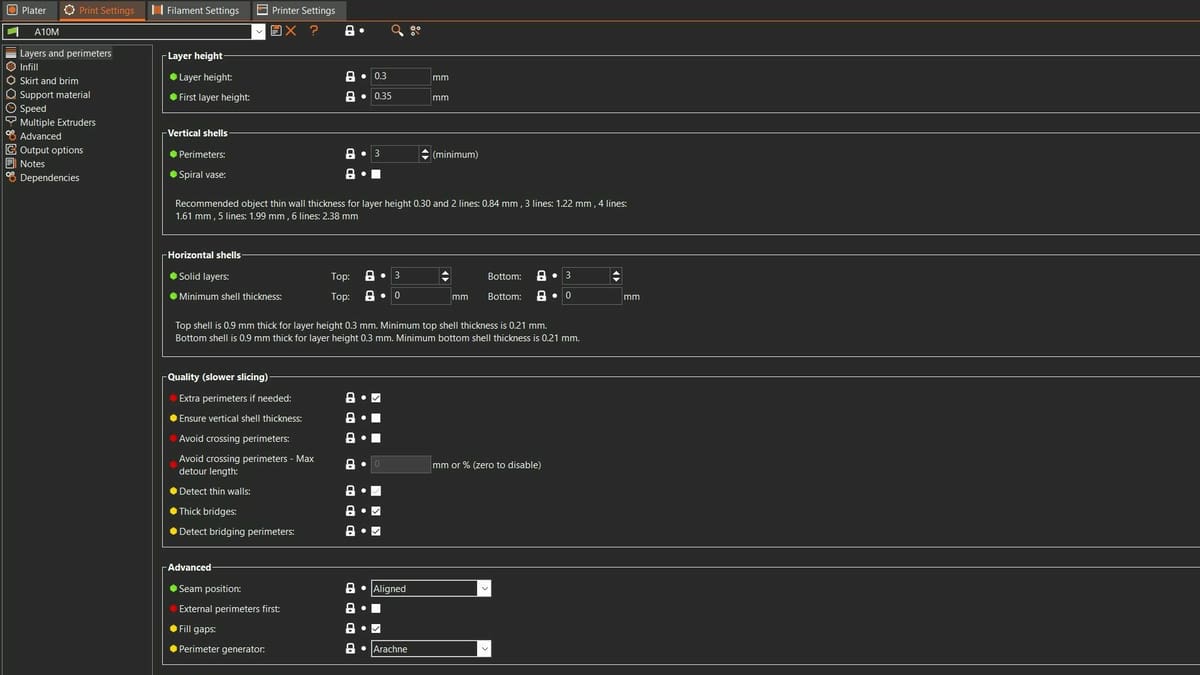
Arachne Perimeter Generator
Coming from the minds of the Cura team, this recent feature addition is a must for all experts.
Enabled by default in newer versions, Arachne generates perimeters with varying widths. This completely autonomous tool will adjust the dimensions of each line to print small features (lower width) or larger walls with fewer passes (larger width). This adds a bit of leeway when designing a part, cutting off the need to design in multiples of the given nozzle diameter and accounting for the wall overlap.
While it doesn’t inherently affect any other setting other than concentric infill, it makes certain profiles redundant or obsolete. If, for example, you have a precision-oriented setup, you might want to give it an update with Arachne enabled.
Filament Settings
Every filament requires different settings. This section contains parameters directly related to how a filament prints. In particular, we’ll focus on the settings that affect how a filament is cooled.
Cooling
Fan Speed (min/max)
This setting sets a minimum and maximum speed for the printer’s cooling fan. While PrusaSlicer contains default profiles for a multitude of filaments, you’ll likely need to adjust this setting for any filaments not in the slicer’s database.
The optimal values for this interval will vary between filament brands and types. Generally, PLA tends to print well with high cooling, while filaments such as PETG tend to do best with less. For all filament types, it’s important to strike a balance. Too much cooling will decrease layer adhesion and can make your parts brittle, while too little cooling will decrease print quality on overhangs and other intricate details.
Bridging Fan Speed
This setting allows you to override the default fan speed when printing bridges and overhangs. We recommend setting this at 100% for most prints, as overhangs and bridges typically need heavy cooling to reduce drooping and maximize performance.
Disable Fan for the First
Proper first layer adhesion is crucial to a successful print. However, too much cooling will make it extremely difficult for the first layer to adhere properly. This setting allows you to disable the fan for a specified number of layers at the beginning of a print. For most prints, we recommend setting this value to one.
Dynamic Fan Speeds
Similar to dynamic overhang speeds, dynamic fan speeds vary the fan speed according to the amount of overlap a layer has with the previous one. Typically the fan speed should be set higher when bridging to quickly harden the filament and prevent drooping.
For example, if a printer was printing at 50% fan speed for most of the model, areas with 0% overlap (bridging) can be set to 100% fan speed while 75% overlap can be set to 30% fan speed, as it has plenty of support. 25% and 50% overlap can be set to a speed somewhere in the middle of the two extremities.
Cooling Thresholds
These settings allow you to override the default fan and speed settings of a print, respectively. If a layer print time is below a certain number of seconds, these settings slow down the extruder and/or increase the fan speed in order to compensate. The minimum print speed can be defined here to prevent PrusaSlicer from slowing the print speed indefinitely.
These settings are especially useful for tall, thin models. If the printer doesn’t slow down or increase cooling for small layers, the model will likely droop and deform while printing. Slowing down and enabling the fan for these prints will allow each layer to properly cool before the next one begins.
Printer Settings
The last category of settings in PrusaSlicer are printer settings, which are settings directly related to a machine’s capabilities. PrusaSlicer has pre-installed profiles for a variety of Prusa, Lulzbot, Creality, and BIBO machines, which configure these settings automatically. However, you may want to modify these settings depending on your specific printer and personal preferences.
Custom G-code
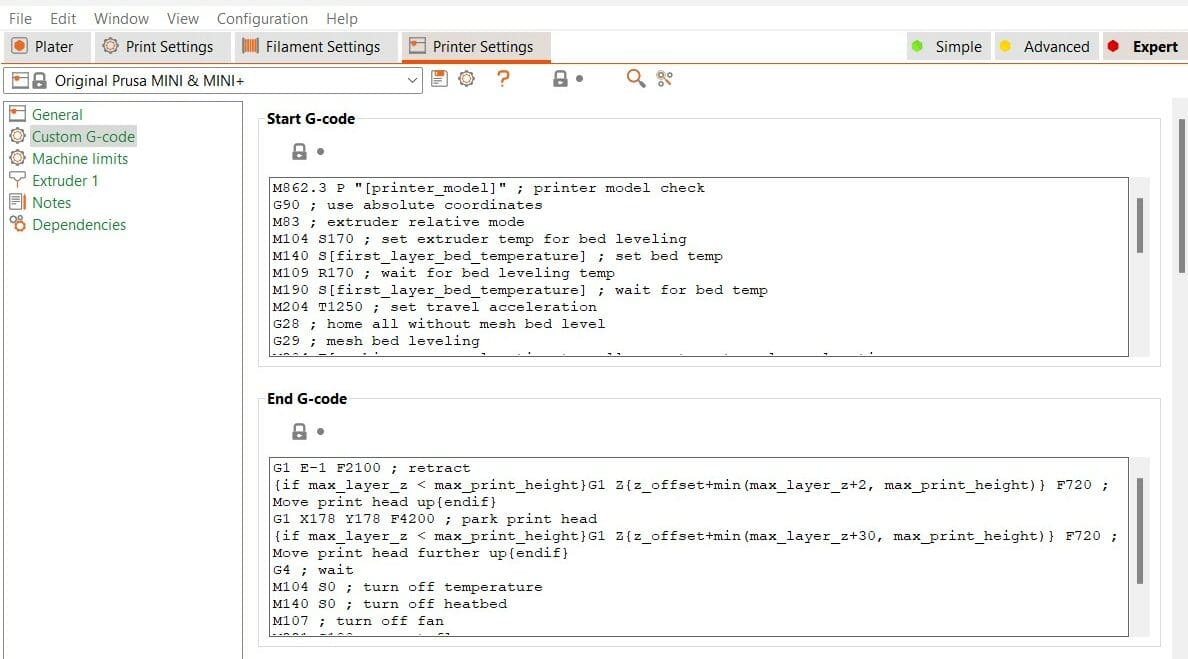
Custom G-code can be used to give a printer-specific instructions before, during, and after a print. In PrusaSlicer, this is divided into “Start G-code,” “End G-code,” and “Before layer change G-code” sections. If needed, you can add your own G-code commands to these sections to have the printer execute certain tasks. After the model is sliced, your custom commands will be inserted automatically into the appropriate areas of the final G-code file sent to the printer.
Before Printing
Most printer manufacturers will include a custom startup routine for their printer at the beginning of the G-code file. Common tasks include preheating the nozzle and bed, priming the nozzle, and auto-leveling the bed (if applicable). If you wish to include an additional task before the print, add your custom code to the “Start G-code” section of PrusaSlicer.
During Printing
There are several options for inserting custom commands during the printing process that can come in handy when printing more complex designs:
- Layer Change G-code: These input sections allow you to insert commands before and after the printer moves along the Z-axis to change layers. This would allow you to incorporate a certain action like pressing a button to take a picture between layers.
- Tool Change G-code: Allows the user to indicate a nozzle change during a print.
- Between Objects G-code: This allows the user to write commands for actions between objects when printing sequentially. A reason for using this would be to lower then raise the bed and nozzle temperature between prints.
- Color Change G-code: This allows you to manually write pauses between layers to change your filament color.
- Pause Print G-code: This input section allows you to write G-code to pause the print for any reason, such as inserting an object into your print.
- Template Custom G-code: This input section is for any custom G-code your heart desires.
Finishing Printing
Additionally, most 3D printers ship with a pre-configured end G-code. Common tasks are to home the extruder, turn off the heaters, and disable the motors. If you wish to add a custom task, simply add your code to the “End G-code” section.
It’s important to exercise caution when modifying G-code directly. If you aren’t careful, you could severely and irrevocably damage your printer. As such, we recommend always previewing your G-code in a G-code viewer before printing.
G-code Flavor
The G-code flavor options can be found under “Printer Settings > General > Firmware”.
It’s important to note that PrusaSlicer works with a variety of printers, not just Prusa machines. If your printer isn’t a Prusa or doesn’t use Marlin firmware, this setting allows you to change the flavor of G-code exported from the slicer.
In addition to Marlin 2, PrusaSlicer exports:
- RepRap/Sprinter
- Repetier
- Teacup
- MakerWare
- Marlin (legacy)
- Klipper
- Sailfish
- Mach3/LinuxCNC
- Machinekit
- Smoothieware
The vast majority of desktop FDM 3D printers run Marlin, Klipper, Repetier, or RepRap firmware. As such, PrusaSlicer is compatible with most desktop 3D printers on the market today. However, most printer manufacturers recommend a specific slicer for the best results with their machine. For example, UltiMaker recommends Cura.
Plater
Not every advanced feature of PrusaSlicer is located within the settings. The Plater tab in PrusaSlicer is where you can view your 3D model and get it ready for printing.
Uploading your models, arranging, scaling, and cutting them are among the simple tasks that you’re probably already quite familiar with. Ever since PrusaSlicer released version 2.3, a couple more advanced and expert tools have been available, like Seam positioning and Paint on supports, that allow you to really nail those fine details.
Advanced Features
Modifier Meshes
Modifier meshes were first introduced in PrusaSlicer 2.0. To add a mesh, simply right click on your model and select “Add modifier”. Then, select a shape to be added to the “Plater”.
Modifier meshes allow you to apply custom settings to the print at the intersection of the mesh and the model. This is useful for models that require certain settings in specific areas. For example, you could add a box to increase infill in a high-stress area.
Alternatively, you could add a cylinder to increase the number of shells in a weaker region. You can also add support blockers and support enforcers to override the default support settings in certain areas of the model. For more information on modifier meshes, check out the Prusa Knowledge Base.
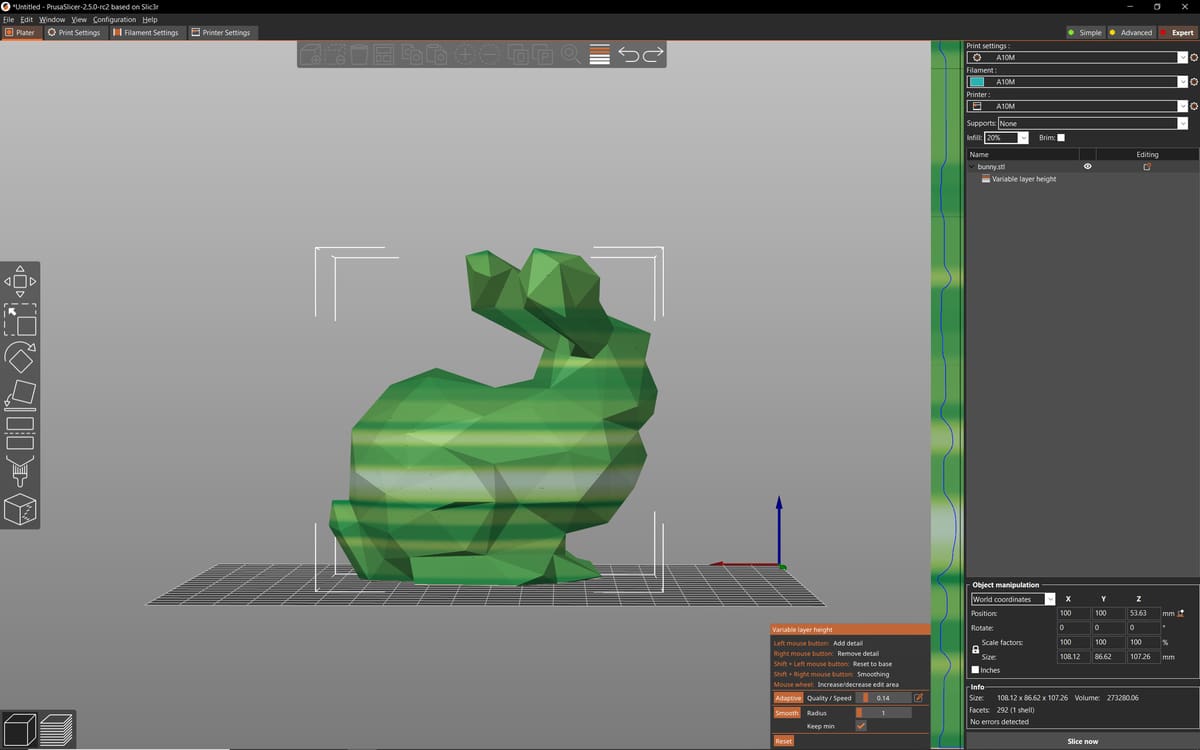
Variable Layer Height
Variable layer height is another useful feature of PrusaSlicer. With this feature, you can increase or decrease layer height in certain regions of a model. This is useful for maximizing print speeds while minimizing quality lost. For flat and featureless areas, you can increase the layer height, while you can decrease the layer height for small, intricate details.
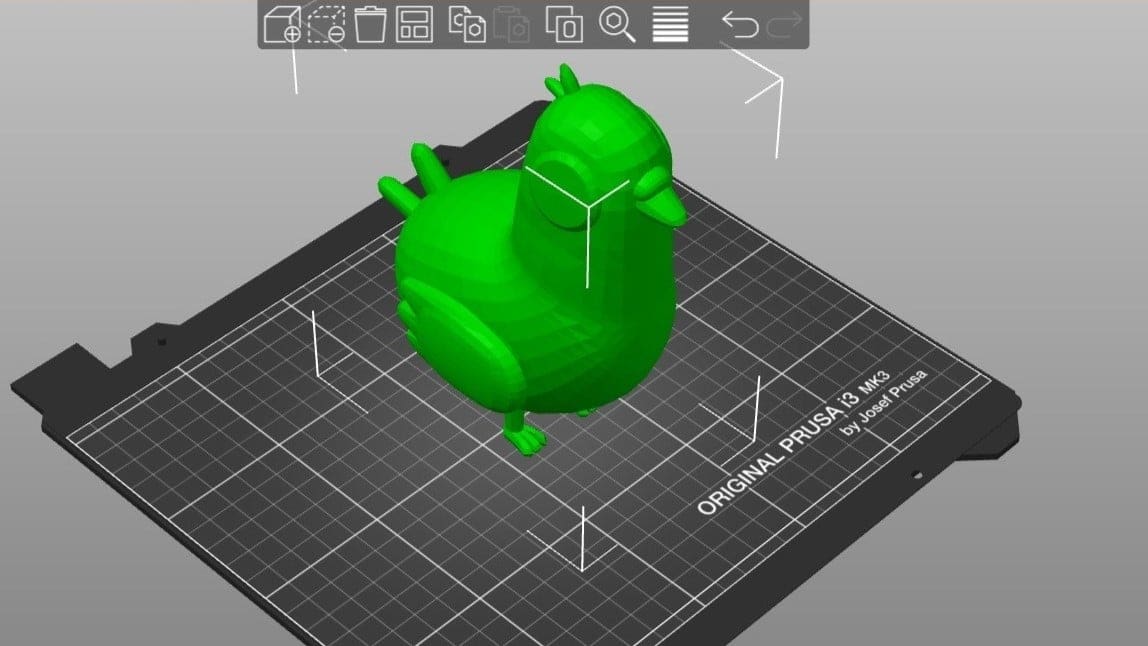
To apply this feature, select your model in the “Plater” view and click the layer icon highlighted in the image above. Then, drag your cursor over the verticle preview bar on the right-hand side to increase or decrease detail in specific regions. You can also click the “Adaptive” button in the pop-out menu to calculate the variable layer height automatically. For more details on this feature, check out our article on Prusa’s unveiling of the smooth variable layer height feature.
Seam Painting
To avoid letting the slicer automatically set the Z seam position, you can override the decision with a simple brush tool. A careful touch-up will help mask the unpleasant marks, relocating them to a corner or at the back of the model. A different brush creates a no-seam area that the slicer will avoid.
This setting doesn’t affect the printing process significantly but might result in slightly longer travel moves.
Paint-On Supports
This setting works similarly to the aforementioned one but for support structures. Similarly to Paint-on seam, it allow users either to enforce or block placement of support structures depending on the brush used. All of this is done by painting directly on the model. This tool doesn’t override the support settings but does have a major effect on the quality of the part.
License: The text of "PrusaSlicer Expert Settings: Simply Explained" by All3DP is licensed under a Creative Commons Attribution 4.0 International License.