The Best Creality CR-6 SE Upgrades & Mods

The Creality CR-6 SE is a great printer, but there's always room for improvement. Here are some useful CR-6 SE upgrades and mods to consider!
By now, it’s safe to say that if you have a consumer 3D printer or are in the market for one, you’ve probably seen the Creality brand more than a few times. That’s because Creality is a leading manufacturer of inexpensive consumer 3D printers, such as the popular Ender 3.
Over the summer of 2020, Creality launched its first Kickstarter crowdfunding campaign to raise funds and attention for the Creality CR-6 SE. A printer to be reckoned with, the CR-6 SE integrates many of the previous DIY upgrades that users liked to add to their other Creality printers, including auto-bed leveling (ABL), a glass build plate, belt tensioners, dual Z-axis motors, a printhead LED, a quick-action extruder, a silent mainboard, a filament runout sensor, and more.
You’d think that the maker community would be satisfied with the new improvements on the CR-6 SE, but instead, users continued to find ways to even further enhance the printer. In this article, we’ll be going over a few great mods and upgrades you can make to your CR-6 SE. Many of the modifications use a mix of 3D printed and purchasable parts, so we’ll talk you through how you can turn each upgrade into a reality.
Extrusion
The following upgrades and mods are all related to the CR-6 SE’s extrusion process, from feeding the filament into the printer to its actual extrusion.
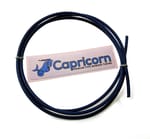
Capricon Bowden PTFE Tube
The PTFE tube on your printer helps transport your filament from the extruder to the hot end. Although it might not seem important, low-quality tubing can lead to hot end clogs and other extrusion issues. You can replace Creality’s stock tubing, which isn’t considered very high-quality, with Capricorn PTFE tubing.
Capricorn is a reputable brand for PTFE tubes, and their blue 1.75-mm tubing works excellent with the CR-6 SE and other Creality printers. The tubing offers a tight filament path from the extruder to the hot end, reducing the chances of clogs and allowing you to use a lower retraction setting (less wiggle room in the tube). The upgrade is straightforward: All you have to do is swap the PTFE tube and both PTFE fittings (one on the extruder and one on the hot end) with the Capricorn hardware.
- What it does: Provides a tighter path for filament to travel from the extruder to the hot end, reducing the chances of jams
- Parts needed: Capricorn 1.75-mm PTFE tubing
- Approximate cost: $15
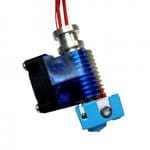
E3D V6 Hot End
The CR-6 SE comes with a reasonably powerful stock hot end that’s capable of reaching 260 °C. While this maximum nozzle temperature is more than enough for most materials (e.g. PLA, ABS, PETG), more advanced materials like polycarbonate require more nozzle heat. Upgrading your CR-6 SE with an E3D V6 hot end allows you to reach up to 300 °C on the nozzle, meaning that your hot end can handle almost any 3D printable thermoplastic.
Unlike the CR-6 SE’s stock hot end, the E3D V6 is all metal, meaning it lacks a PTFE liner that tends to burn up at temperatures greater than 260 °C. The hot end also comes with an E3D nozzle, high-power heating cartridge, and thermistor, all capable of operating at 300 °C. The hot end also comes in a few configurations on E3D’s website, including Bowden and direct extrusion setups, as well as 1.75- and 2.85-mm diameters.
To install the hot end on your CR-6 SE, you’ll have to use other hardware (such as a 3D printable mount) to securely attach the hot end to the CR-6 SE’s carriage. You’ll also have to change your printer’s firmware to adjust for the new E3D thermistor.
- What it does: Enables higher nozzle temperatures so you can print more advanced materials
- Parts needed: E3D V6 hot end kit
- Approximate cost: $60
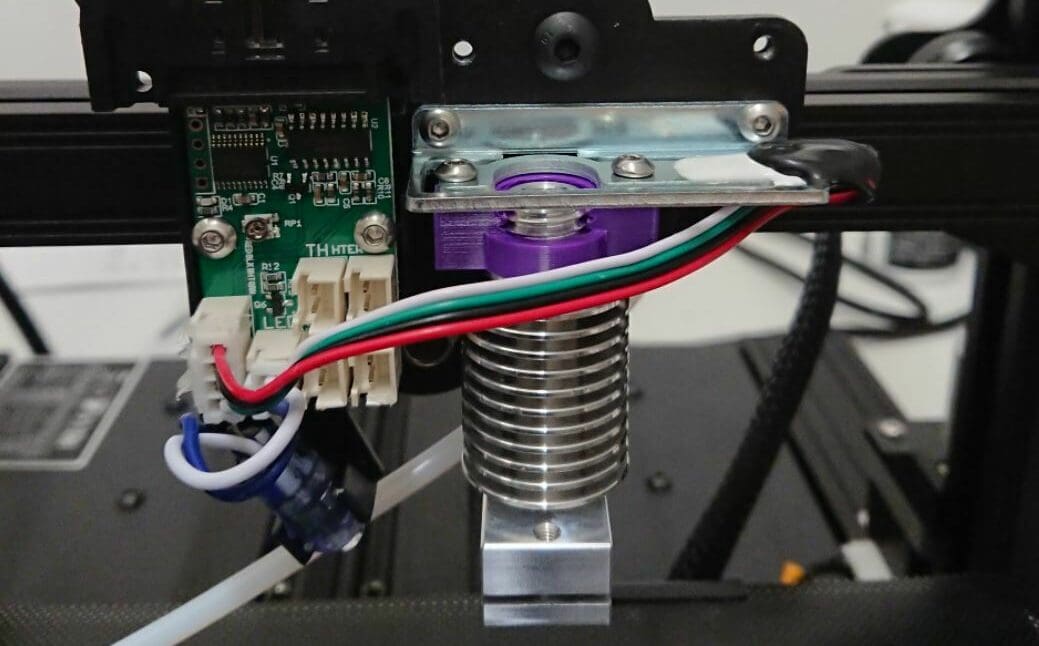
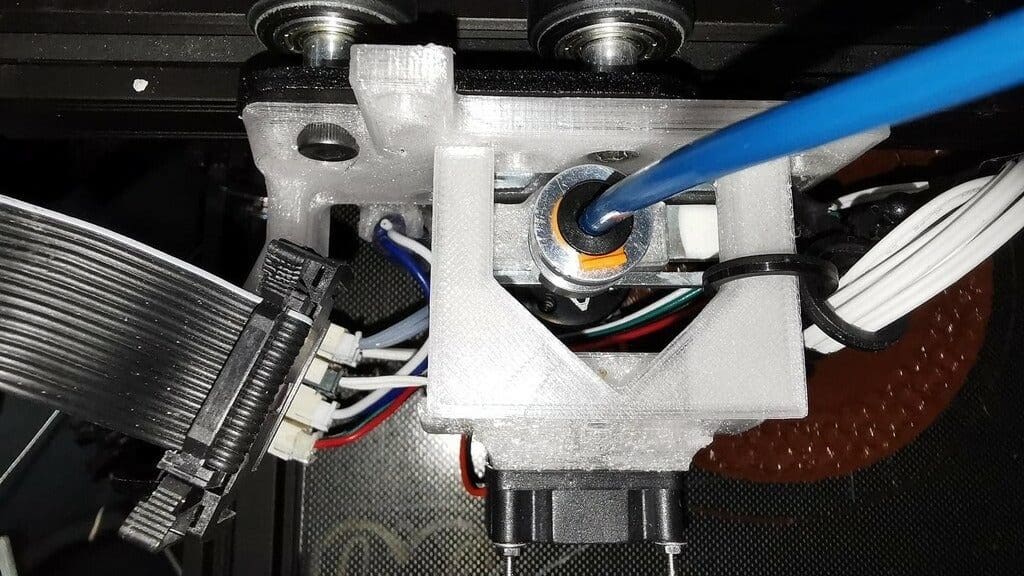
Filament Guide & Sensor Housing
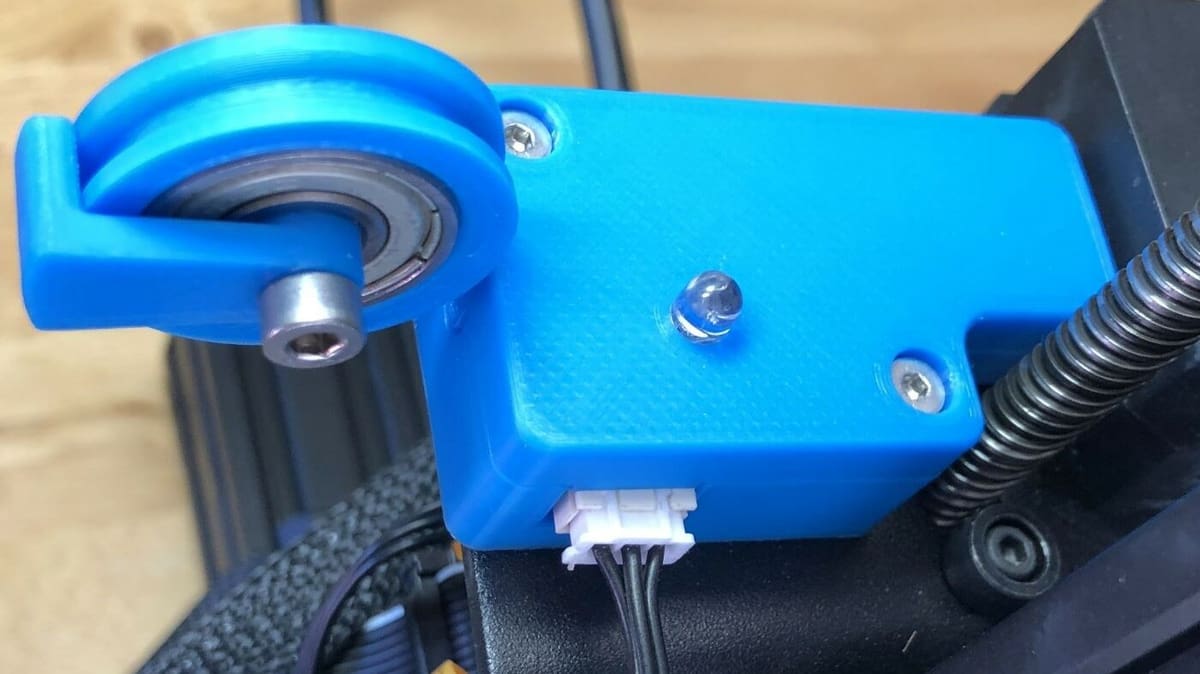
The CR-6 SE has many impressive features, but Instructables user Icelandian has found some flaws. For example, the filament guides in the filament runout sensor, which are designed to ensure that the filament stays straight and doesn’t catch on anything when traveling from the spool holder to the extruder, are made of metal and have sharp edges that can wear or damage the filament. This project contains a few assemblies, including a redesign of the housing for the filament runout sensor to avoid this issue.
It also includes a spool holder that mounts to the top of the CR-6 SE and a bearing filament guide. The parts can easily be made from 3D printed parts and other hardware, and further below you’ll see another dedicated option for setting the spool holder on the upper part of the printer.
The designer of this upgrade notes that by relocating the side filament spool holder to the top of the frame, you reduce the printer’s unnecessarily-large footprint. The maker also points out the gap between the filament runout sensor and extruder, which makes it awkward to load filament into the latter. All of the assemblies included in this project are designed specifically to fit or mount nicely on the CR-6 SE.
All the 3D models required to make the three parts, as well as the hardware you’ll need, can be found on the Instructables project page. This includes the Allen keys that come with the CR-6 SE, a few skateboard bearings (608Z), a 5-mm LED, and some screws. Additionally, the maker provided well-illustrated instructions for building the parts.
- What it does: Makes loading filament easier and keeps filament on the correct path
- Parts needed: Bearings, LED, screws, 3D printed parts
- Approximate cost: $5-$10
- Where to find it: Instructables
Dual-Drive Metal Extruder
Dual-drive extruders are a specific type of extruder that uses not one but two drive gears. Many extruders, including the one on the stock CR-6 SE, are single drive, which means that they have a toothed drive gear attached to the extruder stepper motor axle. Single-drive extruders use an idler bearing on the other side of the filament path, while dual-drive gears use another drive gear.
Dual-drive extruders essentially hug the filament on both sides, providing more pushing force to the filament than a single-drive extruder. This type of extruder is especially useful for 3D printing flexible filaments and can be a great upgrade for the CR-6 SE. There are a handful of dual-drive extruders compatible with the CR-6 SE, including BondTech’s LGX and BMG extruders.
Perhaps the simplest option, though, is BigTreeTech’s dual-drive extruder kit. It’s an attachable dual-drive mechanism that you can mount on your existing extruder motor. To install it, all you have to do is remove the old extruder using the supplied Allen keys and replace it with the dual-drive extruder.
It’s important to note that the BigTreeTech dual-drive extruder we’ve linked below is designed for other Creality printers, and therefore doesn’t perfectly fit the CR-6 SE in its stock form. However, it can be attached using a small 3D printed spacer (about 10 mm).
- What it does: Provides better pushing force for filaments, makes printing flexible filaments easier
- Parts needed: Dual-drive extruder
- Approximate cost: $20
- Where to find it: Amazon
Direct Extrusion Setup
While we’ve covered single and dual-drive extruder mechanisms, another characteristic of the extruder is its setup and location relative to the printer’s hot end. A stock CR-6 SE utilizes a Bowden system where the extruder is located separately from the hot end with the filament traveling through a PTFE tube. On the other hand, a direct extrusion system places the extruder directly above the hot end, so there’s no need for a long Bowden tube.
Direct extrusion setups, like dual-drive setups, are great for printing flexible filaments, but they can also be a pain to unclog. The design linked below, by Thingiverse user BostonBowser, is a 3D printable mount for converting your CR-6 SE to a direct extrusion setup. The project contains a few extra features like a fan duct for a part cooling fan, a mount for the filament runout sensor, and more.
This upgrade requires a fair amount of hardware, such as a 5015 blower fan, some screws, and more. The designer suggests using a 25-mm pancake stepper motor over the stock extruder motor; however, one maker posted that they were able to use the original one with some slight modifications, which you can read about in the description.
You may also need to solder a few wires to extend them, as the stock wires might not work when the extruder is relocated. The designer provided instructions for assembly and installation, so this upgrade should be doable as long as you have the necessary equipment.
- What it does: Places the extruder directly over the hot end to make printing flexibles easier and to reduce retraction
- Parts needed: Radial fan, pancake stepper motor, 3D printed parts, screws
- Approximate cost: $25-$30
- Where to find it: Thingiverse
Cooling Fan Duct
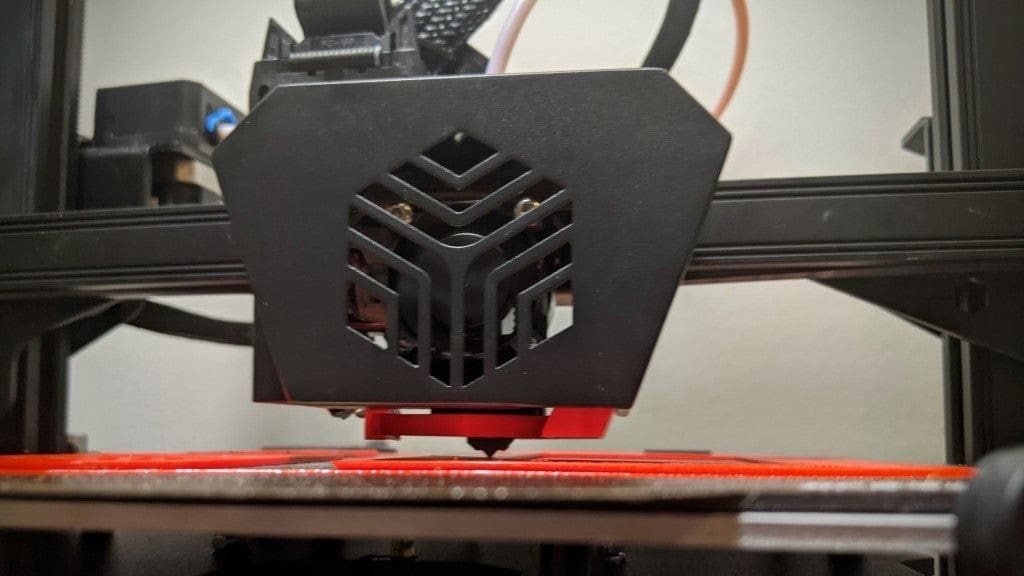
A cooling fan duct gives your printer’s part cooling fan a better path to cool down the freshly melted plastic more effectively. Creality’s stock cooling fan only blows air at the printed part from one side. This one-sided cooling is easy to make (for the manufacturer), but surround cooling will yield higher-quality parts, especially when you’re working with overhangs.
This upgrade is a hexagon-shaped part cooling fan duct centered around the nozzle and can be attached to the printhead using no new hardware. The fan duct replaces the stock one, and you can screw it onto the end of the part cooling fan using the mounting holes on the model. Based on the images, this cooling duct won’t even disrupt the visibility of the nozzle, which is great.
This model’s creator listed that they printed the design with supports activated using at least a 20% infill density and a layer height of 0.1-0.2 mm. The maker also indicated in the model’s description that some people experienced airflow issues, so if this is the case, you may want to try using a remix of the design with larger airflow gaps.
- What it does: Provides more effective, surround cooling to parts being printed
- Parts needed: 3D printed parts
- Approximate cost: $1-$2
- Where to find it: Thingiverse
Print Bed
The following upgrades and mods are all about the print bed.
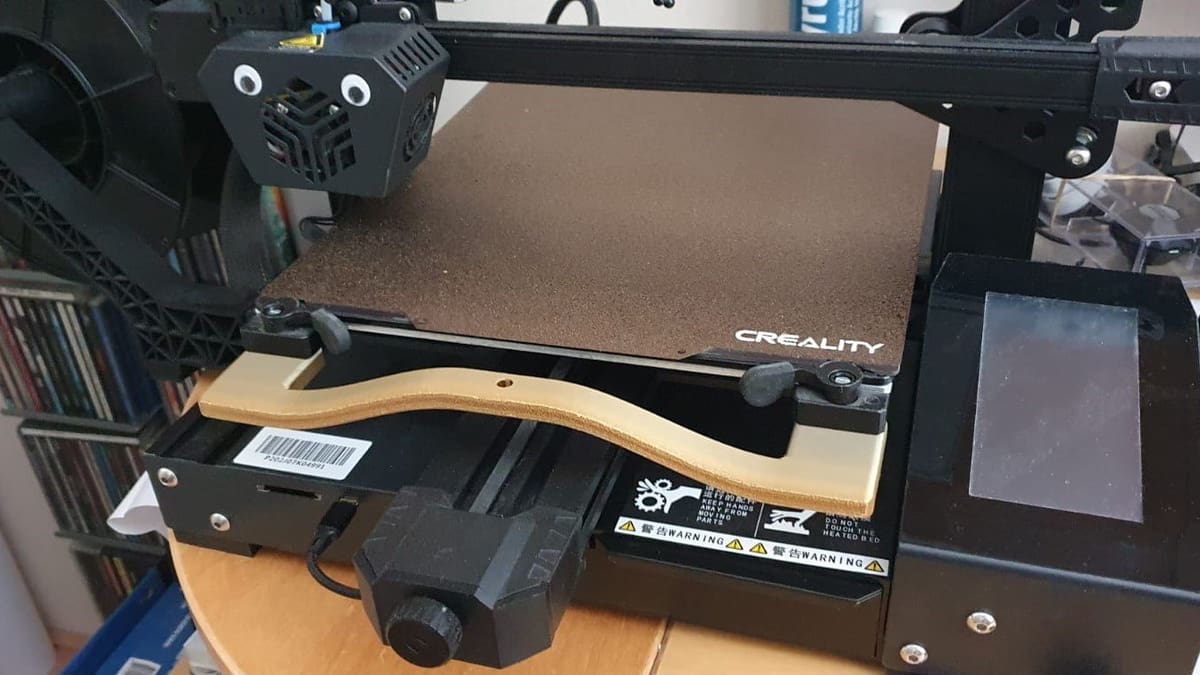
PEI Spring Steel Build Plate
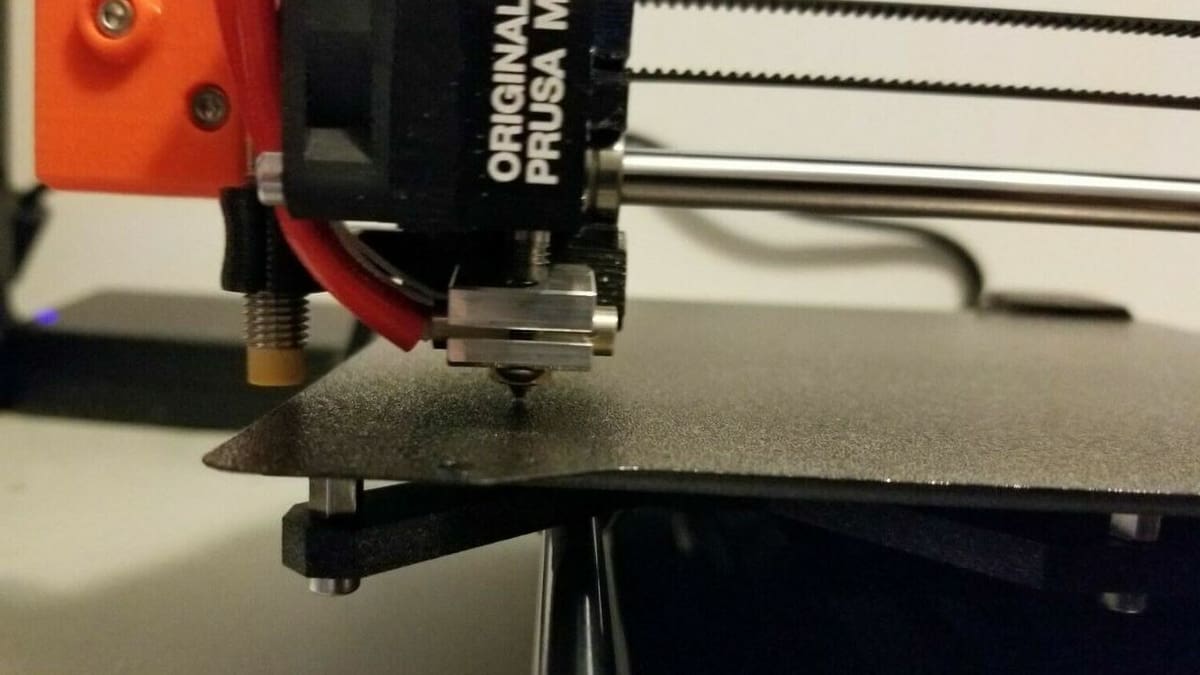
The build plate is the printing surface, usually made of a material designed to provide sufficient first layer adhesion (e.g. glass, PEI sheet, etc.). A good build plate can make a big difference because prints will be less likely to warp, dislodge, or curl up (unless other factors are in play).
The CR-6 SE comes with a tempered glass build plate, which is an excellent option, as printed parts will stick when the bed is hot but will easily release when it’s cool. While tempered glass beds are an upgrade for other Creality printers like the original Ender 3 and CR-10, the CR-6 SE comes with one straight out of the box.
At the same time, other build plate types and materials provide different benefits over a glass bed, such as the popular PEI spring steel option seen on the Prusa i3 MK3S+. This is another potential upgrade for the CR-6 SE, as it’s still a great adhesion surface, with the added benefits of being flexible and magnetic. The PEI from this build plate’s name is an abbreviation of the low-maintenance material polyetherimide. Furthermore, this bed surface material works with a wide range of 3D printing filament materials.
These build plates primarily come in two surface options: textured and smooth. Generally, the textured option provides better adhesion but leaves a rougher texture on the first layer of prints, meaning more post-processing work. Textured options also easily release prints once the plate cools. While smooth surfaces make part removal a little more difficult, they leave the bottom of your print with an ultra-smooth finish.
To attach this build plate to your CR-6 SE, remove your current glass bed and the bed clamps (if they get in the way), apply the magnetic sticker, then place the new build plate over it. Make sure you place the build plate to have the desired finish (smooth or textured) facing up. Finally, don’t forget that you can always take the build plate off and bend it to pop off a stubborn print that won’t release with cooling alone.
- What it does: Provides great first layer adhesion, makes part removal easier
- Parts needed: Spring steel build plate
- Approximate cost: $30
Bed Handle
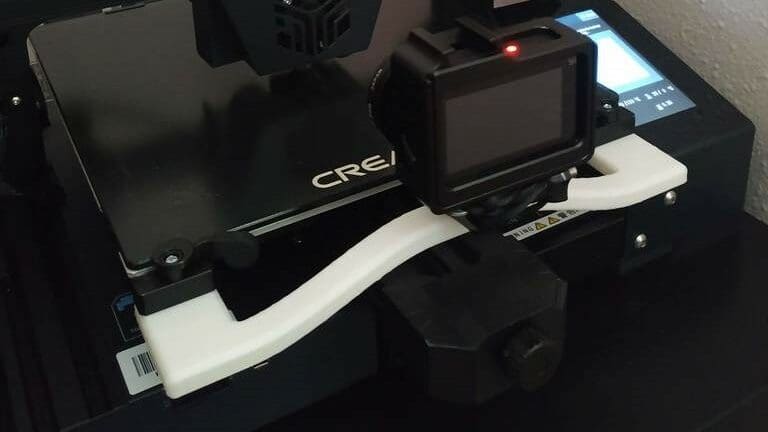
If you’ve heated your bed, especially when printing with high-temperature materials like ABS that require bed temperatures over 100 °C, touching your bed probably isn’t the safest idea. Luckily, makers in the 3D printing community have come up with ways to avoid direct contact with the heated bed, like this 3D printable bed handle that attaches to the print bed’s underframe.
This model is more than just a typical bed handle, though, as it has a hole for mounting a camera, too! Mounting a camera on your bed would make for great time-lapses, as well as easy print monitoring through platforms like the Creality Wi-Fi Box or OctoPrint. The handle should be easy to install but does require a few screws to attach to the bed frame.
The designer recommends printing this handle with a 20% infill density if you plan on mounting a camera to the handle. Furthermore, the maker also listed that they printed the model in PLA with no supports, which should work as the model has only small overhangs (the two screw holes).
- What it does: Allows you to monitor your machine and move the bed safely (so you don’t get burned)
- Parts needed: 3D printed parts, camera mount (optional), webcam (optional)
- Approximate cost: $1-$30 (if you add a camera)
- Where to find it: Thingiverse
Environment
Whether it be light, ambient heat, or Wi-Fi, these upgrades and mods enhance the non-printing functions of the CR-6 SE.
Enclosure
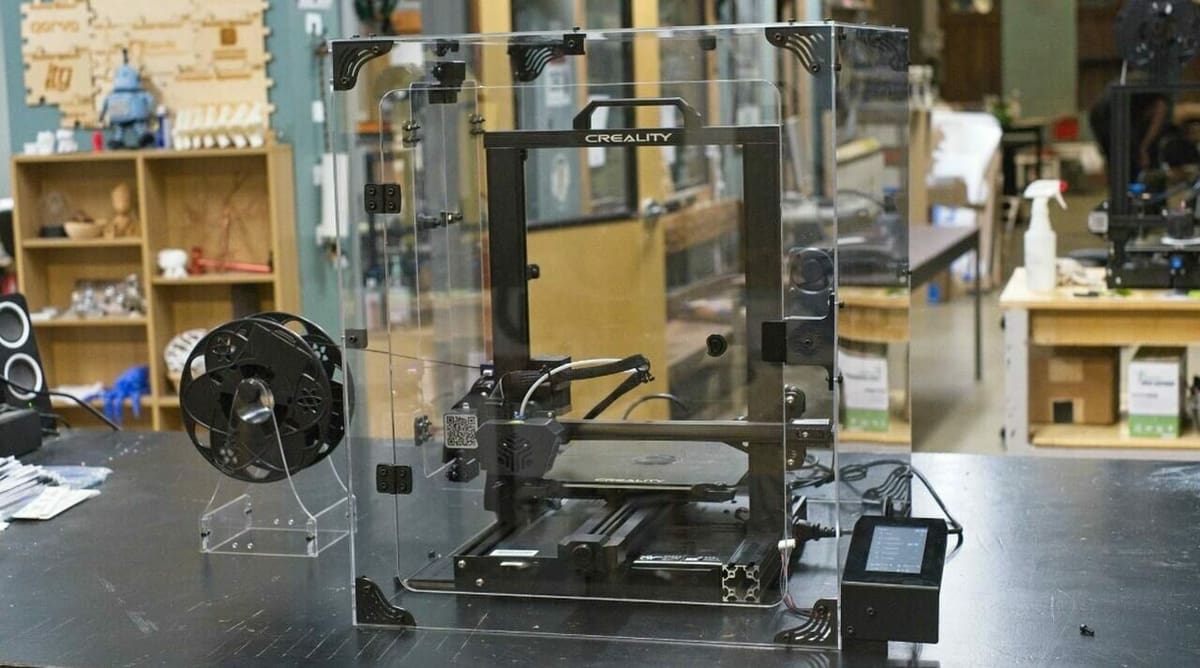
If you’re looking to print higher-temperature and temperature-sensitive materials, like ABS or PC, on your CR-6 SE, you’ll want an enclosure for your printer. Enclosures are usually box-like structures that your 3D printer goes inside. The main purpose of an enclosure is to provide a warm and stable environment for your machine to help achieve maximum print quality for sensitive materials.
Moreover, materials like ABS and PC print best when surrounded by heat, and enclosures help trap the heat produced by your printer, thereby ensuring a warm ambient temperature. Enclosures also prevent external factors like air drafts and moisture from infiltrating your CR-6 SE’s space and potentially ruining your print.
There are a few options you can use for the CR-6 SE, and two popular choices are Creality’s official enclosure (which fits the CR-6 SE) and 3DUpFitter’s acrylic CR-6 SE enclosure. Both are excellent, ready-to-go choices that insulate your machine while allowing you to see its print space, as well as access the printer. You can also DIY your own enclosure for your printer. Check out our guide to DIY enclosures to learn more about your options.
- What it does: Keeps heat around your printer, prevents air drafts from affecting prints, allows you to print more advanced materials
- Parts needed: Enclosure frame (purchasable) or kit
- Approximate cost: $50-$350
Creality Wi-Fi Box
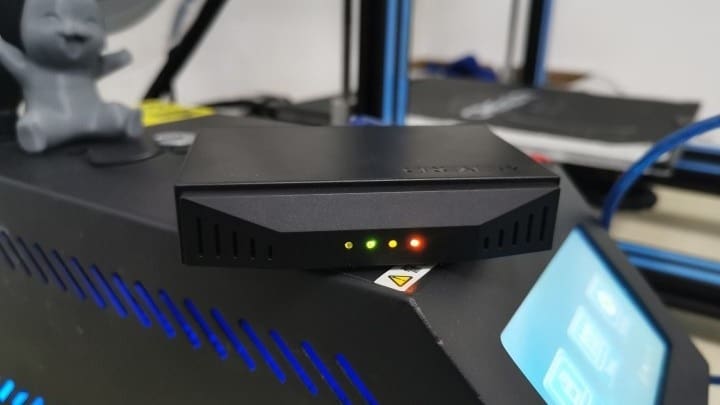
The Creality Wi-Fi Box is Creality’s own remote control hub for their 3D printers and, with the corresponding app and a camera (if you choose to add one), it can be a fantastic modification for the CR-6 SE. With the Creality Wi-Fi Box, you’ll be able to remotely monitor your 3D printer, start prints, control temperatures, and more.
In addition to these features, you can find and slice designs in the accompanying Creality Cloud app. The CR-6 SE is one of the printers supported for the Creality Wi-Fi Box and the Creality app, as long as you’re using the stock mainboard. Also, Creality has provided instructions for installation, so it shouldn’t be too hard to set up.
- What it does: You can print and control your machine remotely and monitor your machine using their app
- Parts needed: Creality Wi-Fi Box
- Approximate cost: $40
Spool Holder
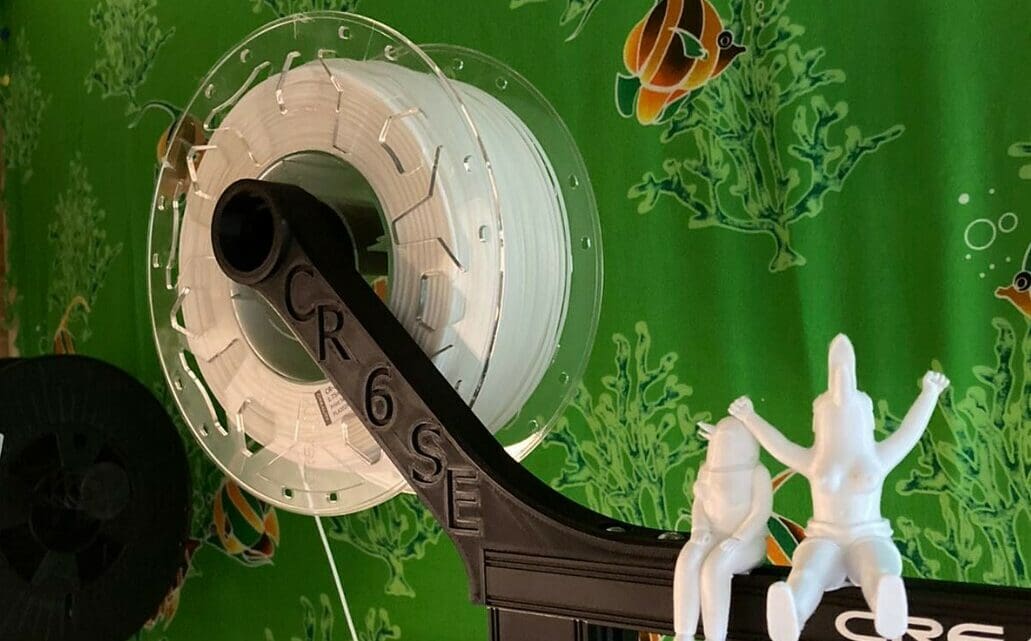
While the side-mounted filament spool holder on the CR-6 SE offers some benefits, like a smaller machine height and reduced vibrations during printing, some people still prefer a top-mounted spool holder. Top-mounted spool holders reduce the X/Y area of the machine and also allow for smoother filament flow (the filament only moves down). This 3D printable part allows you to easily move the CR-6 SE’s stock spool holder to the top of the printer.
With this mod, converting to a top-mounted spool holder is super simple. You just need the part, the original spool axle, and two T-nut screws for mounting the assembly to the top of the printer’s frame. Printing should also be a breeze as the part has a simple design, and the only overhangs are the small screw holes. These can be bridged (no supports required for most printers).
- What it does: Moves the filament spool to the top of the printer’s frame
- Parts needed: 3D printed parts, T-nut screws
- Approximate cost: $1
- Where to find it: MyMiniFactory
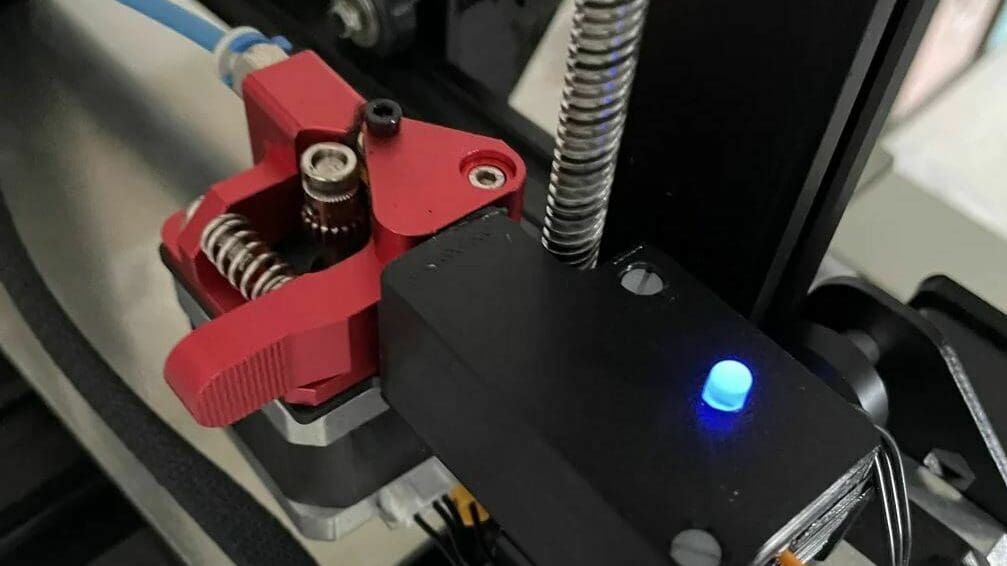
Light Bar
Lights might be an unnoticed feature on a machine, but for 3D printers, when you’re constantly looking at the print bed to make sure the first layer went down smoothly, it’s super important. Creality noticed this problem and included a small LED light on the printhead pointed at the nozzle. This feature is great for looking right at where the nozzle is but doesn’t illuminate much beyond that.
While Creality’s included light is a great start, adding a light bar will allow you to see more of your CR-6 SE. The project linked below contains a simple mounting plate to which you can easily attach a light bar using ordinary adhesives (or many light bars include an adhesive pad on the back of them).
The maker states that they printed the mounting plate without rafts or supports, and opted for black PLA, which means the mount’s almost imperceptible. This is a subtle way to up your printing game.
- What it does: Lights up your build space
- Parts needed: Small cabinet light bar, 3D printed parts
- Approximate cost: $15-$30
- Where to find it: Thingiverse
Vibration-Dampening Feet
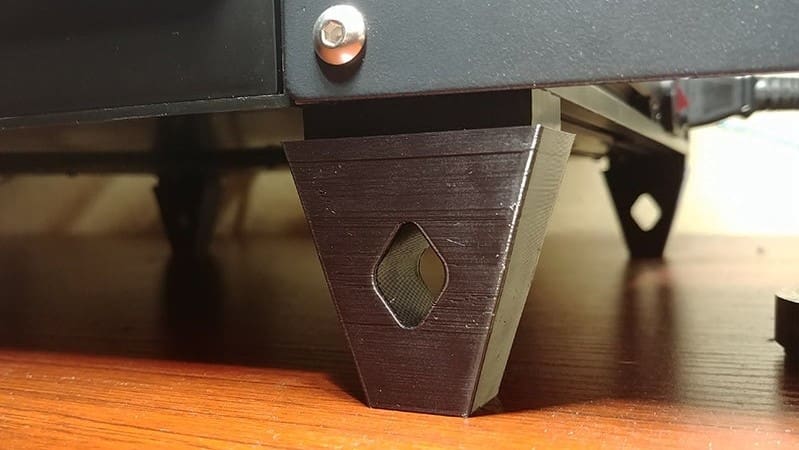
The CR-6 SE is fitted with TMC2209 stepper motor drivers, significantly reducing the noise your printer’s motors make. Although the printer isn’t all that loud, the quieter it is, the better! These vibration-dampening feet are placed underneath your printer, reducing any noise by absorbing the vibrations of your machine, making it a win-win scenario for both your ears and your prints.
The designer provided some printing tips for this model, including a 10% infill density with no support structures activated. Additionally, they mentioned that the feet are meant to be printed in TPU. While the pliability of a flexible filament is ideal, any impact-resistant material, like ABS or nylon, should have a similar effect.
- What it does: Silences your printer, prevents vibrations from disrupting prints
- Parts needed: 3D printed parts
- Approximate cost: $1-$2
- Where to find it: Thingiverse
Top Shelf
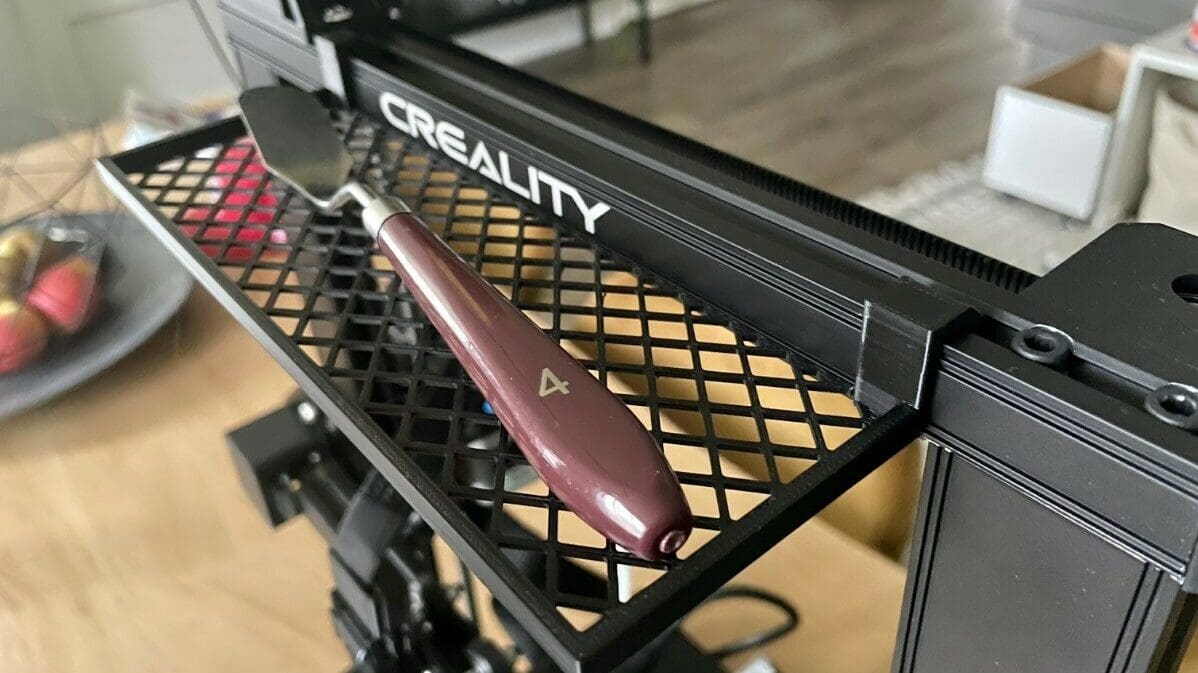
If you have a 3D printer, then you probably have too many tools, spare parts, and 3D printer accessories to count. And, while the Creality CR-6 SE features a built-in storage drawer, it’s not enough space to store everything, especially the larger tools (e.g. scraper). This 3D printable top shelf is a terrific mod for the CR-6 SE that provides some additional storage options directly above the print space.
The grid-pattern shelf requires no screws or other components to attach to the printer’s frame. It’s also worth pointing out that the designer has provided three different shelf sizes, so you can choose the one for you based on how much space you need.
As for printing the shelf, the designer listed that they used 0.2-mm layer height, a 0% infill density, and no raft. They did activate supports, though, as there are a few small overhangs on the model, so you may want to do this as well.
- What it does: Provides easy-access storage space for tools and spare parts
- Parts needed: 3D printed part
- Approximate cost: $2
- Where to find it: Thingiverse
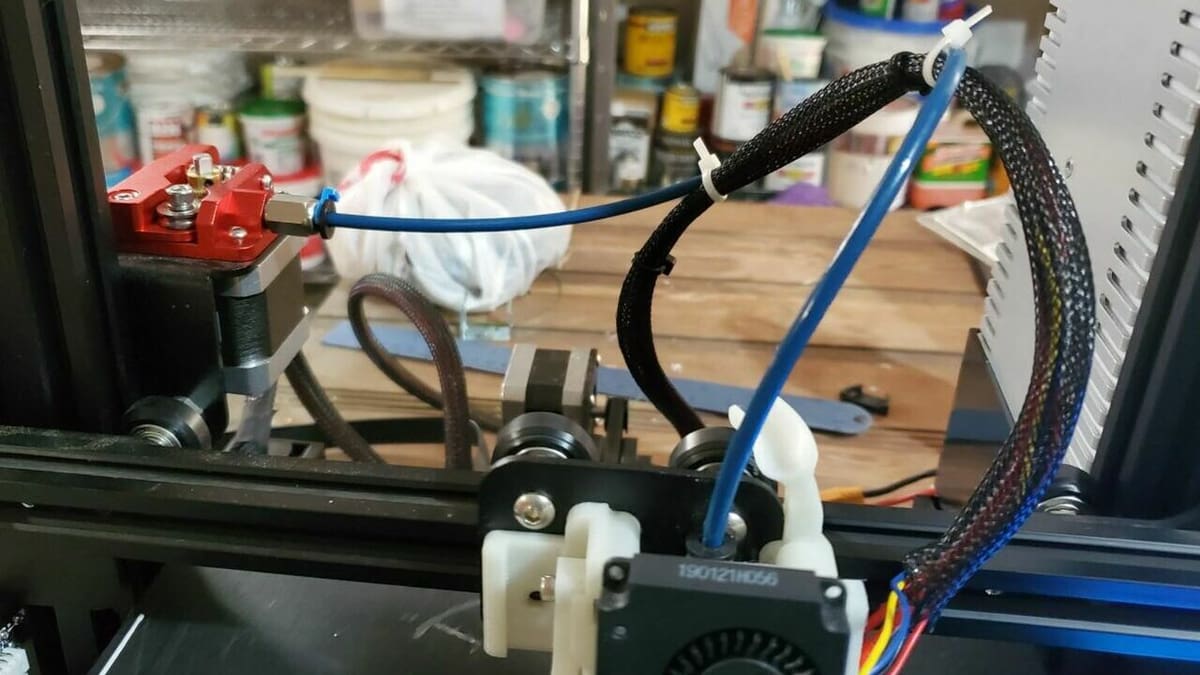
Cable Managers
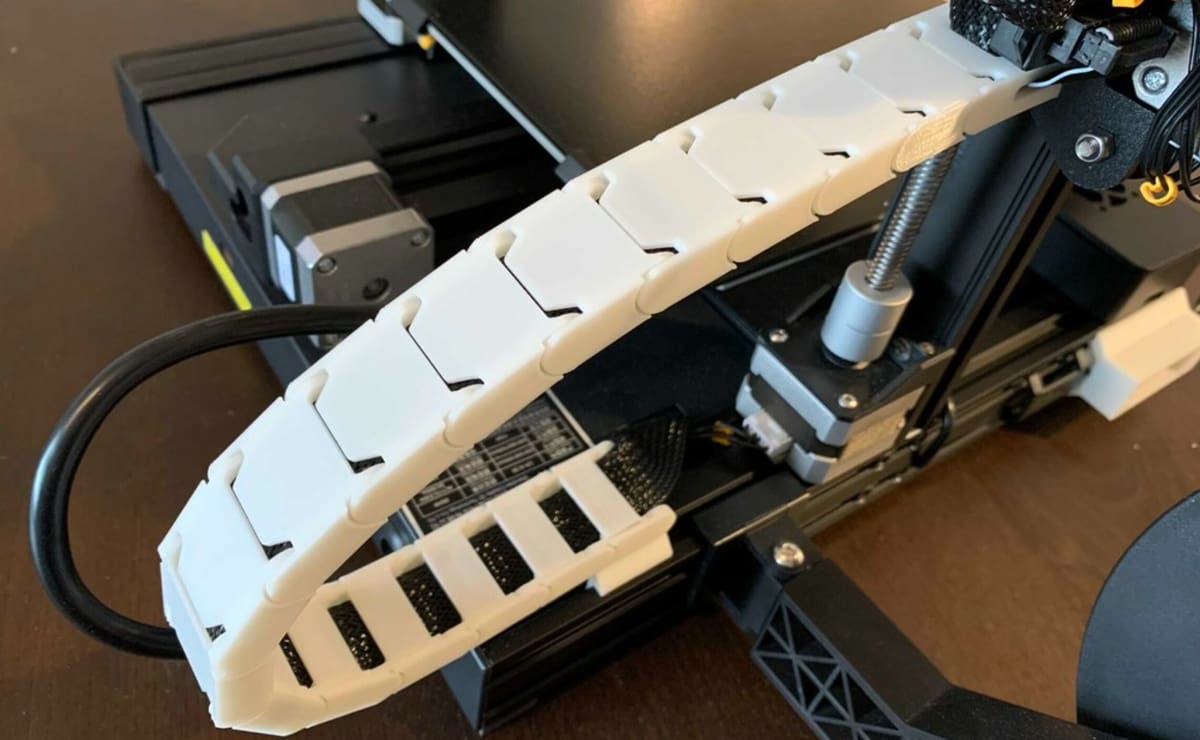
A common problem with any DIY machine like the CR-6 SE is cable management and the organization of wires. With moving parts, it’s important to keep wires tidy and out of the way! The CR-6 SE’s printhead is powered and connected to the mainboard via a ribbon cable, and it’s essential to ensure that it doesn’t get caught on anything, especially your prints.
This upgrade is an attachable 3D printed support that connects to the printhead, holding the ribbon cable up and out of the way. The design even has a feature that holds the PTFE tube in place. The designer also points out that the print won’t increase the area of the printhead, so no X-axis adjustments are necessary for installing this modification.
For additional cable management, you can also use cable chains. These are easily modulable because you can add and remove as many as you please. Cable chains protect and contain the wires in them, so they don’t get damaged by external forces (like the hot end), and they’re pretty easy to print. The designer of these listed that they used a 20% infill density with supports activated on the “EndLink” component.
- What it does: Keeps wires and cables out of they from the printer and protects both the printer and the wires
- Parts needed: 3D printed parts
- Approximate cost: $1-$3
- Where to find it:
- Support: kevfquinn via Cults
- Chains: Riddeen via Thingiverse
License: The text of "The Best Creality CR-6 SE Upgrades & Mods" by All3DP is licensed under a Creative Commons Attribution 4.0 International License.
CERTAIN CONTENT THAT APPEARS ON THIS SITE COMES FROM AMAZON. THIS CONTENT IS PROVIDED ‘AS IS’ AND IS SUBJECT TO CHANGE OR REMOVAL AT ANY TIME.