Ugly Prints Are Inevitable: Here is How to Learn From Them

This next part of our post-Christmas “new 3D printer” basics series looks at one inevitability of owning a 3D printer. You will, eventually, encounter duff looking prints that are not what you expect. It might not happen right away, but happen it will.
Fortunately, the longer you spend printing, the more you pick up on the quirks and “tells” of a print. Specifically *how* a print looks bad can give you plenty of clues about the why and what you should look at to fix it.
Here are a few common reasons why your prints may look a bit “meh” instead of the clean, uniform parts you expect, and the simple fixes for them.
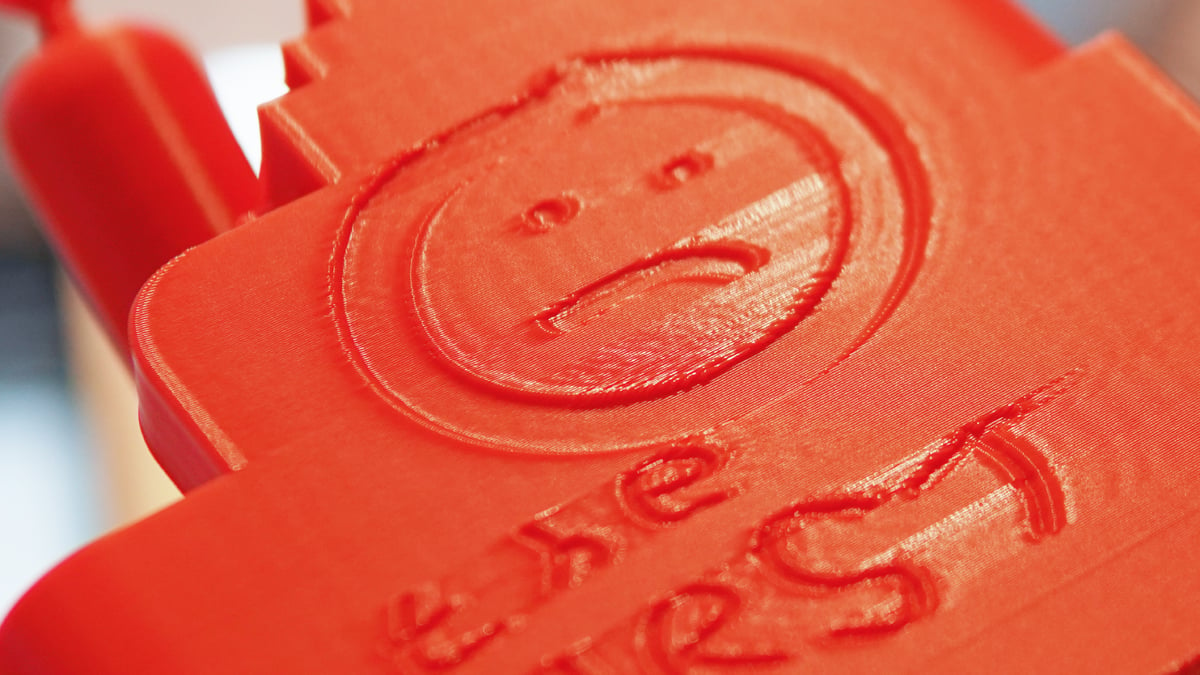
Wet filament
First things first: the tells for “wet” filament. If the mechanical movement of the printer is smooth but the print displays one of a range of things like the surface being covered in microscopic holes or random “zits,” is unexpectedly weak and splitting along the layers, or you can hear faint sounds of popping and hissing as the machine works, chances are the filament is moist.
Now when we say “wet” filament, it isn’t actually wet in the dunked-in-a-swimming-pool sense of the word. Filament is hygroscopic, meaning the plastic absorbs some of the ambient moisture from the atmosphere. Different filament types absorb moisture differently, and the effects are exacerbated in warmer, more humid locations.

As the filament prints, the heat from your printer’s hot end rapidly vaporizes this moisture, causing fissures in the plastic (which should be smooth and uniform). The effect can be pronounced and easy to see – a roughness that could be described as like sandpaper – or subtle, compromising the print’s strength and dulling the surface.
It’s widely reported that that filament can arrive wet from the factory, so don’t take the vacuum sealed package it comes in as sign that it’s in perfect printing condition out of the box. Fortunately, the fix is simple: dry it.
Assuming it’s PLA you are drying, place the spool on your printer’s heated bed at 45–50°C (no higher – or you run the risk of deforming the filament) for 4–6 hours. Cover the spool with a cardboard box to trap the heat. It’s rough, but works in a pinch.
Alternatively, consider investing in a filament dryer. Some can be used while you print the material, making them a handy active measure to keep your material in top shape. They’re also essential when you move on to other “high temp” materials that require hotter drying.
For a very quick (but 100% scientific) test to see if your PLA is wet, bend it. Note this is only really useful to non-filled PLAs (so not PLA-CF, for example). If it snaps like dry spaghetti, it is likely wet.
Infill Shows Through
Sometimes the outer walls of a print feel smooth to the touch, but you can faintly see the internal geometric pattern poking through the surface like a ribcage. You’re seeing the internal infill structure, used to provide prints with some rigidity, imprint on the walls.
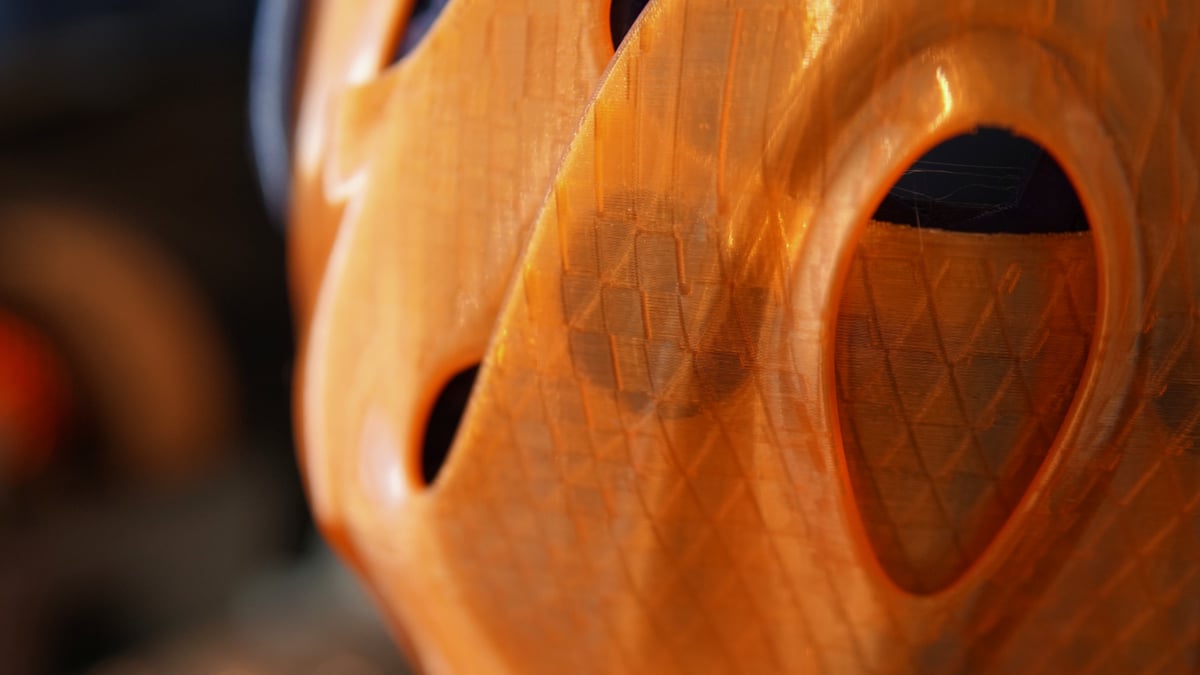
This is often a side effect of speed. When the nozzle lays down the solid outer wall, it overlaps slightly with the internal infill to have them stick together. Because the plastic is hot and being deposited rapidly, and cools rapidly, the outer wall can subtly shrink inwards and revealing the pattern.
There are a handful of ways to address this.
The first, and simplest, is to add another loop or two of wall. This setting in your slicer, often found in the print quality area. Normally set to two by default, increasing this to three or four will push back against this effect (as well as make your print stronger).
An alternate path to tackle this is to reconsider the infill you are using – how much of it, and the pattern used. Different infill patterns interface with the inner walls of the print differently. Some have a high contact area, like 3D Honeycomb, others, like concentric, have none. Patterns that repeat the contact with the wall on every layer result in solid stripes of material resisting the subtle shrinkage from cooling.
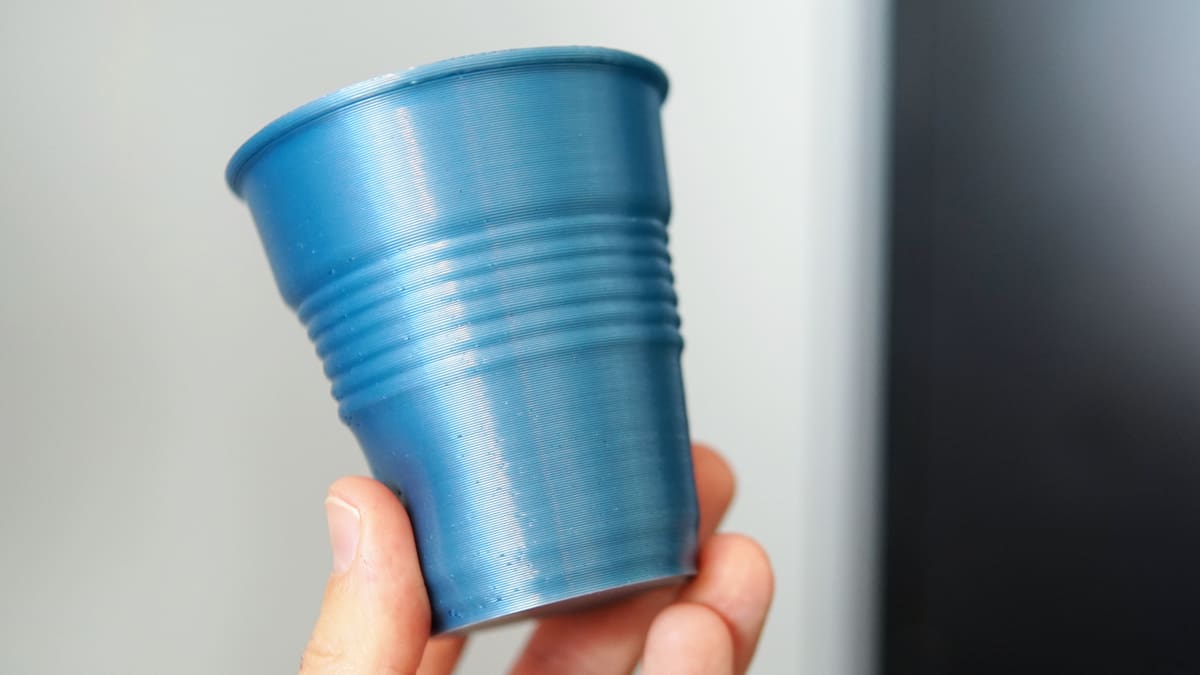
Alternating Texture
In this scenario, the print geometry is correct, but the finish features horizontal stripes that alternate between matte and glossy, and variations therein. It’s obviously the same filament, but it looks inconsistent. Glossy and silk-type filaments are notorious for this, with matte-effect filaments the best at hiding it.
This is a matter of flow dynamics, temperature and cooling. Filament generally “dries” glossy when printed hot (or slow) and matte when printed cold (or fast). For the sake of printability, modern slicers automatically throttle the printer’s speed to better deal with tricky of finer geometry like overhangs and small areas, accelerating for the straights. It does this to aid the proper cooling of the plastic. This constant gear-shifting results in the outer surface of the print cooling inconsistently, changing the sheen of the plastic layer by layer.
Paying attention to the print, you may notice these shifting bands of different finish in the plastic coincide with the “beginning” and “end” of changes in shape of the print – say, an internal ledge, or a section of the print with a steep overhang.
You can screen ahead for this issue in your slicer before you’ve even hit “print”. Once you’ve sliced the model, the slicer presents you with a clean looking preview. The look of this preview typically defaults to color coding by feature – you see a clean, perfect looking print because it’s only showing you one feature: the outer wall. Find the preview drop-down menu and change it to show “Speed” or “Volumetric Flow” instead. Now you have a better look at what your printer will actually do.
As for what you can actually do against it, one solid move is to the manually throttle the printer’s speed on outer layers yourself. From the preview, you can see the range it’s automatically setting for itself. Pick a speed that’s somewhere in the middle, and input that value as the “outer wall speed”. Now the printer will only go as fast as this value for the out wall, dramatically reducing the range you saw before.
Many other factors can affect print quality. Check out our deeper troubleshooting guide for a look at other issues and what you can do against them.
Read more recent news:
- Exploding Towers, Self-Storing Stools & Foldable Fans: Cool Things to 3D Print in July 2026
- Why Your 3D Print Isn’t Sticking (And the 5-Minute Fix)
- Just Unboxed a 3D Printer? The Honest Guide to Avoiding 'Hobby Burnout'
Tired of Reading? Try Listening
License: The text of "Ugly Prints Are Inevitable: Here is How to Learn From Them" by All3DP is licensed under a Creative Commons Attribution 4.0 International License.