The Best PrusaSlicer Ender 3 (V2/Pro/S1) Profile / Settings

You don't need a Prusa printer to enjoy PrusaSlicer. Learn how to find the best PrusaSlicer Ender 3 (V2/Pro/S1) profile for your needs!
The Ender 3, Pro, V2, and S1 are 3D printers known for their affordability and compatibility with other components. While most of these components are based in hardware, there are also a variety of software options that you can choose for the Ender 3 series of printers.
Software for 3D printers primarily refers to a slicer, a program that turns an STL file into G-code instructions for printing. PrusaSlicer is a slicer developed by Prusa Research, originally built from another slicer known as Slic3r.
PrusaSlicer is an excellent slicer option for the Ender 3 because it’s a free, open-source program that’s continuously improved. Many people also contribute to making and sharing great PrusaSlicer profiles for different printer models. You can check out the PrusaSlicer GitHub to find tried and tested custom slicer profiles.
In each section of this article, we’ll discuss the best slicer settings and profiles in PrusaSlicer for the Ender 3 series. At the end of every section, we’ll include the ideal settings for generic PLA, ABS, and PETG, where applicable.
Now, let’s dive in!
Getting Started
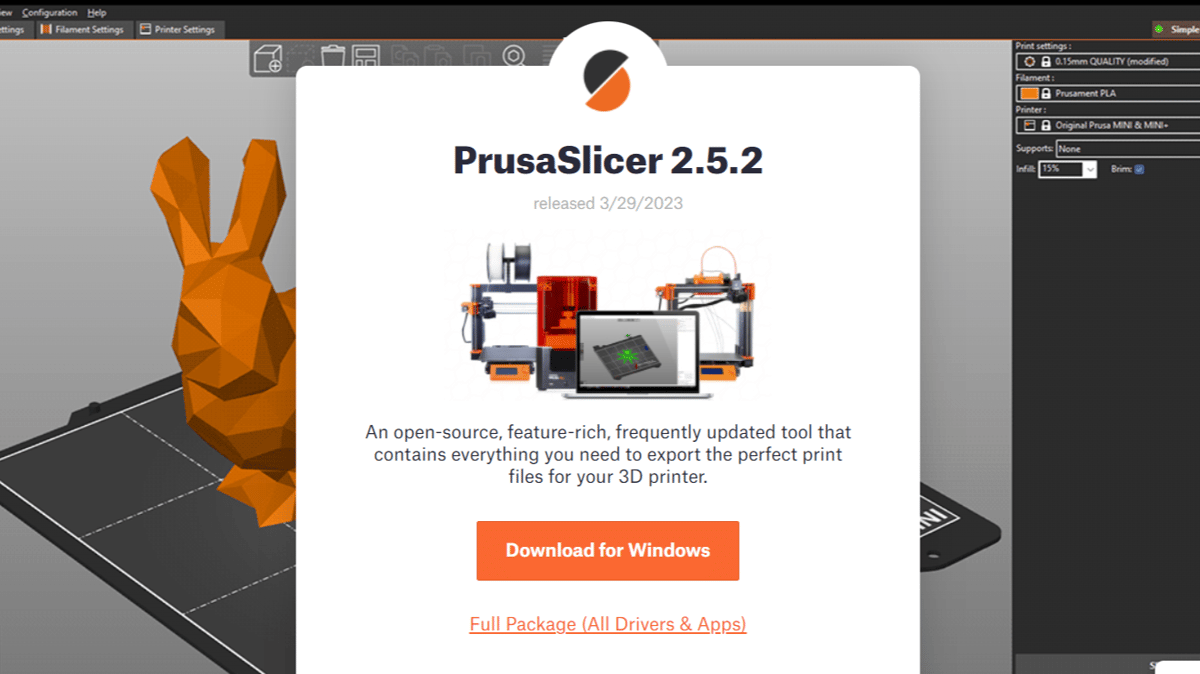
Before we get into the perfect profiles and settings for the Ender 3 printers, let’s start by setting up PrusaSlicer. If you don’t already have it installed, you can follow the instructions below to download it:
- Go to Prusa’s website and download the software that’s compatible with your device’s software. Prusa offers PrusaSlicer for Windows, Mac, and Linux.
- Open the installer file and install PrusaSlicer.
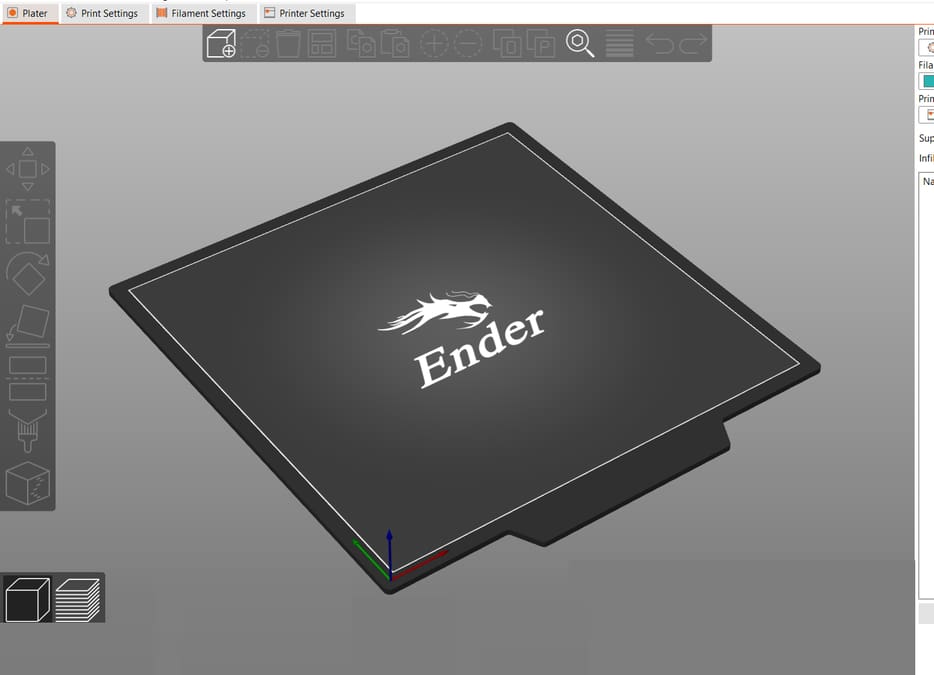
- Once installed, you can open the application, view and close the welcome page, and then skip through the various Prusa printers until you get to the section called “Other Vendors”.
- Select “Creality” and then click the Ender 3, Ender 3 Pro, Ender 3 V2, or Ender 3 S1, depending on which machine you have. For each printer profile, you can add different nozzle sizes.
- Tap “Finish” at the bottom.
Now you’ve properly installed PrusaSlicer for the Ender 3, you can change which filament you’re using by selecting the Filament Settings tab on the top bar. You can also choose from some pre-made Ender 3 profiles, including detail, normal, optimal, and draft.
Our PrusaSlicer overview goes over more about the slicer and how to navigate it. Be aware, you may have to adjust your level from Simple to Advanced or Expert to see some of the settings that we will be going over.
The Perfect Profiles
Before diving deeper into each of the specific settings, here are the perfect profiles for printing with PLA, ABS, and PETG on one of the Ender 3 printers. Note that since the Ender 3 S1 is a direct extrusion printer, it has different retraction settings than the other Ender 3 printers, which use a Bowden-style extruder.
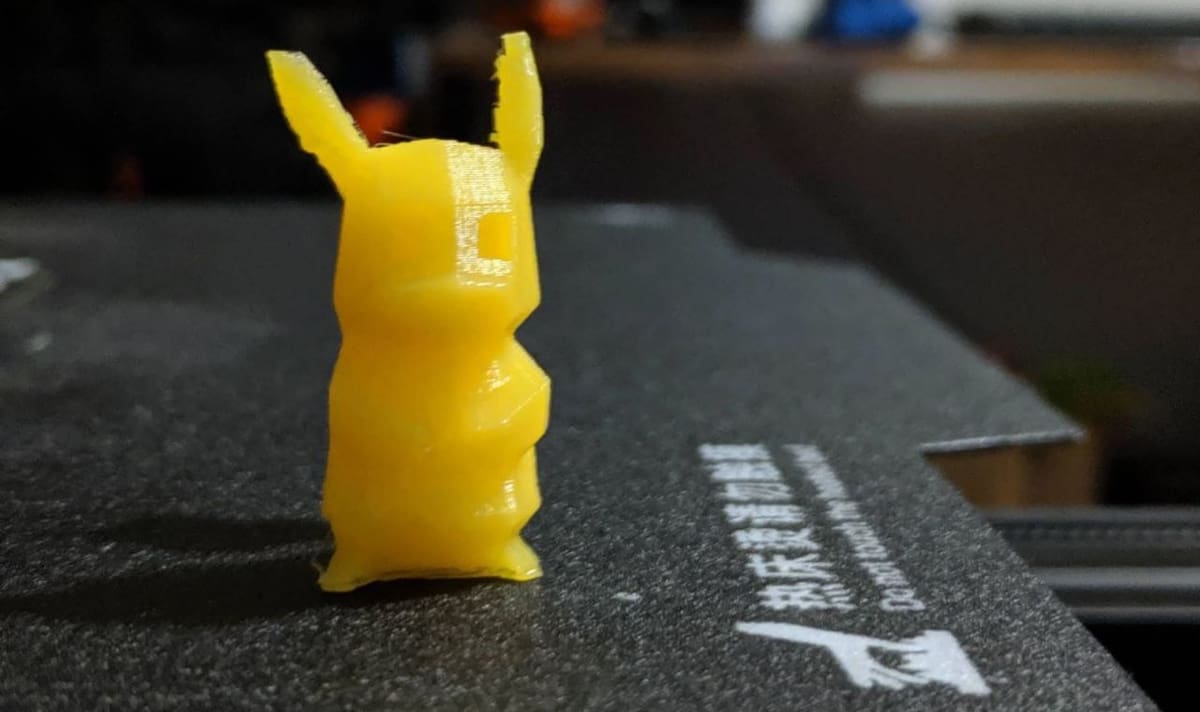
Keep in mind that while tweaking your slicer settings can bring your prints to the next level, it may not completely eliminate stringing and other issues. Some hardware or physical adjustments, like drying filament, may still be necessary.
PLA
- Nozzle & bed temperature: 210 °C; 60 °C
- Layer height: 0.2 mm
- Speed: 60 mm/s
- Retraction: 5 mm at 40 mm/s (V2, Pro); 0.8 mm at 45 mm/s (S1)
ABS
- Nozzle & bed temperature: 245 °C; 90 °C
- Layer height: 0.2 mm
- Speed: 40-60 mm/s
- Retraction: 5 mm at 45 mm/s (V2, Pro); 0.8 mm at 45 mm/s (S1)
PETG
- Nozzle & bed temperature: 240 °C; 70 °C
- Layer height: 0.2 mm
- Speed: 40-60 mm/s
- Retraction: 5 mm at 40 mm/s (V2, Pro); 0.9 mm at 40 mm/s (S1)
Temperature

Nozzle
Nozzle temperature is essential for achieving amazing 3D prints because it impacts all aspects of printing. A low nozzle temperature can lead to under-extrusion and nozzle jams, while an excessively high temperature can lead to over-extrusion, heat creep, oozing, and zits.
Generally, PLA should be printed with a nozzle temperature of 180-220 °C, depending on the filament material and manufacturer. ABS and PETG require slightly higher nozzle temperatures of 220-250 °C and 220-250 °C, respectively.
Bed
The Ender 3 is also equipped with a heated bed, and the bed temperature can affect how well a print sticks to the build platform.
PLA can be printed with a bed temperature of 20-60 °C, while ABS needs a higher bed temperature of around 110 °C. You should also make sure to print ABS in an enclosure to maintain surrounding heat. PETG should be printed with a bed temperature of 50-80 °C.
You can change the PrusaSlicer’s temperature settings in the “Filament Settings” tab under “Filament”. If these temperatures aren’t working, try printing a temperature tower to see how your printer does with other temperatures.
- PLA: 210 °C nozzle; 60 °C bed
- ABS: 245 °C nozzle; 90 °C bed
- PETG: 240 °C nozzle; 70 °C bed
Layer Height
Layer height is the distance the Z-axis moves up every layer. Generally speaking, smaller layer heights result in more detailed prints, while larger ones lead to stronger parts.
The Ender 3 series uses stepper motors, which can move in individual and divided steps. According to CHEP on YouTube, moving in Z-steps of 0.04 mm can result in better prints on the Ender 3. As such, make sure to use a layer height divisible by this number.
A layer height of 0.2 mm will provide a good mix of strength and detail while still being divisible by 0.04 mm. If you want more detailed parts, we recommend using a 0.16-mm layer height. If you wish to attain even stronger parts, try using a 0.24-mm layer height.
Layer height can usually be kept the same regardless of the material.
- Detailed: 0.16 mm
- Medium: 0.2 mm
- Strong: 0.24 mm
Speed
Speed is a vital slicer setting because it can make or break your prints. Print speed determines how fast your printhead moves while actually printing (i.e. pushing filament). Printing too quickly can cause under-extrusion and messy prints, while an excessively slow speed can cause the hot end to clog, sometimes called heat creep.
While some people have pushed the limits of the Ender 3s’ print speed up to around 200 mm/s, a safer bet for most Ender 3 users is 60 mm/s for PLA. This setting is usually slightly slower for ABS and PETG, ranging from 40-60 mm/s.
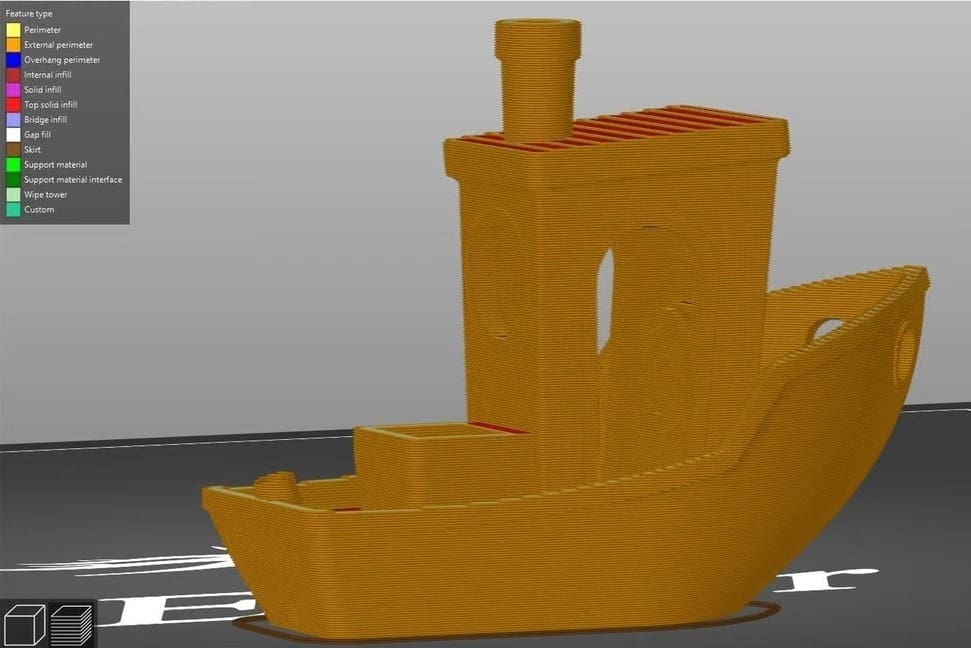
PrusaSlicer is different from many other slicers because it allows you to adjust the speed settings for printing individual elements of a part (e.g. perimeters, infill, bridges). For this reason, we suggest using 50-60 mm/s for the perimeters, infill, solid infill, top solid infill, support material, and gap fill. These settings should have similar speeds, but some print aspects turn out better when printed slower than other features.
As for the print speed of the other elements, you can keep them as default since they don’t matter as much. However, you should print the first layer with a speed of 20 mm/s to make sure you have good bed adhesion.
Travel speed is also a critical slicer setting and determines how fast your printer moves during non-printing moves. We recommend using a travel speed of 130 mm/s for the Ender 3s on PrusaSlicer.
You can find the speed settings in the Print Settings tab under the Speed section.
- PLA print speed: 60 mm/s
- ABS print speed: 40-60 mm/s
- PETG print speed: 40-60 mm/s
- First-layer speed: 20 mm/s
- Travel speed: 130 mm/s
Retraction

Retraction is necessary for 3D printing parts to prevent stringing and other issues. Retraction is the process of pulling back filament when the printhead isn’t printing to avoid the excess filament in the hot end from oozing out.
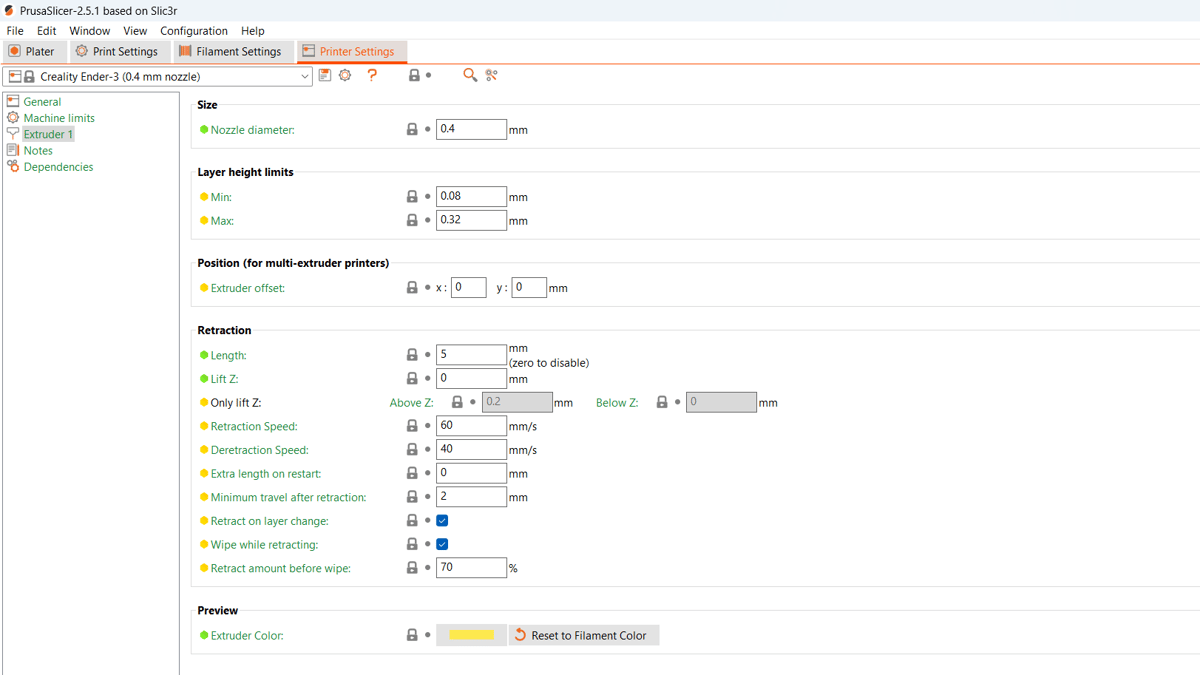
Retraction can be controlled by retraction distance and retraction speed. For the Ender 3, V2, and Pro printers, we recommend setting your retraction distance to 5 mm for PLA, ABS, and PETG. For PLA and PETG, it would be best to use a retraction speed of 40 mm/s and 45 mm/s for ABS.
Retraction settings will differ slightly for the Ender 3 S1, as it has a direct extruder and therefore requires lower retraction settings to achieve minimal stringing. The other Ender 3 printers all use a Bowden-style extruder. We recommend setting your retraction distance to 0.8 mm for PLA and ABS, and 0.9 mm for PETG. For PLA and ABS, the best speed is 45 mm/s, while PETG should be at 40 mm/s.
Retraction distance can vary a lot among individual printers, and even between the Ender 3 machines, depending on which upgrades they have. If this setting is too high, causing jams, or is too low and stringing occurs, adjust it in increments of 1 mm and 5 mm/s.
You can change retraction settings in the Printer Settings tab under “Extruder 1”.
- PLA: 5 mm at 40 mm/s (V2, Pro); 0.8 mm at 45 mm/s (S1)
- ABS: 5 mm at 45 mm/s (V2, Pro); 0.8 mm at 45 mm/s (S1)
- PETG: 5 mm at 40 mm/s (V2, Pro); 0.9 mm at 40 mm/s (S1)
Infill
Infill settings change the density of the part, which directly affects its strength as well as how long it takes to print. More robust infill settings usually increase print time, while weaker ones decrease it. Infill settings primarily consist of the infill percentage as well as the infill pattern.
The infill percentage determines how dense a part’s infill is. As such, a 100% infill is completely solid, while a 0% infill is hollow. We suggest using an infill of about 25% for printing most parts on the Ender 3s.
If you want to print functional parts, consider using an infill percentage of 40-60%. If cost is a concern and strength and functionality aren’t, you should use a smaller percentage of about 10%.
There are a variety of infill pattern options in PrusaSlicer, such as grid, triangles, gyroid, star, cubic, honeycomb, and more. Prusa recommends using a gyroid pattern for most parts because they claim it’s a fantastic all-around choice for strength, speed, and weight.
We suggest using the lines or zig-zag infill pattern for models and parts that don’t need to be strong. A tier above the lines pattern, the grid option is a great infill pattern for “standard” prints if you don’t want to use a gyroid pattern. For strong parts, consider using a cubic infill pattern.
You can change infill settings in the Print Settings tab under “Infill.” These settings aren’t material specific.
- Infill percentage: 25%
- Infill pattern for most parts: Gyroid, grid
- Infill pattern for weak parts: Lines, zig-zag
- Infill pattern for strong parts: Cubic
Shells
As we now know, infill is the inside of a printed part, and thus we refer to the exterior of a part as its shell. Shells can be a vital setting for getting strong parts, as each shell is an additional “outline” added to a model.
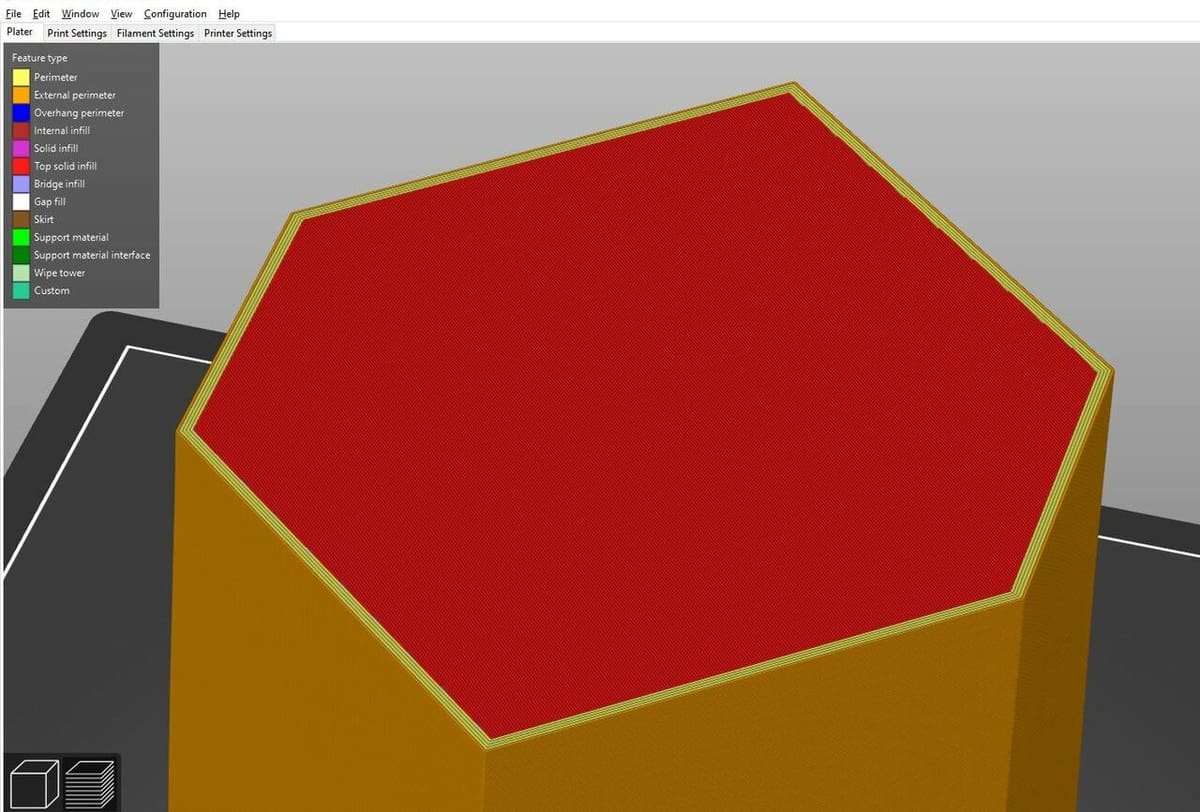
As you might have guessed, the more shells you have, the longer a print takes to print and the stronger the part is. PrusaSlicer divides shells into horizontal shells and vertical shells. Within horizontal shells, you can adjust the number of top and bottom shells.
Ideally, you want the same number of vertical (called perimeters in PrusaSlicer), top, and bottom shells. This makes your part’s exterior equally as strong all around.
With this in mind, we recommend setting your vertical, top, and bottom shells to three. If you need a really strong print, raise this number, and if you need a quicker print, lower it.
You can adjust the number of shells in the “Print Settings” tab under “Layers and perimeters.” This setting isn’t material specific.
- Vertical shells: 3
- Top shells: 3
- Bottom shells: 3
Skirt, Brim, & Raft
Using a skirt, brim, or raft is an easy way to increase the likelihood that your first layer is successful. A brim or raft can also improve bed adhesion for parts, especially ones printed in ABS, where warping is a significant issue.
A skirt is simply an external perimeter that goes around your print without touching it. This feature is great for priming your hot end before it starts printing your part, so your first layer comes out nicely. Printing with a skirt is a default setting for PrusaSlicer.
On the other hand, a brim is a few perimeters that make contact with your print. A brim primes your hot end and also attempts to keep your part from warping. In PrusaSlicer, you can adjust the width of the brim.
Lastly, a raft is essentially a raised brim that your print sticks to rather than the build plate. A raft offers the best bed adhesion because it’s made right under the print, so the print isn’t directly touching the bed. Rafts take a considerable amount of material to activate, so make sure only to use them when necessary and adjust the number of raft layers in PrusaSlicer accordingly.
If you want to save filament and reduce printing time, you can use a skirt, regardless of the material. If you’re printing with ABS, we highly recommend using a brim (5-mm width) or a raft (three layers).
You can change skirt and brim settings in the “Print settings” tab under “Skirt and brim.” The raft option and settings can be found in the same tab under “Support material”.
- Brim width: 5 mm
- Raft layers: 3
License: The text of "The Best PrusaSlicer Ender 3 (V2/Pro/S1) Profile / Settings" by All3DP is licensed under a Creative Commons Attribution 4.0 International License.