3D Printing Spheres: How to Do It

3D printing spheres or spherical objects can be a challenge. Read on for a few tips to improve print quality for 3D printed spheres!
Fused deposition modeling (FDM) 3D printers function by moving a nozzle across the X-, Y-, and Z-axes to extrude filament in specific locations and gradually create a part in layers. While FDM printing can be very advantageous in some regards, including its accessibility for beginners, the layer-by-layer process has its limitations.
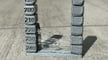
One noticeable disadvantage to FDM 3D printers is that they can yield “stair-stepping” on curves that cross the Z-axis. Other aspects of the printing process can also limit print quality, such as a Z seam, inconsistent extrusion, and more.
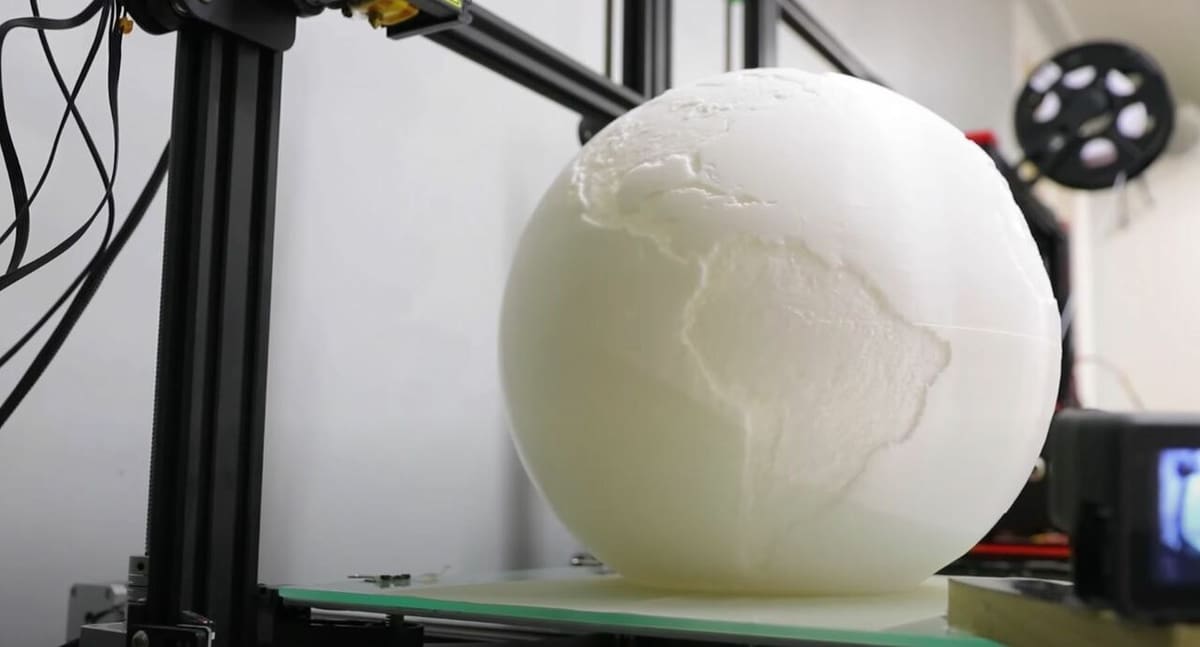
In particular, spheres are one of the hardest geometric shapes to 3D print because they’re more subject to stair-stepping lines, require supports if printed whole, and the smooth, curved surface means there’s nowhere to hide from other print defects. They can result in a rougher surface finish than usual, and if it’s a display piece, like a spherical model of the moon, this is unlikely to be what you’re aiming for.
Printing a sphere in layers is never going to be perfect, but there are a few ways to minimize defects and get as clean a finish as possible. In this article, we’ll be going over some tips for 3D printing spheres.

Designing
The first step to printing a sphere is to design it right, and there are really two ways to go about it: split it into two or keep it as a single body. Splitting a spherical shape into hemispheres will make it much easier to print and eliminate the need for supports, but will add to the post-processing time when you need to glue it back together. (If your model is very small, it might not be necessary to split it, as long as it adheres to the bed.)
If your spherical shape is part of a larger design, consider designing the part to be printed separately and reattached later, allowing you to give the sphere the attention it needs for success. Alternatively, you can leave the spherical shape in your model, but think carefully about orientation when it comes time to slice it.
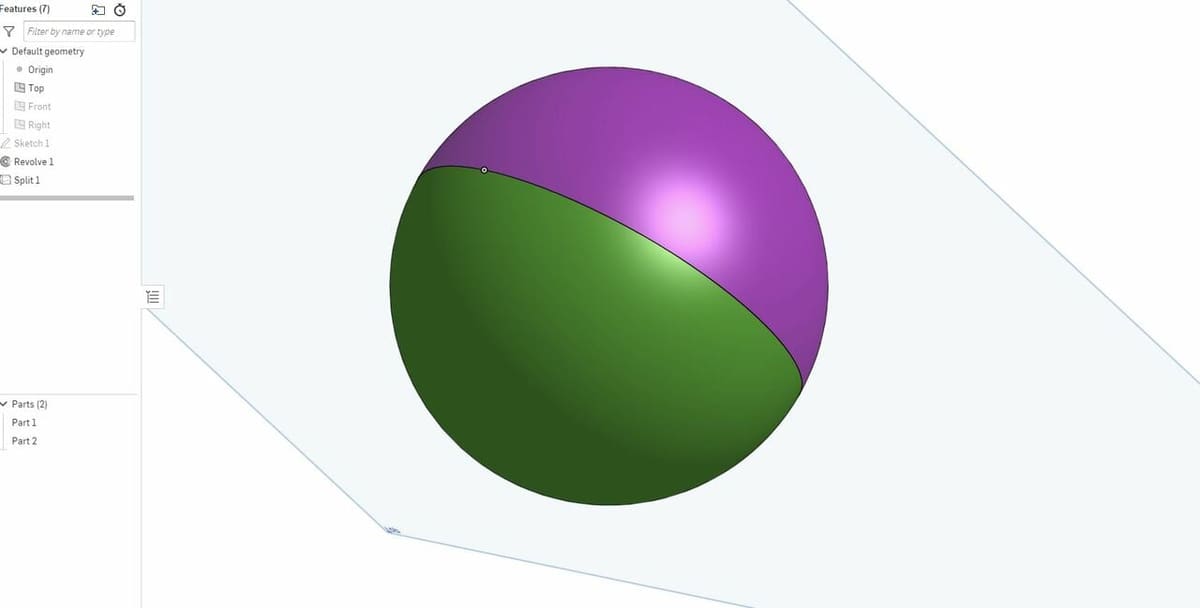
Splitting your spherical object into two pieces is straightforward. First, open up your favorite 3D design program and find the center point of the spherical object. Then, use a splitting tool (plane or 2D sketch) to split the model into two parts. Finally, export each part individually to be printed separately. It’s better to print the hemispheres one at a time to avoid retraction problems as the nozzle moves between each piece.
If you’re leaving the spherical shape as one body, no special design preparation is needed. Just export the model as usual, but know that you’ll have to deal with the overhangs at the bottom of the sphere in your slicer. On this note, let’s move on to the slicer settings!
Slicing
Slicing your model is the next vital step in printing spheres, although tuning in your slicer settings is key to any successful print. A better, smoother print right off the print bed will mean less sanding and post-processing later.
Layer Height
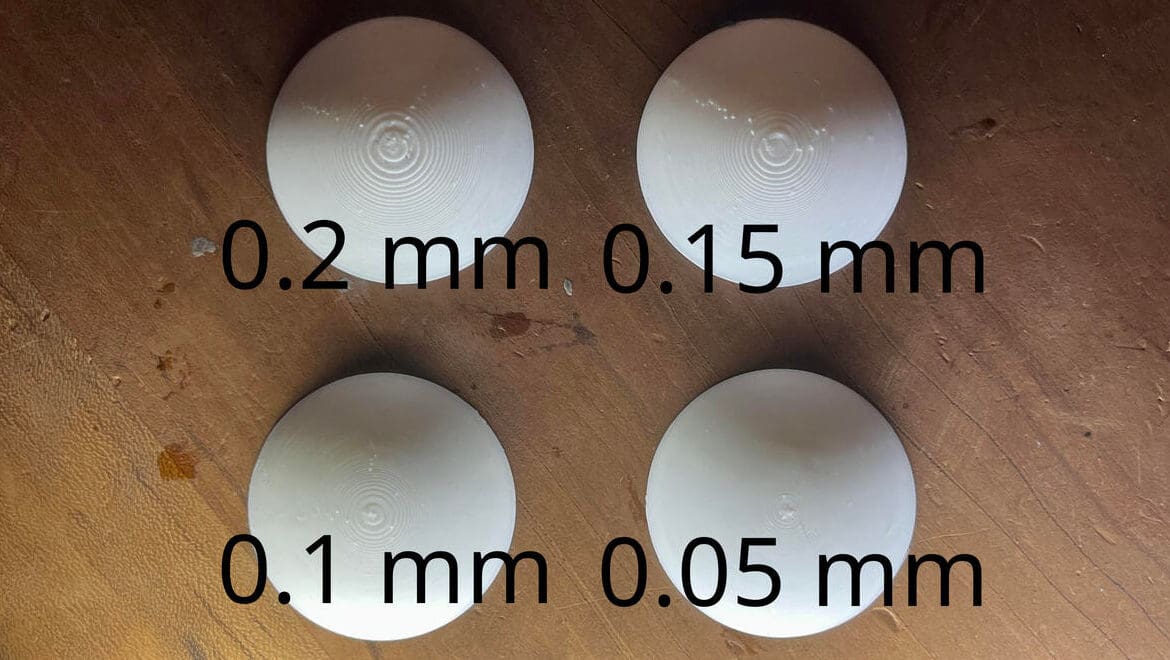
One very generic yet helpful setting to print smoother-looking spheres is to use a smaller layer height. Simply put, a higher resolution means less-apparent stair-stepping, as more layers are used to build the curve. While this will increase print time due to the additional layers required to reach the same height, the smoother surface from such a simple settings tweak will be worth it!
Finer details and fast printing speeds can also be achieved with features like Cura’s Adaptive Layer Height; this setting is also available in other slicers, although maybe with a different name. Simply put, this feature changes the layer height variably throughout the sliced model so that parts with less detail will print with thicker, faster layers, while parts with fine detail will have thinner layers. This is especially useful for spheres as it will smoothly transition between layer heights, leading to a natural, more rounded look with less stair stepping.

Supports
A key part of printing a sphere is the supports. Theoretically, a perfect sphere only touches the build plate at one point, so your print could roll away without extra structures to keep it in place! 3D printers can’t print in mid-air, so the widening base of a sphere needs support structures for the sphere to be printed onto. If you’ve split the model in half, you avoid this need, as each hemisphere can be printed on its flat base.
Supports can leave marks or a rough surface when the supporting material is removed. To minimize the impact on the surface of your sphere, try increasing the distance between the support material and the overhang. (The relevant settings in Cura are “Support Z Distance” and “Support X/Y Distance”.) Another idea that one user suggested is to use a skin layer between the support material and the overhang.
Using a raft or brim might also be a good idea to further provide bed adhesion for your spherical part. Rafts and brims surround the support structures and the area of the sphere that touches the build plate to keep them grounded to the bed. This is important because without a brim or raft, the support structures might fall over mid-print!
Infill & Shells
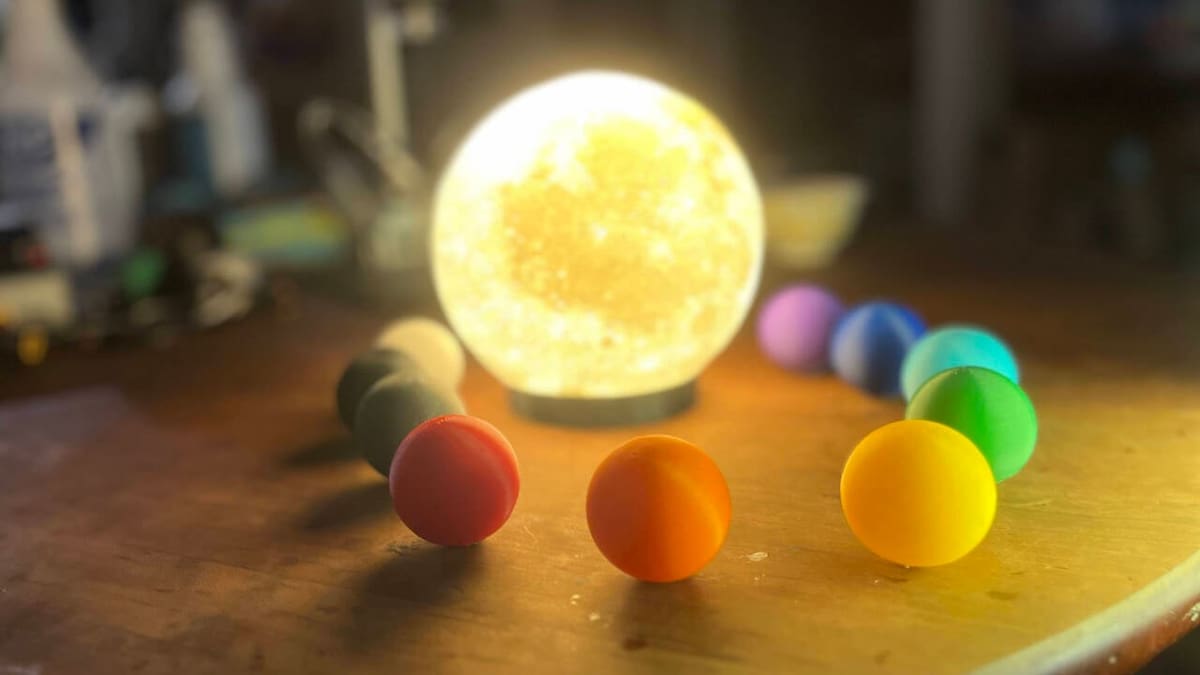
Infill and shells are the bulk of your print as they account for the inner filling and external surface (top and bottom layers and walls) respectively. The infill and number of shells are less important for the surface appearance of a sphere, but should be set according to the purpose of the part. For example, these settings can affect how light travels through an object, which is helpful if you’re printing something like a moon lamp.
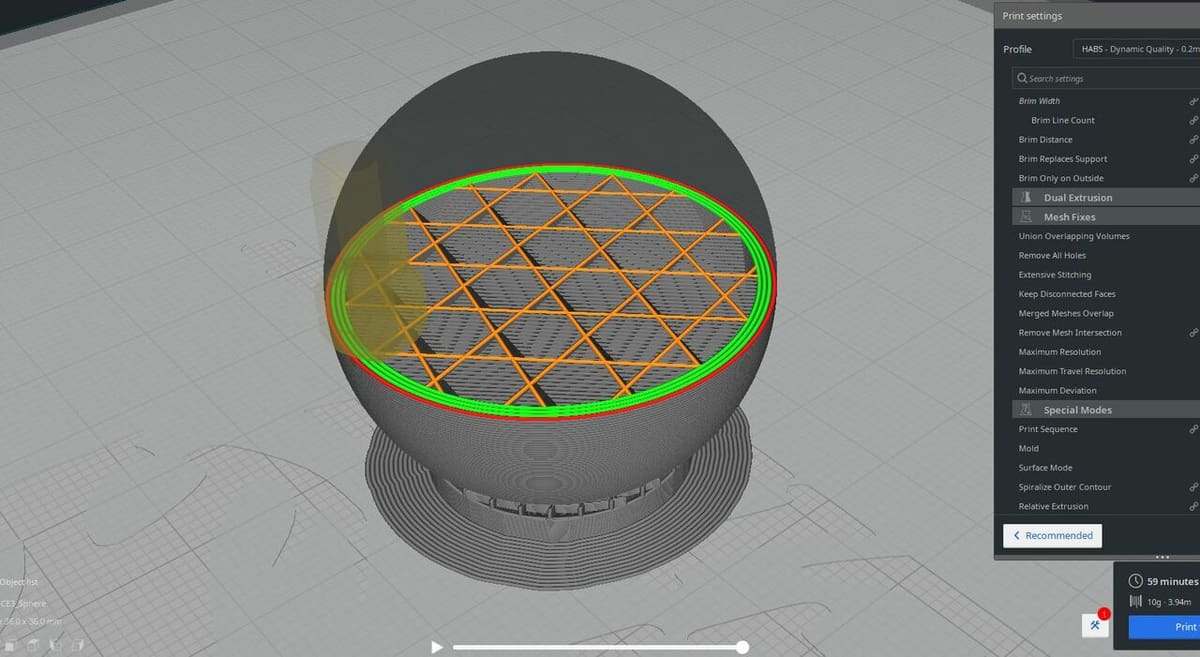
For infill, unless the part needs the strength of the internal structures, you can use a lower-than-usual infill density. This will avoid any risk of the infill pattern bleeding through the wall. A lower infill density also means less printing time.
If you want a certain level of transparency, try using a lower number of shells (around two). That said, consider that too few shells along with very low infill can result in sagging where the voids of the infill meet the shells. To prevent this, consider using three or more shells when the infill density is around 10% or lower. And if you’re after a solid-looking surface and a sturdier part, bump up the number of shells.
For spheres, regardless of their purpose, always keep the number of wall layers the same as the number of top and bottom layers. That’s because if one number is larger than the other, then the sphere won’t be evenly weighted.
Other Slicer Recommendations
If your spherical part isn’t a plain sphere, you’ll also need to think about part orientation. If you’re not able to split the part in two, there will be significant support needed on the lower half, so keep in mind that any detail could be damaged by support removal. If your sphere is part of a larger model, try positioning the model to minimize the support required on the sphere itself.
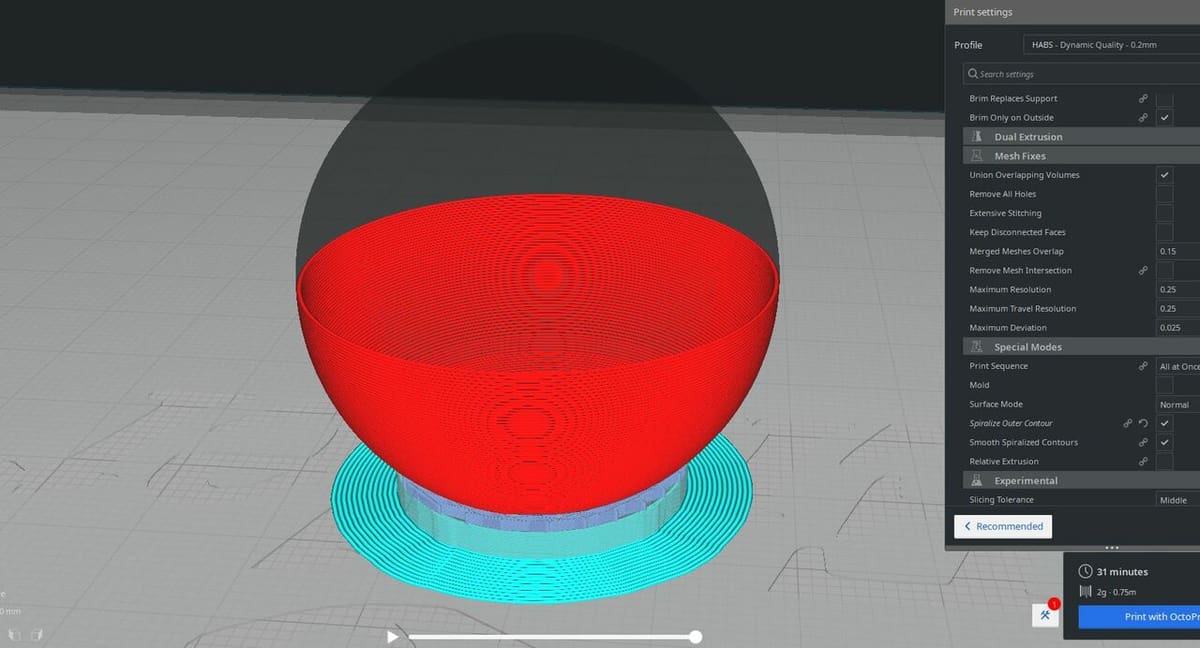
Our last slicer setting recommendation is using vase or spiral mode, as long as your spherical object doesn’t need to be strong. Vase mode prints just the perimeter of an object in a spiral formation, making it ideal for cylinders and other round shapes that are intended to be hollow. This will reduce material consumption and printing time, allowing light to pass through (as there’s no infill). Just make sure you don’t forget to activate supports, or else the print might fail.
Printing
There’s not much to discuss when it comes to the actual printing of your spherical object, but before starting the print, check up on the regular maintenance of your printer. This means seeing that your belts, nozzle, bed, and more are all working properly.
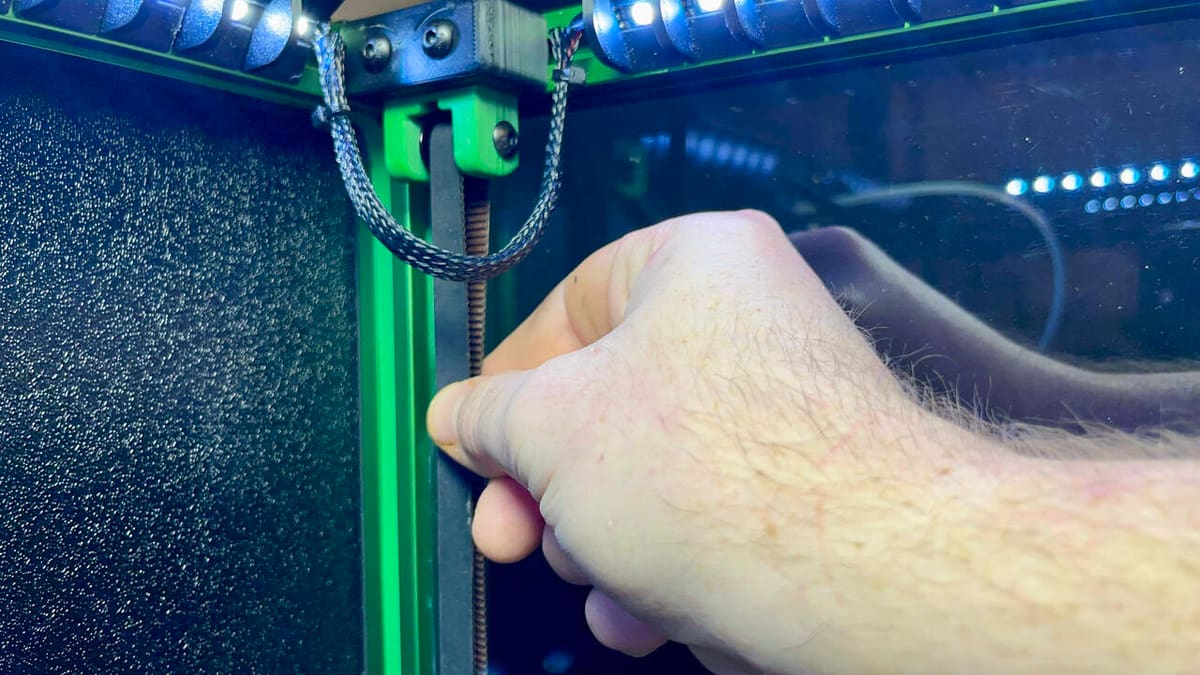
To ensure that your spherical shape doesn’t turn into more of an egg, make sure to tighten your belts on the X- and Y-axes. Loose belts can give your printhead or bed more slack to shift, so a perfect circle starts to look a bit oval.
Don’t forget to make sure your nozzle is clear and clean, as a partially (or completely) clogged nozzle can cause inconsistent extrusion and make the surface quality look worse. And as with any print, remember to level your bed before you start printing, so the first layer comes down nice and even.
Finally, consider printing your spherical object in a material like ABS. While other materials like PLA should print with a similar rate of success, ABS has an easy option for layer smoothing, so the final result might be more impressive. If you have a dual extrusion printer, try printing any support material in a dissolvable material like PVA, as this will avoid and surface damage from support removal.
Post-Processing
Lastly, to post-process your sphere, you should try to smooth the visible layer lines. Luckily, there are many post-processing techniques, depending on your print, material, equipment, and level of experience. A few good options for spheres include sanding, using a solvent, polishing, and coating.
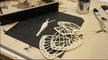
The first step you should take is removing any support material from your print. Carefully use a utility knife to get off any last scraps of supports stuck to the model. If you printed your model in two pieces, you might not have supports to remove, but use a bonding agent like super glue or a 3D pen to bind the hemispheres together. Be as perfect as you can when aligning the halves for an even transition.
Next, sand your model with sandpaper starting from a low grit (rougher) to a high grit (finer). If you bonded two semi-spherical parts, make sure to smooth out the transition between them and sand all areas of the sphere evenly for the best surface finish.

You can add a smooth and shiny finish to your model using a solvent, like acetone if you printed your model in ABS. A solvent works by slightly melting the surface to blend the layers and remove visible lines. If you’ve printed your part in PLA, you can use an epoxy coating, like XTC-3D, to smooth and finish your object.
Finally, you can polish, paint, or coat your model to give it its final touches. Painting your sphere can cover up any last defects on the object, add or emphasize details, or switch the color. For a glossy shine, try using a rotary tool like a Dremel to spin a polishing substance at high speeds, or polishing by hand also works.
And that’s how to print a spherical object that’ll look great anywhere!
License: The text of "3D Printing Spheres: How to Do It" by All3DP is licensed under a Creative Commons Attribution 4.0 International License.