Ultimaker Cura Software

Advertisement

Most popular

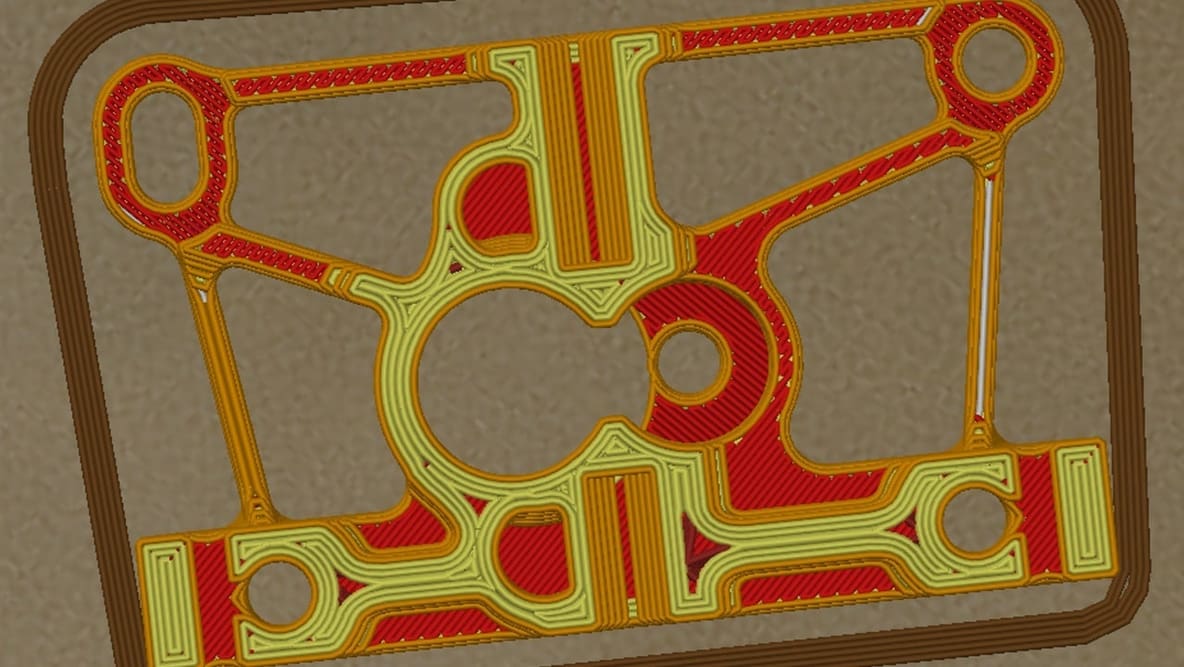
Featured image of 3D Printing Infill: The Basics for Perfect Results
It's All in the Filling
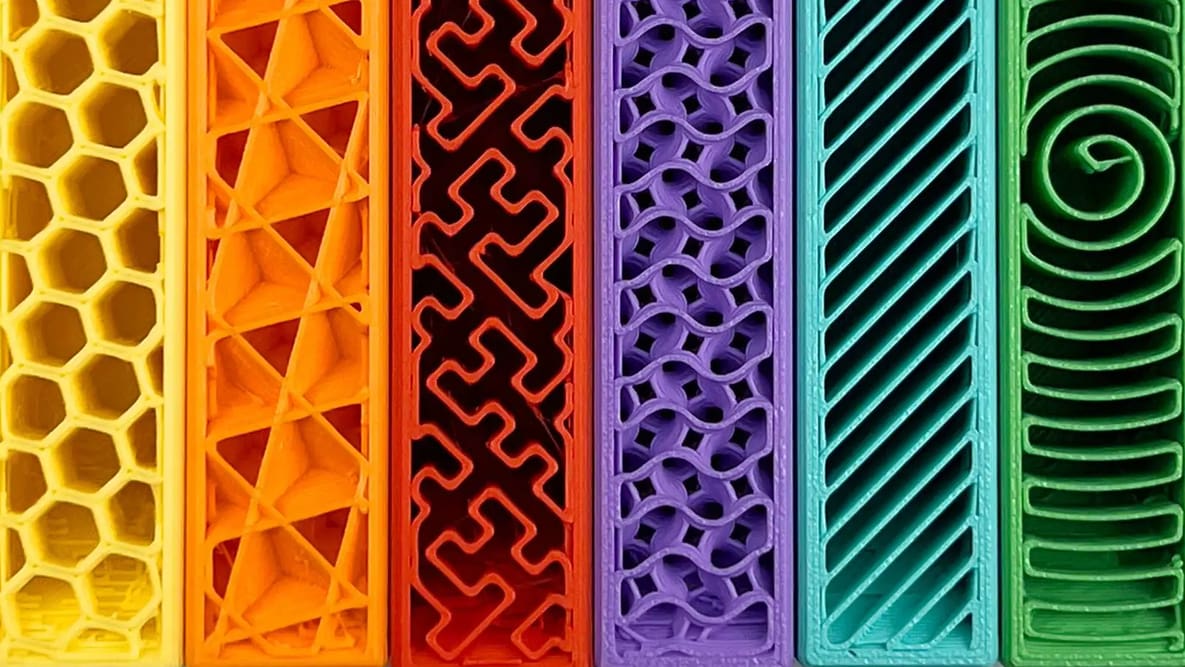
3D Printing Infill: The Basics for Perfect Results

In 3D printing, infill plays an important role in a part's strength, structure, and weight. Read on to learn more about it.

Featured image of Best Ender 3 (V2/Pro) Cura Profile / Settings
Cure Your Ender 3
Best Ender 3 (V2/Pro) Cura Profile / Settings

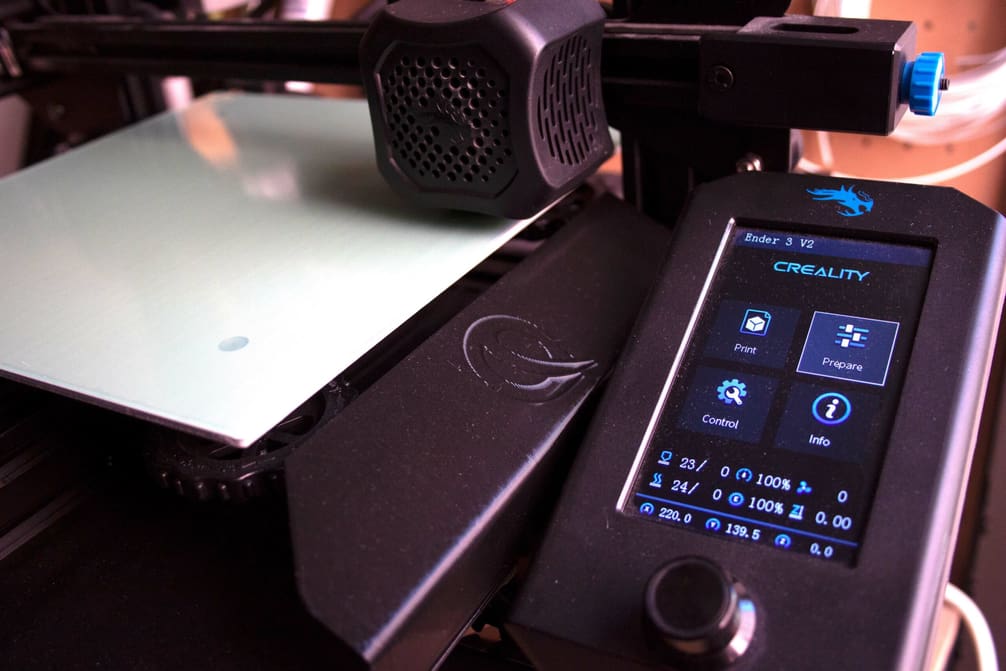
Let us help you with Ender 3 Cura settings! Enjoy perfect prints with the best Ender 3 (V2/Pro) Cura profile for your needs.
by Niall Mobsby
Featured image of The Cura PETG Settings/Profile for Perfect Print
Curing the PETG Blues
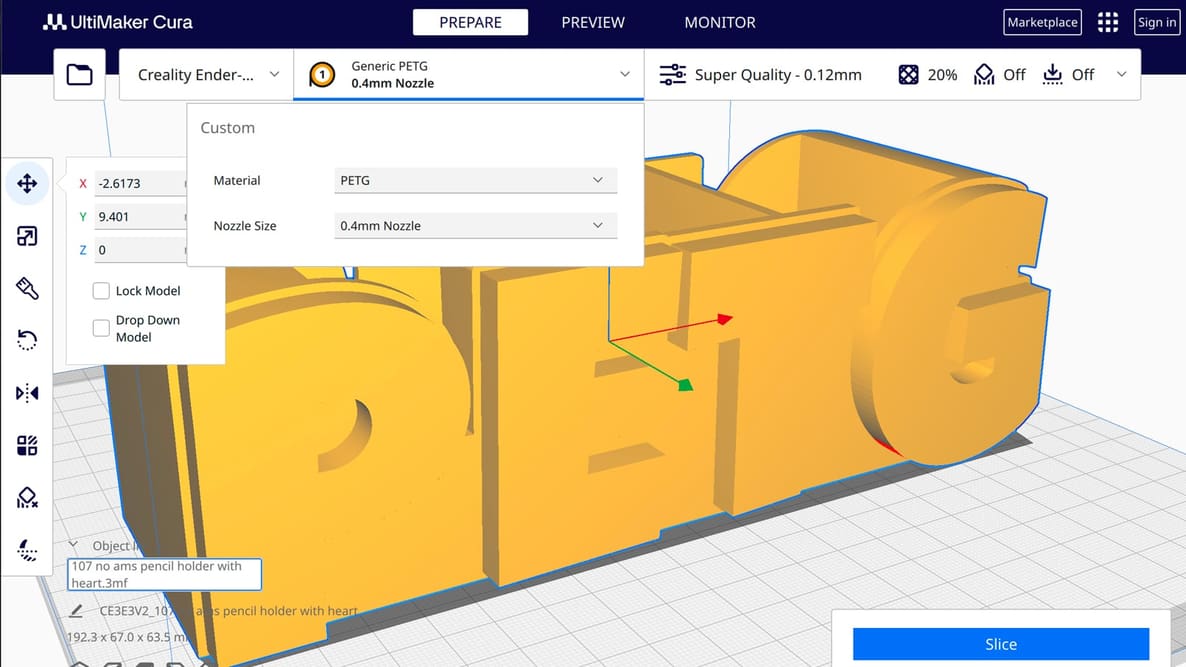
The Cura PETG Settings/Profile for Perfect Print

PETG is a durable, non-toxic filament that can be difficult to print. Learn how to find the Cura PETG settings/profile for your needs!

by Jackson O'Connell
Featured image of Why You Should Print a Temperature Tower & How-To in Bambu Studio, Prusa Slicer & OrcaSlicer
How Hot Is Too Hot?
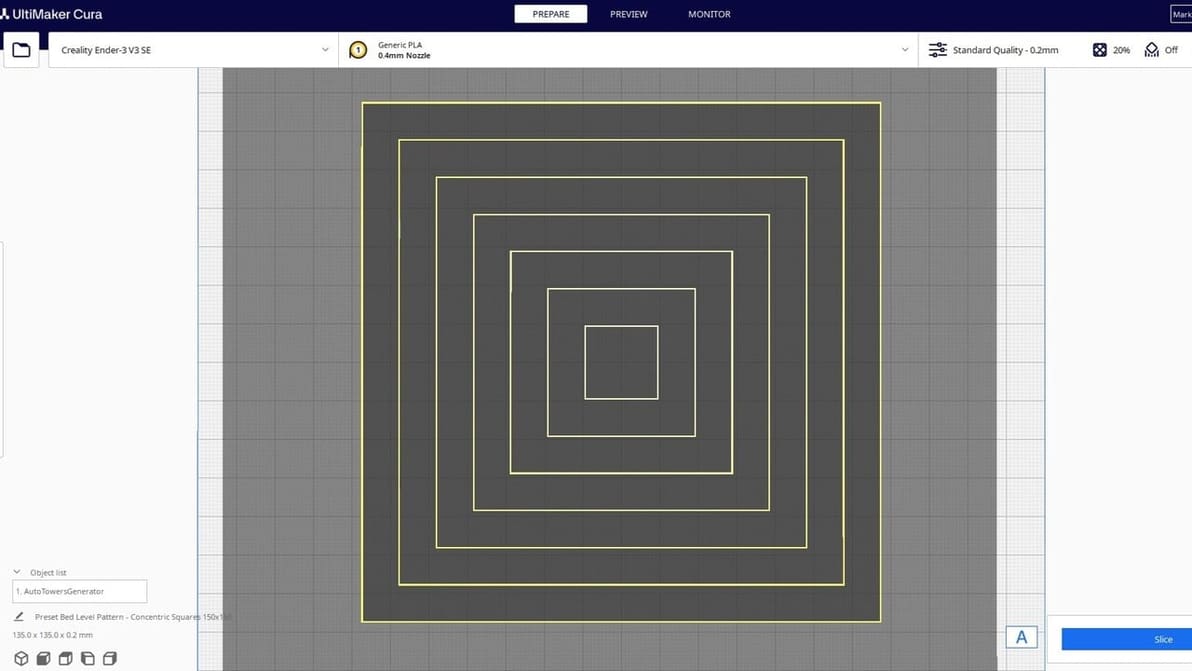
Why You Should Print a Temperature Tower & How-To in Bambu Studio, Prusa Slicer & OrcaSlicer

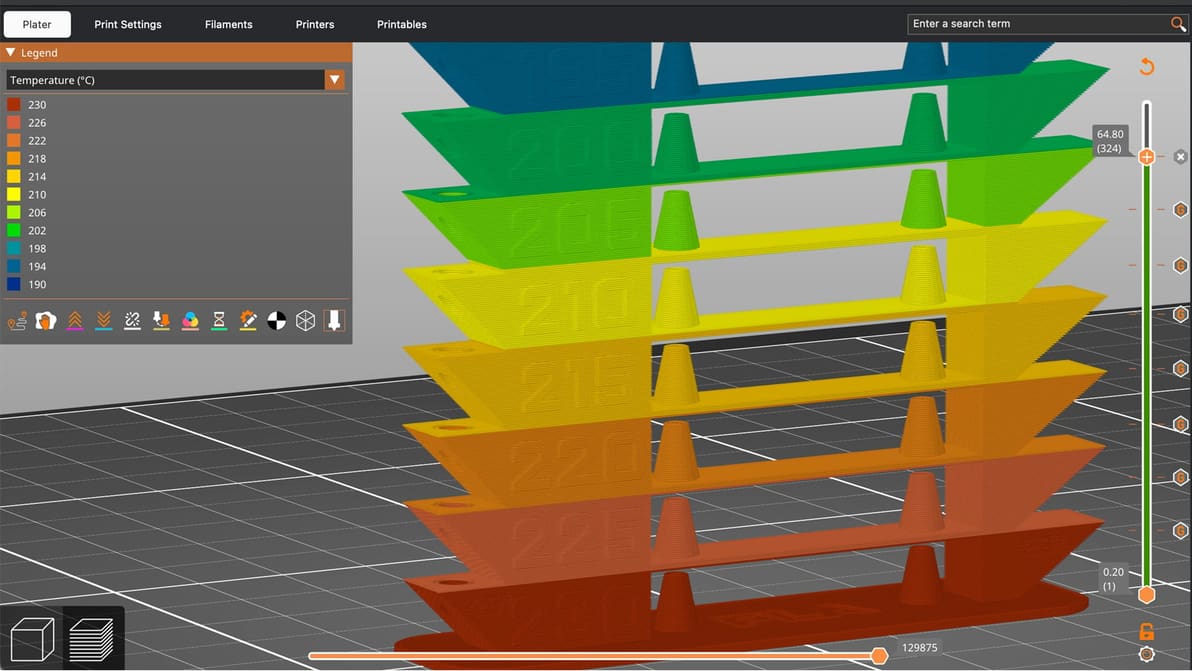
A temperature tower is quick, cheap, and useful. With one small print, you can learn a lot about how your filament behaves and dial in cleaner, stronger, more reliable 3D prints.

by Lewis Horton
Featured image of Cura Guide to the Best Infill Patterns
Infillin' Like a Villain
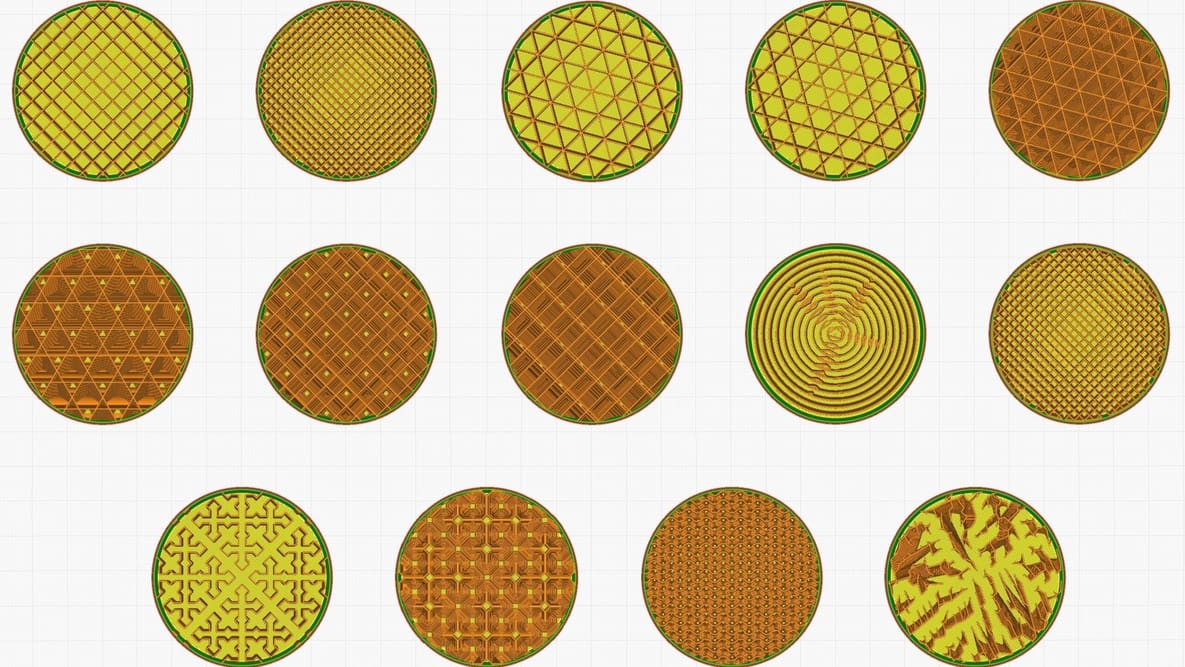
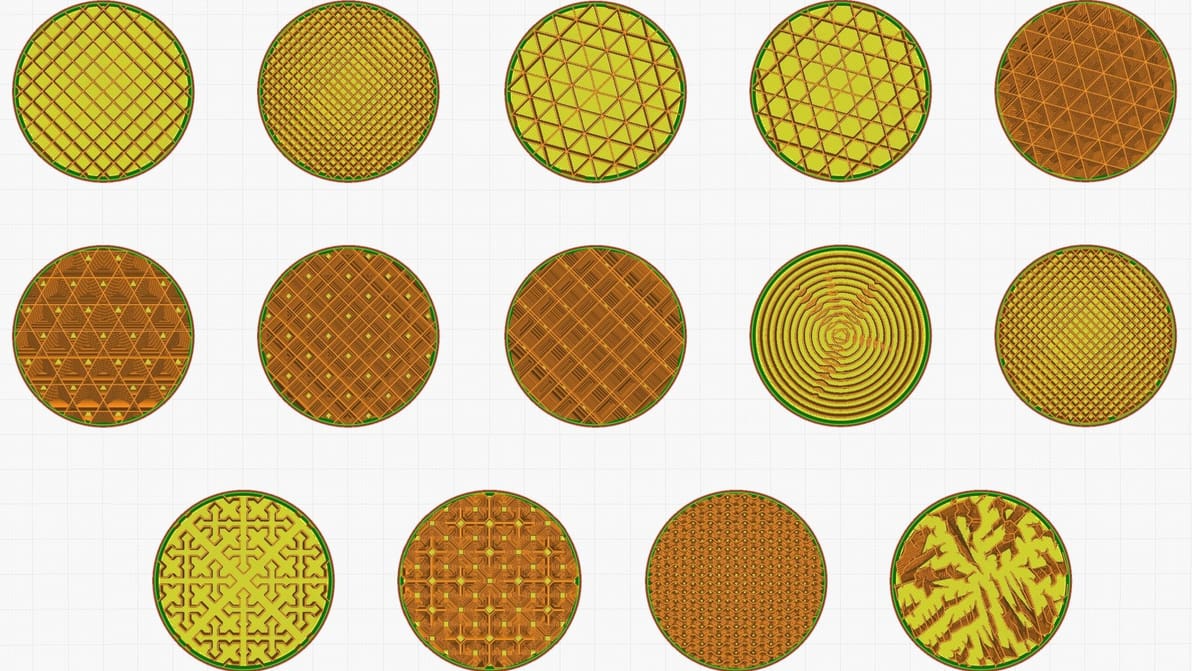
Cura Guide to the Best Infill Patterns

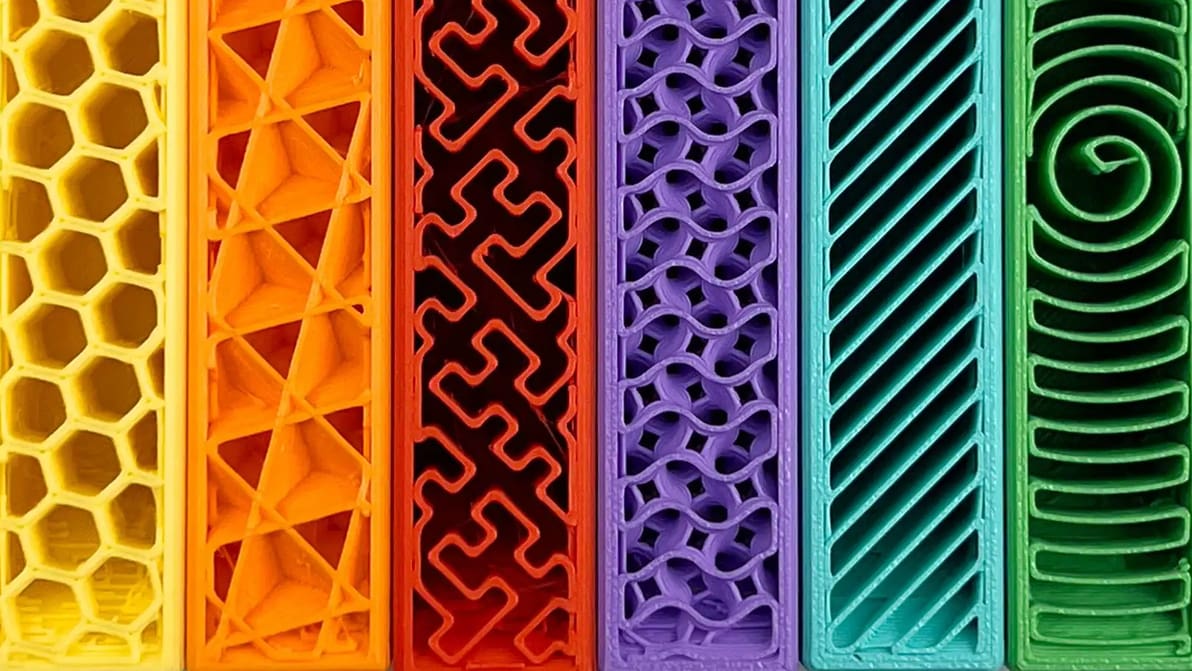
Infill can look cool, add strength, and save money, but it all depends on the print. Find the best Cura infill patterns for your application.

Featured image of The Best Slicing Software is Probably The One You Already Have
Grab Yourself a Slice
The Best Slicing Software is Probably The One You Already Have

When you’re just setting out 3D printing, don’t overthink the slicer. Picking the right one for you is probably much simpler than it seems.

by Matthew Mensley
Featured image of Cura: Ironing – Simply Explained
Curing Surfaces
Cura: Ironing – Simply Explained

Ironing is a useful slicing feature that can smooth out the top layer of 3D prints. Read on to learn all about Cura ironing settings!

by Jackson O'Connell
Featured image of Cura: Pause at Height – Simply Explained
Pause & Play
Cura: Pause at Height – Simply Explained

With Cura, filament change operations and mid-print insertions are easy. Find out how to use the Cura pause at height feature!

Featured image of Z Seam (Cura): How to Hide It
Blurring Lines
Z Seam (Cura): How to Hide It

A Z seam is a visible line of imperfections running down the side of a print. With Cura, Z seams can be no more! Read on to learn how.

by Jackson O'Connell
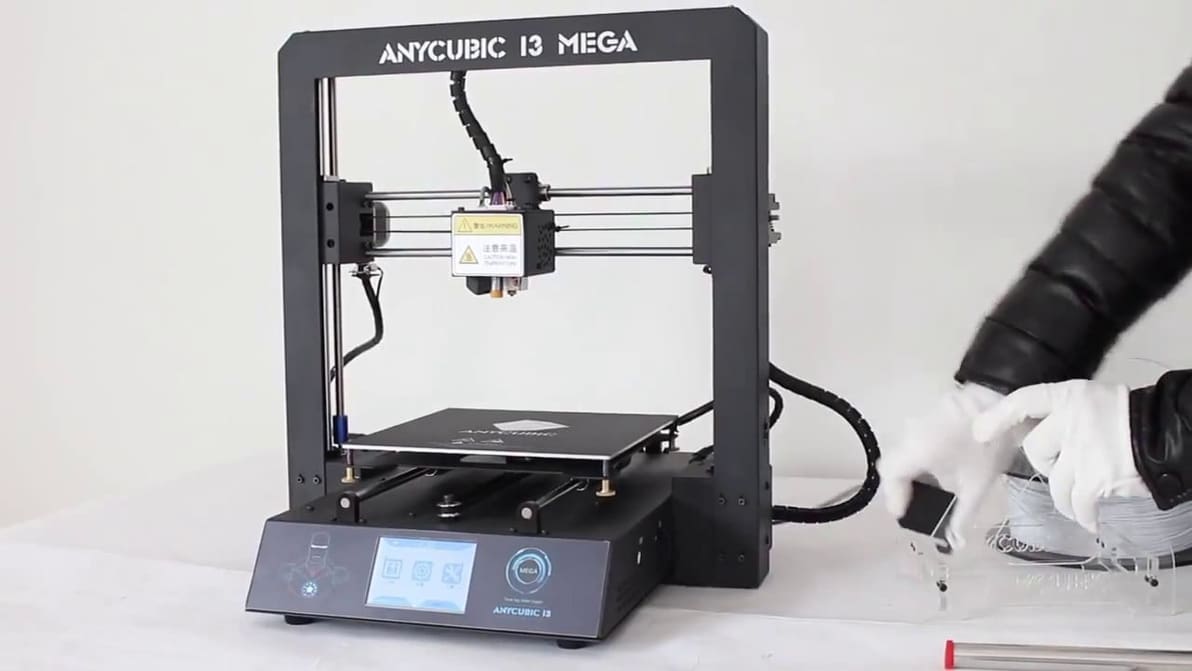
Featured image of The Best Anycubic i3 Mega Cura Settings / Profile
One Tweak at a Time
The Best Anycubic i3 Mega Cura Settings / Profile

Looking for optimal Anycubic i3 Mega Cura settings? Here is what we suggest as the best Cura Anycubic i3 Mega Cura profile.

by Leo Gregurić
Advertisement
Advertisement
Featured image of Cura Retraction Settings: How to Avoid Stringing
Cura Your Stringing Ailments
Cura Retraction Settings: How to Avoid Stringing

Retraction is the key to reducing stringing. Find out how to perfect your Cura retraction settings (including the coasting settings).

Featured image of Cura Settings Decoded – An Ultimaker Cura Tutorial
A Nicer Slicer
Cura Settings Decoded – An Ultimaker Cura Tutorial

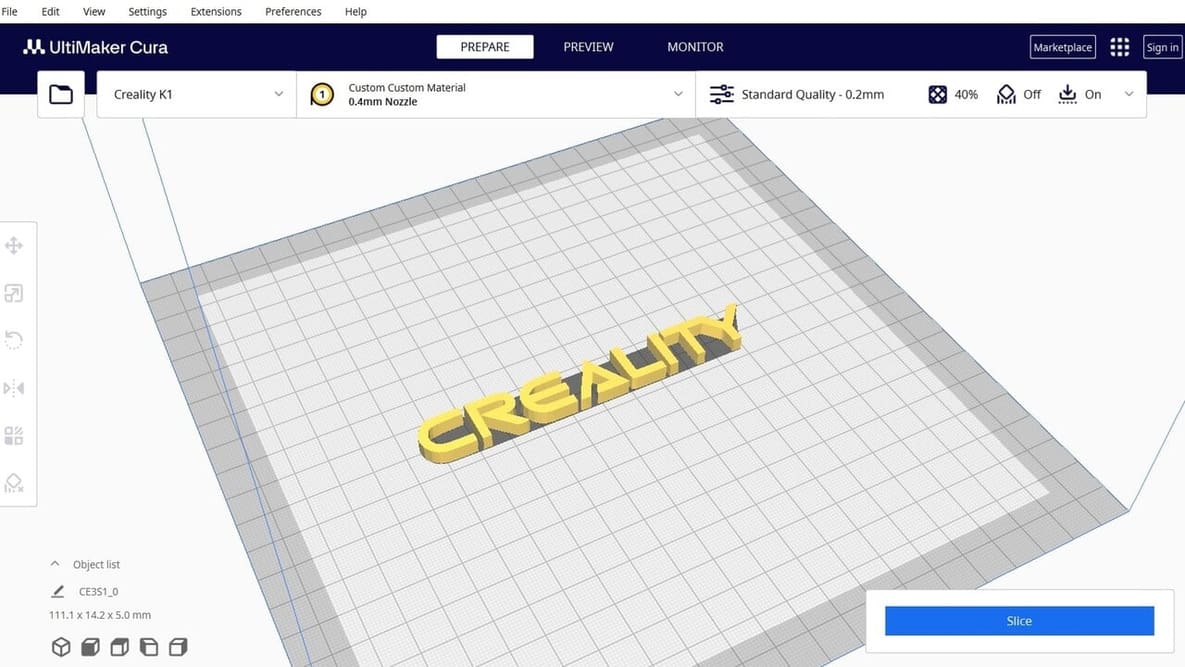
Discover the hidden features of the Cura slicer software. We'll show you how to take your 3D printing to the next level for perfect prints!
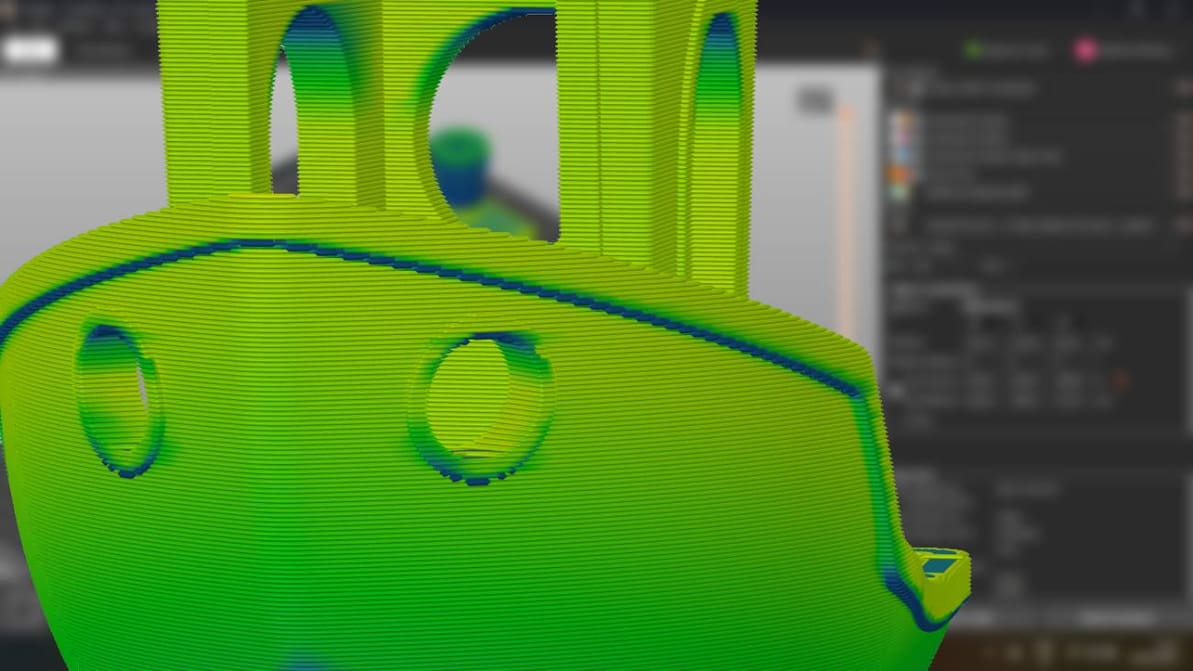
by Matt Jani
Featured image of The Best Ender 3 S1 (Pro) Cura Profile / Settings
Goodbye, High Retraction!
The Best Ender 3 S1 (Pro) Cura Profile / Settings

The best temperature, print speed, and retraction settings, among others. Read on for the best Ender 3 S1 & S1 Pro Cura slicer profiles.

by Jackson O'Connell
Featured image of Cura Fuzzy Skin Setting: What It Is & How to Use It
Rough Around the Edges
Cura Fuzzy Skin Setting: What It Is & How to Use It

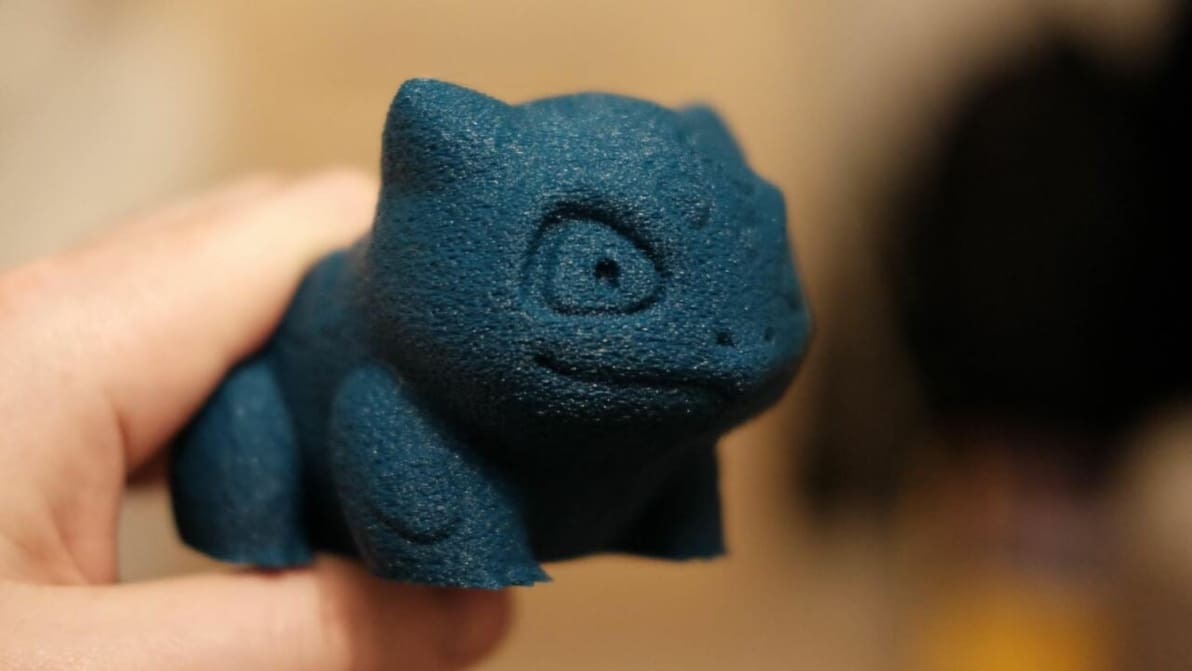
Cura's fuzzy skin feature generates a rough exterior surface on 3D prints. Learn when to use it, how it works, and what settings control it!
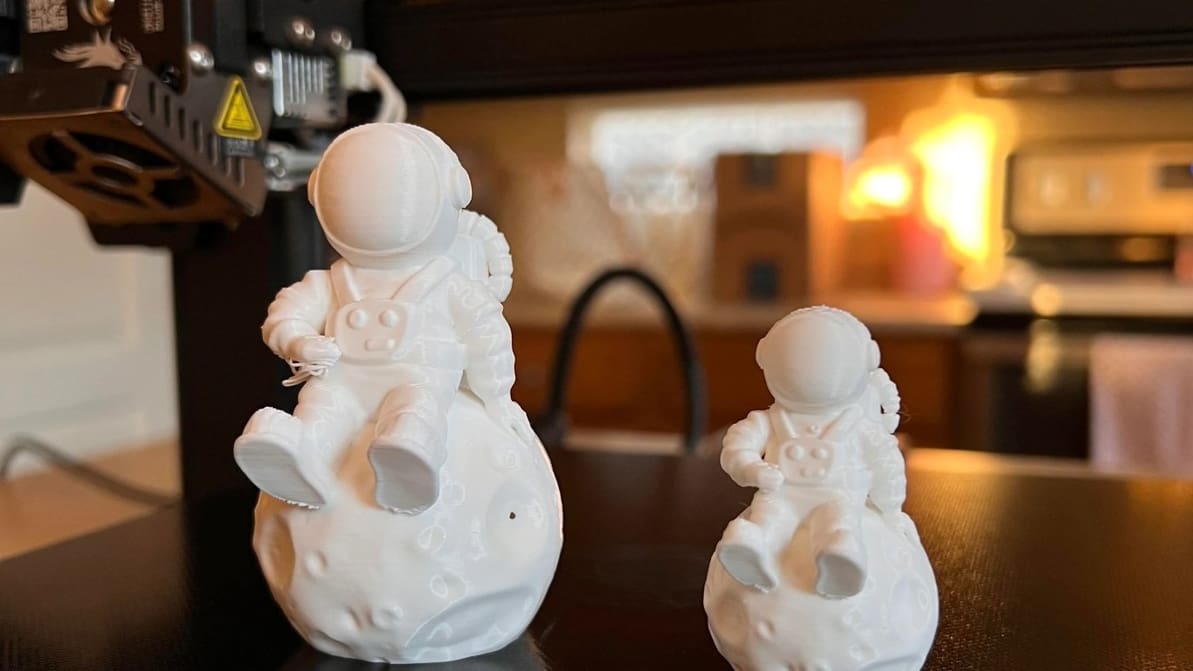
by Jackson O'Connell
Featured image of The Best Elegoo Neptune 2/2S Cura Settings & Profile
Curate Your Neptune 2/2s
The Best Elegoo Neptune 2/2S Cura Settings & Profile

Get started tackling the massive amount of print options in Cura. Read on for the ideal Elegoo Neptune 2 Cura settings for perfect prints.

by Bharat Jagwani
Featured image of Cura Tree Support: All You Need to Know
Branch Out
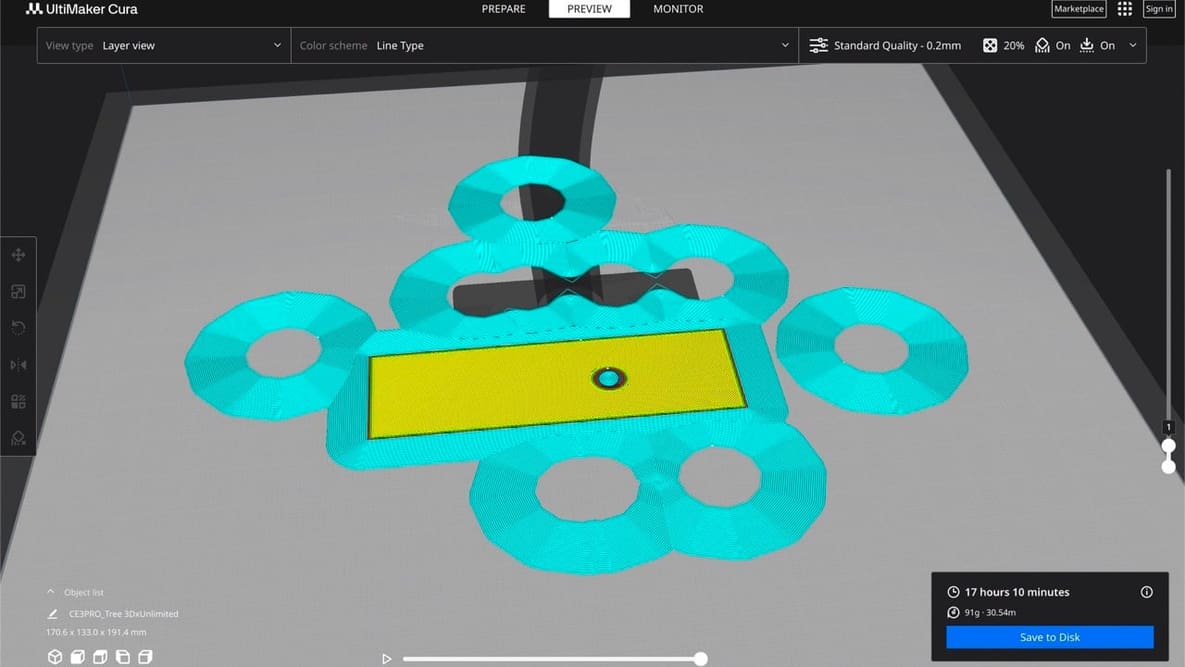
Cura Tree Support: All You Need to Know

Tree supports are efficient and tidy. Find out why the Cura tree support setting is one of our favorite 3D printing tricks.

by Pranav Gharge
Featured image of The Best Anycubic Vyper Upgrades & Mods
Growing Some Fangs
The Best Anycubic Vyper Upgrades & Mods

The Anycubic Vyper is packed with features, but there's always room for improvement. Read on for the best Anycubic Vyper upgrades!
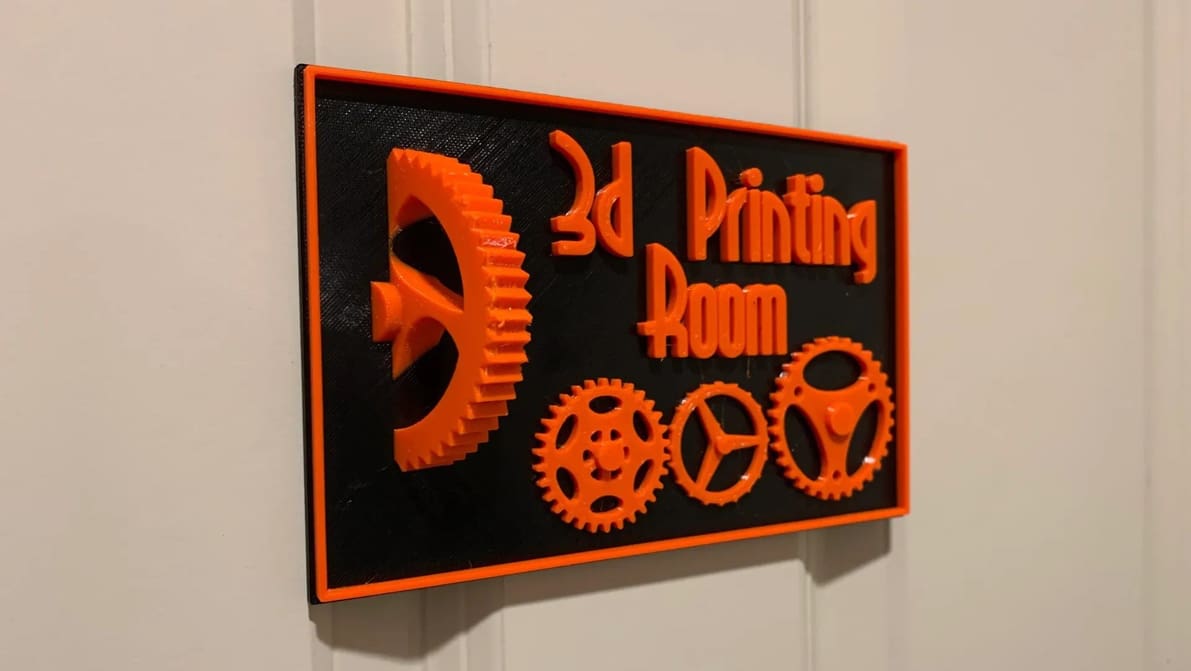
by Jackson O'Connell
Featured image of Arachne in Cura, Orca Slicer & More: The Basics
Gaps, Begone!
Arachne in Cura, Orca Slicer & More: The Basics

In Cura, Arachne allows for variable perimeter widths, conferring benefits like reduced print time. Read on for more about this innovation!
Featured image of Cura Adaptive Layers – Simply Explained
Cura's Evolving
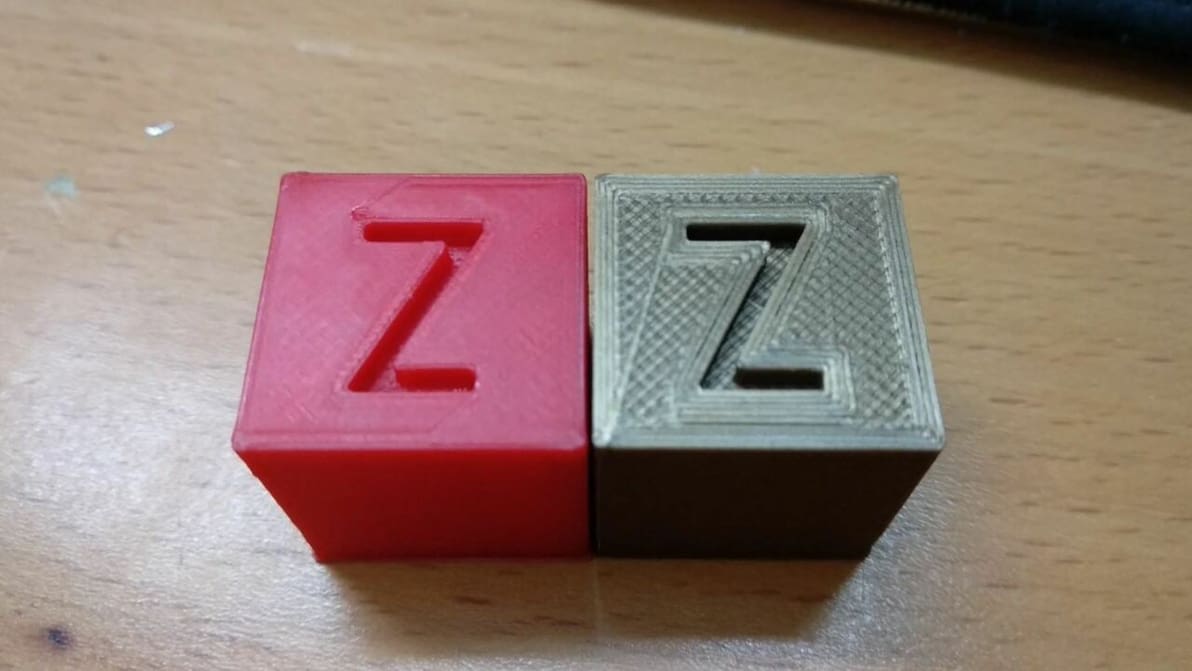
Cura Adaptive Layers – Simply Explained

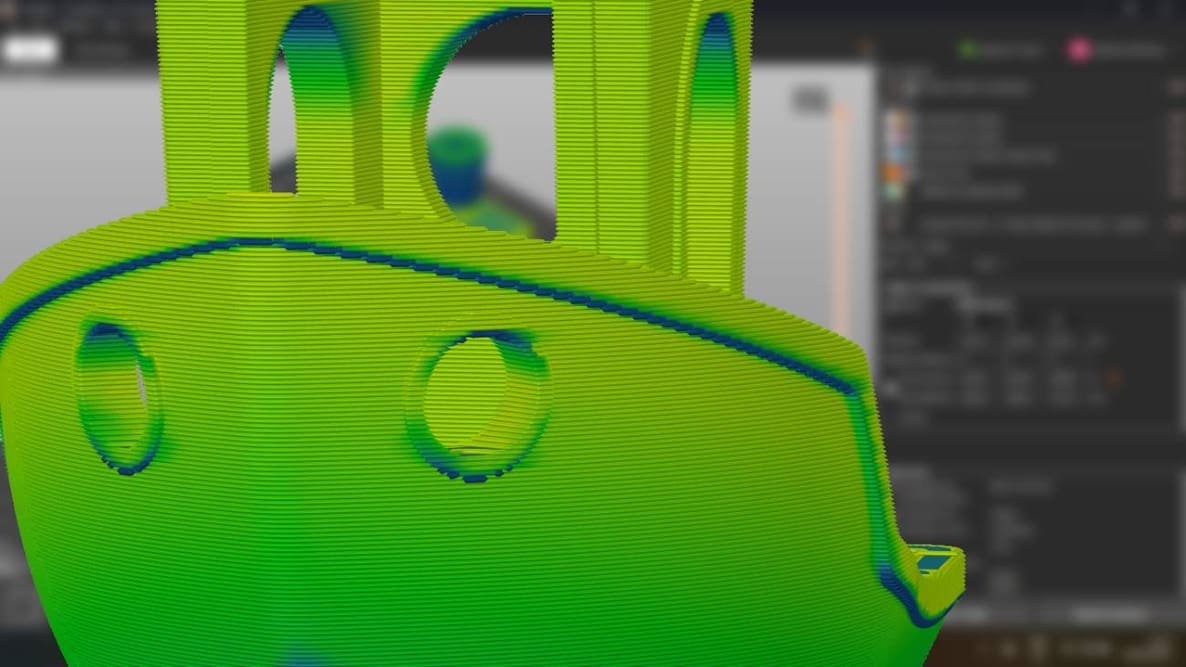
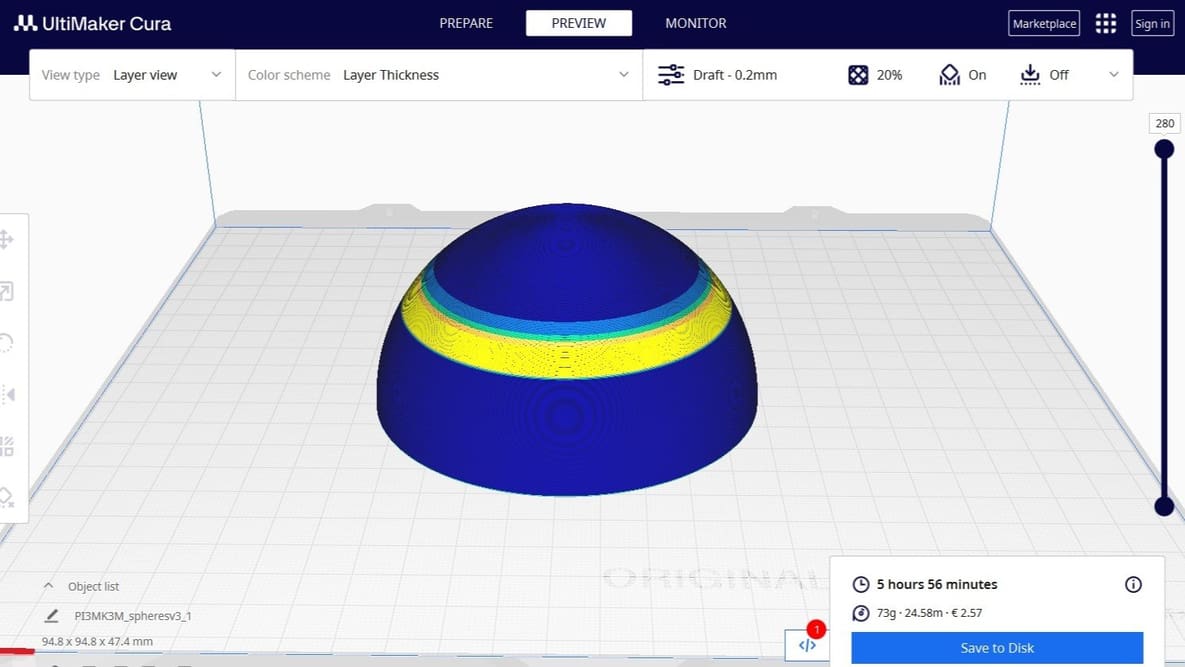
Cura's adaptive layers feature uses varying layer heights to achieve increased detail while reducing print time. Read on to learn more!

by Jackson O'Connell
Featured image of The Best Anycubic Kobra Neo Cura Profile / Settings
Fast & Precise Kobra
The Best Anycubic Kobra Neo Cura Profile / Settings

Looking for the perfect Anycubic Kobra Neo Cura profile? Read on for settings that will help ensure perfect prints, every time!

by Gloria E. Magarotto
Advertisement
Advertisement