Ultimaker Cura Software
Featured image of Neosanding 2.0 3D Printing Technique Smooths Planes Quicker
Smooth Moves
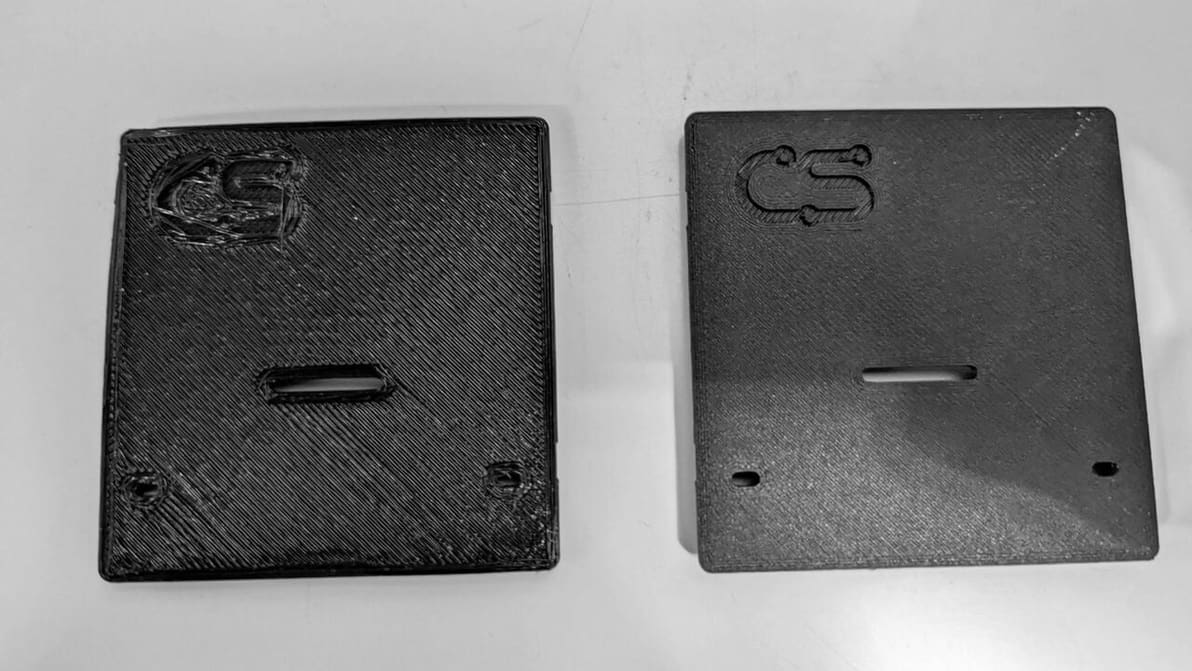
Neosanding 2.0 3D Printing Technique Smooths Planes Quicker

The creator of the Ironing feature currently in the Cura 2.7 Beta details a new method that offers similar results in less print time.

by Matthew Mensley
Featured image of Cura: Combing Mode – Simply Explained
No Strings Attached
Cura: Combing Mode – Simply Explained

In Cura, combing is an important setting that reduces retractions and can prevent stringing. Learn how you can use combing mode in Cura!

by Jackson O'Connell
Featured image of Cura: Support Z Distance – Simply Explained
Lean on Me
Cura: Support Z Distance – Simply Explained

Support Z Distance in Cura can make removing supports a breeze! Read on to learn about this setting and how to tune it for your prints.

by Vincent Reitinger
Featured image of Cura Extrusion Multiplier: How to Improve Your Prints
A Multitude of Solutions
Cura Extrusion Multiplier: How to Improve Your Prints

Cura's extrusion multiplier is actually called "Flow". Read to learn what it is, how to tune it, and how it can help fix print issues.

Featured image of Cura Gyroid Infill: All You Need to Know
Waves of Infill
Cura Gyroid Infill: All You Need to Know

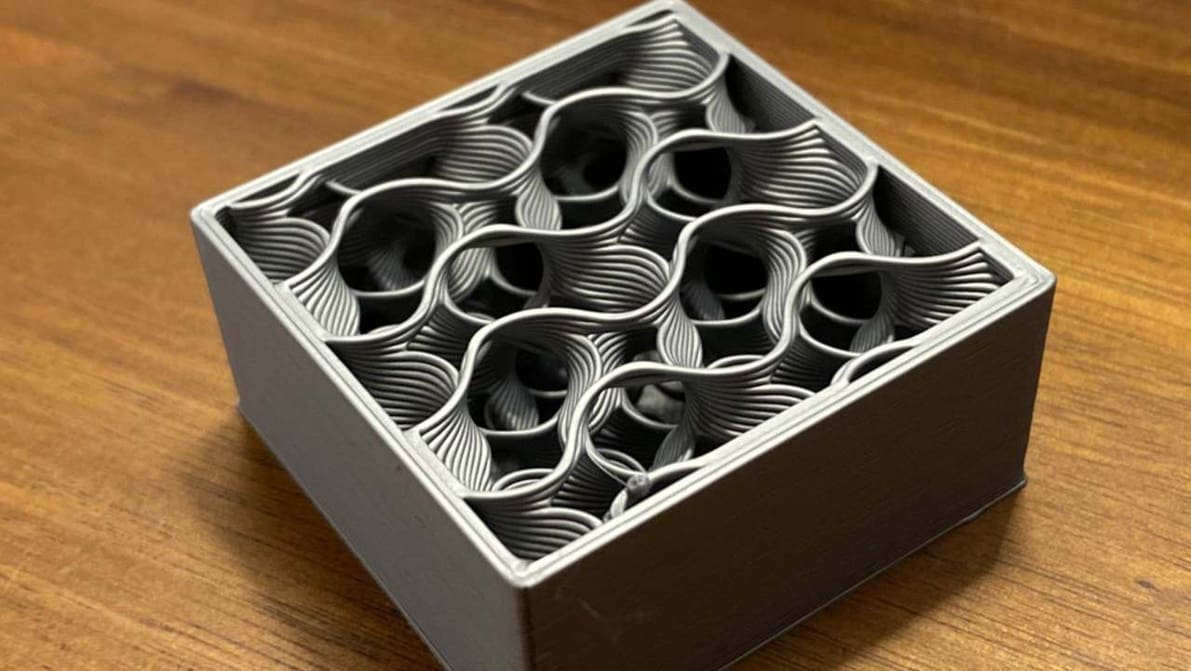
An infill pattern can be both aesthetically pleasing and super strong. Find out all about the wonders of Cura's gyroid infill.
by Pranav Gharge
Featured image of How to Optimize Cura Support Settings
Support Your Supports
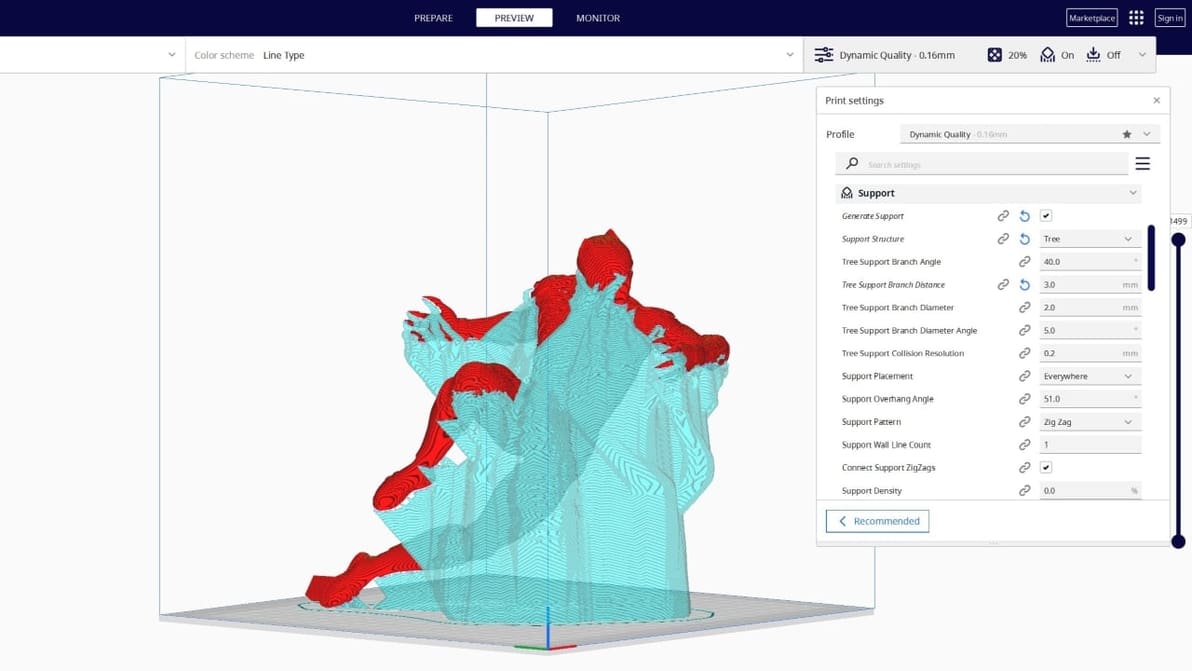
How to Optimize Cura Support Settings

Cura offers a powerful range of settings to play with. Learn about the main Cura support settings and how to best support your prints.

Featured image of The Best Cura Plug-ins of 2024
Icing on the Cake
The Best Cura Plug-ins of 2024

Plug-ins for UltiMaker's Cura take an already great slicer to a whole new level. Check out our top picks for the best Cura plug-ins!

Featured image of Cura Coasting Settings: Simply Explained
The Coast Is Clear
Cura Coasting Settings: Simply Explained

Cura is a 3D slicer with some very neat features. Keep reading to learn about the best Cura coasting settings and see what they can do!

by Pranav Gharge
Featured image of Cura: Custom Supports – Simply Explained
A Custom Cure
Cura: Custom Supports – Simply Explained

If Cura support generation isn't up to your standards, check out the Custom Supports plug-in to achieve your ideal settings!

Featured image of Cura: Horizontal Expansion – Simply Explained
Expanding Your 3D Toolbox
Cura: Horizontal Expansion – Simply Explained

Cura Horizontal Expansion settings can fix dimensional inaccuracies and cure elephant's foot. Read on to learn more!

by Brian Leonard
Advertisement
Advertisement
Featured image of Cura: Print One at a Time – Simply Explained
One Benchy at a Time
Cura: Print One at a Time – Simply Explained

Cura's print "One at a Time" slicer setting can be super handy. Read on to learn how it works, how to use it, and more!

Featured image of The Best Creality K1 Cura Profile / Settings
Set Your K1 Up for Success
The Best Creality K1 Cura Profile / Settings

Looking for the perfect Creality K1 Cura profile? Check out these settings and unleash the lightning-fast potential of your Creality K1!

by Timothy Solomon
Featured image of Cura Vase Mode: The Basics Simply Explained
Flowers Are Optional
Cura Vase Mode: The Basics Simply Explained

Vase mode is a common slicer mode for aesthetic prints. Follow along as we demystify Cura's vase mode to create some seamless models!

by Pranav Gharge
Featured image of Cura: Z Offset – Simply Explained
Cura Offset from A to Z
Cura: Z Offset – Simply Explained

Z offset control can be useful in a number of ways, including printing on top of an object. Learn how to adjust Cura's Z offset setting!
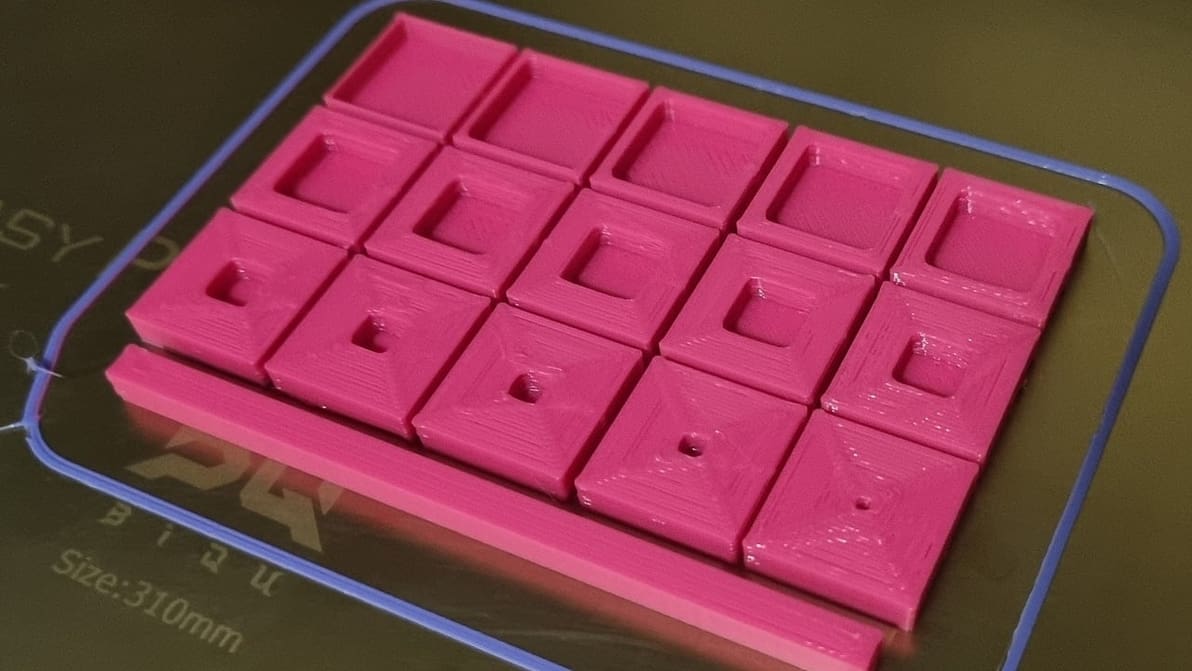
Featured image of Cura First Layer Settings: Initial Layer Simply Explained
First Impressions
Cura First Layer Settings: Initial Layer Simply Explained

The initial layer is the foundation of the entire 3D model. Learn all about Cura first layer settings and how to get them perfect!

Featured image of Cura: Experimental Settings – Simply Explained
Cura to Super Cura
Cura: Experimental Settings – Simply Explained

Cura's experimental settings can unlock hidden potential in your 3D printing experience. Read all about them!

by Priyank Pal
Featured image of How to Set Up Linear Advance in Marlin
Under Pressure
How to Set Up Linear Advance in Marlin

Linear advance can predict nozzle pressure for more consistent extrusion. Read on to learn how to set up linear advance in Marlin!

by Jackson O'Connell
Featured image of Z Hop: What Is It & How to Configure It in Cura
Three Hops This Time!
Z Hop: What Is It & How to Configure It in Cura

Supports falling off mid-print? Z Hop can help! Learn how to use this setting in Cura to improve your prints.

by Jackson O'Connell
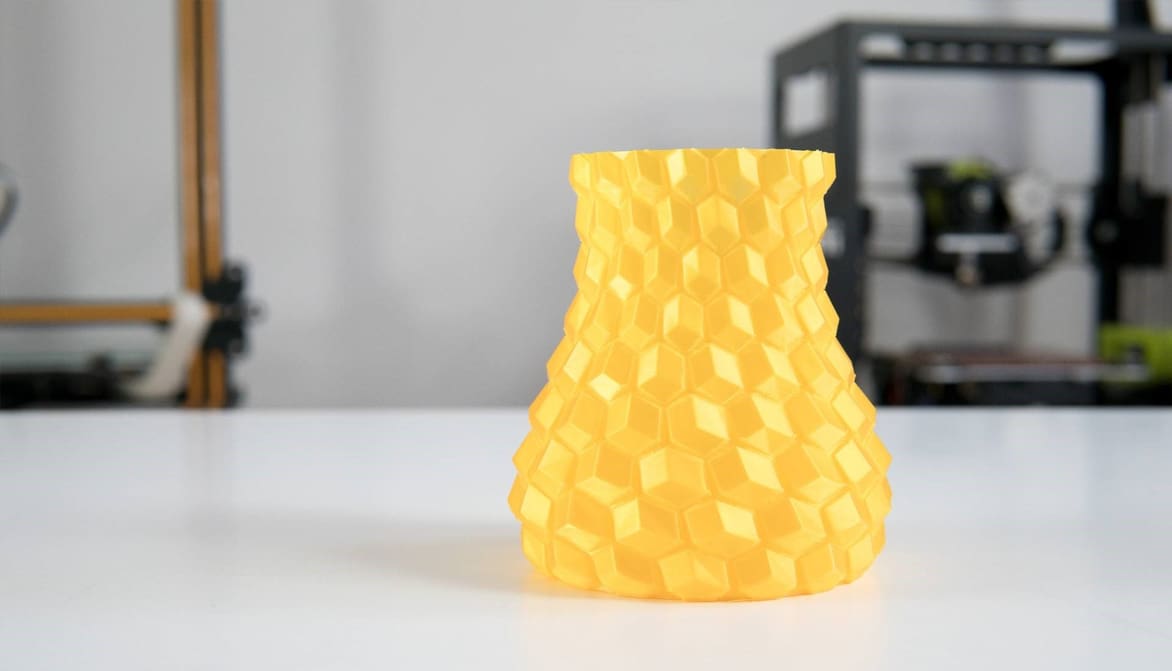
Featured image of 3D Printing Shells: All You Need to Know
Those Walls Be Thick!
3D Printing Shells: All You Need to Know

3D printing shells are more important than you might think. Read on to learn more about how they affect your model's strength and stability!
by Che Simons
Featured image of Lithophanes with Cura: Easy Tutorial (incl. Best Settings)
From Digital to Physical
Lithophanes with Cura: Easy Tutorial (incl. Best Settings)

Lithophanes turn digital pictures into tangible ones that you can see when light shines through. Check out how to make a lithophane in Cura!

by Priyank Pal
Advertisement
Advertisement