3D Print Support: How to Remove Hard Supports from 3D Prints

Love them or hate them, supports are an essential part of 3D printing. Read on for how to deal with and remove 3D print supports!
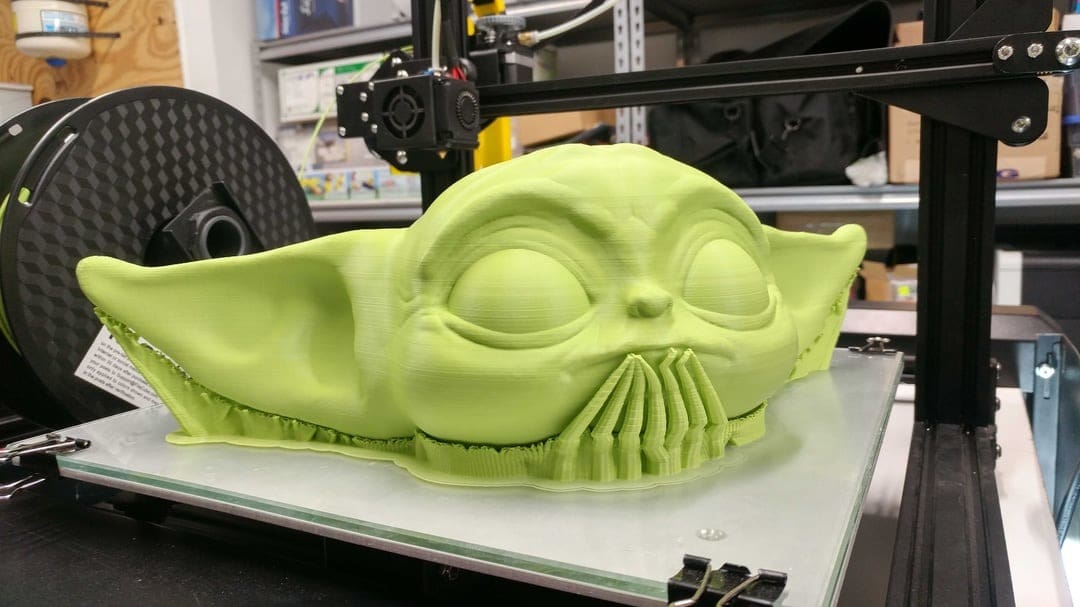
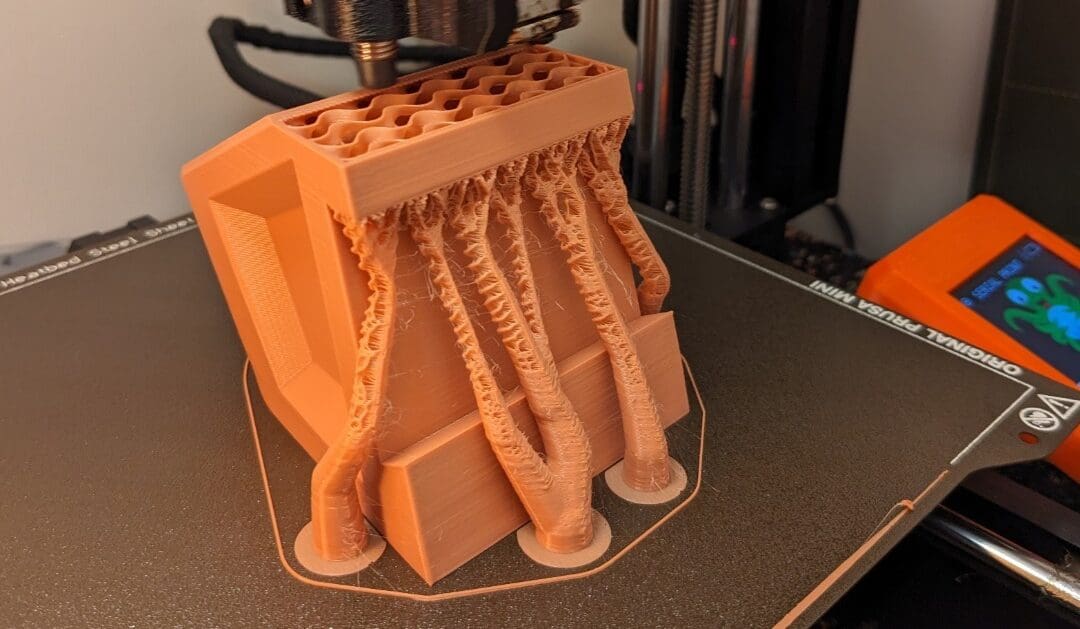
Support removal is part of the daily hassle of being a 3D maker. As much of a headache as they can bring, we need supports for most models to print correctly. After all, we can’t go around printing stuff on top of thin air.
Areas on models that might need supports include outstretched limbs on a figure or middle sections of bridge-like structures. Basically, any area that’s reaching beyond the border of the previous layers will need some help staying in place until it becomes self-supporting. This applies to both FDM and resin prints, although their support needs are slightly different.
Removal of supports is part of the post-processing of a model and can usually be done fairly easily. However, we’ve all experienced a time when a print is looking great until you realize that the supports are fused a bit too strongly and removing them without breaking your model seems impossible.
In this article, we’re going to cover all you need to know about hard-to-remove supports for both FDM and resin prints, including how to prevent them and a few tricks on removing them with minimal damage to your model.
To get started, let’s take a look at how support removal can depend on the type of material you’re printing!
Printing Materials
The materials we use and the amount of supports our 3D models need can vary depending on what is being printed and for what purpose. For instance, a character or figurine model won’t necessarily need to be that strong, so PLA filament should do just fine. Although, the same model will likely have fine details and complex geometry that calls for more supports.
Before you print, it’s worthwhile to consider how much support you’ll need and which material you’re printing with. Got a model that needs dense supports? Maybe reconsider the carbon fiber filament.
FDM
FDM printing uses a variety of different filament types ranging in density, flexibility, and strength. Here’s what you can expect from some of the most common materials:
- PLA: The most commonly used filament, PLA is relatively brittle. While that may limit its uses, it makes supports easy to snap right off.
- ABS: For more hard-wearing prints with heat and chemical resistance, ABS is a great option. Although, as ABS can withstand more stress, supports can be more challenging to remove if the settings are not properly dialed in.
- PETG: Easy to print like PLA and strong like ABS, PETG is the go-to for functional prints. However, PETG likes to stick to itself, which makes it extra important to pay attention to the support settings when working with this filament.
- TPU & TPE: As the softest filaments in this list, TPU and TPE supports won’t snap off like you may be used to. In fact, these materials bond to themselves very well, so cutting off supports is a common removal method. The challenge comes when you need to cut off supports in hard-to-reach places.
Resin
While supports in FDM printing are attached to the model physically as melted plastic, layers in resin printing are bonded chemically by UV curing.
Resin supports must be strong and firmly attached to the overhangs of the model, as the build plate drags them through the resin bath with each layer. This brings its own set of challenges when it comes to preventing and removing difficult supports. However, you may find that there is less variation in removal difficulty between different resins compared to the variation across FDM filaments.
Resins are generally much more brittle than filaments. With properly tuned support settings and good placement, supports can be easily removed. Although, it’s a fine balance between the tip of a support being too fragile to bear its load and being too close to the model that it leaves behind a noticeable mark.
Let’s now take a look at the support structures you might use and how these differ between FDM and resin prints.
Support Structure
So we’ve looked at some of the printing materials you might be using to make your 3D models, but let’s now take a look at how the supports are added and structured.
FDM
Supports for FDM are added in the slicing stage in a program such as Cura or PrusaSlicer. To minimize the amount of supports needed in the first place, it’s a good idea to get familiar with how much of an overhang and bridge your printer can handle by doing a few calibration prints. Splitting your model may allow you to print without any supports at all.
Of course, supports are not avoidable in all cases. So if you do need supports, there are a few settings you can keep in mind to ensure they are easy to remove.
Infill Density
First, the infill density of the supports should be less than your model. 10% is, in most cases, the recommended density for supports, but if you have an overhang nearer to 90 degrees, you may want to increase this to 15%.
Touching Buildplate
Another way to reduce the number of supports touching your model would be to limit support placement to “Touching Buildplate”, rather than having supports originating from your model to support surfaces above it. By enabling Tree supports in Cura or PrusaSlicer, this is taken care of for you and may save you some filament too!
Support Distance
Last, but certainly not least, is the “Support Z distance” as called in Cura (and “Top contact Z distance” in PrusaSlicer), which leaves a small gap between the top layer of the support and the bottom layer of the part it’s supporting. Larger distances (using intervals of your layer height) can make removing the supports much easier.
These settings are just a starting point to making your support removal as easy as possible. For a more in-depth guide on support settings, check out our article on optimizing supports in Cura.
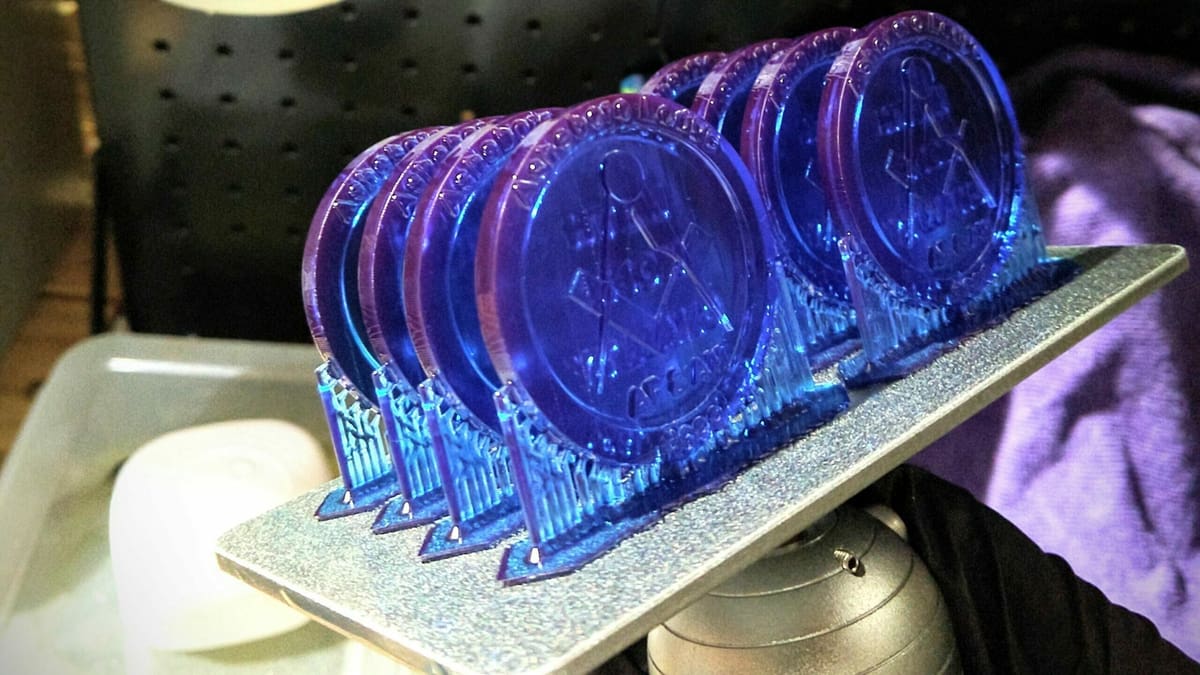
Resin
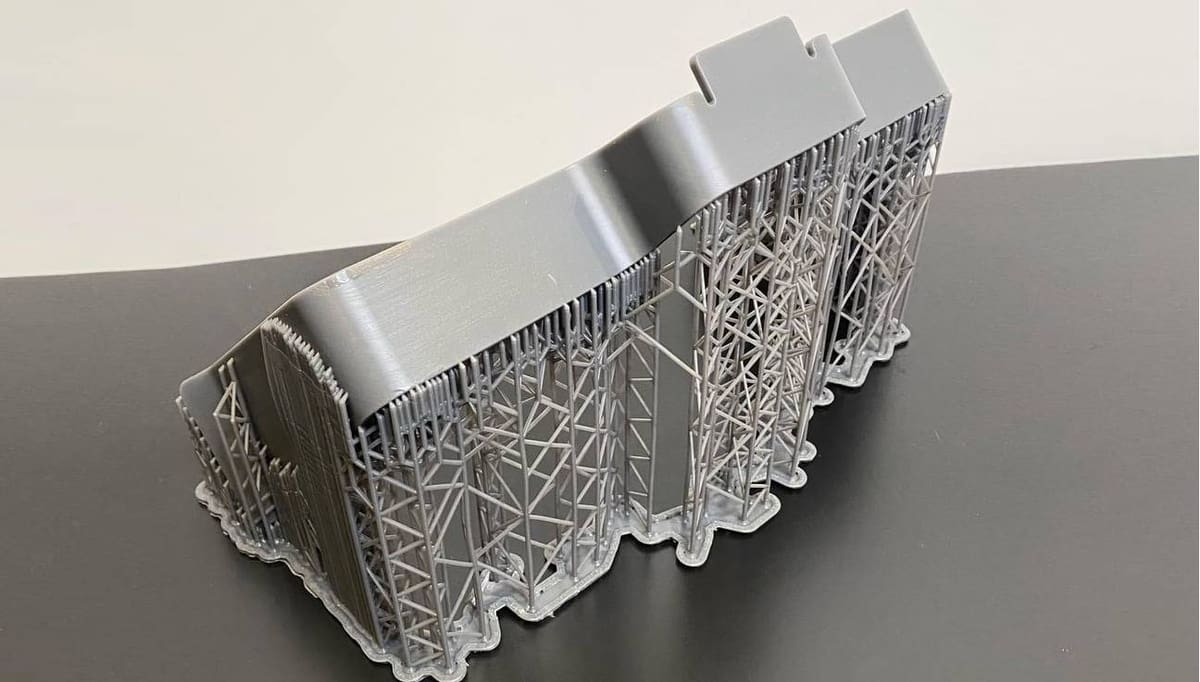
As mentioned, most models printed with resin will need supports. Highly detailed figures, where resin printing excels, may additionally call for complex and difficult-to-remove support structures. Resin prints are also ideally printed at an angle, which may require supports that would not be necessary if the same model were printed with FDM.
Support Density
Similar to supports with FDM, adjusting the support density can help reduce the amount of work required for support removal. Unlike FDM, setting support density in a slicer like ChiTuBox is much more involved (think setting the density of a forest). You can either add each individual support manually or use the auto-generated support function and remove and reposition supports as needed.
While evaluating supports, it’s helpful to use the layer preview to identify where a surface first appears and where steep overhangs are located. This way, you are essentially creating adaptive supports with higher infill density in complex regions and less in regions naturally supported by the model. You should also watch for if the base of supports is being placed on the build plate or elsewhere on the model.
Contact Shape
While it’s undesirable for the base of supports to be on your model, long standalone supports have a higher chance of failing. In unavoidable cases, the contact settings between the support and model are critical in ensuring ease of support removal. ChiTuBox has options for “Model Contact Shape”, where you can choose a “Sphere” that may help make the removal of a support base on your model easiest. Similarly, you can also set the tip of your model to a sphere shape under the “Contact Shape” setting.
Tip Size
Finally, the contact area between the tip of the support and your model can make all the difference in support removal. Relevant factors include the diameter and the contact depth of the tip into the model, with smaller values being easier to remove but more fragile. You may want to customize these values depending on the region of your model. Fine details generally don’t need thick supports.
Removal Methods
We’ve looked at what goes into designing and building supports, so now let’s turn to how to remove these unwanted supports from our finished models.
While many of the tools and methods we’re going to discuss can be used on both FDM and resin supports, the actual deployment of the method may be slightly different. The most important thing to remember is to take things slowly and ensure that the support removal doesn’t cause any damage to your printed model. It’s also important to follow sensible safety measures so as not to cause any damage to yourself!
Manual
Probably the most basic and possibly even satisfying way of removing supports is to do it manually. This involves the use of some small hand tools to ensure precise removal.
FDM
As we’ve established, the supports on FDM models won’t be as fused to the actual model as with resin, so in some cases you may be able to remove them by hand. However, that can only get you so far. For most support removals, you’ll need two main tools, but there are lots of other options you can reach for on a case-by-case basis:
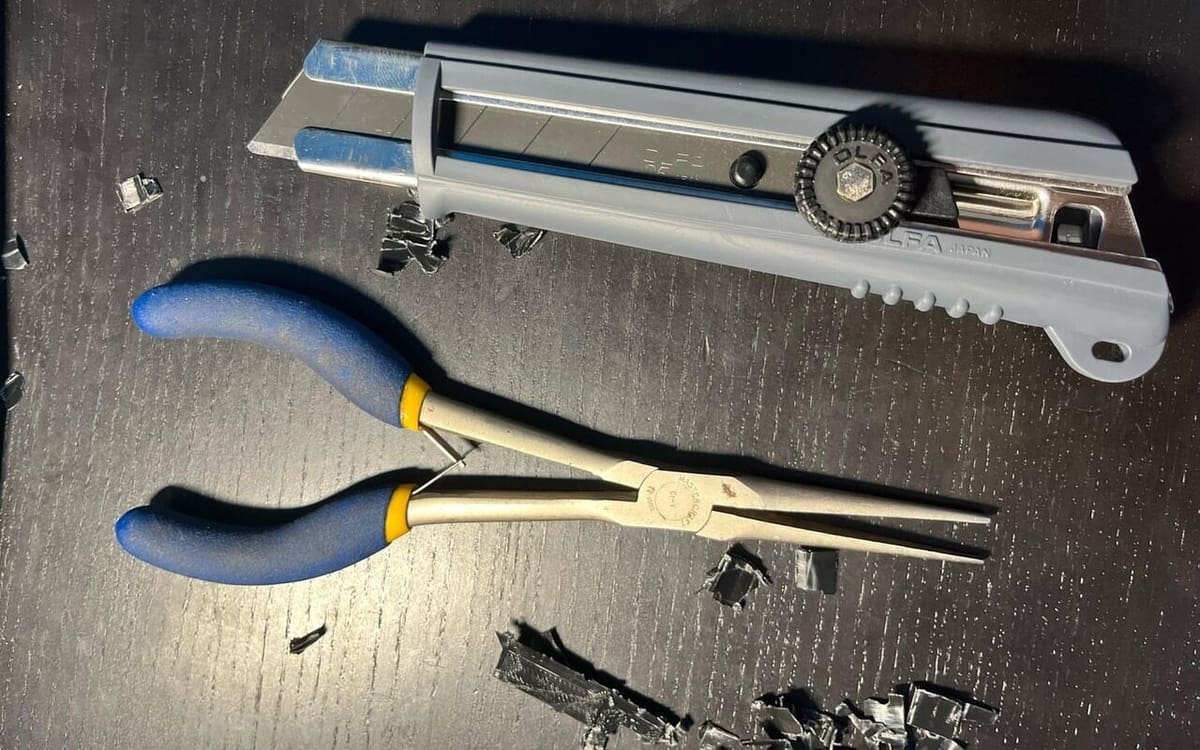
Scalpel or Craft Knife
If your supports are particularly difficult to get hold of or you can’t find a natural starting point, then using a craft knife will allow you to cut away a section of the supports to give you better access for removing the rest. You can also go along the surface or edges close to the model to remove smaller pieces of support and reduce the need for sanding. This needs to be done slowly and with care so you don’t cut into the model or your fingers. Similarly, you can use a small metal spatula without a sharp edge to help you get into tight spots or lift up support walls.
Flash Cutters
These probably come with your 3D printer, and for good reason. For the bulk of support removal, flash cutters will be all you need. You can use them to get into support-filled cavities or other hard-to-reach places and for cutting back supports that you find tough (or dangerous to your model) to rip off by hand. Once you finished the removal of the bulk supports, cut off the remaining edges close to the model surface to make post-processing easier.
Other manual tools include the following:
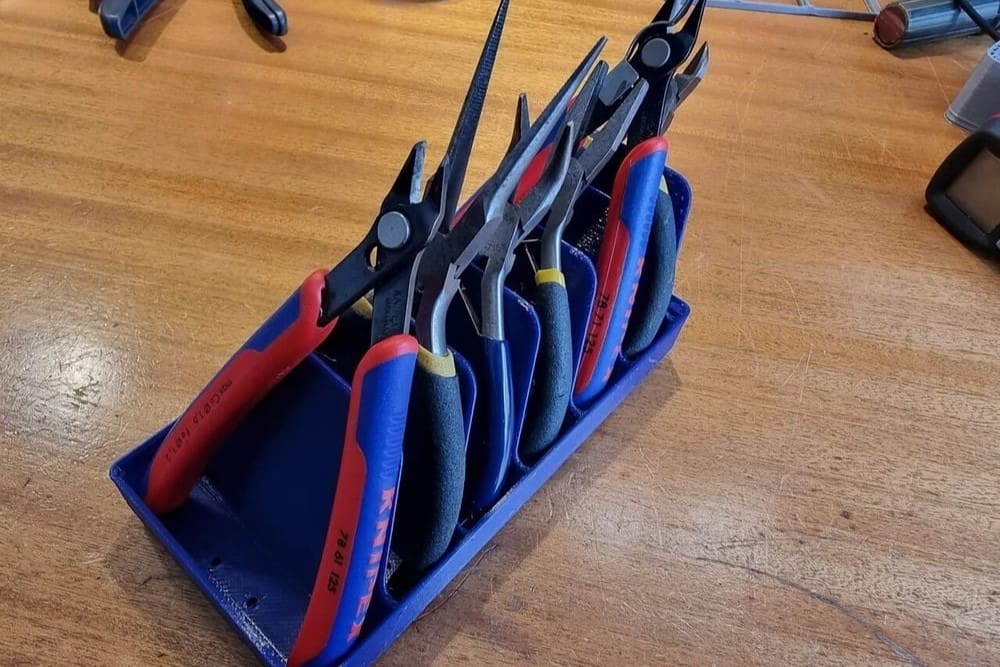
- Tweezers: Potentially in combination with a knife or cutters, tweezers are great at getting tiny supports out of crevices.
- Files: These may be useful to remove the last stubborn bits of support in hard-to-reach places and thin holes, such as those for fan housing.
- Pliers: If you need a longer reach or more of a grip, pliers are a nice alternative to cutters for bulk support removal.
Resin
Supports on resin prints may need some more delicate handling compared to FDM prints to prevent damage to your model during removal. It’s best to remove supports when the model is freshly printed (before the post-cure!) as it’ll be slightly soft. You can also soak the model in warm water to soften it up a bit. While it may be tempting, you’ll want to avoid ripping off supports that are attached to thin detail (such as arms and legs).
You’ll only need a few tools to remove supports that you don’t want to remove by hand:
Flash Cutters
Use flash cutters to start cutting support lines close to your model in an effort to remove the bulk of the support structure first. Then you can go in and cut away the support tips from the surface of your model. If you are printing particularly small and detailed figures, you may want to consider getting a smaller cutter than the one that comes with your printer. Avoid cutting too close to your model which may lead to pitting marks.
Other tools include the following:
- Tweezers: Great for getting tiny supports out of crevices.
- Metal file: Since it’s always better to leave excess material in cases where damaging your model is a concern, you may want to file this down before moving on to post-curing.
Mechanical
If the manual methods above don’t cut it or you have a model with an exceptional amount of supports, you may need to resort to other means. With these tools, it’s especially important to take proper safety precautions, such as using cut-proof gloves and goggles, as well as ensuring electrical cables are intact and not creating a trip hazard.
FDM
Using mechanical tools is best suited for large, simple models where you don’t have to worry about accidentally cutting off some detail. There are a few options you can use, but keep in mind that smaller tools provide more control over support removal. Let’s look at the possible options.
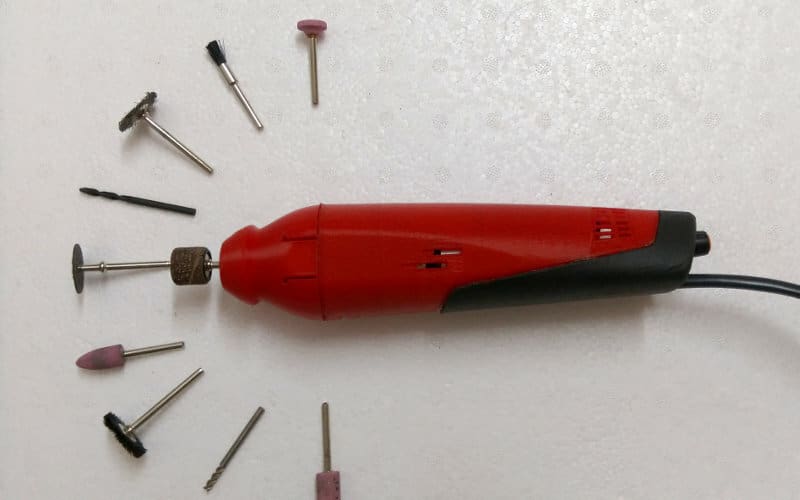
Mini Rotary Tool
Emphasis on the “mini”. These handheld rotary tools typically come with all sorts of attachments that can make support removal a breeze. Saw-like attachments can help you detach support structures along the surface of the model in one sweep. Sanding heads are great for carefully etching away structures that are too close to the surface to be safely pried away. Take care to go slowly and remove supports in layers if possible.
Soldering Iron
You can use a soldering iron to heat the blade of an X-acto knife, then use it to cut through plastic like butter. Care should be taken not to touch the surface of the model directly, or else you could leave undesirable marks.
You can also run the shaft of the soldering iron (not the tip as it’s too hot) along the edges of your print to smooth out the bumpy marks left behind by supports. Be sure to experiment with this method before applying it to critical areas of your print.
Resin
The use of mechanical tools is generally not recommended for resin supports. Only in the case of a particularly difficult-to-cut support could the smallest saw attachment on a mini rotary come in handy. For example, a short, stubby support between the hip of a figure and the inner arm. In this example, try to saw the support in the center, then slowly cut away closer to the model.
Chemical
Finally, if you are desperate to remove supports from FDM, then you can consider softening the supports with solvent to aid their removal. Ideally, solvents like acetone or isopropyl alcohol will soften your supports, making them easier to cut away. While this method works best on ABS and PLA, we recommend testing it out on throwaway material first.
However, solvents must be used with extreme caution because getting them on the model itself can cause damage. You’ll also want to make sure that you’re working in a well-ventilated area whenever you use chemical solvents.
Try applying solvent with a paintbrush to areas of the support structure close to the surface. Then use one of the tools listed above, such as a small metal scalpel, to wedge between the supports and your model. Patience is key here.
Resin materials don’t have the same susceptibility to solvents as FDM filament materials do, so unfortunately there’s not much you can do to soften resin supports once they’re cured.
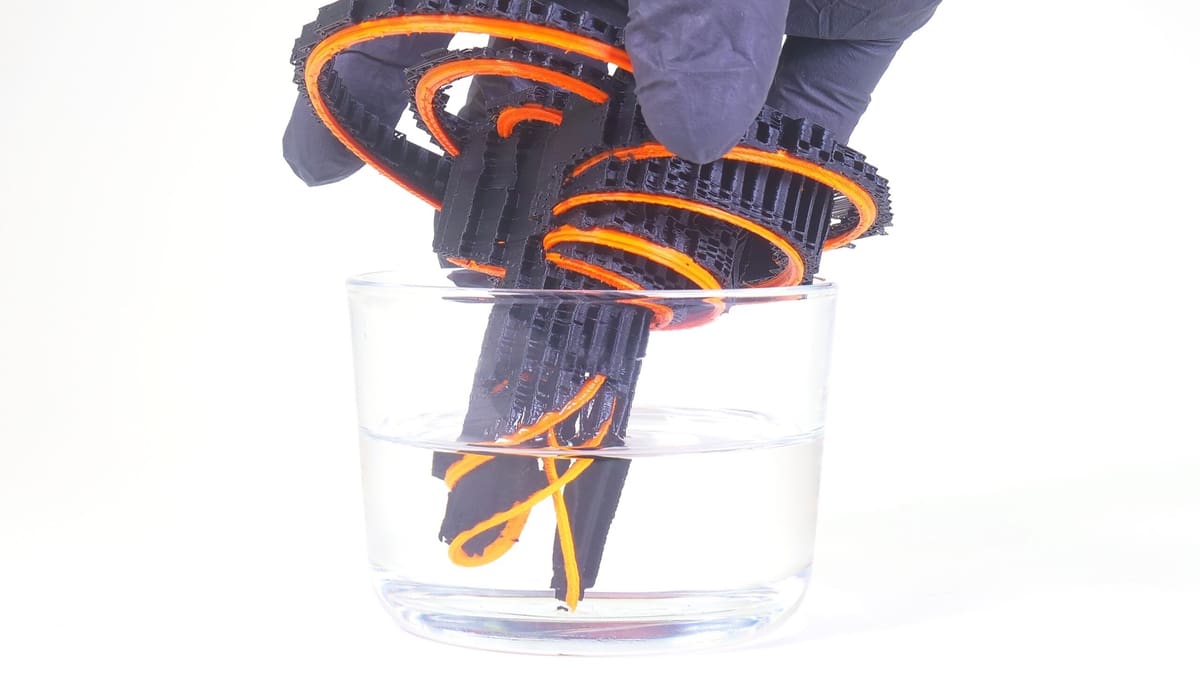
Dissolvable Supports
If support removal is a recurring issue in your life, you may want to consider supports that can be chemically removed by design: HIPS. For this, you’ll need a dual-material 3D printer to print the model with your desired filament and the supports using dissolvable HIPS filament. After printing, submerge the entire supported model in limonene and leave it to do its work. After a few hours, you’ll find that the HIPS supports have dissolved completely, leaving you with a perfect support-free model.
With a bit of careful cleaning and post-processing, the support removal job is done.
Post-Processing
Whether you’re working with FDM or resin prints, more often than not there are some support marks left behind that need to be cleaned up. There are a few easy ways to get rid of these and finish the support removal job completely.
- Deburring: If you have small pieces of support remaining, a deburring tool can help you scrape off any remaining pieces to create as smooth of a surface as possible and minimize sanding work.
- Sanding: Either by hand or with our trusted multi-tool, carefully sand the problem areas in a circular motion until you’re happy with the results. Start out with coarse sandpaper, then move onto fine girt once the protrusions are nearly gone.
- Filling: After removing the supports, you may be left with some minor damage to your model that needs filling. There are lots of options for fillers that we cover in our dedicated article.
- Smoothing: If you are working with FDM, you have the advantage of being able to chemically smooth prints to remove layer lines and other fine artifacts. Vapor smoothing is an option for ABS filaments to achieve a professional-looking finish.
- Painting: Once you are satisfied with the surface of your model, you can paint it to truly bring it to life! Start with a primer and then your chosen acrylic to give the perfect finish to your model.
License: The text of "3D Print Support: How to Remove Hard Supports from 3D Prints" by All3DP is licensed under a Creative Commons Attribution 4.0 International License.