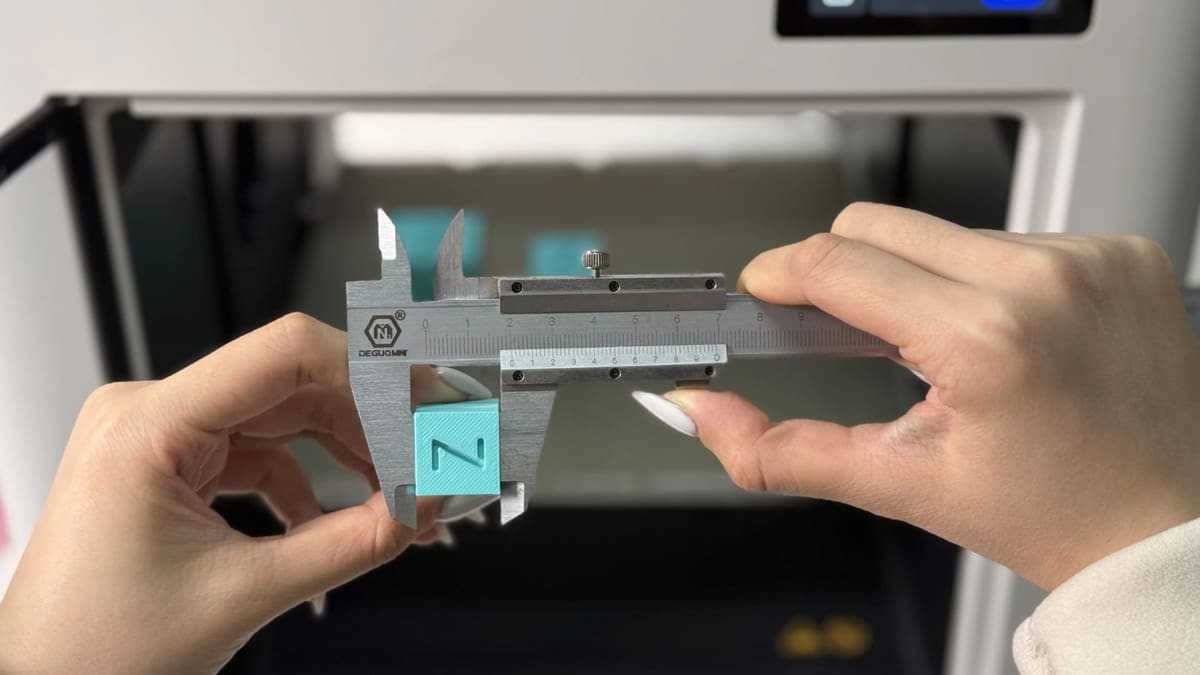
How & Why to Calibrate Your 3D Printer: A Step-By-Step Guide

Your printer might calibrate itself, or it might need calipers and an evening. Here is what to tune, in what order, and what every term means.
Today’s 3D printers are a long way from the tinkering projects of a few years ago. Many can now level their own beds, some compensate for their own vibrations, and a few run their own flow calibration before a print even starts. You may have gone months without touching a calibration setting at all.
But sooner or later, most of us hit a print that comes out wrong for no obvious reason: a first layer that won’t stick, stringing that won’t go away, a cube that measures a millimeter off. That’s when it pays to know what calibration actually does, and what your printer is and isn’t doing for you.
Calibrating your 3D printer ensures that every print will turn out the same, every time. Whether you run a built-in routine, work through your slicer settings or get into the G-code yourself, a few adjustments are all it takes to get more out of your machine.
This guide walks you through the main steps, from the first layer to test prints, with links to the detailed guides for each. If a term is new to you, jump to the terms explained.
Do you need to calibrate at all?
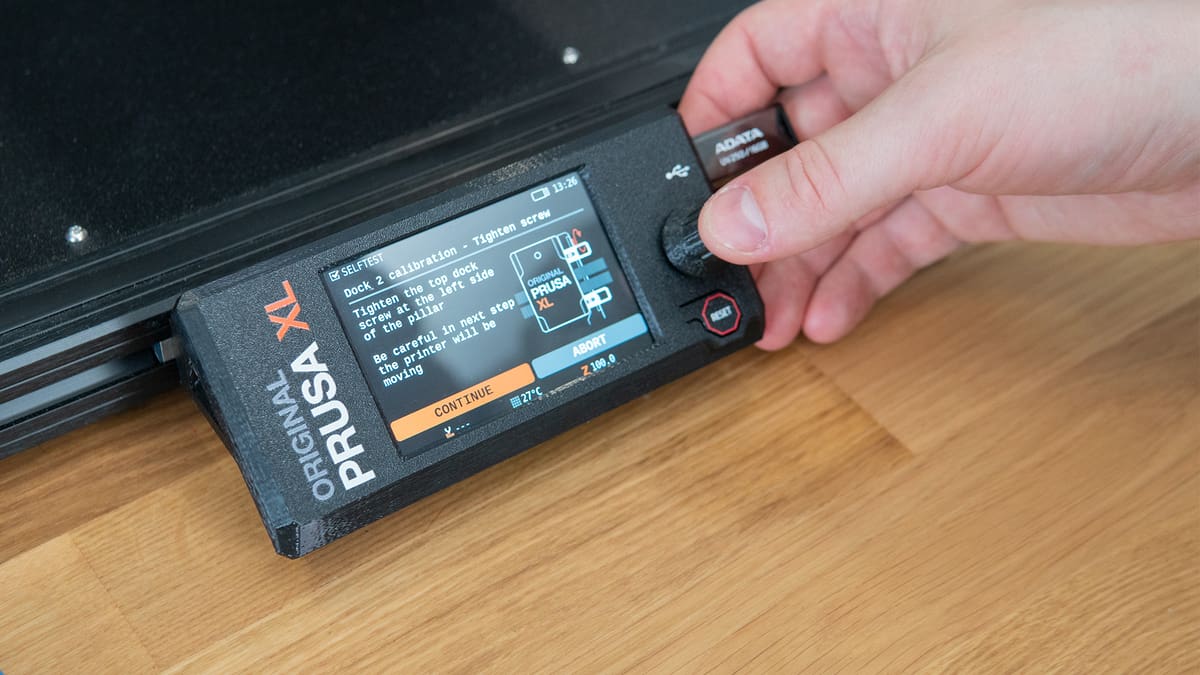
It depends on the printer. Many modern machines take over a good share of the work. Bambu Lab’s wiki lists vibration compensation, motor noise cancellation and auto bed leveling among the calibrations you can run from the printer, and its slicer offers Flow Dynamics calibration, Bambu’s take on pressure advance, in both an automatic and a manual mode. On a Bambu, that means some of the steps in this guide come down to a button press.
As with Bambu, other major brands such as Prusa and Creality also advertise built-in calibration on many of their current printers. What gets automated varies by model, though, so check your printer’s wiki or manual to be sure before you start calibrating by hand. If your printer has one-click routines like these, run them first and only work through the steps below if your prints still look off.
Kit and budget machines ask more of you. The Ender 3 (V2/Pro), for example, has no automatic leveling, and usually needs five adjustments: tightening fasteners, leveling the bed, calibrating the extruder, checking belt tension, and adjusting the eccentric nuts. Machines running Klipper sit in between: the firmware adds tools such as pressure advance, input shaping, bed mesh and PID tuning.
How to Calibrate Your 3D Printer
If you do need to calibrate, the order you work in matters, because each step builds on the one before it. There’s little point tuning pressure advance on a first layer that won’t stick. The trouble is that calibration guides don’t all agree on the order. One may start with extruder calibration, while another recommends starting with temperature, then maximum volumetric speed, pressure advance, flow, retraction, cornering and input shaping.
For convenience, we follow OrcaSlicer’s calibration guide, since OrcaSlicer is a widely used open-source slicer and its calibration tools are built right into it. Because that order starts at temperature, we put the first layer and stepper motors in front, since those need to be right before anything else can be trusted.
Before You Start
Before we get into the ins and outs of calibrating, here are a few quick things to double-check:
- Tighten loose screws: Loose fasteners and frame bolts can cause problems like ghosting, and no amount of software tuning fixes a wobbly frame.
- Check your belts: Loose belts cause layer shifts, wavy walls and dimensional errors, while belts pulled too tight wear out faster.
- Clean the build plate: Wipe it with isopropyl alcohol so grease and fingerprints don’t skew your first-layer results.
- Dry your filament: Damp filament can throw off every later step, so dry it first if it has been sitting out.
Then change one thing at a time, and print a test model between steps so you can see what each change did.
Dialing in the First Layer
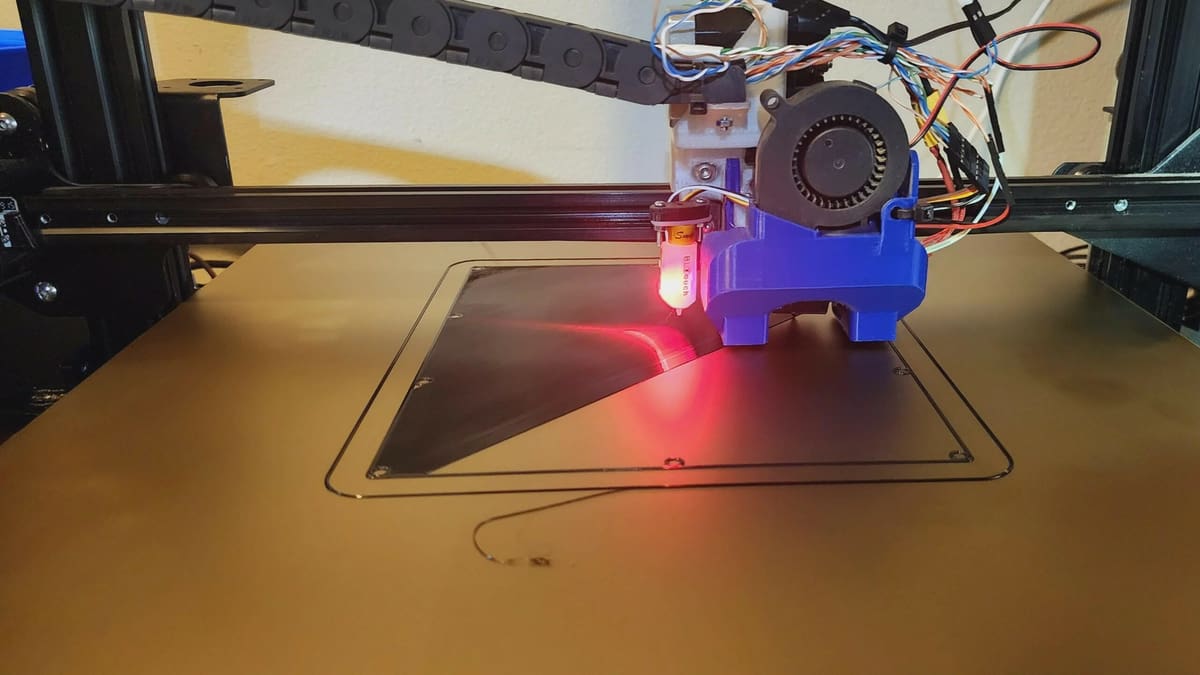
Everything else is built on the first layer, so start here. Bed leveling makes the path of the nozzle parallel to the bed so the gap is the same everywhere, and the Z offset sets that gap. Too small and the first layer is squashed or scrapes the plate, too large and it will not stick. Printers with auto bed leveling handle most of this for you, while on a manual machine you level the corners with a sheet of paper and then set the Z offset in the slicer, the firmware or the printer’s menu.
If the printer still struggles with warps across the bed, mesh leveling has it measure a grid of points and compensate as it prints. Our guide to mesh bed leveling shows how to set it up in Marlin, and Klipper calls the same feature bed mesh.
Calibrating the Stepper Motors
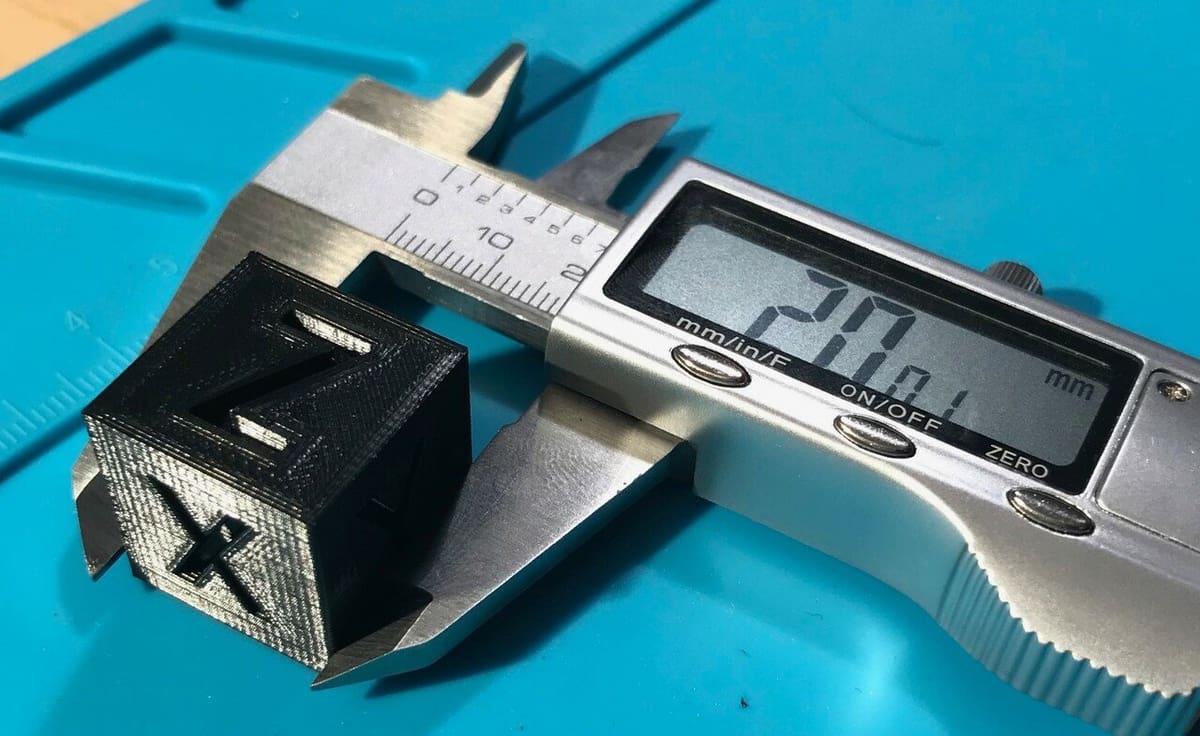
Your printer moves using stepper motors, which turn in small, fixed steps. The firmware counts those steps to move things, so it has to know how many add up to one millimeter. Calibrating your stepper motors means checking that relationship for the extruder, which feeds the filament, and for the X, Y and Z axes, the printer’s three directions of movement.
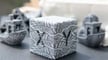
Start by Calibrating your extruder to ensure that when you ask for 100 mm of filament, 100 mm comes out, using E-steps in Marlin or rotation distance in Klipper. Always do the extruder before the axes, because it affects the size of everything you print. If it’s off, you’ll see under-extrusion (gaps and weak layers) or over-extrusion (excess material and rough surfaces). Do it before the axes, since it affects the size of everything you print. Then print a calibration cube and measure it with calipers to check the X and Y axes, correcting the steps-per-millimeter value for any that are off. The Z axis is less reliable to check this way, since bed flatness affects the result.
Fine-Tuning Filament Settings
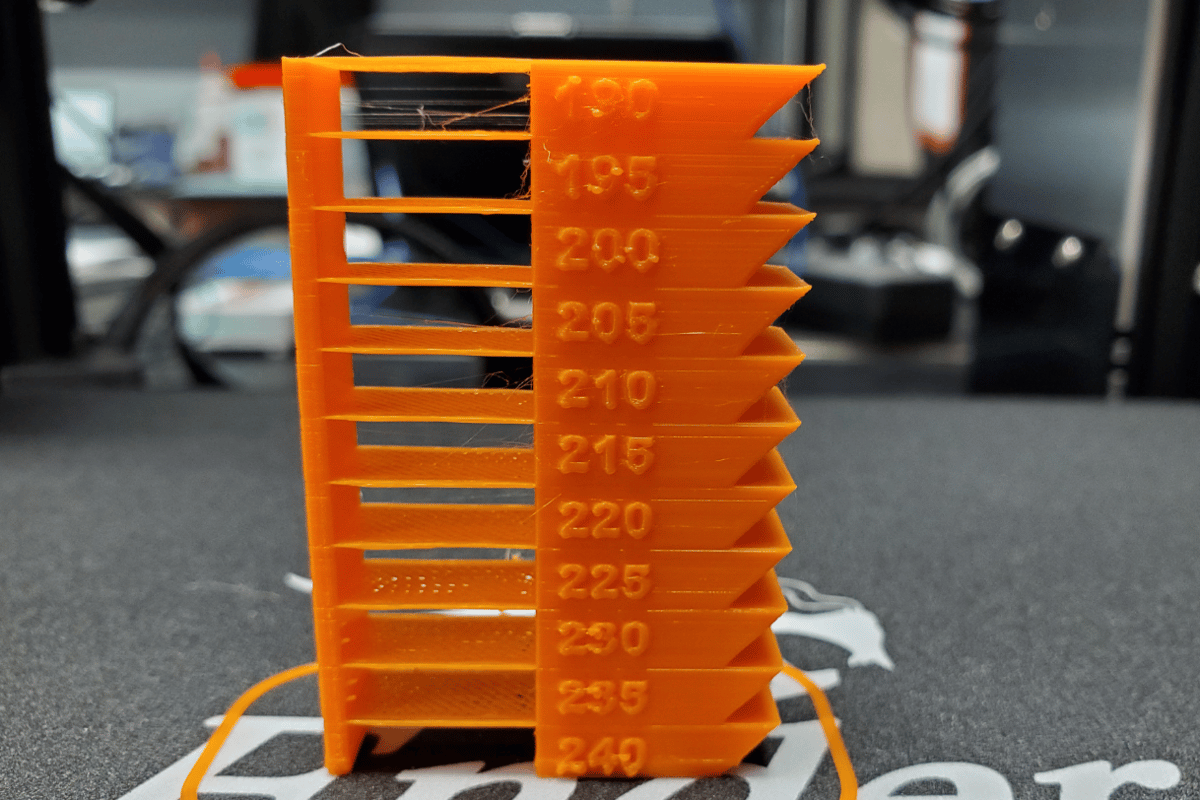
Every filament has a temperature sweet spot that balances layer adhesion, detail, stringing and bridging. A temperature tower, one print split into sections at different temperatures, shows you where it is, and you can set one up in Bambu Studio, PrusaSlicer, OrcaSlicer or Cura.
Next, find your maximum volumetric flow: the most plastic your hotend can melt and push per second. It depends on your hotend, nozzle and filament, and it limits how fast you can print. Print at 100 mm/s with a 0.4 mm line width and a 0.3 mm layer height, for example, and the hotend has to handle 12 mm³/s. If it can’t, you get under-extrusion, with gaps and poor layer adhesion, which is easy to mistake for a pressure advance problem. To find your limit, you can see how to do a volumetric flow test among our list of free 3D print test models. The model raises the requested flow as it prints upward, so you can spot where extrusion turns inconsistent, rough or thin, then keep a conservative safety margin below that point.
Then tune pressure advance (Klipper) or linear advance (Marlin), which compensates for the lag between the extruder pushing and plastic leaving the nozzle, reducing ooze and blobbing at corners. The pattern method is a fast way to tune it that uses less filament than the classic tuning tower, and you should redo it when the extruder, nozzle or filament changes.
Two more settings sit in your slicer’s filament profile: flow rate and retraction. The flow rate is a percentage that scales how much plastic is extruded, so a filament that under-extrudes or leaves ridges on top surfaces can be nudged up or down a few points. Retraction pulls the filament back a set distance and speed during travel moves, so the nozzle doesn’t ooze strings across gaps. To tune both, print a flow-ratio test and a retraction tower (slicers can usually generate each for you, and both are also in our list of test models). For flow, pick the setting where the lines meet cleanly without gaps or ridges, and for retraction, thick strands between the towers mean too little and gaps after travel moves mean too much.
Reduce Ringing with Input Shaping
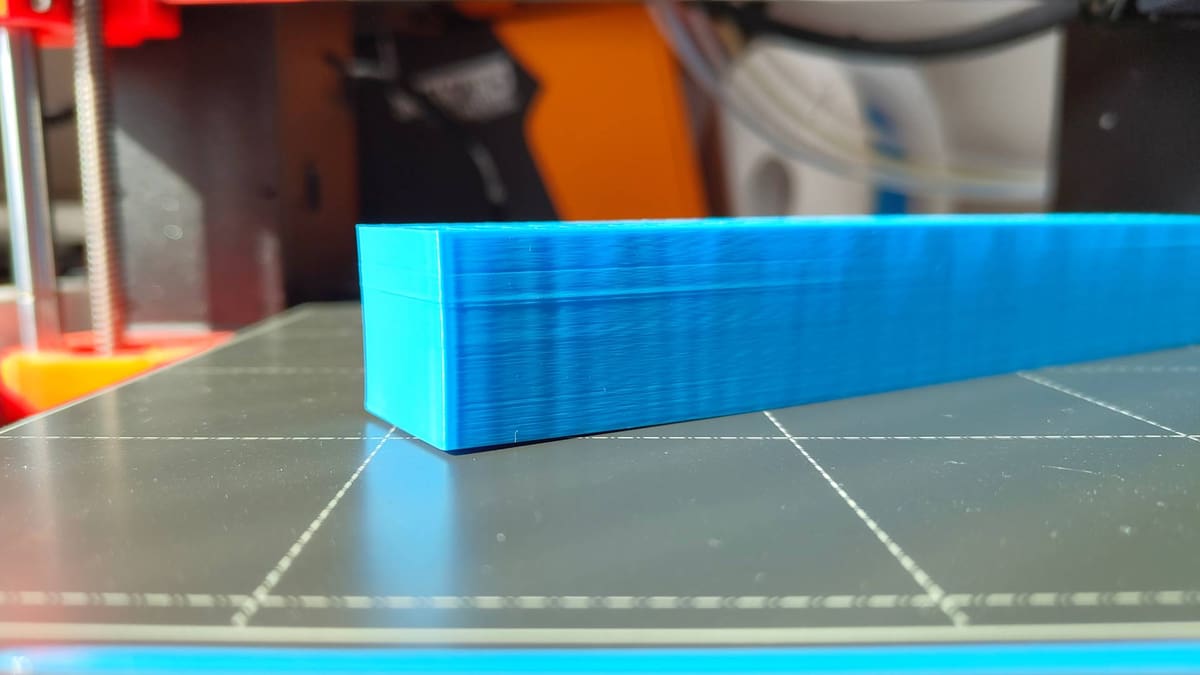
When the toolhead changes direction quickly, it shakes the printer, and that shaking can be printed into the surface. The result is ringing, also called ghosting: faint echoes of sharp features, and a ringing and input shaping test will show you how bad yours is. Input shaping is firmware compensation that works against those vibrations. It does not change print times on its own, but once it is set up you can raise acceleration, up to a point, without the ripples coming back. Klipper’s documentation explains how to set up resonance compensation, and Bambu Lab’s wiki lists vibration compensation among the calibrations its printers offer.
Torture Test Your Printer
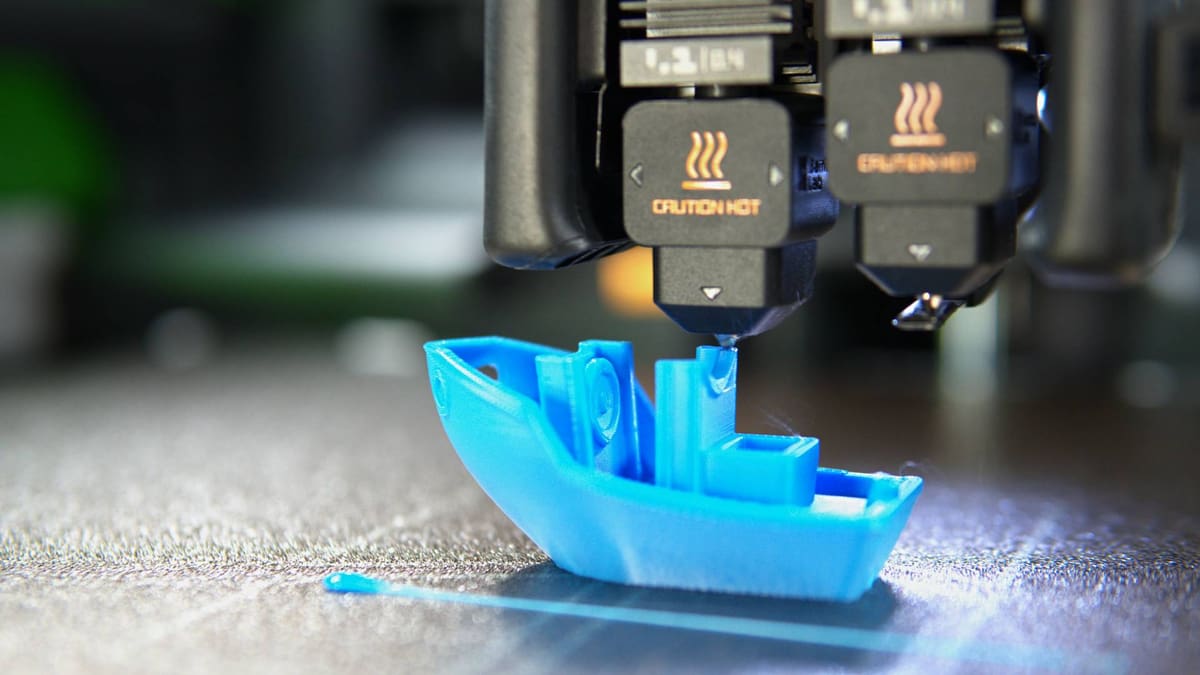
A torture test is a model that combines several difficult features in one print, so weak spots show up quickly. When it comes to testing your printer and you are left scratching your head at what could be the problem, you can print a few test models to see what they reveal. When a broad test fails, pick a more focused test for the visible symptom instead of changing several settings at once. The most popular torture test is the 3DBenchy (usually just called a Benchy), and if yours comes out wrong, a Benchy can reveal whether the cause is mechanical, material-related or a slicer setting.
You May Also Like:

License: The text of "How & Why to Calibrate Your 3D Printer: A Step-By-Step Guide" by All3DP is licensed under a Creative Commons Attribution 4.0 International License.