Wood 3D Printer: How to 3D Print Wood

Wood 3D printing is a beautiful smelling process! Check out this simple guide and learn how to 3D print wood!
Wood filaments for 3D printing have been popping up since around 2012. But how can wood be 3D printed? Basically, wood fiber is loaded into PLA to make a composite filament. Once printed, the final object looks and feels surprisingly wood-like.
These days, many filament manufacturers offer their own take on wood filament, with many types of wood being represented. Nevertheless, wood filament can still be a tricky material with many possible difficulties that can arise during printing.
In the following, we’ll take a look at exactly what wood filament is and how to use it. We’ll also discuss post-processing and mention a few popular brands as well as some fun designs that’ll benefit from being printed with it.
Wood Filament in a Nutshell

Typically, wood filament is composed of around 70% PLA and 30% wood fiber. Because of the added wood, it tends to be a bit more delicate than regular PLA.
Early wood filaments were made with sawdust, but that left the final prints looking more like cardboard than wood. Today’s wood fiber filaments can produce objects that look, feel, and smell just like carved wood, although are not as flexible as its predecessor.
Depending on the brand, you can find several different types of wood filament, like bamboo, birch, cedar, cork, ebony, olive, pine, and even coconut! But pay close attention to the filament you buy: Make sure it actually has wood fiber and not just wood coloring because the finish won’t be the same.
Temperature Settings
The settings that will arguably need to be considered the most (especially as they can affect the overall shade of the material) are the hot end and print bed temperatures.
The Hot End
Similar to regular PLA, it’s best if you preheat your printer’s hot end to between 170 and 220 ºC. Naturally, the exact temperature will depend on the filament.
One interesting thing with wood filament is that you can experiment with different temperatures to produce different colors and finishes. That’s because an extruder at higher temperatures will burn the wood fiber, creating darker shades. One maker has even shared a script that generates temperature gradients during printing in order to create that authentic wood grain pattern.
Just be aware that wood is flammable. If the hot end is too hot and the nozzle isn’t extruding filament fast enough, your print could become damaged or even catch fire. To be on the safe side, don’t exceed the printing temperature range provided by the manufacturer.
To prevent clogging, it’s highly recommended to equip your printer with a nozzle larger than the standard 0.4 mm. Additionally, it’s especially important with wood filament to keep the nozzle clean!
The Print Bed
To create quality prints with wood filament, it’s a good idea to use a heated bed, but it’s not necessary. If you have one, preheat it to somewhere between 50 and 70 ºC.
What is necessary for printing wood filament is an adhesive surface, as it’s very common for parts to slide during printing. Secure your prints with either painter’s tape, glue stick, a glass bed, or PEI sheets.
Additional Settings
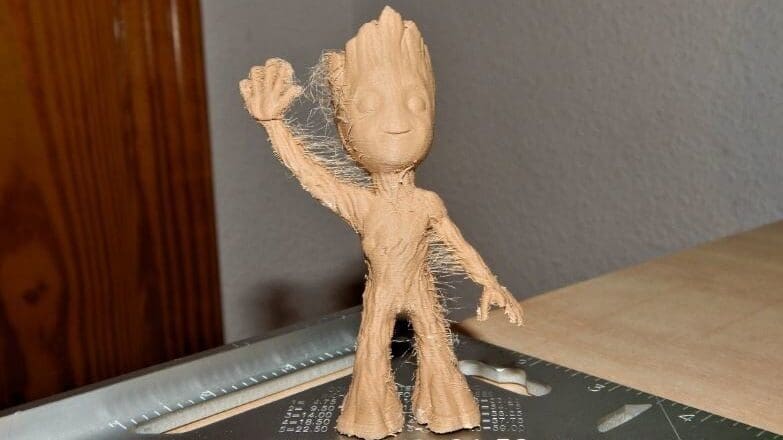
Once you start working with wood filament, you might experience some issues with oozing and stringing. Playing around with certain slicer settings can help! Here are some handy tips:
- In general, don’t be afraid of adjusting the number of layers when using wood filament. The material is typically very good at hiding layer lines, so having more or less usually isn’t an issue.
- Because wood filament solidifies relatively quickly, preventing clogging can sometimes be as simple as increasing print speed.
- Use slicer settings that recalculate the movement of the nozzle to stay inside the print. This will increase print time, but improve print quality and prevent stringing. In Cura, this setting is called “Combing“. For Simplify3D the equivalent setting to select is “avoid crossing outline for travel movements”, and in PursaSlicer the similarly named “avoid crossing perimeters”.
- Simplify3D and Cura have a setting called Coasting, which reduces the pressure on the nozzle every time it reaches the end of a printing segment. Parameters to consider for this are the speed and the volume of coasting material – negative values may help reduce the chance of oozing or stringing. PursaSlicer doesn’t currently have a coasting option, instead you could try playing around with the Linear Advance or retraction settings to achieve a similar effect.
Post-Processing
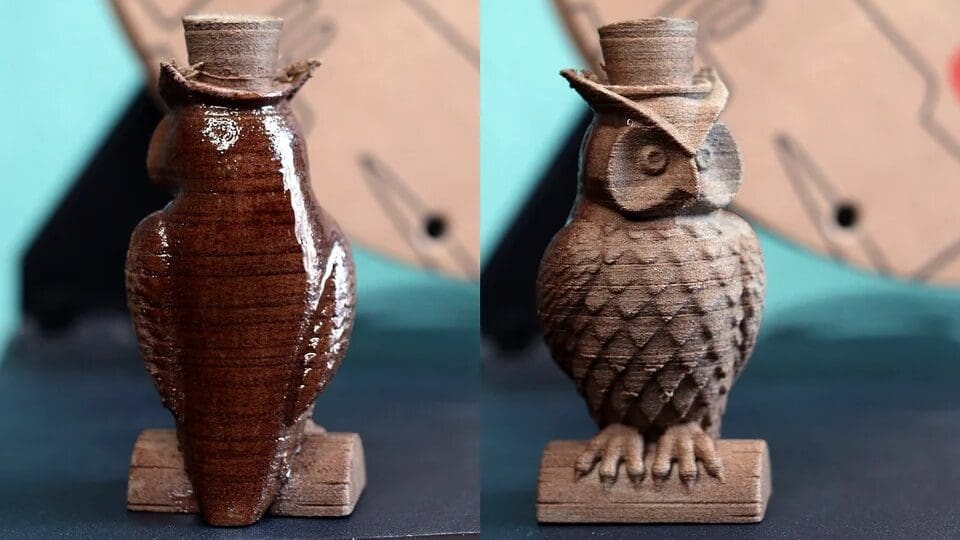
When the 3D printing process is finished, you can start the final touches. Yet, with wood filament, you can even start with coloring during printing. As mentioned earlier, changing the print temperature will produce subtle color changes.
Sanding a wood 3D print is very similar to sanding a normal piece of wood. Start with coarse grit and gradually work your way to a finer one until the object is smooth.
Just like real wood, objects 3D printed with wood filament are porous, meaning they easily absorb different dyes and stains. Consider using a stain to produce different colors and surface finishes.
If you have access to a laser cutter or engraver, a CNC machine, or even a pyrography set, you can add features or drawings to your finished piece of work.
What to Print with Wood Filament

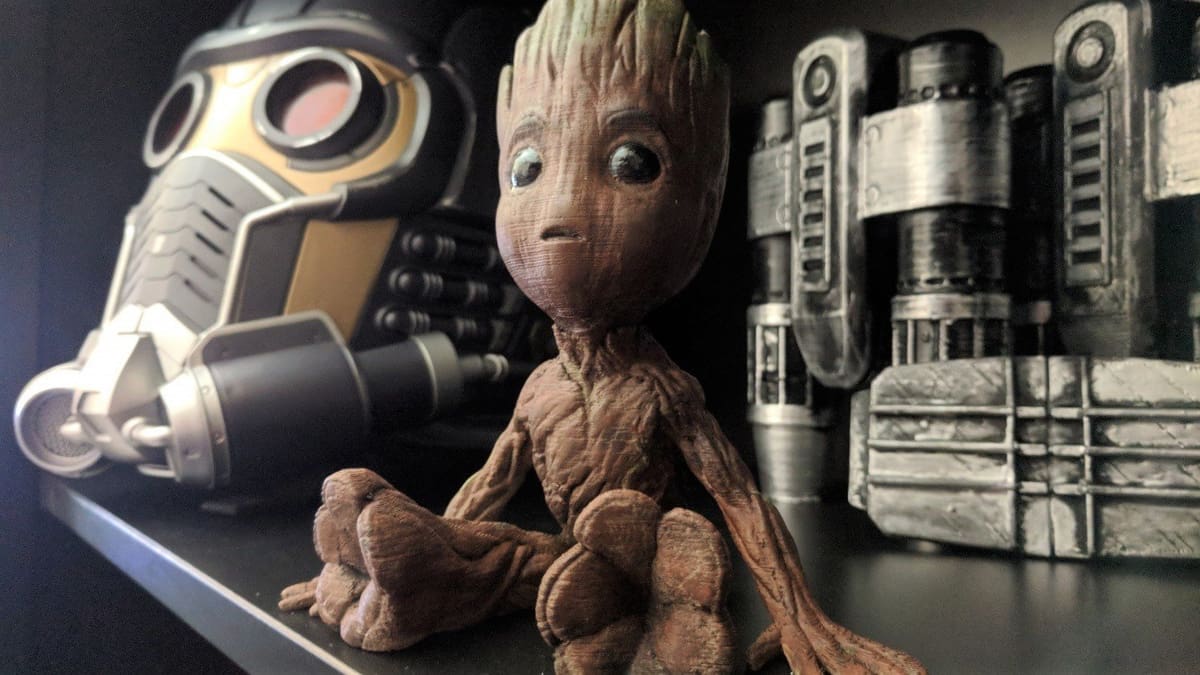
So it looks great and smells great, but what can wood filament be used for? While you may want to be cautious when using wood filament to print weight-bearing parts, you can easily elevate many decorative items that you may already be printing. Just add some wood stain and you’ll have parts that look like some serious woodworking skills were needed.
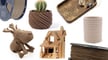
Check out some of these designs for some inspiration on how to include this new material in your plastic world!
Xbox Controller Shell
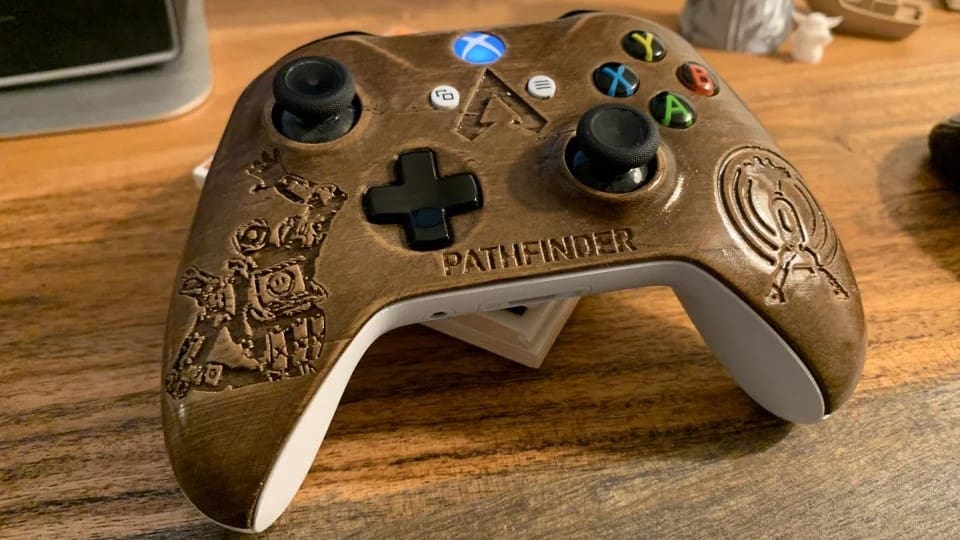
This custom Xbox controller shell was printed from a design posted in Thingiverse. There are over 40 other different logos available in that post so you can represent your favorite movie or videogame! The maker noted that he printed at a 0.2-mm layer height to help achieve a grainy effect.

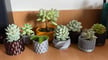
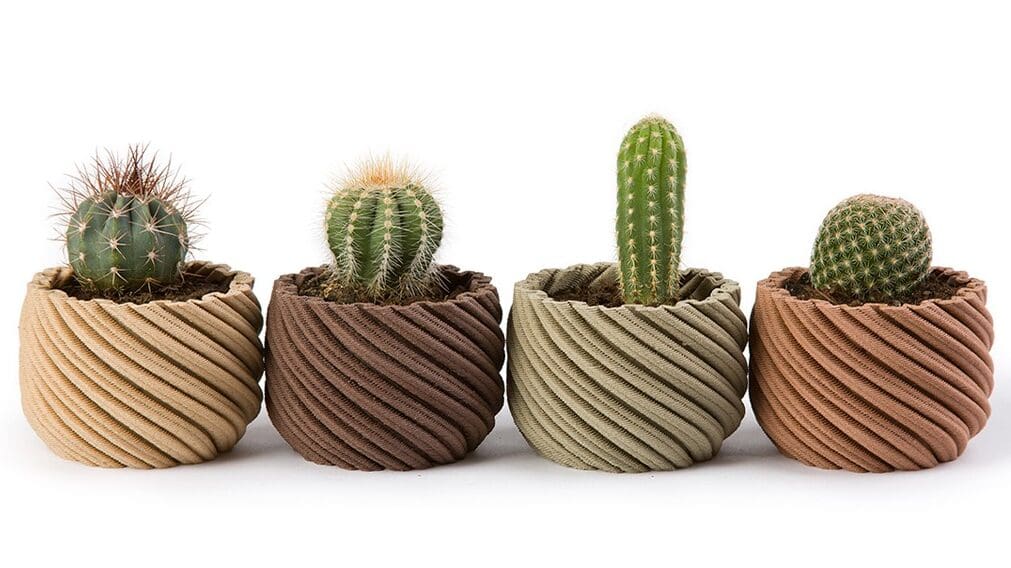
Plant Pots
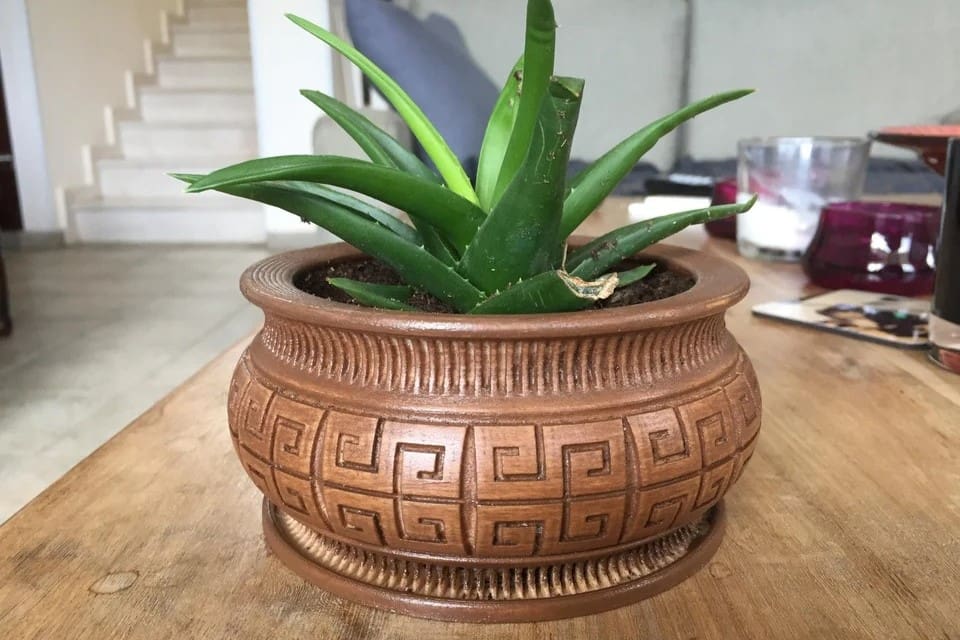
This planter comes from another Thingiverse post and was designed with wood filament in mind. A few other different patterns are also available to choose from. After printing, all the maker had to do was sand and stain with a golden teak color to achieve this straight-from-the-vintage-store look!
Dice & Game Pieces
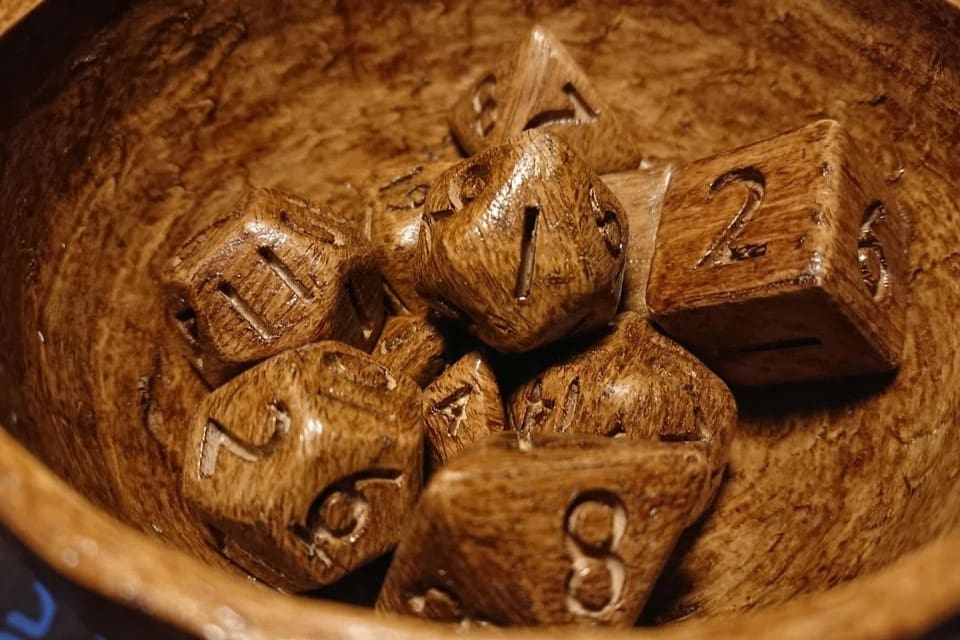
It’s hard to argue that wooden game pieces don’t give a special touch to any of your favorite games. Instead of meticulously carving a number into each side of a wooden block to make some dice, just pull out your handy 3D printer and get yourself some wood filament to achieve the same look! These dice were printed with 100% infill to create a nice solid feel. Now, who is up for printing a custom wooden chess set?

Wood Filament Options
There are quite a few good wood filaments on the market. Many brands will offer several colors or wood types as well. Here are some popular picks:
Fillamentum Timberfill
These wood-based filaments from Fillamentum can be biodegraded in industrial compost, and even smell like the real thing!
- Composition: 70% PLA, 30% wood
- Color options: Champagne, cinnamon, rosewood, light wood, Southern Pine, Charcoal, Terracotta, Redheart
- Price per spool: ~$46
Hatchbox
Hatchbox can offer some of the best prices for wood-based filaments. They also state that no heated bed is required to work with this filament.
- Composition: 89% PLA, 11% wood
- Color options: Wood, black, brown
- Price per spool: ~$31
FormFutura EasyWood
This Dutch filament manufacturer provides a wide selection of colors and small spool sizes that are hard to resist. With a claim to be absolutely warp-free, why not try out a color or two?
- Composition: 60% PLA, 40% wood
- Wood options: Pine, cedar, olive, coconut, willow, ebony, birch
- Prices per spool: ~$20 (250 g), ~$35 (500 g), ~$145 (2.3 kg)
License: The text of "Wood 3D Printer: How to 3D Print Wood" by All3DP is licensed under a Creative Commons Attribution 4.0 International License.