How to Make 3D Prints Watertight: 5 Simple Steps

Want to make watertight 3D prints? Read on for tips about materials, design choices, slicer settings, post-processing, and more!
Who hasn’t fired up their 3D printer, printed a beautiful cup in vase mode, and filled it with water, only to have it leak everywhere? There are many reasons for this tragedy that so many of us experience in our early days of 3D printing. The good news is that you can put a stop to leaky 3D prints with a few simple steps.
Whether you’re making a container for food, a vase to hold flowers, a water pump, or an accessory for your fish tank, it’s important that your 3D printed objects can prevent liquids from entering or escaping. In this article, we’ll discuss different ways to make your fused deposition modeling (FDM) 3D prints watertight with design decisions, water-resistant materials, post-processing techniques, and more. We’ll show you how to ensure your 3D printed objects are ready for anything, whether you want them to hold a lot or a little liquid.
Like what you see but don’t have the means to print it yourself? An ocean of 3D printing services is waiting to help you! Regardless of your location, compare some of the best providers with Craftcloud, a 3D printing and price comparison service.
Note that, in this article, we’ll be referring to watertight 3D prints as those that are meant to be impermeable. For information on making 3D models printable, you can check out other articles on non-manifold edges or how to repair STL files, for example.
Now, let’s dive into everything you need to know about making your prints watertight!
Making Watertight Prints
So, what exactly does it mean to create watertight 3D prints? First, let’s clear up some terminology. Just because something is waterproof doesn’t mean it’s watertight. The terms, while often used similarly, are not interchangeable.
In the context of 3D printing, watertight means that the container or vessel is designed and printed in such a way that it prevents water from entering or escaping. This means a container should not leak or let liquids pass through, even when submerged in water, holding liquids, or exposed to heavy rain.
Waterproof means that a material or object keeps water out. The material doesn’t let water in and the object is unaffected by splashes or excess moisture. However, a waterproof object may still have gaps, seams, or openings that allow water to flow through if submerged or exposed to water for an extended period of time.
For example, think of your phone case. Many protective cases made from materials like high-density, vacuum-formed plastic and glass will keep out water. The case may even protect your phone from splashes or drips to some degree. However, most phone cases are not watertight because they have gaps, ports, or other ways for water to pass through the case. To be watertight, the phone case would have to cover or seal every entry point against fluids.
Safety Considerations
Before we proceed, let’s discuss some safety considerations. Depending on how you plan to use the 3D printed container, you may need to take additional safety precautions. If the container or vessel is going to hold food or drinks, you should also think about food safety.
FDM printing has an inherently porous nature due to its layer-by-layer construction, which can cause water to seep through. This porosity is a primary concern for food safety, as the voids provide a place where harmful bacteria can harbor and multiply – even if the object appears watertight on the surface. Therefore, it’s crucial to ensure that 3D printed objects intended for contact with food and drinks are printed with the highest possible accuracy to minimize voids.
Additionally, it’s essential to use food-safe filaments. Most filaments are not safe for food contact, since they can break down and pass hazardous chemicals. It’s recommended to use filaments that are specifically labeled as food-safe to ensure that your 3D printed objects are suitable for food contact applications.
Besides dishes and flower pots, containers such as air tanks and fuel containers also need to be watertight. For safety purposes, containers that will be under pressure or hold volatile liquids should undergo additional testing before use. While it may be possible to 3D print a fuel tank for an RC car, it may not be the wisest course of action. Such tanks are often made of high-density polyethylene and mixed with other materials such as ethyl vinyl alcohol, a concoction not available to most home enthusiasts. Vessels that are intended for fuel or other hazardous contents are often made of aluminum or steel to minimize the risk of rupture or leaks.
How to Do It
In the following sections, we’ll walk you through five easy steps to make your prints watertight.
Design for Watertightness

The first step is to design models that are optimized for watertightness. 3D printing allows for nearly limitless design options. You can dream up, design, and print just about any container or vessel you want. But if you want it to be watertight though, it’s best to opt for a simpler design.
Designs with abundant right angles, hard corners, and overhangs will have a higher chance of permeability. On the other hand, those with smooth curves and minimal hard angles will be easier to make watertight. This comes down to the simple geometry of how the filament is laid down. Every corner or direction change the print path takes is another opportunity for a gap to form.
Designs with compartments in the interior spaces of the container are also more difficult to make watertight. Every time the printhead changes direction or picks up to move within a layer, the difficulty of ensuring water tightness increases.
For example, let’s consider your basic bowl. While not a sealed container, it’s largely curved and tapered with few hard angles, if any. The printhead’s movement will likely remain relatively smooth and in contact with the print for much of the process. This creates few opportunities for the print to form gaps, holes, or pockets for water to seep through.
Conversely, an open-top cube container has a number of intersecting 90-degree angles. When the corners come to a point, the printhead makes sudden changes in direction and may lift during the printing process.
Since design choices are never just as simple as a bowl or a cube, these examples are an oversimplification of potential issues that may arise. However, as a general rule, the less complex your design, the easier it is to make watertight.
Choose an Appropriate Material
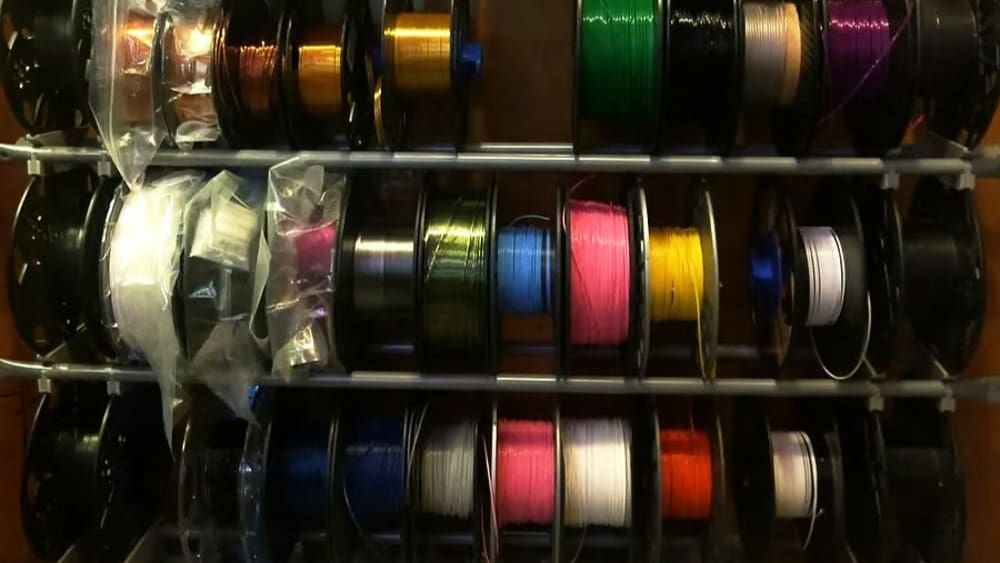
The second step is to pick an appropriate material. When it comes to watertight prints, polypropylene (PP) is an excellent choice. It may not be as well-known as other options, but this material has inherent hydrophobic properties, repels water effectively, and exhibits good chemical and impact resistance, making it a reliable option for durable and watertight parts.
ABS and PETG are popular materials that are decent options for watertight prints. The same can be said of ASA. ABS and PETG are known to be more difficult to print than PLA, but with properly dialed-in settings and the design considerations mentioned above, you shouldn’t experience any barriers to creating watertight prints.
On the other hand, some materials are not well-suited for creating watertight 3D prints. For example, PLA is a popular and easy-to-print material, but its low melting point makes it unsuitable for hot liquids. Also, it may not be the best option for long-lasting watertight prints because it can swell over time.
Nylon is another one to avoid. Though it’s a versatile and durable material that’s ideal for printing functional parts, some compositions are unsuitable for wet environments since their polymer chains can break down when exposed to water.
Hygroscopy
Another important factor to consider when choosing materials for watertight prints is hygroscopicity. Hygroscopic materials, which include most popular materials, tend to absorb moisture from the air, which can impact the quality of the print. Excess moisture can cause popping and cracking as it boils off during printing, leading to voids and poor prints, which hinder watertightness. You can consider using filament dryers to ensure no moisture is in the material.
Adjust Your Slicer Settings
The next step is adjusting your slicer settings. It’s one of the quickest ways to achieve a watertight print. However, it’s not as simple as increasing your temperatures and slowing down your speeds.
The settings you tweak will largely depend on your material choice, printer setup, and even the design. No single setting will result in watertight prints, but altogether, they can help take you a step closer. Let’s take a look!
Nozzle
Although this isn’t exactly a setting, your nozzle size can have a large impact on an object being watertight. While 0.4 mm is often the standard, using 0.6 mm or wider diameter may provide better results. It typically increases the flow rate and reduces space between layers.
Note that printing with thicker layers only becomes practical when using wider nozzles. This is because larger nozzles require a higher minimum layer height, resulting in fewer potential gaps.
Layer Height
While it may seem counterintuitive, when printing with standard 0.4-mm nozzles, it’s recommended to print with a 0.15-mm layer height. With a 0.4-mm nozzle, watertight qualities are best at the lowest layer heights (0.05 mm) and worse at the highest layer heights (0.3 mm). Seams and the transitions between solid infill and perimeters are the predominant sources of leakage rather than contact between layers.
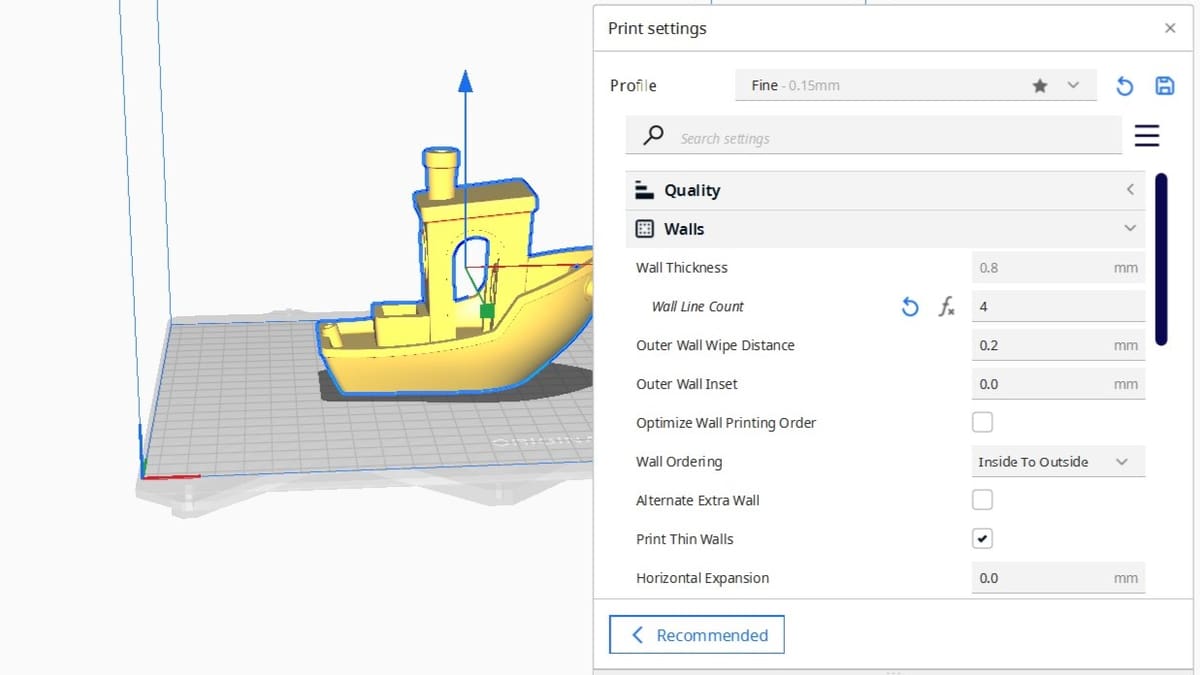
Perimeters
In general, the likelihood of a watertight print increases with more perimeters. This is because additional perimeters lessen the likelihood that water will have a direct path through the existing barriers. The following perimeter serves as a backup to seal small gaps that may have developed in an outer perimeter due to under-extrusion, seams, or other problems.
While some materials like ABS may do okay with only two to three perimeters, others like PETG and PLA perform better with four or more perimeters. Typically, a perimeter count above three is a decent place to start.
Seams
The visible seam that runs along the vertical (Z-axis) direction of a 3D printed object is referred to as the “Z seam” in 3D printing. The Z seam results from layering, which is when the material is continuously deposited along the Z-axis as the printer advances from one layer to the next.
Z seam placement is important because it can influence not only the final print’s attractiveness but also watertightness. Changing this setting in your slicer can either align these gaps or cause them to appear at random spots in your print. Some find that having a random seam location prevents an aligned seam from causing leaks. If you’re noticing big gaps on the Z seam, change your retraction settings to prevent voids.
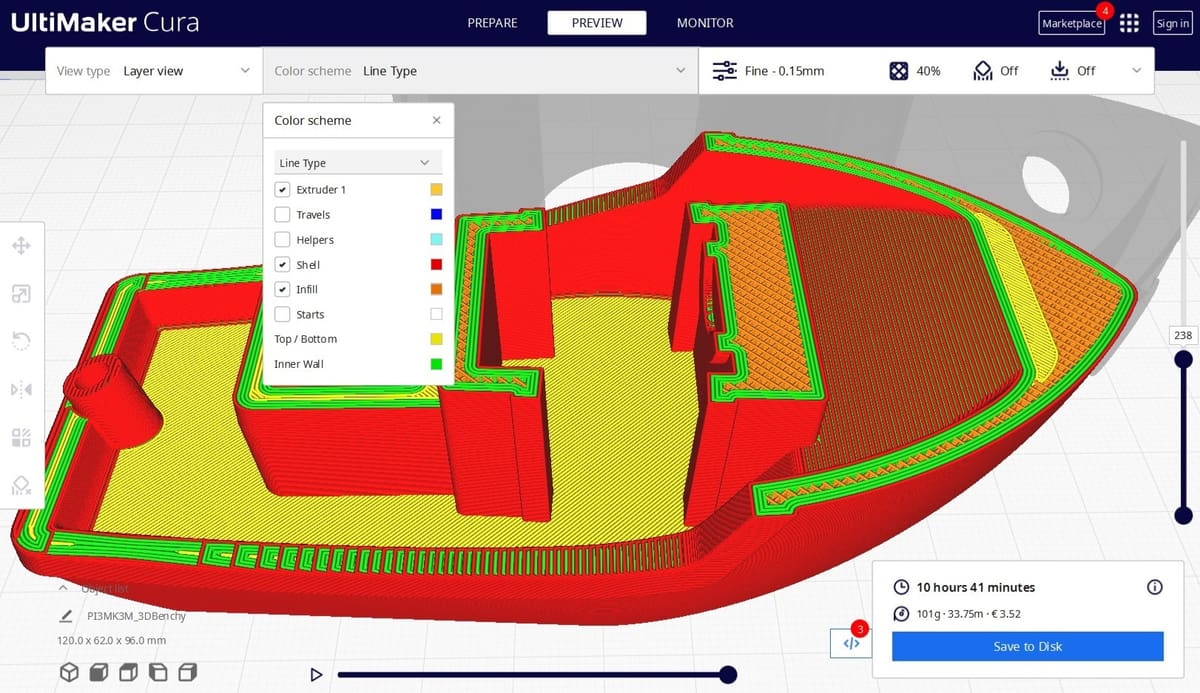
Infill
A higher infill density means fewer gaps in your model. While the natural inclination may be to simply make your infill solid, if other settings are not properly tweaked, your print could still leak. Ideally, no water should be entering the infill areas of your print, as this can cause other issues. If your print will be subjected to pressure (either from within or submerging it), consider increasing your infill density to 40-100% to increase the structural strength.
Extrusion
An obvious way that water can enter a print is through gaps, and one of the main reasons for gaps in parts is under-extrusion. Even well-tuned print profiles can experience under-extrusion because they often place priority on factors like dimensional accuracy, structural strength, or cosmetic consistency. To see an improvement, you only need to slightly increase the flow rate. Start at 102% and keep going up until the returns start to dwindle.
Temperature
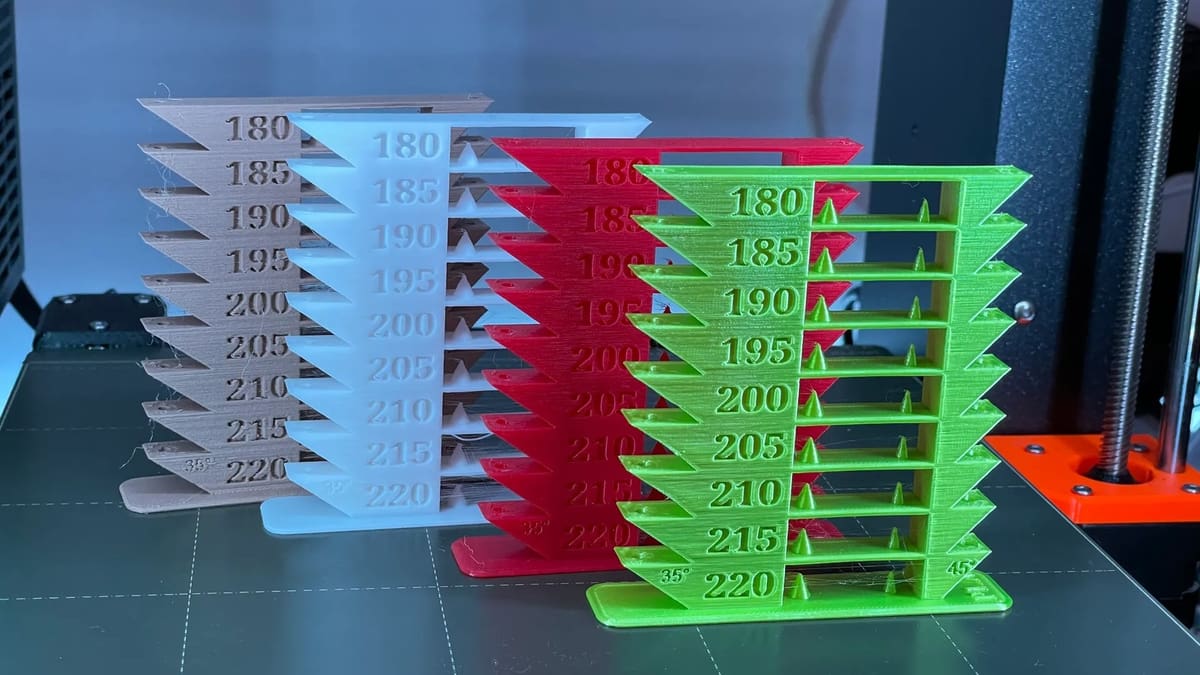
When one layer is improperly connected to the layer below, gaps may develop. One method to improve layer adhesion is to print at a higher temperature. In general, it’s recommended to print at the highest temperature your material will tolerate. However, be careful, because if your print temperature is too high, the material may boil as it exits the nozzle, creating extra problems and potential holes. Start by going up 5 °C at a time until you find the sweet spot.
Speed
Generally speaking, slowing your print speed settings can greatly improve your chances for a watertight print. How much you slow your speed will be determined by factors such as the printer, material choice, slicer, and firmware. Overall, slightly lowering your print speed, particularly in areas such as perimeters as well as top and bottom layers, will increase adhesion and help fill the small gaps common in FDM printing.
Cooling
Changes to the cooling or fan speed setting in your slicer can have a huge impact on the look, strength, and even watertightness of your print. Consider reducing your cooling by several percentage points. This will allow the filament to stay molten for just a bit longer and may improve your layer adhesion to prevent leaks.
Post-process Prints
Once the part has been printed, it’ll likely need some additional post-processing to become watertight. There are a variety of post-processing methods that could be the solution you’re looking for. Let’s explore some of the most popular ones.
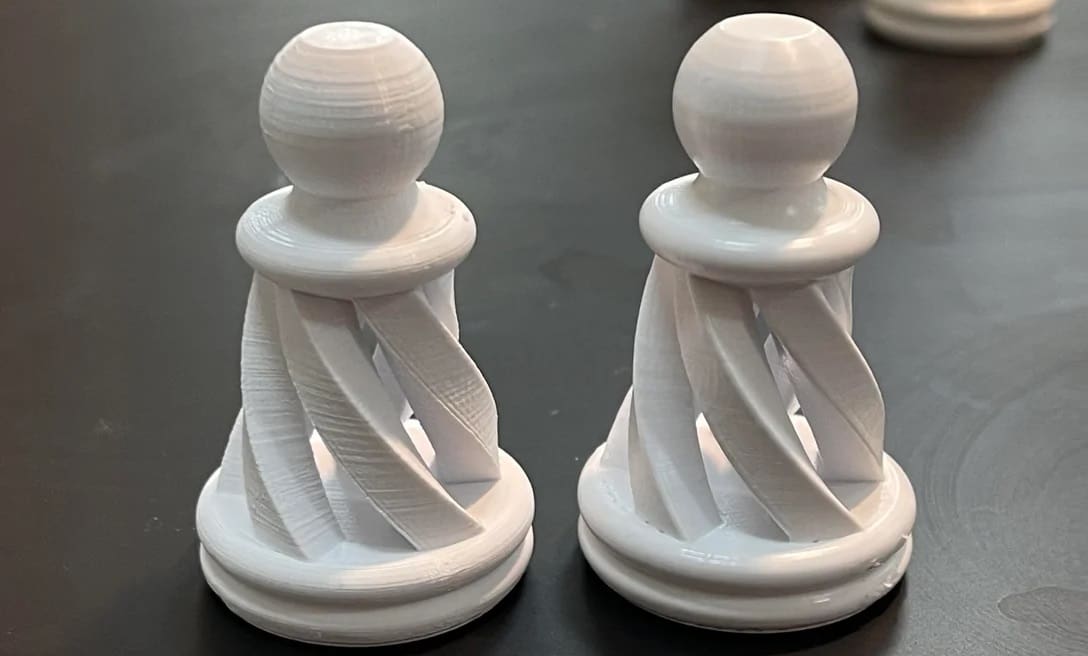
Vapor Smoothing
This is a post-processing method that smooths the surface of 3D printed objects, particularly ABS prints, by submerging the object in an acetone bath or vapor chamber. This process heats the material, causing it to flow and smooth out any roughness, resulting in a glossy, polished finish that may help seal gaps and increase watertightness.
Temperature Treatment
Another way to make a print watertight is heating up the finished print to remove gaps and help bond layer lines together. Heating a finished print is often done in an oven or heated chamber. The concept is to heat the object just enough to encourage the layers to seal without causing the print to deform or melt.
Difficult to do under the best of circumstances, it also may not be the best method since it will not seal larger gaps or seams. The more daring can also try this method using a heat gun, but expect mixed results.
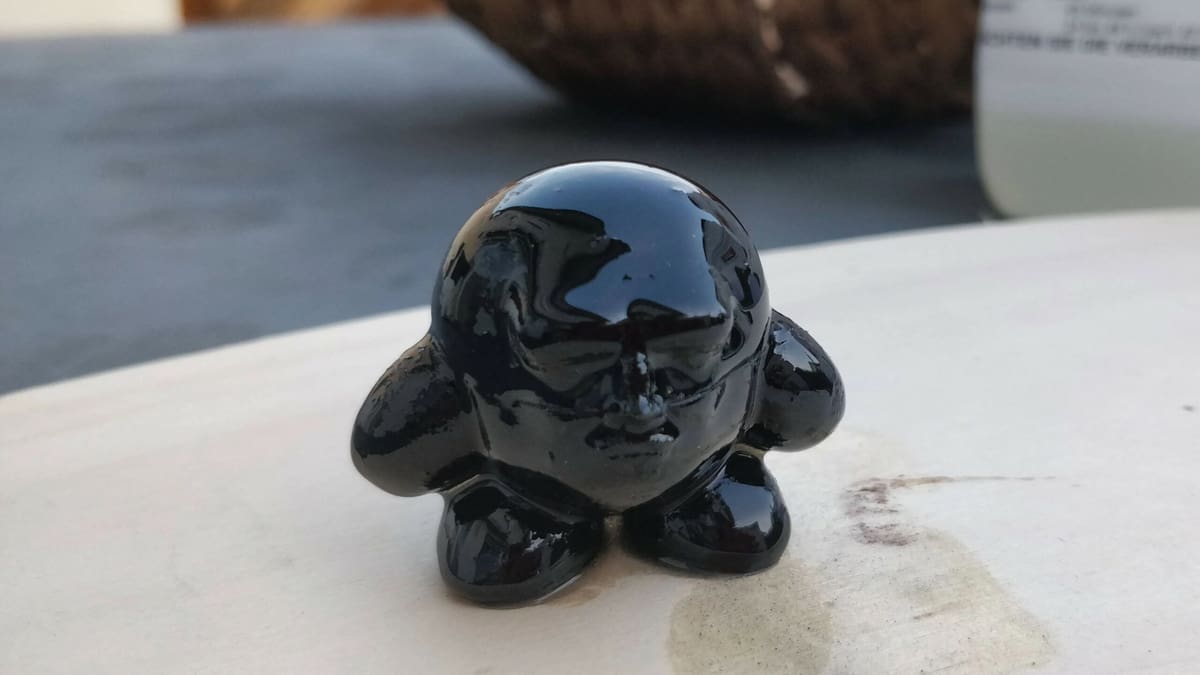
Surface Coatings
Applying a surface coating to your 3D prints is the easiest way to achieve watertightness; it just has to be the right type of coating. For example, painting your prints with acrylic or enamel paint are great options due to their durability and solvent-based composition.
If you want to ditch the paint brush, even spray paint is an option. Acrylic spray is a type of protective coating used to seal and finish a variety of surfaces, including 3D printed objects. It’s made from a fast-drying, water-based acrylic polymer, which provides a clear and durable finish. Of course, most “spray paints” are tinted acrylic-based paints, so you can seal and add color at the same time. Just spray the model several times both inside and outside, then let it dry.
Paint, however, isn’t your only option. Below are some surface coatings that you may not have considered yet.
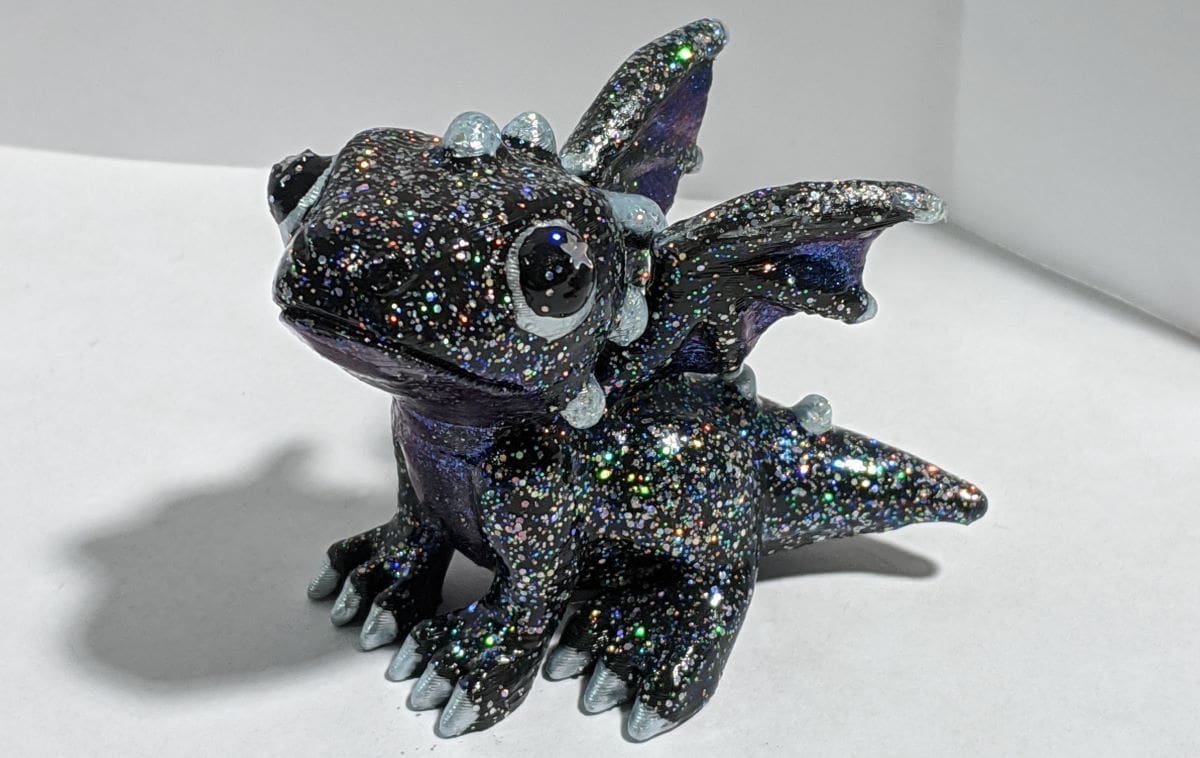
Epoxy
A type of polymer commonly used in adhesives, coatings, and composite materials, epoxy is made up of two main components: an epoxide resin and a hardener. When mixed, these two components form a strong, rigid, and durable material with excellent adhesion, as well as chemical and water resistance properties. Coating a 3D printed vessel (either inside, outside, or both) in epoxy is time-consuming, messy, and laborious work, with long curing times. However, it’s one of the few methods that allows for food-grade use. When done properly, it can provide excellent results.
Glues
A variety of glues can be used to add a watertight layer to a 3D printed container. This method is popular for those wishing to print leak-proof plant pots. While many varieties of glue can work for this method, well-known brands of wood glue – particularly those tested to work in marine or wet environments – are the most popular. The glue is often painted on in several layers and allowed to fully harden before use. Some glues are even approved for use near food.
Wax
Waxes like candle wax, beeswax, and even surfboard wax can all be rubbed onto a print. This enters up and fills small pores or gaps in the surface. Other approaches include melting the wax and either painting it on or dipping the object directly into the wax.
Beeswax is popular for those who are concerned with health and safety. While this approach can work, it should be noted that wax has a very low melting point. Even a warm day can degrade its ability to seal your prints.
Nail Polish
Nail polish may come as a surprise, but the biggest benefit is that it’s easily available. You can purchase it at a just about any drugstore or ask to borrow some from a friend. Nail polish varies greatly but most have solvents, resins, plasticizers, film formers, and stabilizers in them. Essentially, they can create a protective coating that will make the container somewhat watertight.
The primary drawback of this approach is that it’s awkward to apply, as nail polish typically comes packaged in tiny bottles with tiny brushes. Additionally, compared to other treatments, it’s rather pricey. You might want to reserve this option for small prints!
Plastic Dips
Applying a rubberized plastic coating in liquid form and allowing it to dry can give 3D printed objects a layer of watertight protection. The liquid coating is brushed or sprayed onto the 3D printed object’s surface. Alternatively, the object is dipped in the liquid, which then cures to form a flexible, rubbery layer.
Besides making a print watertight, it enhances the object’s grip and makes it simpler to handle while also shielding it from dings, scratches, and other types of damage. The dips are available in several popular brands using different chemical compositions. It should be noted that many of these dips are considered toxic in liquid form.
Test Prints
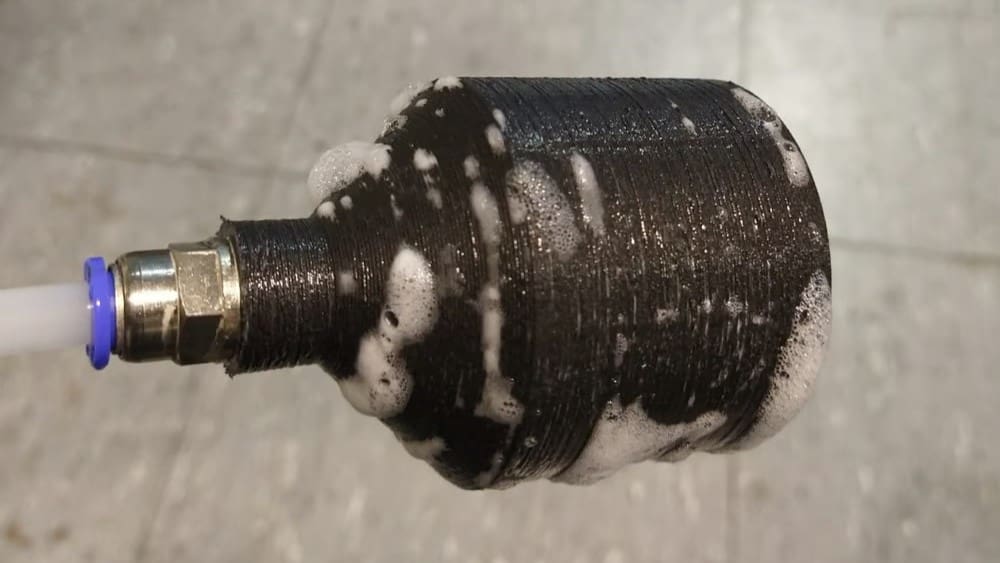
The last step is simply testing your print to make sure it’s watertight. To test properly, fill your print with water and let it sit for at least an hour before checking for leaks.
It’s also a good idea to test the print under different conditions, such as varying water levels or with different types of water (i.e. saltwater and freshwater) to ensure it will function in the intended environment. If your print doesn’t leak with cold water, try it with warm water. Repeat this process several times, waiting between each test. After several attempts, you should either have confidence in your print or notice a need for additional work.
You can take similar steps if your container needs to remain dry when submerged. Rather than filling it with water, submerge the vessel to the intended depth. Keep it submerged for at least an hour, then check for leaks. This will allow you to address any issues before putting the object to use.
Keep in mind that a watertight container may start to leak over time due to swelling brought on by water absorption. If, for example, a PLA print is left in contact with water for a long amount of time, some sections may bloat. The swelling may cause deformation or even split or break the print.
The print won’t entirely deteriorate like with untreated wood, and the swelling won’t continue indefinitely. Instead, depending on the filament material, it’ll inflate up to a particular degree and then cease.
Final Thoughts
In the end, the most important thing to keep in mind when creating a watertight print is that there is no one-size-fits-all approach. What method you choose and its effectiveness will vary depending on your choice of materials and the design itself.
Just slowing down your print speeds and increasing your hot end temperature may be a good start, but it’s by no means the only recipe for a successful watertight print. Making conscious choices about your design, material, slicer settings, and post-processing methods will put you on the path toward waterproof prints.
Some consider FDM printing unsuitable for watertight objects. However, if the printing community has proven anything, it’s that the ingenuity and persistence of creative individuals can make anything possible.
License: The text of "How to Make 3D Prints Watertight: 5 Simple Steps" by All3DP is licensed under a Creative Commons Attribution 4.0 International License.