Cura: Ironing – Simply Explained

Ironing is a useful slicing feature that can smooth out the top layer of 3D prints. Read on to learn all about Cura ironing settings!
UltiMaker Cura is a free, open-source 3D slicer that converts 3D models into 3D printable G-code. It contains a plethora of adjustable settings and features that allow you to control how your part is printed and tune certain aspects of your print. As the slicer has grown in popularity over the years, more features – like fuzzy skin and tree supports – have been included based on the interests of users.
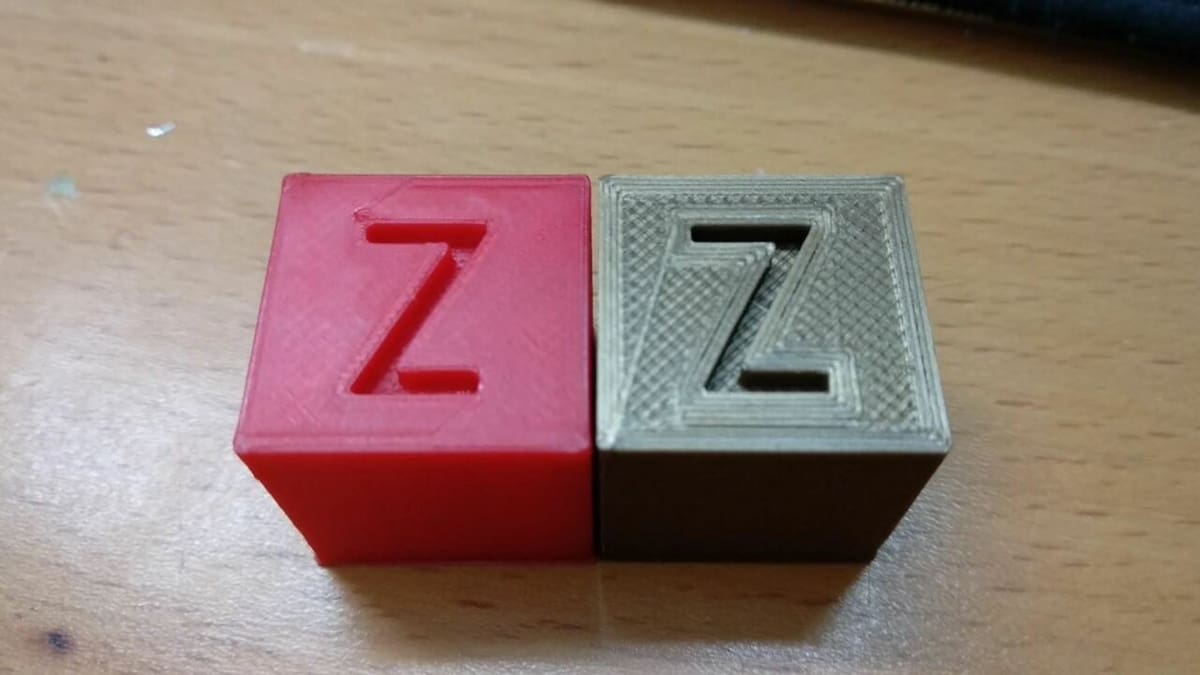
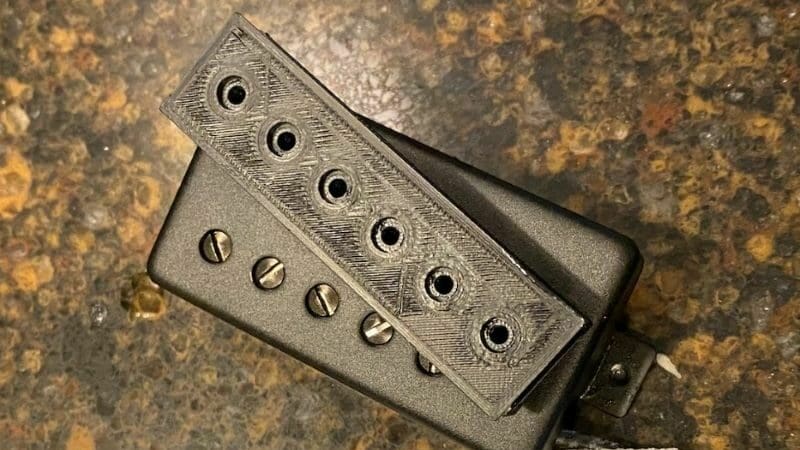
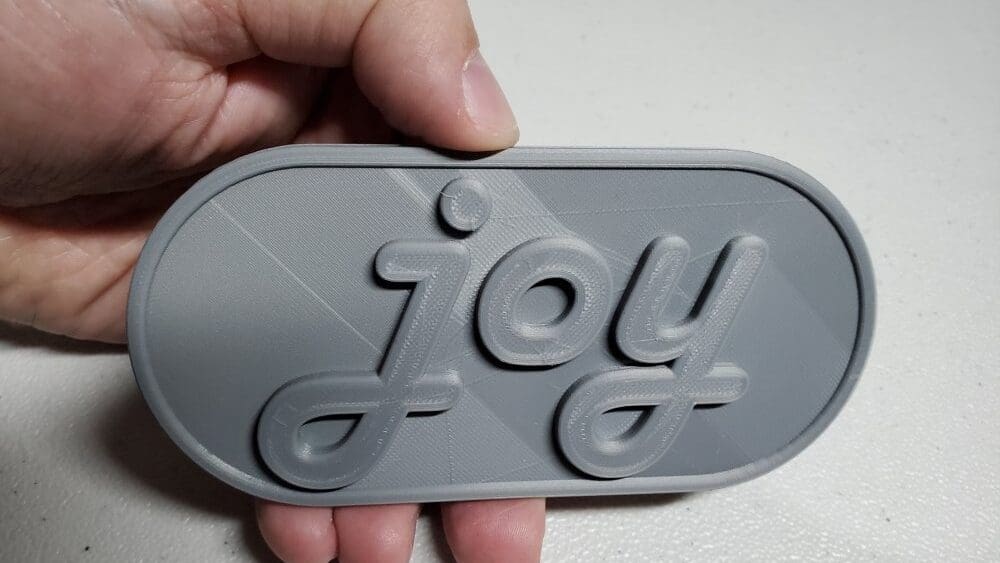
Ironing is another one of these innovative slicer features. It can achieve super smooth top layers on 3D prints, which is especially useful for printing visually appealing models – like cosplay parts, signs with text, and art pieces – where top surface quality matters. Ironing can also make the painting of parts easier because the paint will better stick to the surface.
Although ironing is still considered relatively new and experimental, it actually dates back to 2016. A user named Neotko on UltiMaker’s community forum proposed the idea and created a prototype ironing feature, known as Neosanding, in Simplify3D. After gaining some popularity in the 3D printing community, Cura’s developers added ironing to its portfolio of features in the slicer’s 2.7 version and, since then, they’ve continued to add new ironing features that give users even more control over the process.
In this article, we’ll go over how you can use ironing in Cura. Before diving into the settings and how you can use them, we’ll first review how ironing works.
How Does It Work?
Like ironing clothes, ironing for 3D printing involves using heat to smooth out a surface. This is achieved on a 3D printer by moving the nozzle back and forth over the top layer. This melts any material sticking up and forces it back into the top of the print by pushing the nozzle over it.
On top of brushing the heated nozzle over the layer, ironing also involves extruding a small amount of material. This extra extrusion helps fill any gaps on the top layer, making the surface even smoother. To prevent blobs or other blemishes resulting from over-extrusion, only a small fraction of the regular extrusion quantity is used during ironing.
When Not to Use Ironing
While ironing is great for printing signs and parts where appearance matters, it’s not for every occasion.
- You need a quick print: As the nozzle has to make another pass over the top layer, ironing increases the print time, especially when there’s a large surface area on the top layer.
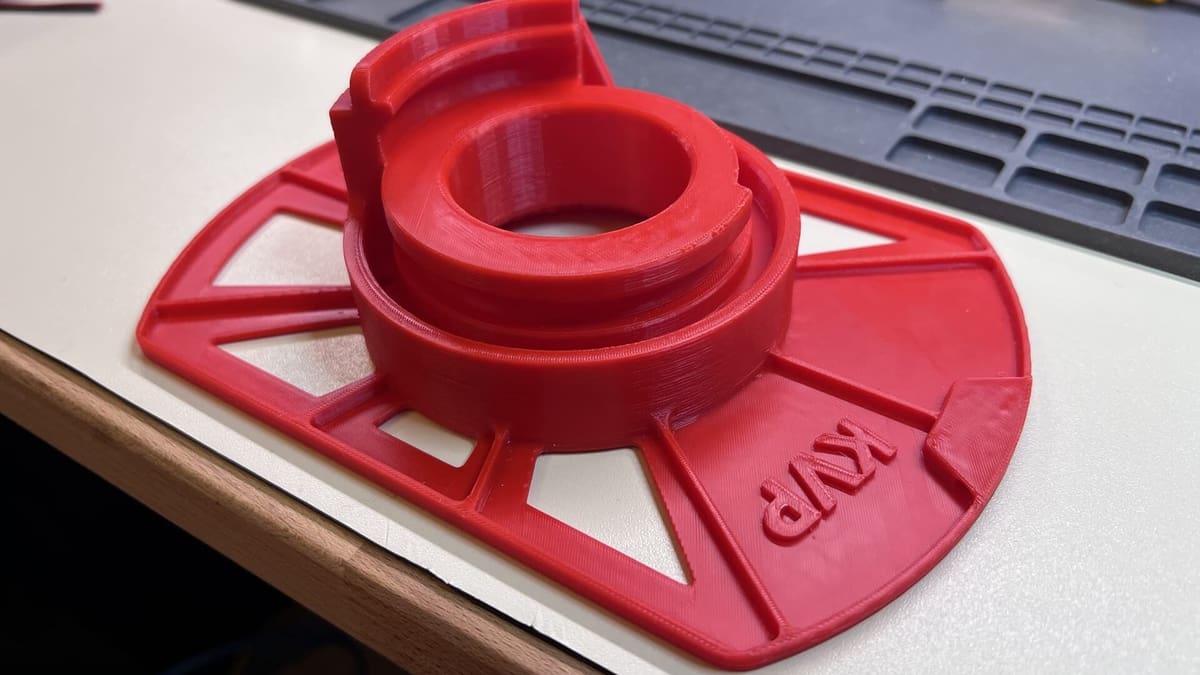
- The model’s top surface is curved: Ironing can only be performed on parts with flat top surfaces, as the nozzle can move back and forth easily on these types of models. Activating ironing on objects with curved features at the top (e.g. spheres) is a waste of time.
- Your printer hasn’t been calibrated: Ironing requires precision to create this perfectly smooth surface across your print. It’s critical that your printer is dialed in, particularly the E-steps, or ironing can make things look worse.
If none of those conditions apply to you – congratulations, your model may benefit from ironing! Before we get into what you need to know, there’s one more thing to keep in mind.
Material Considerations
When it comes to ironing, you may have a harder time dialing in settings for certain filament types. ABS and ASA arguably work the best with ironing as they are relatively resistant to heat creep. Although, they are also the easiest to smooth in post-processing.
Being more sensitive to temperature, PLA is susceptible to heat creep during ironing, which may add more defects to the surface than it erases. To prevent this, be sure to have your temperature settings dialed in for that particular filament or increase the fan speed toward the end of the print.
PETG filaments typically have the most trouble being ironed. You know how PETG likes to stick to itself and cause stringing? Due to the motion of ironing, there’s a higher likelihood of filament building up on the nozzle and causing all sorts of ugliness if the buildup gets into contact with the model. Therefore, you may need to play around with the flow settings to find what works for you. An ironing flow test similar to this one for PrusaSlicer can help with that.
When it comes to flexible or composite filaments, such as wood, you’re better off without ironing. These materials are more prone to issues like nozzle clogs which can interfere with ironing.
Use
As we’ve discussed, ironing is a helpful feature for printing parts that require a smooth surface, but it isn’t necessary or ideal for all prints. We suggest using ironing on a model-to-model basis, especially when you believe the benefits outweigh the downsides.
You can follow the steps below to activate the ironing feature in Cura and unlock the corresponding settings:
- Open Cura.
- Click the three-bar menu icon from the Settings menu. Check that “All” or “Expert” is selected for your visible settings options.
- In the Settings box, scroll down to the “Top/Bottom” section.
- Find the “Enable Ironing” setting, and click the checkbox to activate the feature.

Settings
Once activated, Cura will reveal a few ironing-specific settings immediately below the “Enable Ironing” option. Each one of these settings controls a different element of how ironing is performed. Below, we’ve made a list of the different settings and an explanation of what they do and how you can use them:
- Iron Only Highest Layer tells your printer to only activate ironing on the uppermost top layer and not any other top surfaces. For example, if you were printing a set of stairs, only the top step would be ironed.
- Ironing Pattern controls the pattern that the nozzle follows when ironing the top layer. While theoretically you shouldn’t see the pattern, you most likely will, at least to some degree. For this setting, there are only two options: “Zig Zag” and “Concentric”.
- Ironing Line Spacing controls the distance between each nozzle pass during ironing. The nozzle usually has a slight separation, typically about half the nozzle size, between its path lines because one ironing pass (line) can cover up and smooth more than one normal printing pass.
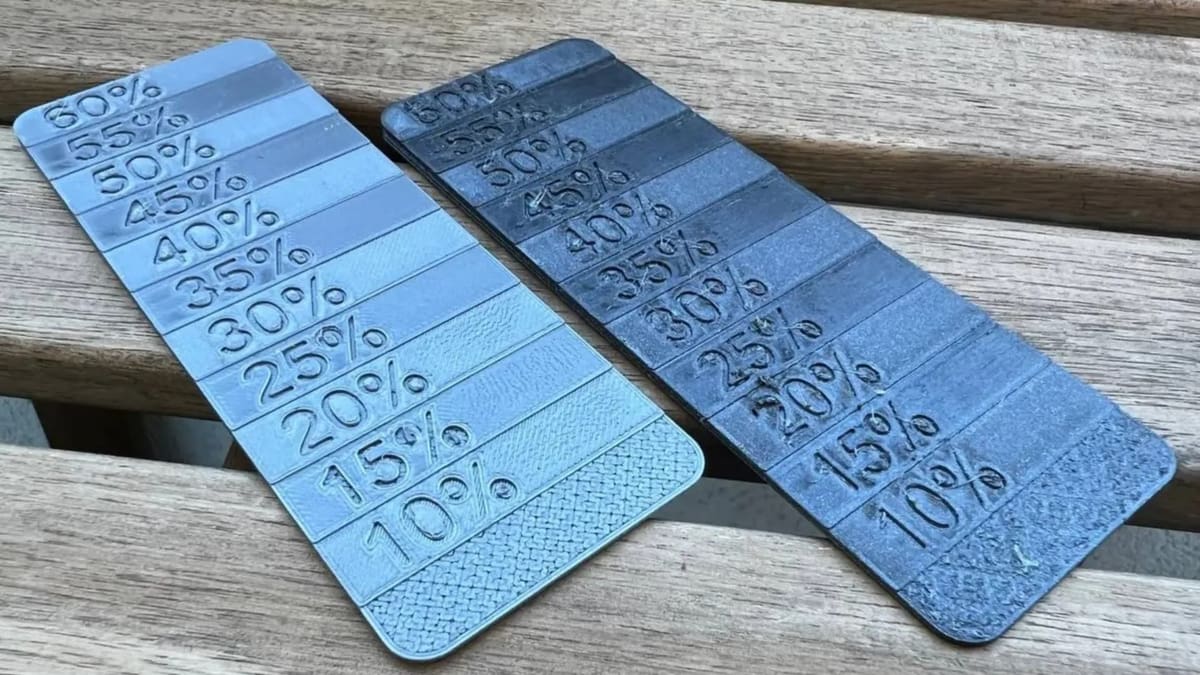
- Ironing Flow defines how much filament is extruded during ironing as a percentage of the printer’s normal extrusion. A good starting point is 20-25%. If set too high, you’ll notice over-extrusion or scarring on the top surface, while too low may not fill in all gaps.
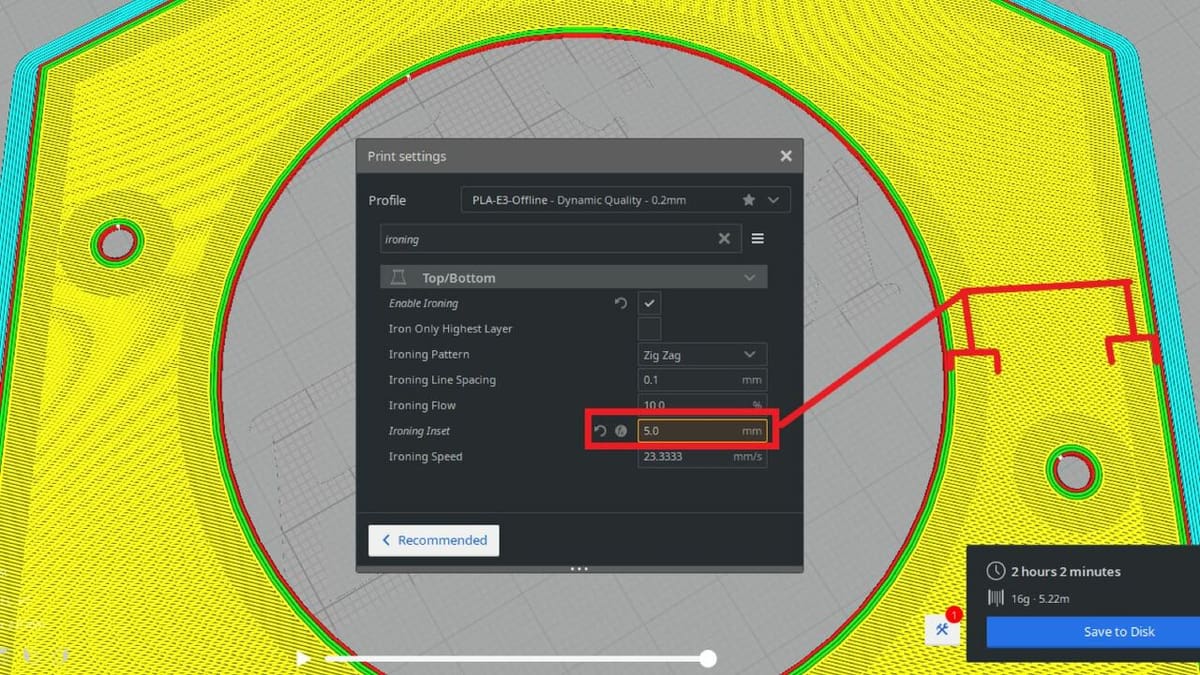
- Ironing Inset controls the distance between the edge of the top surface and where the nozzle begins to iron. If you set this value to 0, the entire top layer will be ironed. This can cause jagged edges, however, so it’s recommended to keep a little space – half your nozzle size should be enough.
- Ironing Speed controls how fast the nozzle moves while ironing a top layer. Typically, the slower the speed, the better the outcome, but others have had great results with much higher speeds.
We hope to see the ironing function in Cura and other slicers continue to improve. One feature several users have expressed interest in is a separate ironing temperature setting, allowing you to add a bit more heat to help melt the top layer together.
Tips & Tricks
If you’re running into issues tuning your ironing settings, you’re not alone. It can be tricky to get right, but there are other ways that can help you get a nice surface finish before heading to post-processing.
Here are a few final tips to help you get a smooth surface, all of which can be used in combination with or without ironing.
- Reduce line width: In Cura, you can individually set the “Top/Bottom Line Width” to give your finer detail just on the top (and bottom) layers.
- Enable monotonic ordering: Your slicer typically looks for the most efficient path to fill in a layer, but it can end up looking patchy when layers get printed in different directions. Enabling “Monotonic Top/Bottom Order” tells the slicer to lay down the filament in one direction.
- Utilize skin layers: The skin is the outermost top layer(s) and its print settings can be adjusted separately from the other top layers. It may be helpful to set one or two skin layers (“Top Surface Skin Layers”) and play around with these settings, like reducing the speed, to improve layer appearance without having a huge impact on print time.
License: The text of "Cura: Ironing – Simply Explained" by All3DP is licensed under a Creative Commons Attribution 4.0 International License.