How to Build a 3D Printed DIY Drone That Actually Flies

From quick weekend projects to high-performance FPV builds: This all-in-one guide helps you choose the right 3D printing files, mastering the best filaments, and successfully launching your first 3D printed drone.
3D printing and drones make a natural pair. One is all about customization, iteration, and making parts on demand. The other is a machine that rewards exactly those things. Break a mount, redesign a guard, shave some weight off a frame, or build around a different board. With a printer on your desk, all of that becomes part of the fun.
As a sign of just how intertwined drones and 3D printing have become, popular hobby drone sellers (WREKD, GetFPV, PyroDrone) not only sell 3D printed drone parts but often 3D printing filament and 3D printers.
That said, the best DIY drones usually aren’t the ones with the most 3D printed parts. They’re the ones with the right printed parts.
Get that balance right, and you end up with something much better than a gimmick — a drone that’s affordable and fun to build, easy to repair, and genuinely satisfying to fly.
Whether you’re here because you want a fun weekend project, a crash-friendly first quad, or a flying platform for Raspberry Pi experimentation, the same basic rule applies: start simple, print smart, and build around a setup that gives you the best chance of success.
Why Build a 3D Printed Drone?
The obvious reason is customization. If you buy a ready-made drone, you get whatever design decisions somebody else made. If you build your own, you get to decide how it should look, what it should carry, how easy it should be to repair, and what kind of project it really is.
- Want a better camera angle? Print a new mount.
- Want more protection around the props? Print guards.
- Want to try a different electronics layout? Redesign the top plate or canopy.
- Crash and break a part? Reprint it instead of hunting for a replacement.
That alone makes 3D printing useful. But what really makes it exciting is the way it changes how you approach the project. Instead of treating the drone as a finished product, you treat it as a system you can improve and tinker with for the fun of it. The first version doesn’t have to be perfect. It just has to fly well enough to teach you what to change next.
That’s a big part of the appeal. A DIY drone is not just a thing you make. It’s a thing you keep refining with model files you find online or, as you advance, digital designs that you make yourself using computer-aided design (CAD) software.
What You Should 3D Print — and What You Shouldn’t
This is where a lot of first builds go wrong. It’s tempting to print as much as possible just because you can. But a better question is: Which parts benefit most from being printed?
In general, 3D printing is best for parts that need to be:
- customized
- replaced cheaply
- adjusted often
- shaped around your specific components
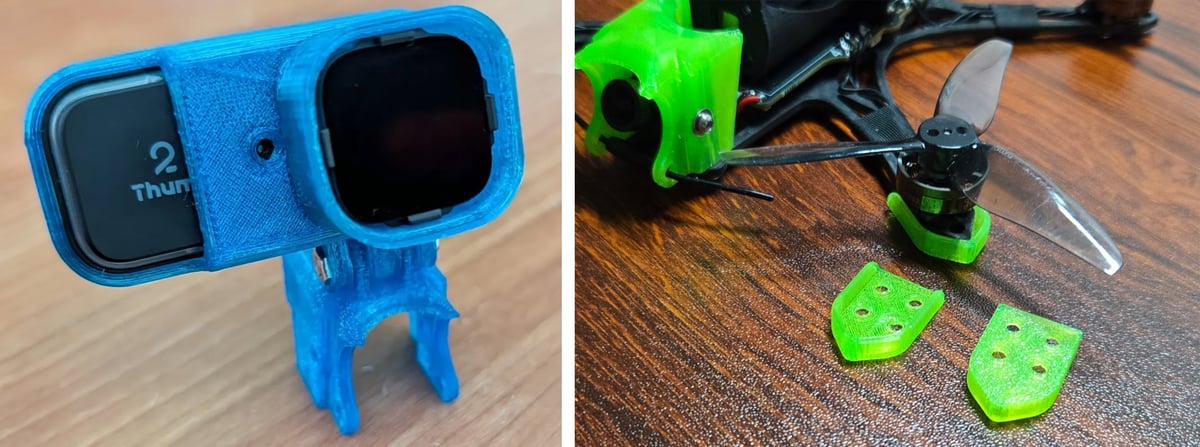
- canopies
- camera mounts & guards
- prop guards
- antenna holders
- battery mounts
- landing skids
- bumpers
- wire guides
- accessory brackets
- lightweight frame parts for smaller builds
These are ideal printed parts because they’re highly dependent on the exact layout of your build, and they’re the kinds of parts you’re most likely to tweak after the first version.
By contrast, some parts are almost always better bought than made:
- motors
- propellers
- batteries
- ESCs
- flight controllers
- radio transmitters and receivers
- chargers
- screws, standoffs, and connectors
Those parts need tight tolerances, proven durability, and predictable performance. They are the heart of the machine. Printing around them is smart. Trying to replace them with homemade alternatives is usually not, until you get to a more advanced level, at least.
There’s the economy, too. It’s fun to make your own, but if a micro quad (whoop) drone frame can be ordered online for less than $5, you may want to reconsider printing the exact same thing.
The sweet spot is a hybrid build: printed where customization helps, bought where performance matters.
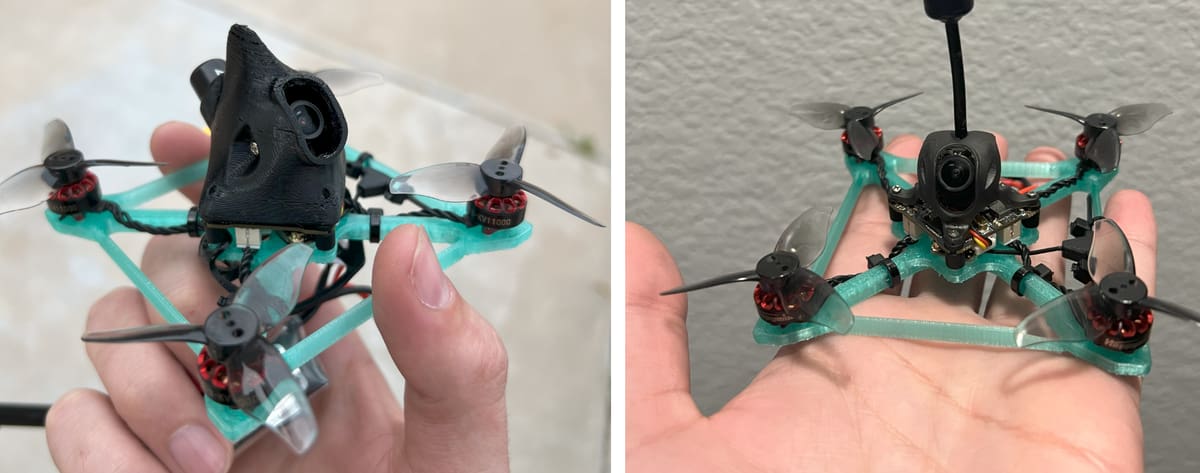
The Best First Build Is Smaller Than You Think
A lot of beginners imagine their first DIY drone as a big, dramatic machine with a full custom frame and room for every possible upgrade. In practice, that’s usually the wrong place to start.
Smaller drones are cheaper, lighter, easier to print for, and less painful to crash. They also make it easier to keep the design under control. Once a build gets larger, everything gets more demanding: the motors, the battery, the frame, the weight, the tuning, and the repair bill.
Plus there are a lot more SLT files on model repositories, like MakerWorld and Thingiverse, for these smaller drones.
That’s why a compact 2- to 3-inch quad is such a strong first project. It’s big enough to feel like a real build, but small enough to stay manageable. You can print meaningful parts for it, keep replacement costs sensible, and learn the fundamentals without getting buried in complexity. It’s also easier to experiment when the stakes are lower. If your first canopy is too bulky or your first battery mount is awkward, reprinting the part feels like part of the process, not a disaster.
A first drone does not need to be fast or ambitious. It needs to be buildable, repairable, and fun enough that you want to improve it. Not long ago, you had to have quite a bit of know-how to select the right parts and accessories, but, today, there are no shortage of kits that can get your started.
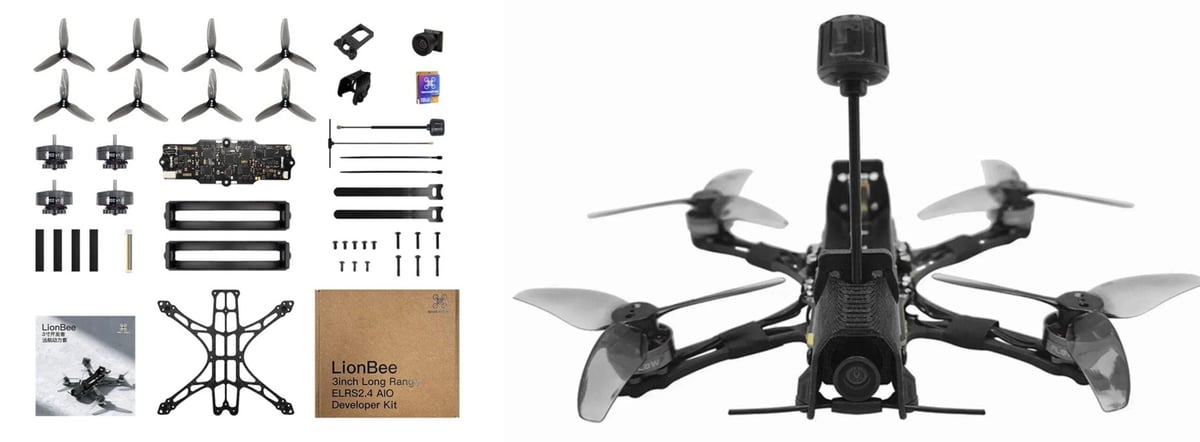
Drone kits, like the one from LionBee above that retail for under $200, include 3D printed parts and all the required electronics. From there you can find 3D printable files online for modifications and accessories like the camera mount and landing feet below.
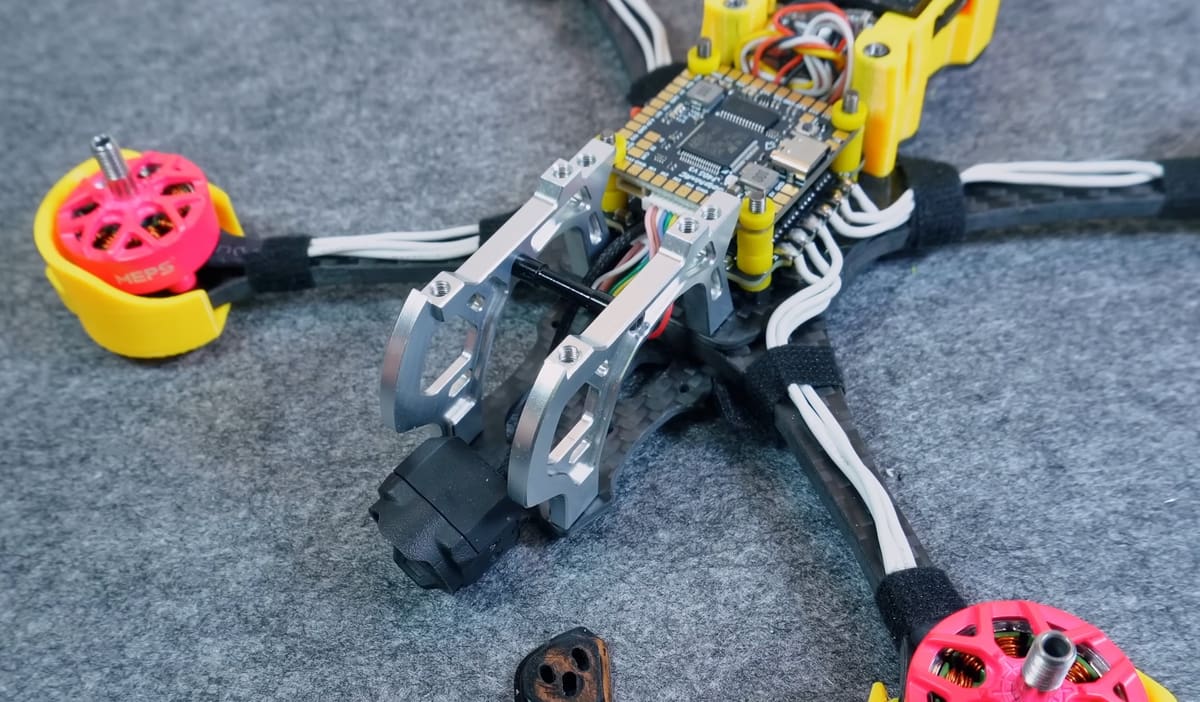
Choosing Your Control Setup
Once you know roughly what kind of drone you want to build, the next question is what kind of brain you want to give it. If you’re following one of the kits we list down below, the designers have already listed the type of electronics that fit, but that doesn’t mean you can’t upgrade them to enhance your drone’s capabilities.
There are a few different ways to go, and the best choice depends less on what’s “best” overall than on what kind of project you want this to be.
For a straightforward first flying build
If your main goal is to build something that flies reliably and teaches you the basics, a more traditional small quad setup is usually the best place to start. That means proven drone electronics, a compact layout, and printed parts that support the build instead of reinventing it.
This approach keeps the learning curve focused on the right things: weight, balance, layout, durability, wiring, and tuning. It also makes replacement parts and troubleshooting easier, which matters a lot when you’re still learning.
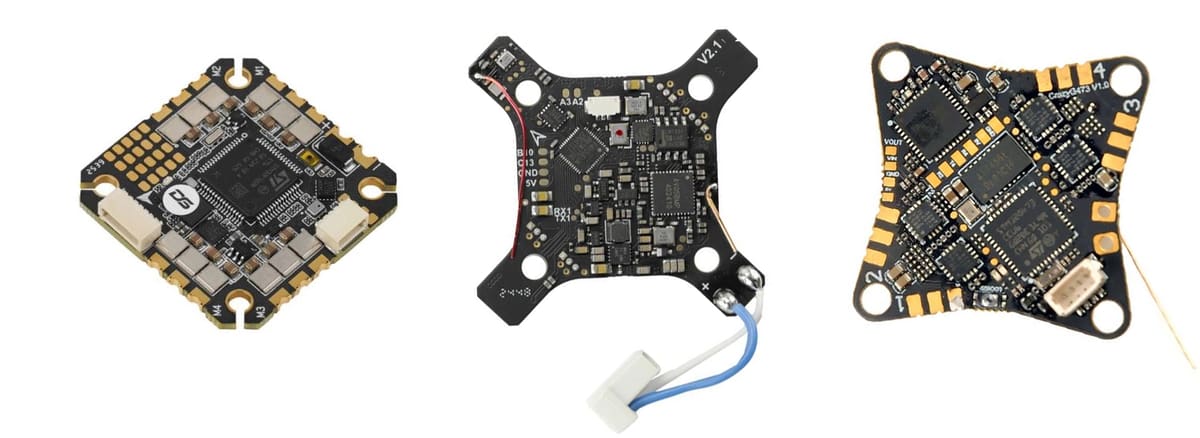
There’s not shortage of flight controllers available around which you can build or design your drone.
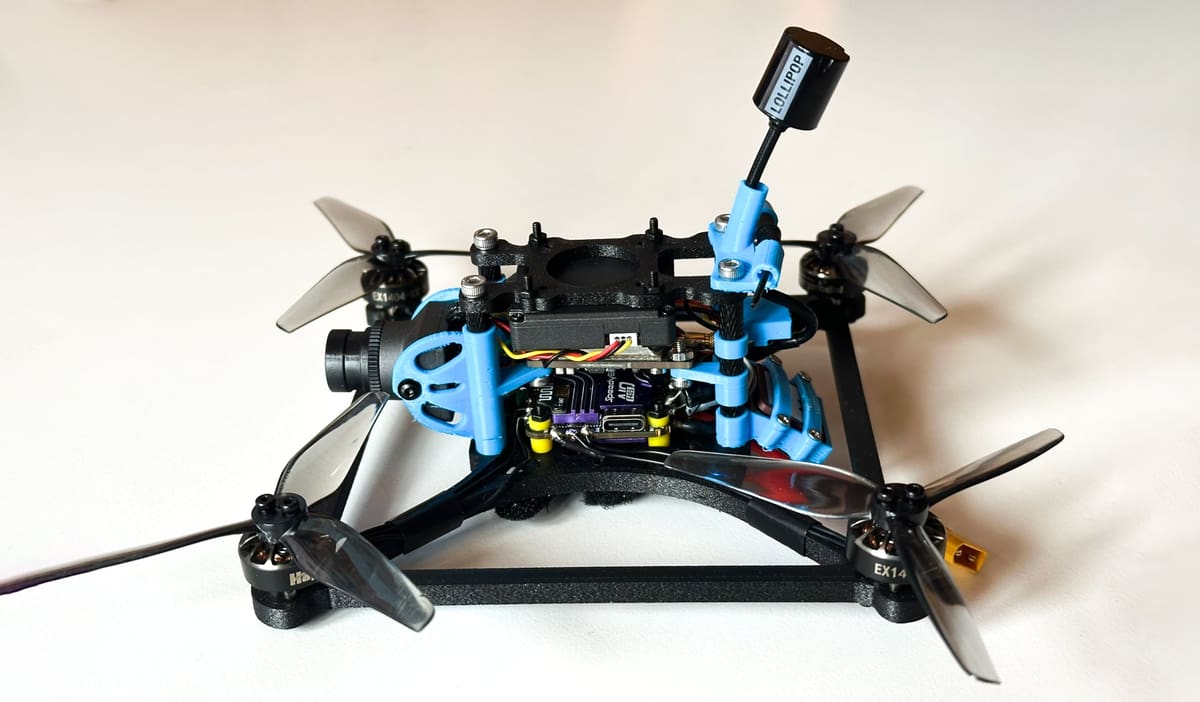
For a coding-heavy or experimental project
If the real appeal is embedded systems, sensor work, or writing more of the logic yourself, then a microcontroller-based (Raspberry Pi or Arduino) route may be more interesting. A smaller board can make a lot of sense if the goal is to understand the system deeply and build something more custom from the ground up.
That route can be extremely rewarding, but it also shifts the project. It becomes less about getting airborne as quickly as possible and more about building a drone as an electronics and programming platform.
Hobbyists might use a Raspberry Pi or Arduino in a drone when they want flexibility, learning, or custom features rather than the easiest path to stable flight. These boards are useful for experimenting with control logic, integrating unusual sensors, adding telemetry, running cameras or computer vision, or building special behaviors that standard flight controllers do not handle out of the box. A Raspberry Pi is especially useful as a companion computer for higher-level tasks like autonomy, logging, networking, or image processing, while an Arduino can be handy for simpler custom electronics tasks.
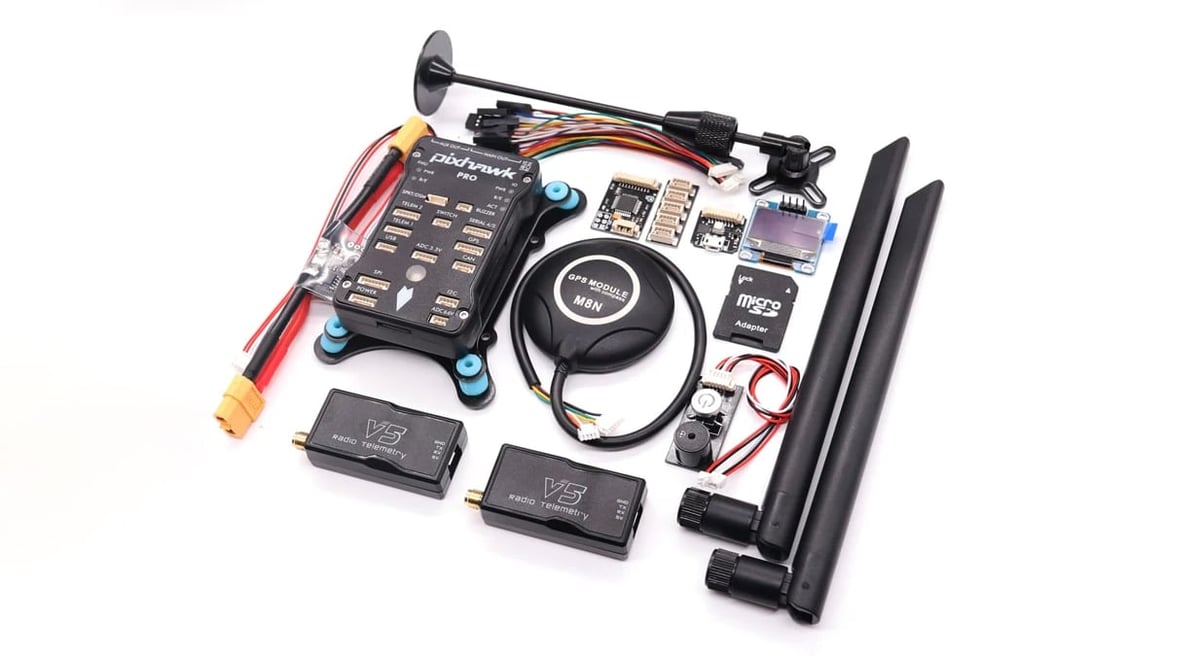
Dedicated flight controllers are still usually the better choice for actually flying the drone because they are designed for fast, predictable real-time control, low weight, low power use, and reliable stabilization. They also come with mature firmware and tuning tools that make setup much easier and safer. For that reason, many builders use a mixed approach: a flight controller handles stabilization and motor control, while a Raspberry Pi or Arduino handles custom add-ons or experimental features. One example of this pair is the Raspberry Pi and Pixhawk Flight Controller.
For a more advanced compute-focused build
A hobbyist coupling a flight controller with a single-board computer should expect a much more capable system, but also a more fragile and time-consuming build. The flight controller usually handles the fast, safety-critical jobs like stabilization and motor control, while the single-board computer handles higher-level tasks such as vision, logging, networking, or custom autonomy. In practice, the main challenges are power management, vibration and electrical noise, serial-link setup, software compatibility, boot timing, and debugging interactions between two separate systems. Weight, power draw, heat, and startup reliability also become more important, especially on small airframes. The setup can be very rewarding, but it often feels more like building a small robotic system than just assembling a drone, so hobbyists should expect extra work in integration, testing, and fail-safe design before the result is dependable.
With a flight controller plus single-board computer approach, you can expect your drone can handle:
- Onboard computer vision for object tracking, marker reading, or obstacle detection
- Custom mission logic based on sensor inputs or special rules
- Live networked behavior through Wi-Fi, LTE, or a web dashboard
- Precision landing using visual fiducials like AprilTags or QR-style markers
- Real-time environmental mapping with lidar or depth cameras
- Coordinated swarm behavior between multiple drones
- Specialized payload control, such as triggering sprayers, grippers, or sample collectors
- Adaptive behavior based on external data feeds, such as weather or server commands
Pick the flight controller first, then choose any onboard computer around it. For an onboard computer like a Raspberry Pi or similar SBC, choose based on the jobs you actually want it to do: telemetry and logging are light, but computer vision, mapping, or autonomy need much more CPU, RAM, storage speed, and power.
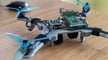
For beginners, companies like Drone Dojo offer full drone kits — that include a Raspberry Pi and Pixhawk Flight Controller — plus they provide the tutorials on programing it in Python to do things you want it to do, like form a light show.
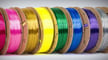
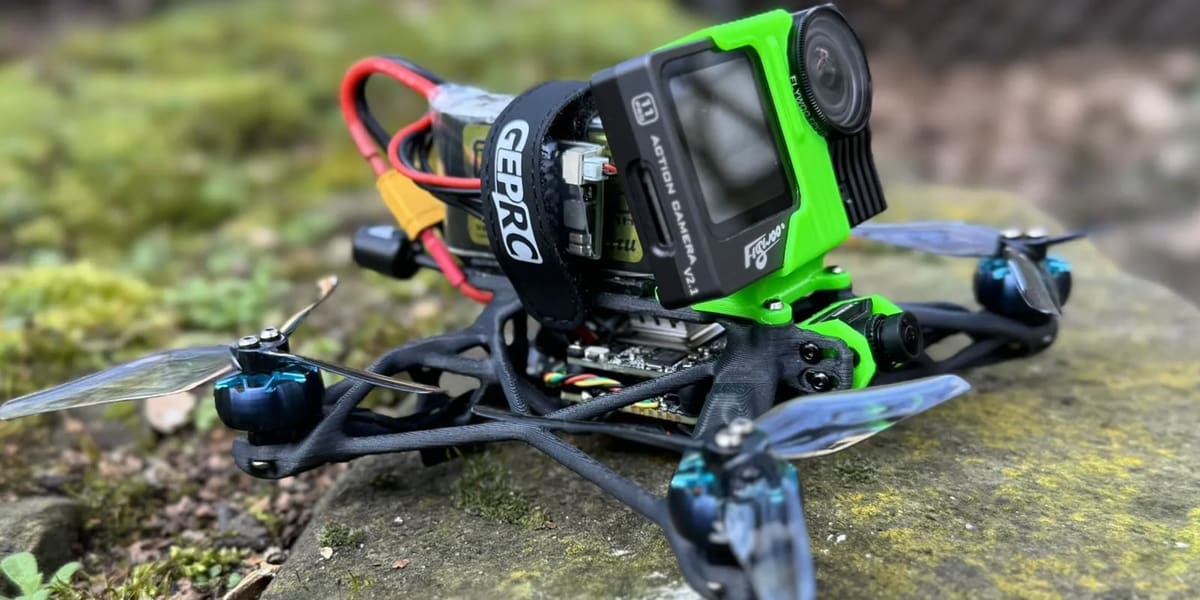
The Best Filaments for Drone Parts
Material choice matters more here than it does in a lot of casual prints. A drone is light, fast, and crash-prone. The wrong filament can turn a good design into a brittle one.
PLA: Fine for prototypes, not ideal for hard use
PLA is great for checking fit, testing shapes, and printing early versions quickly. If you want to confirm that your canopy clears the stack or that your battery mount lines up properly, PLA is perfectly useful.
But for real flying parts, especially anything likely to take impacts, PLA is often not the best long-term choice. It can work for some low-stress parts, but it’s better treated as a prototyping material.
PETG: A strong all-round choice
PETG is often the best place to start for real drone parts. It’s tougher than PLA, still reasonably accessible to print, economical, and suitable for many rigid parts in a first build.
It works especially well for:
- canopies
- rigid mounts
- battery holders
- light frame elements
- brackets and supports
If you want one material that covers a lot of ground without getting too exotic, PETG is a very sensible choice.
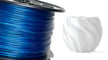
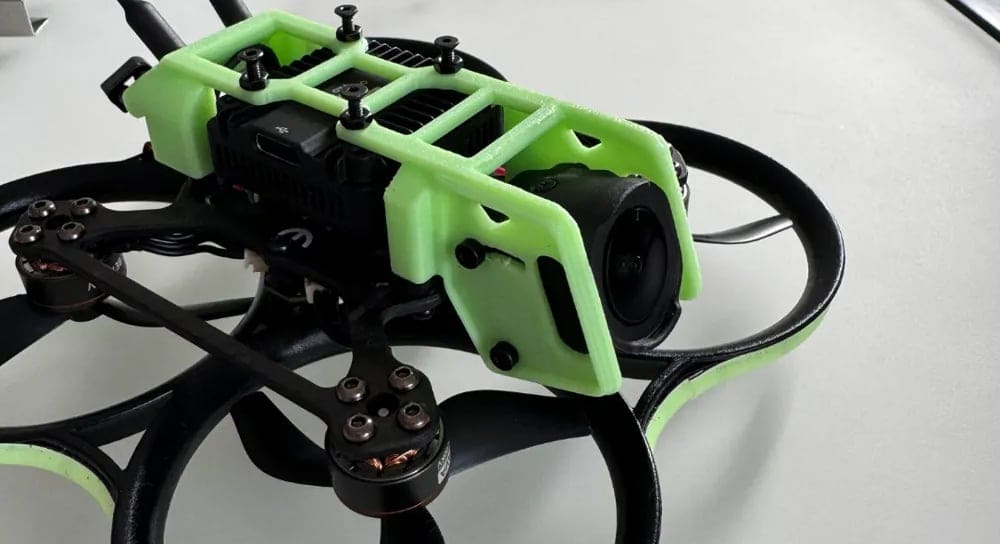
TPU: Excellent for impact protection
TPU is one of the most useful materials in a drone project. It’s flexible, forgiving, and ideal for the parts most likely to take abuse. Although TPU formulations are getting much easier to print than they used to be, not all desktop 3D printers can accommodate TPU.
That said, TPU is especially good for:
- prop guards
- bumpers
- camera protection
- soft landing parts
- flexible mounts
In a lot of builds, TPU is what turns a fragile accessory into a practical one.

Advanced Materials
Beyond the basics above, a step up is glass-filled nylon (GF-PA). The more popular carbon-fiber-filled nylon can also be a good choice since it adds stiffness and low weight to nylon, but it can also make parts more brittle. Glass fiber on the other hand enhances strength and impact resistance yet will be heavier than with carbon.
Polycarbonate (PC), in addition to being one of the strongest 3D printer filaments presented in this list, is extremely durable and resistant to both physical impact and heat, and can withstand temperatures of up to 110 °C.
High Impact Polystyrene (HIPS) is a durable thermoplastic that combines the stiffness of polystyrene with added rubber for enhanced impact resistance. Commercially, it’s used in packaging, electronics housings, and signage, and, because it’s particularly is easy to sand, glue, and paint, is a good aesthetic choice.
Acrylonitrile styrene acrylate (ASA) is known for high impact strength and chemical resistance, yet it was basically created for one purpose: outdoor use. It has high UV resistance, rigidity, and high heat resistance. A big drawback of ASA is its strong and potentially hazardous fumes, so it should be used with caution.
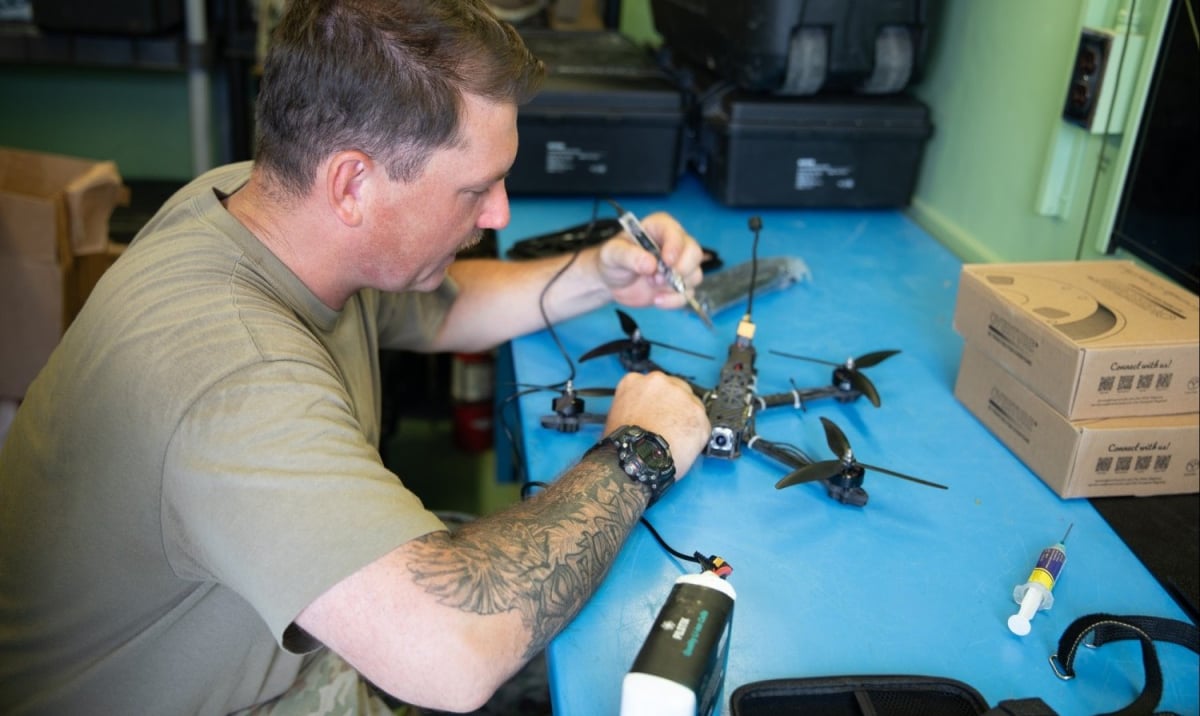
Get Parts Printed at a Service
Even if you don’t own a 3D printer, you can order drone parts 3D printed to your specifications reducing downtime and keeping your drone in the air. You can also upgrade your 3D printing from FDM, to an industrial technology like Multi Jet Fusion or even or even metal, like aluminum, if you fancy. Below is a link to our favorite 3D printing services for drone parts.
Common Mistakes to Avoid
The most common beginner mistake is trying to make the first build too ambitious. A close second is assuming that because a part looks printable, it should be printed.
Here are the pitfalls that trip up a lot of otherwise promising builds.
- Printing everything in the same material. Different parts do different jobs. Treating the whole build as a one-filament project usually leads to compromises you don’t need to make.
- Building too big. Big drones look exciting, but they multiply cost, weight, and complexity. Small drones are better teachers.
- Designing for looks first. A sleek design is satisfying, but not if it blocks access to screws, traps wires, or makes repairs annoying. Function first. Style second.
- Ignoring weight creep. A few extra grams here and there add up quickly. In drone design, “probably fine” can become “why does this feel sluggish?” very fast.
- Making repairs too difficult. If a crash-prone printed part is hard to replace, the design needs another look.
- Choosing complexity for the wrong reason. A more advanced board or more custom control route can be exciting, but only if that’s the challenge you actually want. If the real goal is just to get flying, a simpler build is usually the better build.
Printing Files vs. Designing Drones
Once the first build flies, the project really begins.
That’s when you can start improving the parts that felt too weak, too heavy, too awkward, or too difficult to replace. It’s when you can try a better camera mount, redesign the canopy, reduce weight, or rework the battery position. It’s also when you can decide what kind of project this drone is becoming.
- Maybe it turns into a tougher little basher with better protection.
- Maybe it becomes a cleaner, lighter FPV-style build.
- Maybe it turns into a platform for experimentation.
- Maybe it simply becomes version two — the same idea, only smarter.
That’s the real appeal of a 3D printed DIY drone. You’re not just building one machine. You’re building a platform that can keep evolving as your skills do.
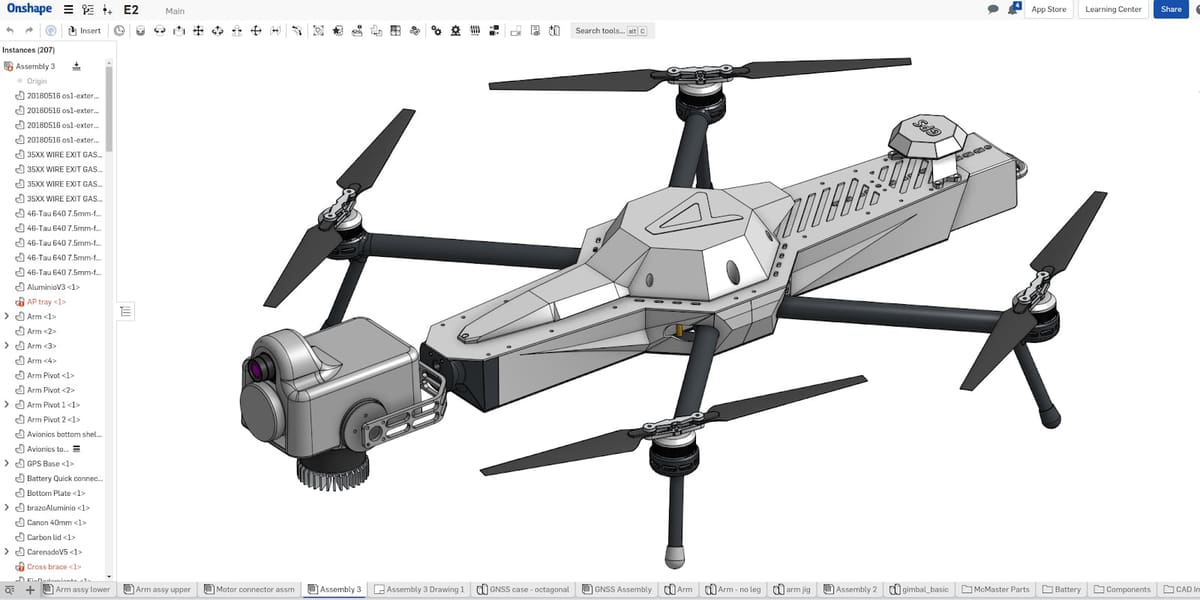
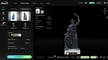
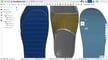
Once you’ve outgrown the ready-made files on repositories, there’s a whole world of custom designing you can do on computer-aided design (CAD) software, some of which is easy to get started in, and even AI assisted design tools. We don’t dive into design software here, but do check out the articles below:

6 Great 3D Printed Drone Projects to Get Your Started
In the projects below, there’s a lot of advice on assembly that depend entirely on the exact hardware. The basics matter more than the exact order.
Test-fit before printing everything
Don’t print every final part at full quality before checking your layout. Test the fit of the electronics, battery, screws, and wiring path first. A drone build is a packaging problem as much as anything else.
Keep the design light
Printed parts have a way of growing. A mount gets thicker “just to be safe,” a guard gets bulkier, the canopy gets a little roomier, and suddenly the whole build is heavier than it needs to be. Print what the drone needs, not what makes it look dramatic on the bench.
Think about wiring early
Wiring should be part of the design, not something you deal with at the end. Make room for it. Guide it. Protect it from props and sharp edges. A neat internal layout is not just nicer to look at — it makes the build easier to debug and easier to live with.
Use flexibility where it helps
Not every part should be rigid. In a drone, some parts should protect, cushion, or absorb impact. That’s where flexible printed materials shine.
Start with modest goals
The first goal is not speed. It’s stability. A drone that hovers predictably and survives small mistakes is a successful first build. Everything else can come later.
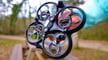
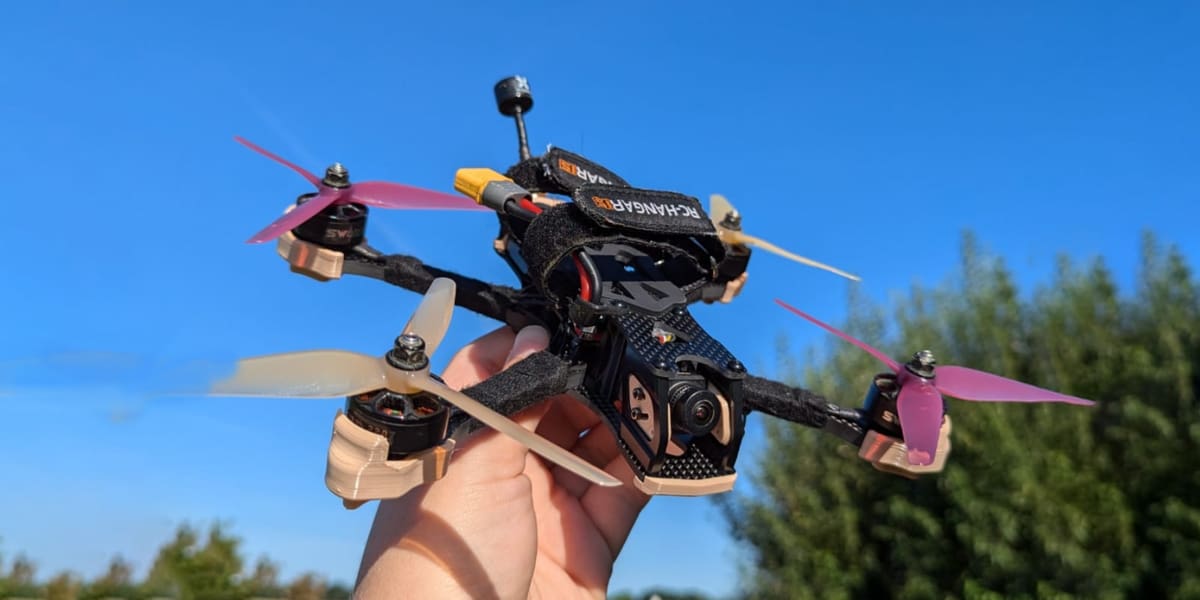
Full Wraith FPV Drone Build with ProgrammaDan, ~$200
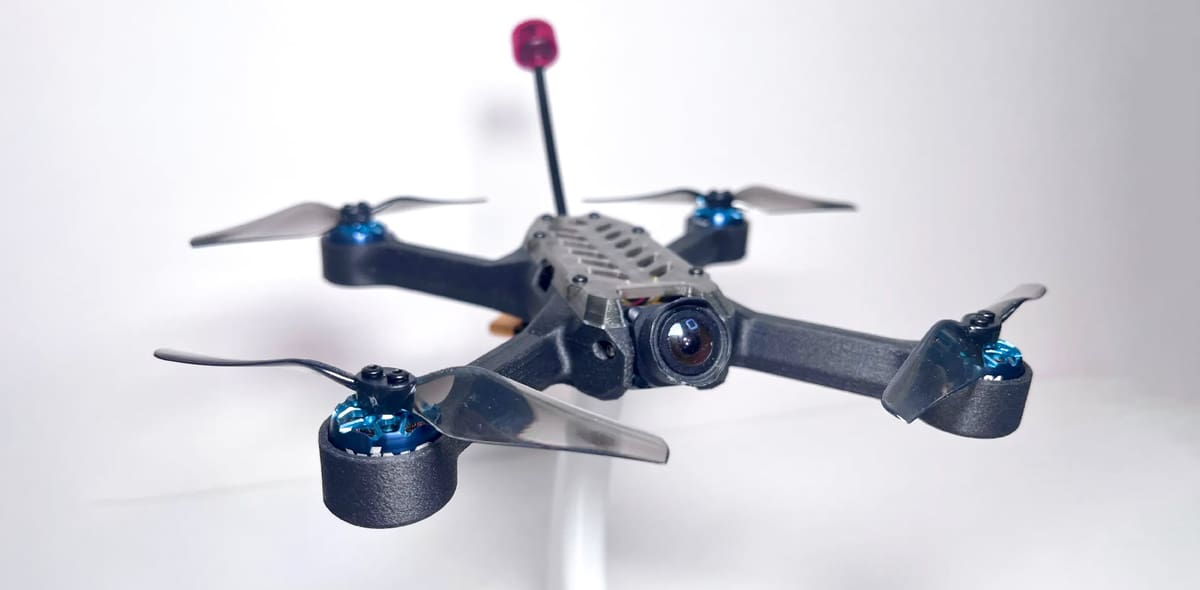
With more than 20K downloads collectively from the 3D printing file repository Printables, ProgrammaDan provides not only the full (free) STL files for six varieties of drones, but the full list of what to buy, from the electronics and connectors to the batters. There’s also assembly instructions and practical advice.
Source One Drone
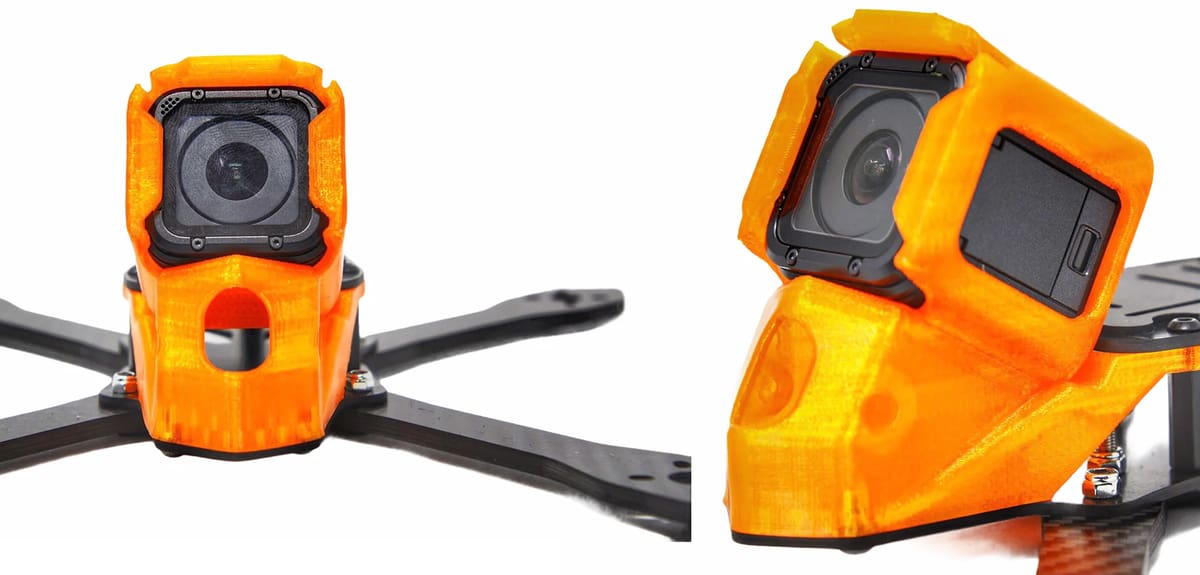
The Source One line, best known through Team BlackSheep’s TBS Source One frames, is a favorite in the FPV drone community because it’s tough, affordable, and easy to customize. It’s an open-source design, so builders can find the frame files, tweak parts, and repair or upgrade their drones without being stuck with hard-to-find proprietary components. That popularity also means there are tons of 3D printable extras out there, from camera mounts and antenna holders to GoPro mounts, skids, bumpers, and other handy add-ons. For anyone building a drone project with printed parts, the Source One is a solid, well-supported place to start.
- 3D printed frame: TBS Source One V5 3D printable model
Other 3D printed parts worth adding
- O3 camera mount
- GPS / receiver / SMA combo mount
- Rear antenna mount
- GoPro mount
- TPU arm guards, skids, bumpers, side plates, capacitor holder depending on the STL pack.
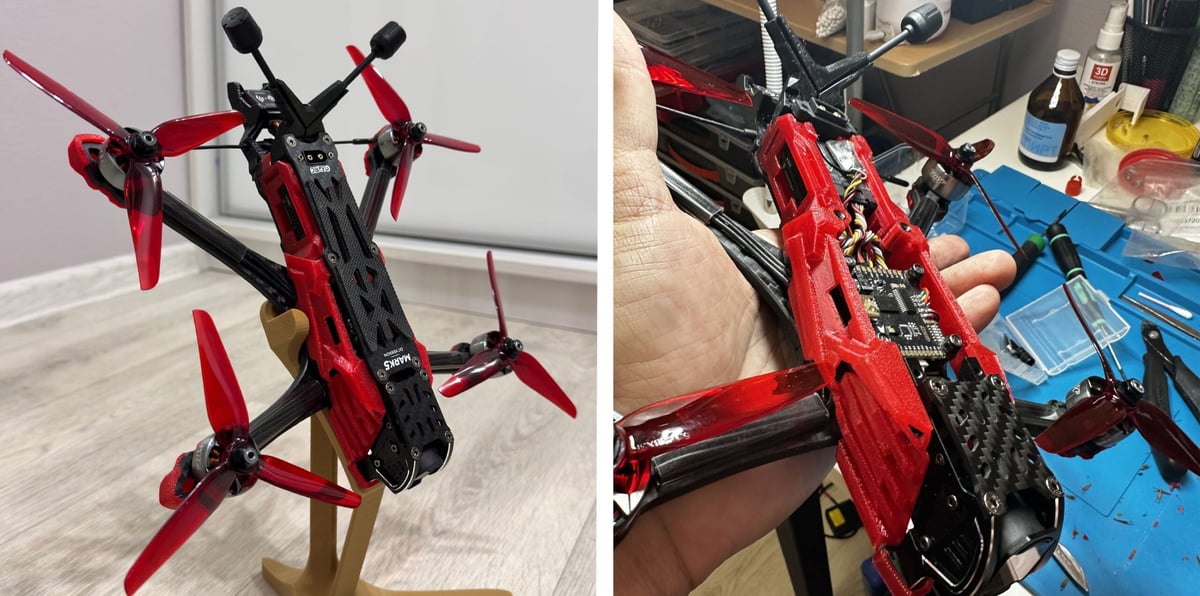
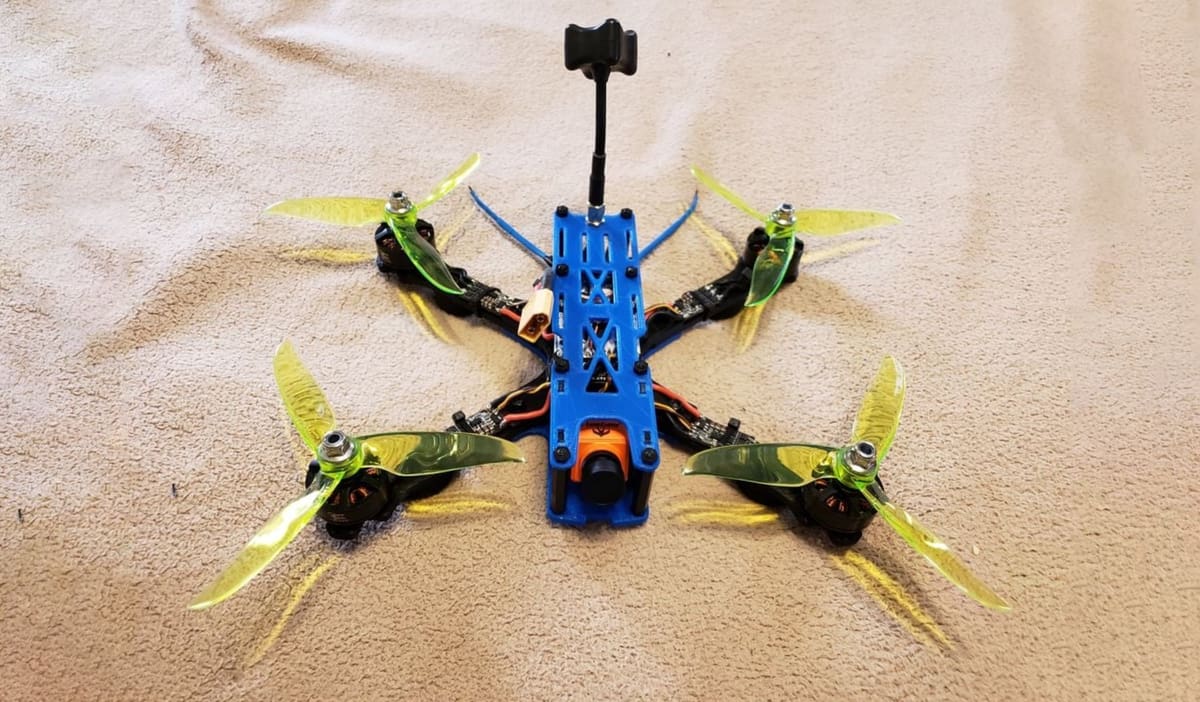
Ultimate 5-Inch FPV Drone Build
The Ultimate 5-Inch FPV Drone Build is more of a classic DIY FPV recipe than a single fixed model: a 5-inch quad is the go-to size for freestyle and racing because it’s powerful, agile, and still practical to build at home. Most versions use a carbon-fiber frame, 2207-style motors, a flight controller/ESC stack, FPV camera, video transmitter, receiver, LiPo battery, and 5-inch props, with 3D printed parts handling the custom touches.
That’s where it gets fun for makers: camera mounts, antenna holders, GoPro mounts, arm guards, skids, GPS holders, and other small accessories are commonly printed in TPU, giving the build a more personalized and crash-friendly setup. It’s a great project for someone who wants the full FPV building experience, but it’s best for hobbyists who are comfortable with soldering, tuning in Betaflight, and tracking down compatible parts.
* Mark5 frame STL files at Cults for $10
CA35-Night 3.5-Inch 3D-Printable FPV Drone
The CA35-Night is a lightweight box-style frame, specially designed for 3D printing and optimized for efficient night flying. This version here is from Johnny_Pilot who offers the frame model at MakerWorld and a full list of components.
The CA35-Night is a compact drone frame from CarviFPV that’s designed for smooth, efficient night cruising, with the main rigid parts meant to be printed in tougher carbon-fiber-reinforced materials like PAHT-CF rather than basic PLA.
The design also includes TPU parts for things like the camera, antennas, receiver, and optional VTX mount, so there’s plenty of room for the usual maker-friendly customization. It’s aimed at sub-250-g builds on 4S packs, supports common 20 × 20 mm and 25 × 25 mm electronics mounting, and is designed around low-light FPV gear such as the Caddx Infra V2, making it a neat choice for builders who want a printable frame with a specific night-flying purpose rather than a generic freestyle quad.
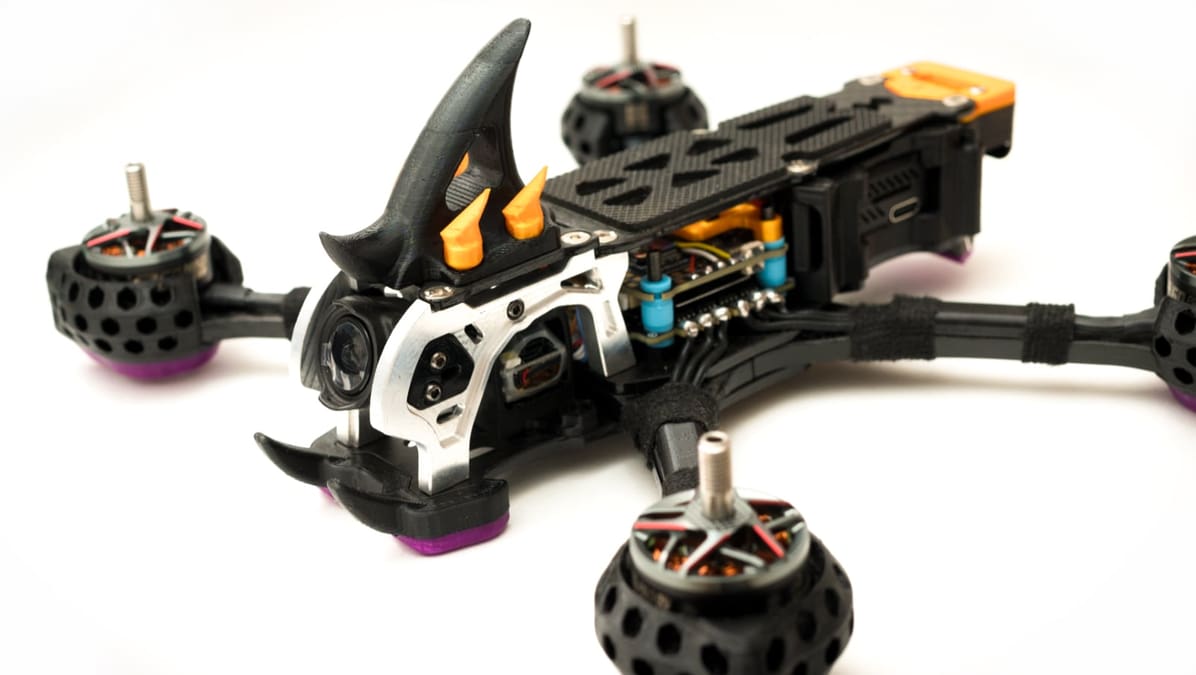
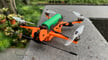
Project Synthara - Generative Design FPV Drone Frame 3.5 Inch
Drones are a perfect playground for lightweight yet robust designs, and Synthara by MacNeill at Printables takes full advantage of cutting-edge generative design techniques. This 3D-printed drone frame is engineered for FPV enthusiasts looking for a balance between strength, weight, and aesthetics.
The goal behind Synthara was to create a sub-250g FPV drone, even when equipped with a naked GoPro. To achieve this, the frame was developed using an iterative generative design process in Fusion360 that reduces weight while maintaining structural integrity. The motor spacing and overall dimensions are based on the GEPRC Smart35 3.5-inch frame. By leveraging AI-driven optimization and organic structures, the frame exhibits a futuristic, nature-inspired appearance that also enhances mechanical performance. The design process prioritized stress distribution and impact resistance, making it a viable alternative to traditional carbon fiber frames.
ImpulseRC’s Apex
ImpulseRC’s Apex ecosystem has a strong print community. There are official printable files published on several repositories, plus community packs for GPS mounts, GoPro mounts, and O3 cam mounts. The official Apex build guide also shows the frame kit already includes several molded accessories like skids, bumper, and wire protection.
Apex Accessories
You May Also Like:
License: The text of "How to Build a 3D Printed DIY Drone That Actually Flies" by All3DP is licensed under a Creative Commons Attribution 4.0 International License.