This article is free for you and free from outside influence. To keep things this way, we finance it through advertising, ad-free subscriptions, and shopping links. If you purchase using a shopping link, we may earn a commission. Learn more
Snapmaker’s crowdfunded record-breaking U1 toolchanger 3D printer will soon be a retail reality, and we’ve got out hands on one of the first to roll off the post-Kickstarter production line. Here’s what comes in the box.
Advertisement
Snapmaker seems to have bottled lightning with the Snapmaker U1, a sub-$1000 toolchanger that promises quick waste-free multicolor 3D printing. While the campaign is over (kind of) and preorders are now open with shipping expected next year, one has landed in the All3DP lab.
We’ll be taking our time looking at it over the coming weeks and months before settling on anything close to a review. In the meantime, here’s a visual journey through what comes in the box and the basic set up.
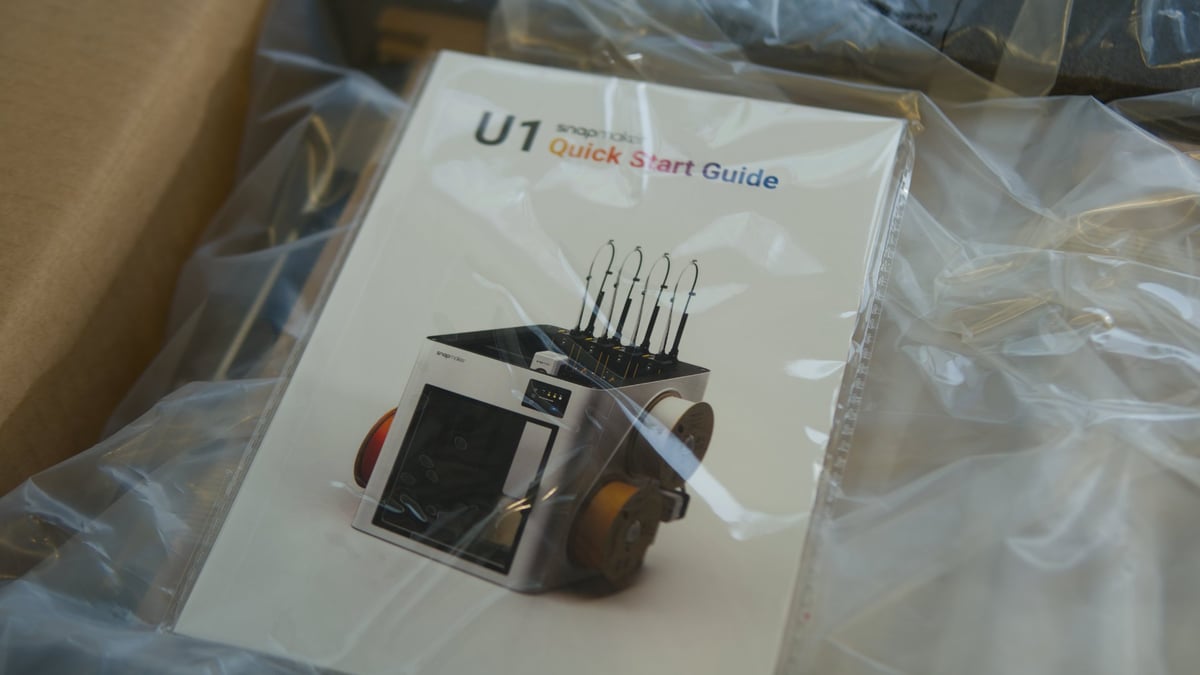
Historically, Snapmaker’s products ship with clear, well illustrated and professionally presented user guides, and the U1 is no exception (Source: All3DP)
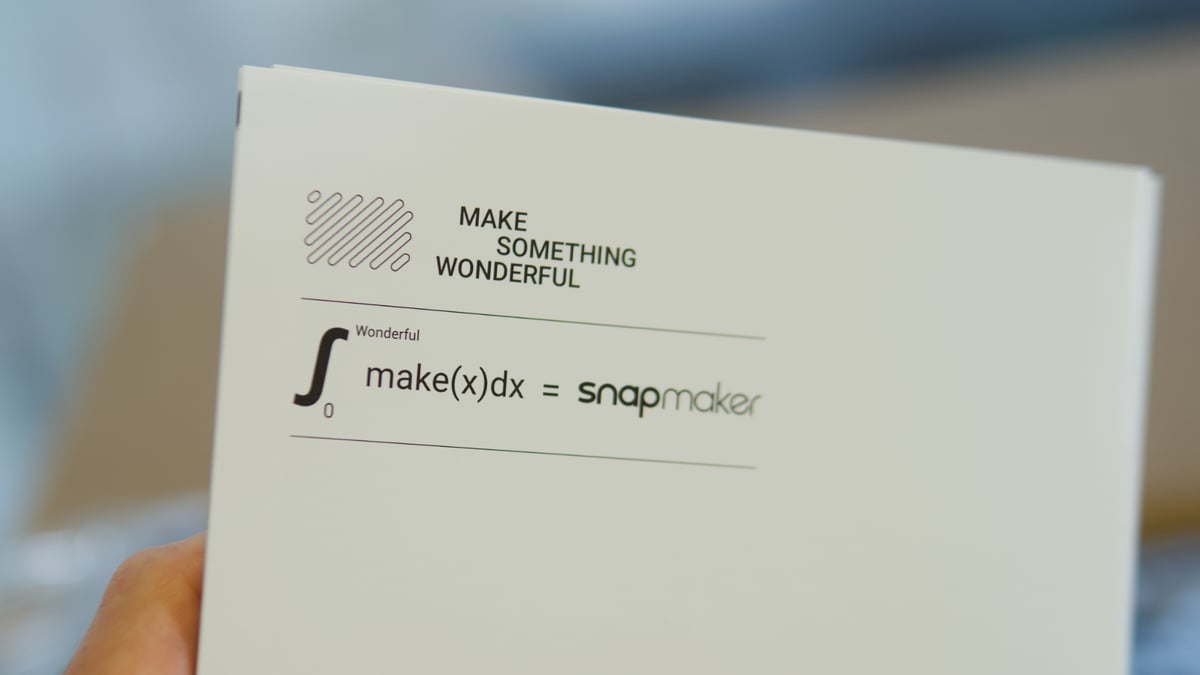
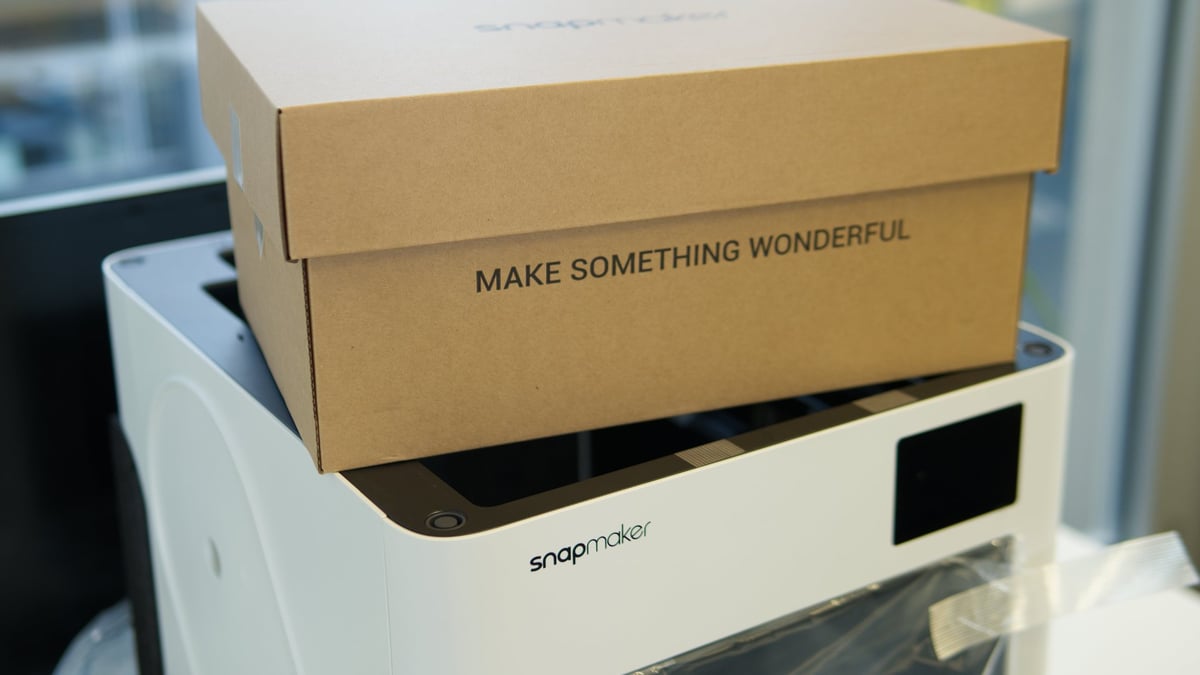
“Make something wonderful” – expect to see that a lot (Source: All3DP)
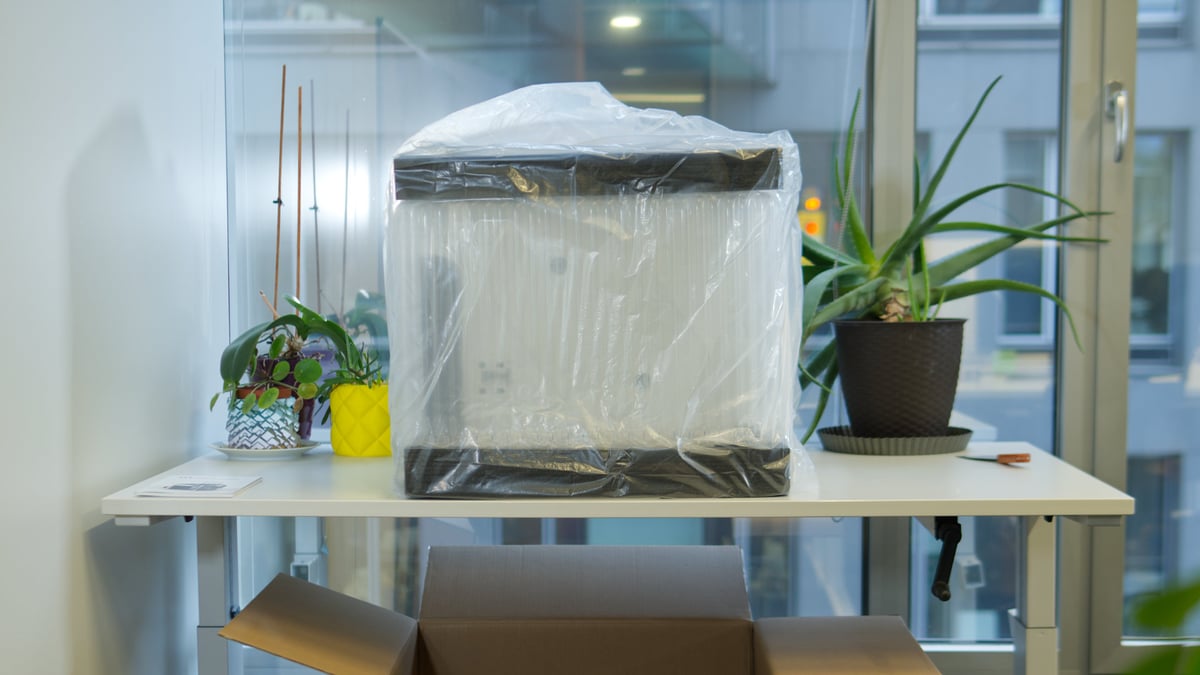
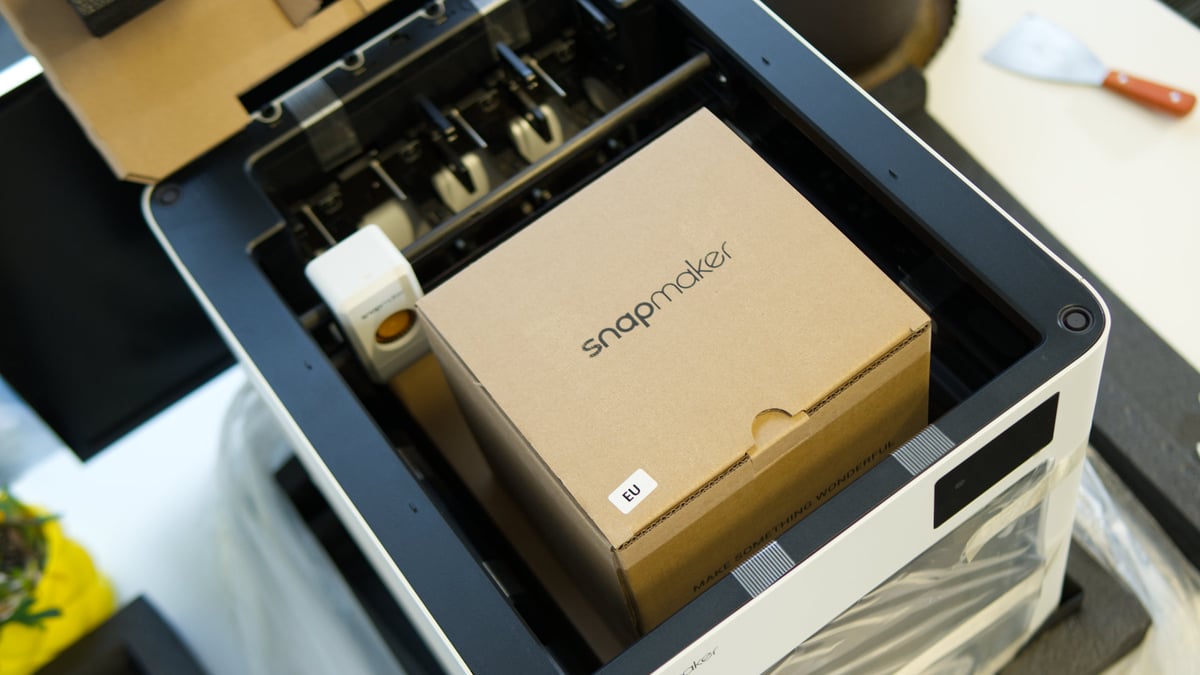
The U1 lifts neatly out of its shipping box surrounded by air cells and black foam padding, with cardboard inserts keeping accessories and extras in place (Source: All3DP)
Three important packages ship tidily inside the U1’s body, including the essential tools, filament, filament autowinders, and spool holders (Source: All3DP)
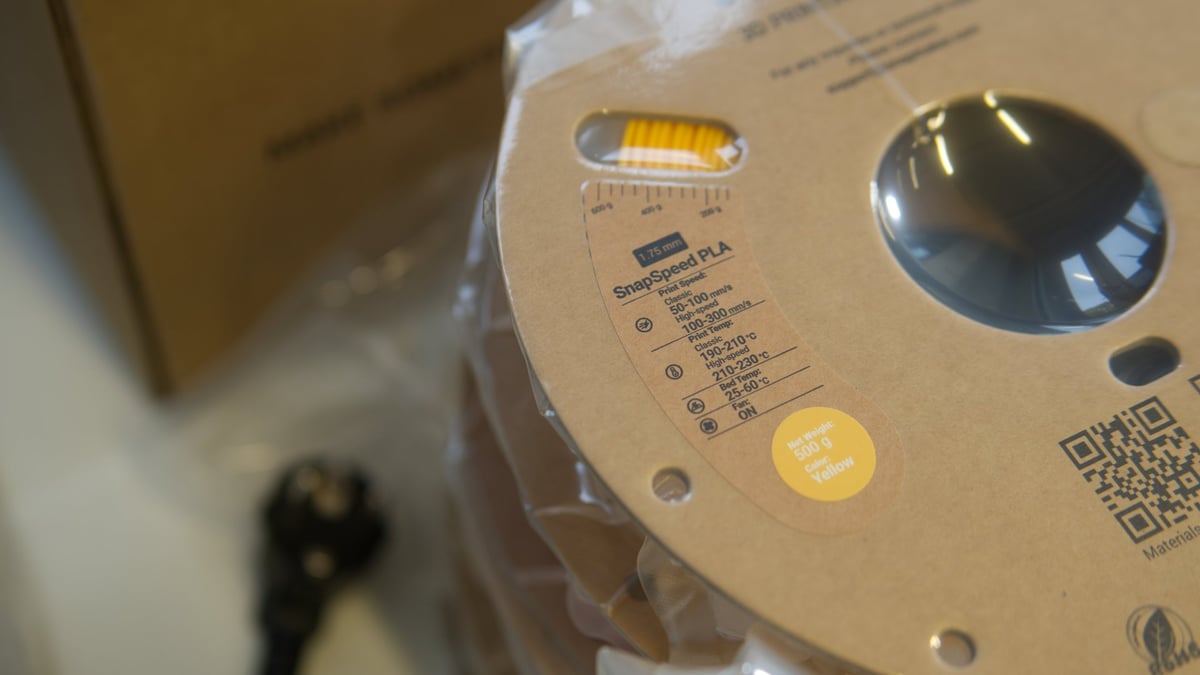
Lift the toolbox and spool accessories out of the way, and you find large sample-sized spools of Snapmaker’s SnapSpeed PLA filament (Source: All3DP)
Four 500g sample spools come with the U1, letting you try full four-color prints right out the gate (Source: All3DP)
Box number two contains the spool holders, toolheads, toolhead cables, filament autowinders, and purge bucket (Source: All3DP)
The spool holders are reminiscent of those on the Bambu Lab AMS Lite (Source: All3DP)
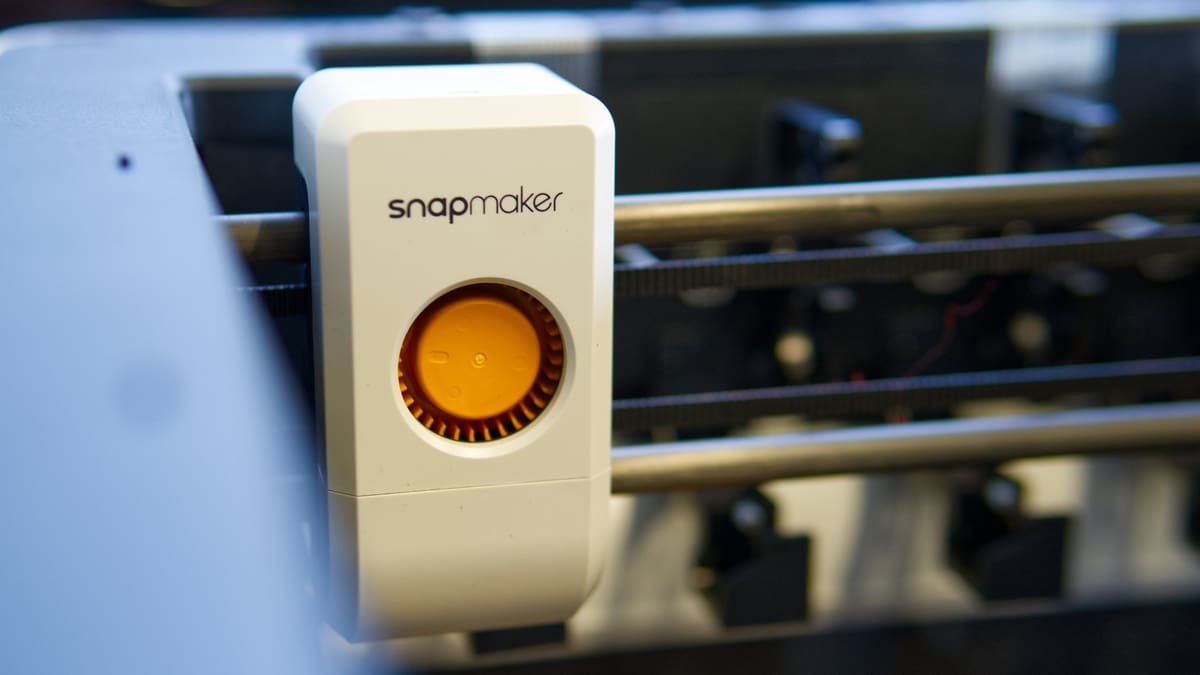
Two filament autoloaders are included – one for each side pulling two spools of filament (Source: All3DP)
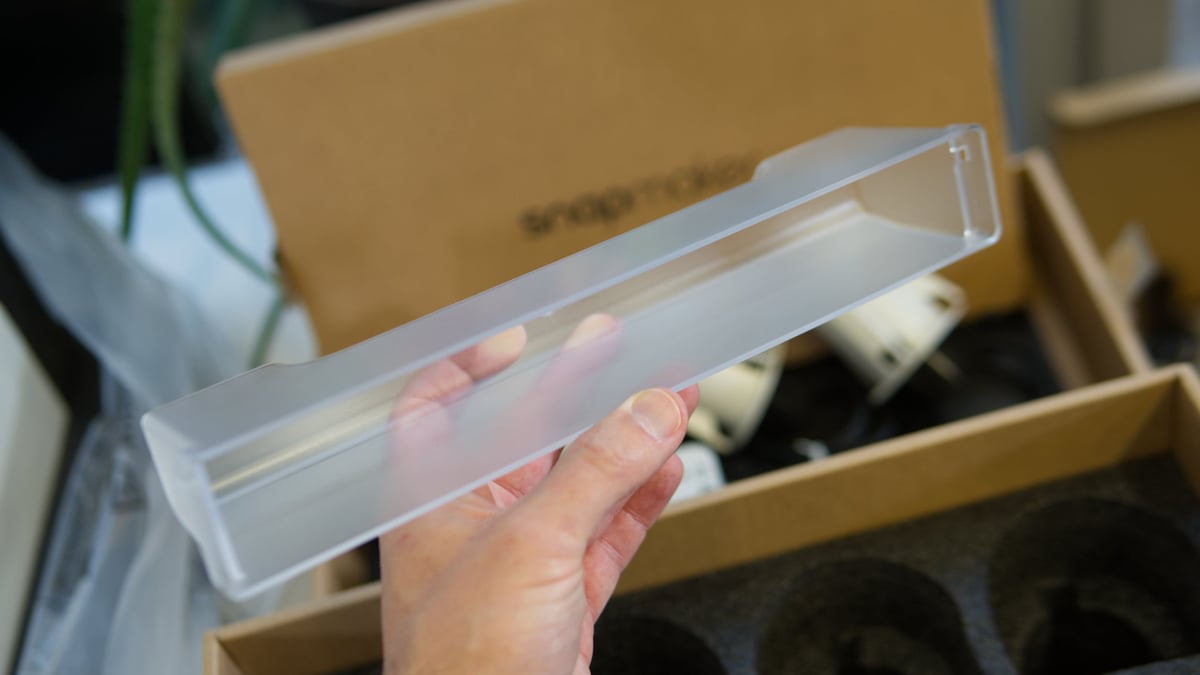
A purge bucket is included, which snaps in place inside the chamber beneath the bank of toolheads – this is to catch purged material from calibrating the flow in the toolheads (Source: All3DP)
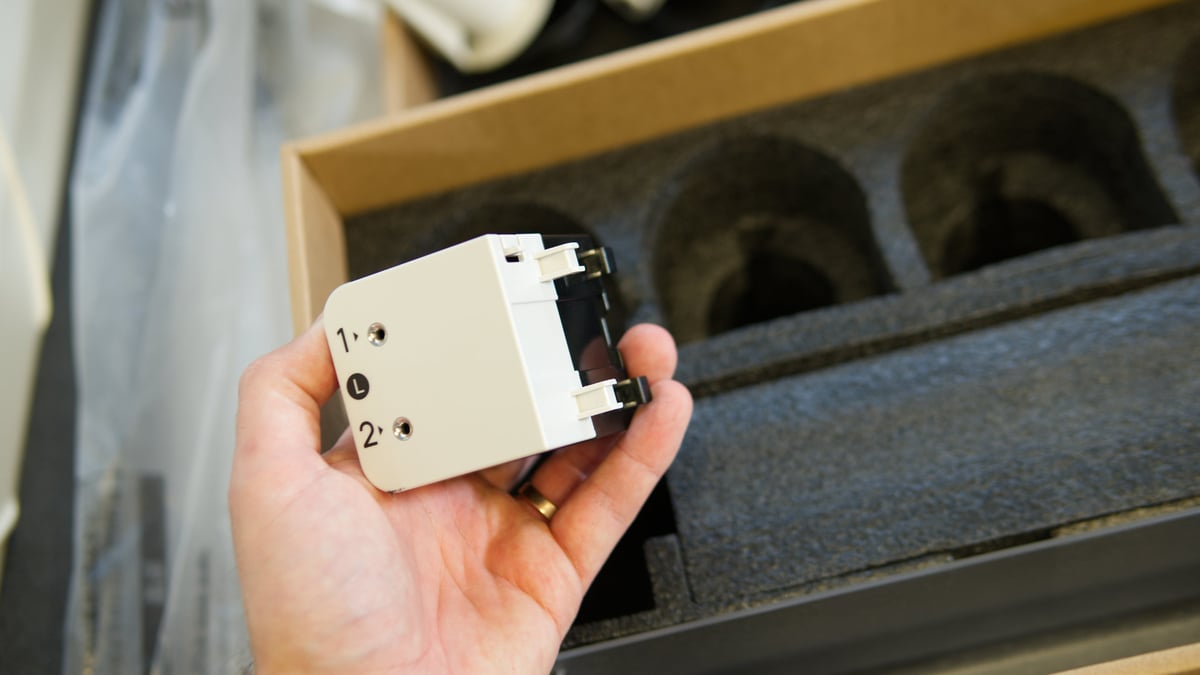
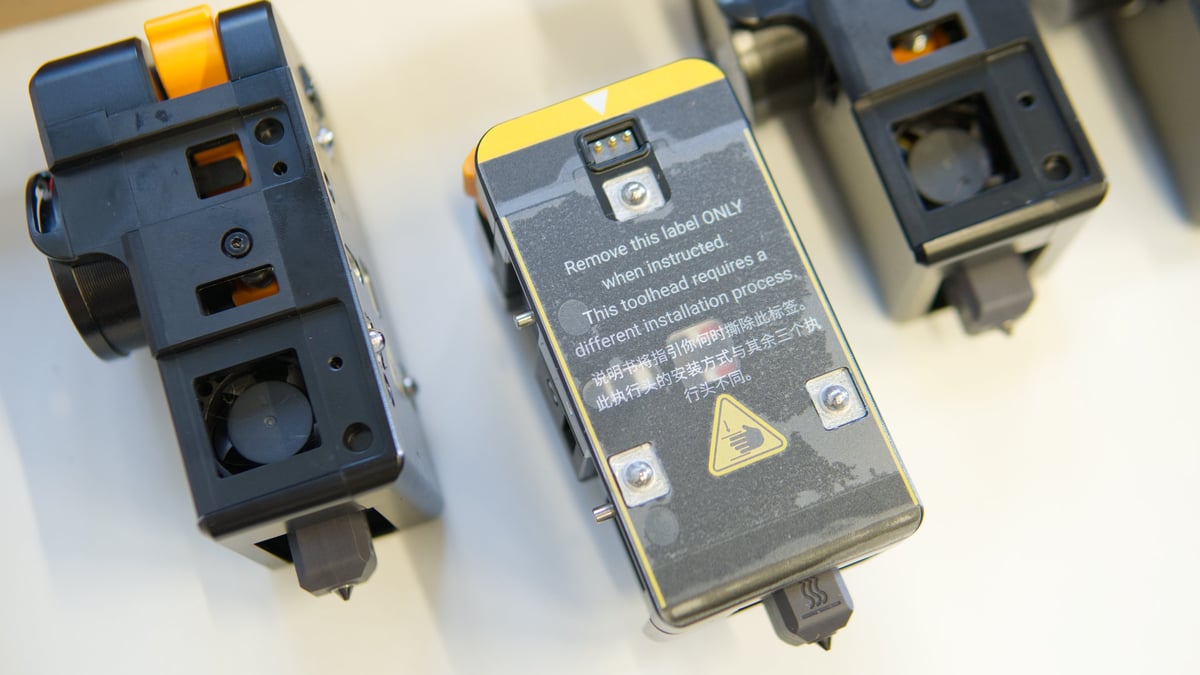
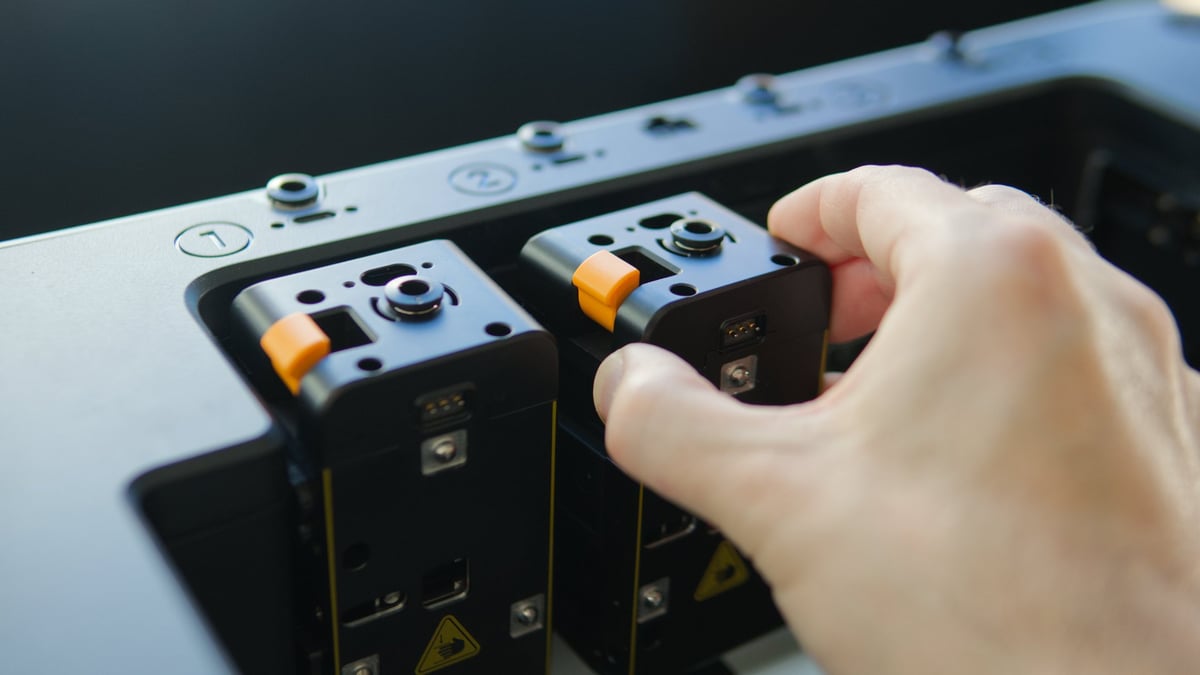
Four toolheads come in the box, too – three of the four dock from the right, while one – in focus here – is inverted, docking from the left (Source: All3DP)
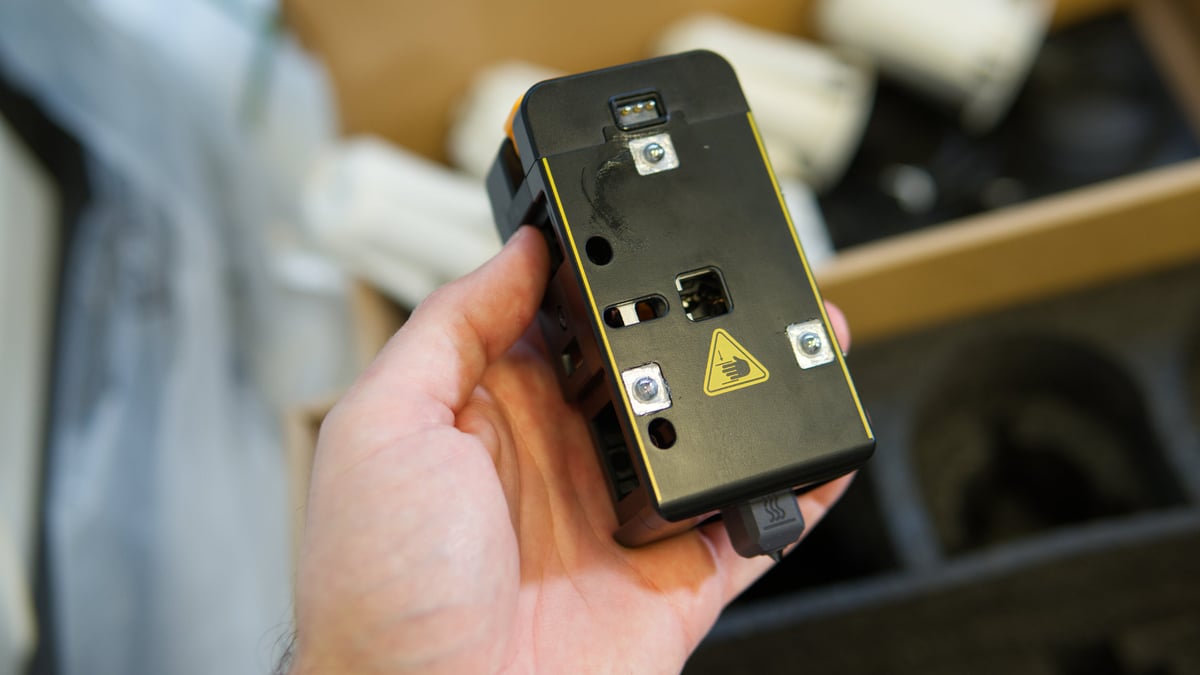
The toolheads use magnets and pins to align (Source: All3DP)
Hardened nozzles come as standard (Source: All3DP)
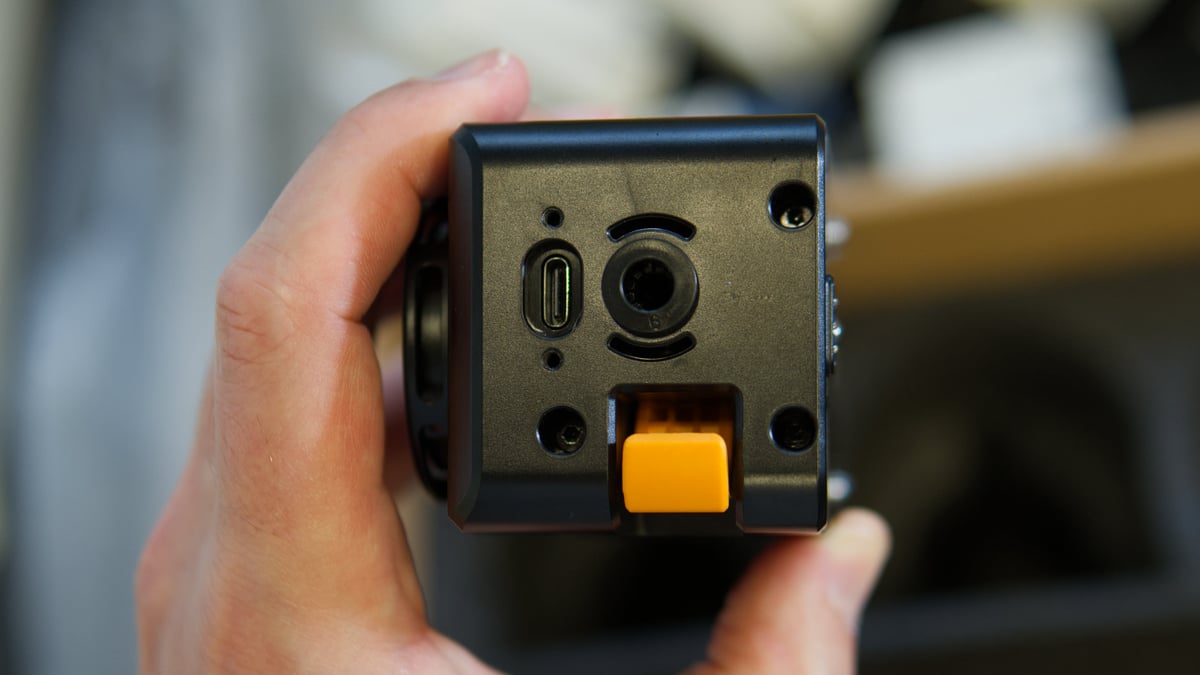
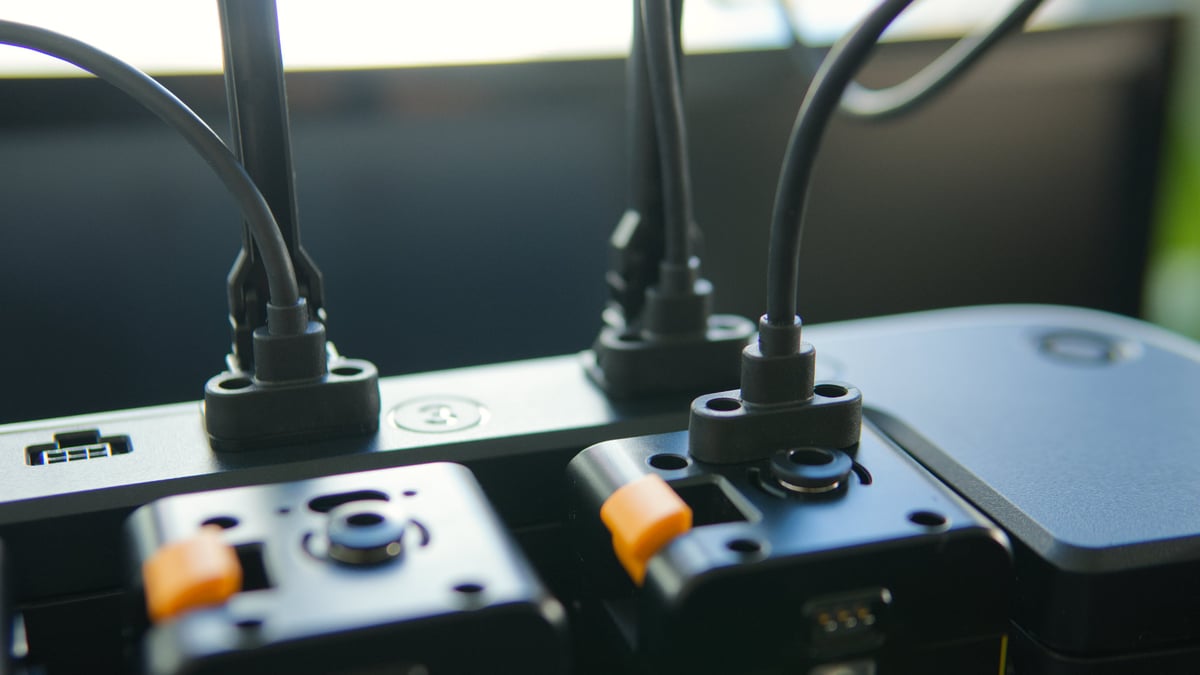
Power and data comes via USB-C for the toolheads, secured by two screws in a chunky plastic strain relief (Source: All3DP)
The nozzles are hot end-integrated, incorporating the heating element and heatsink, and replaceable – a spare 0.4 mm hot end comes in the box (Source: All3DP)
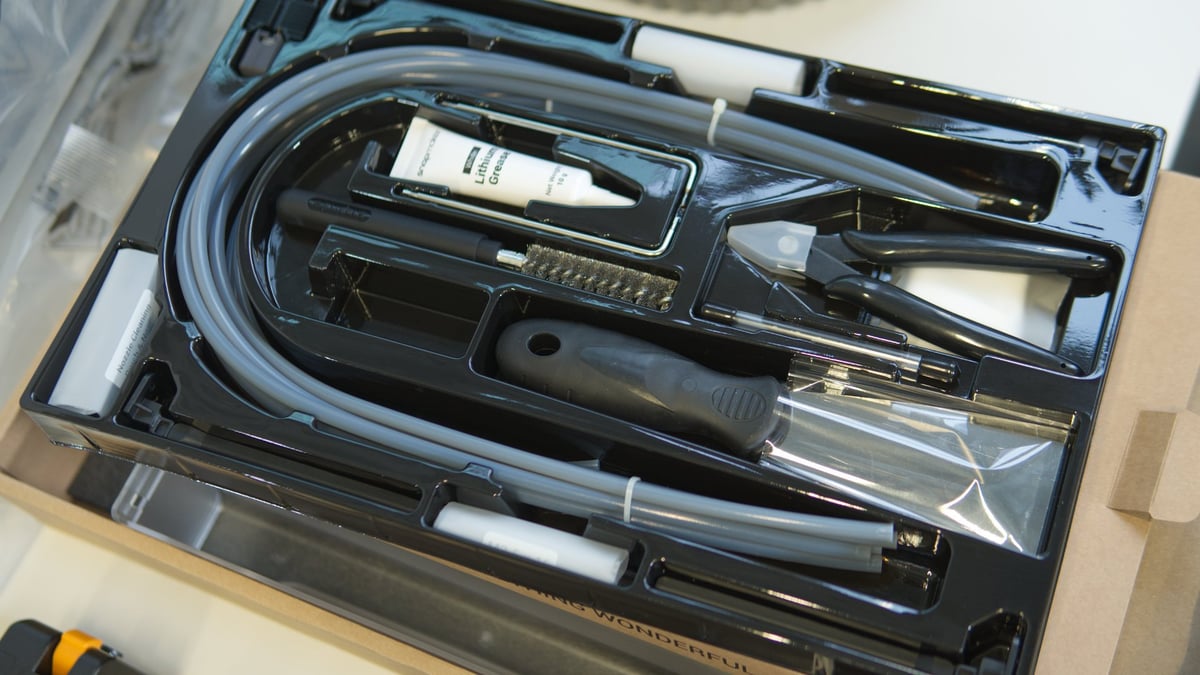
In typical Snapmaker fashion, the toolbox includes everything you need including grease for maintenance and a display cleaning cloth, plus spares, and high quality tools (Source: All3DP)
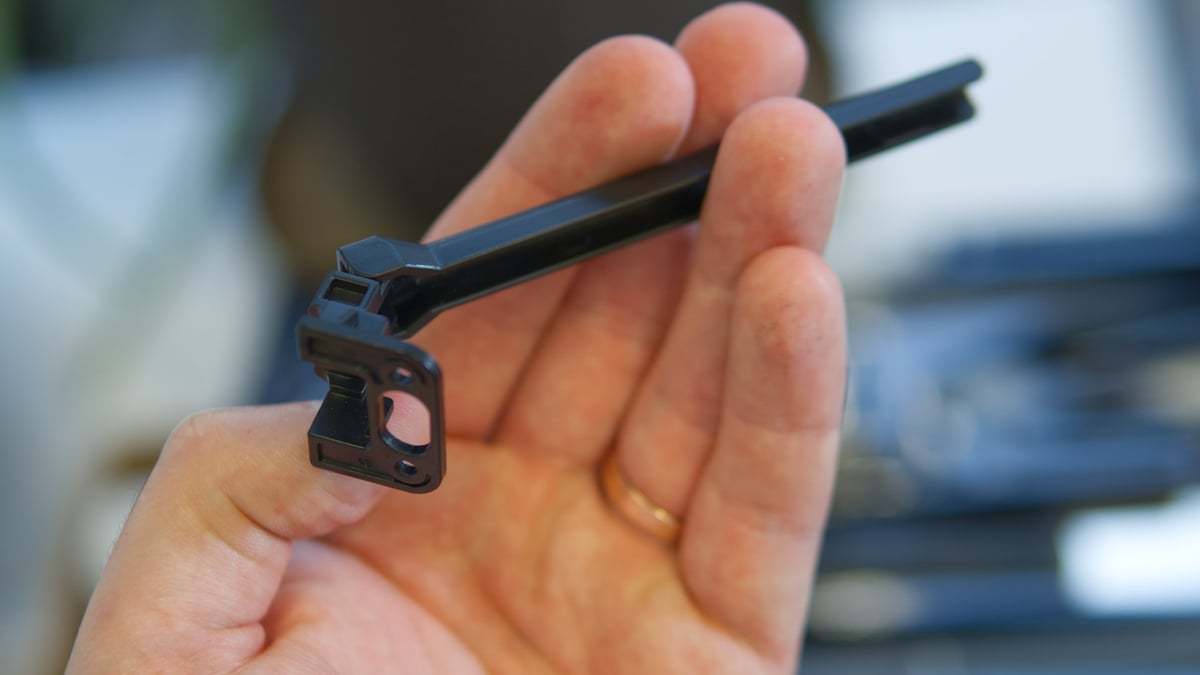
Four toolhead cable strain relief pillars come in the box, and fix to the printer’s body, preventing sharp bends and supporting the filament guide tubes (Source: All3DP)
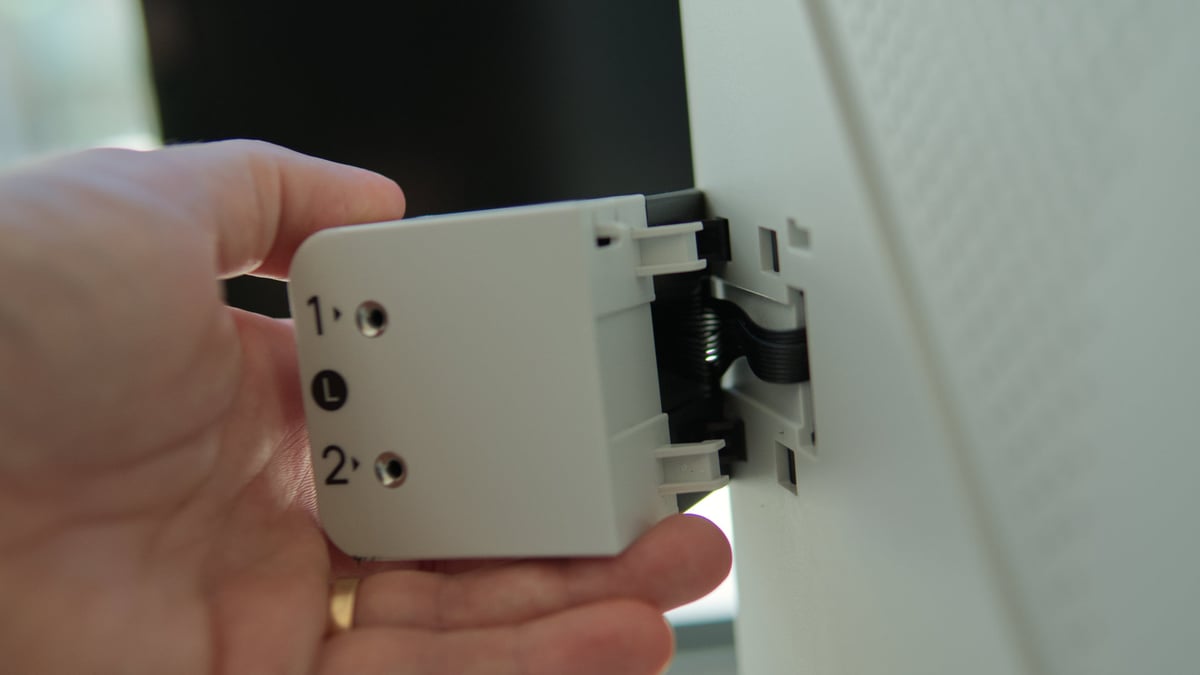
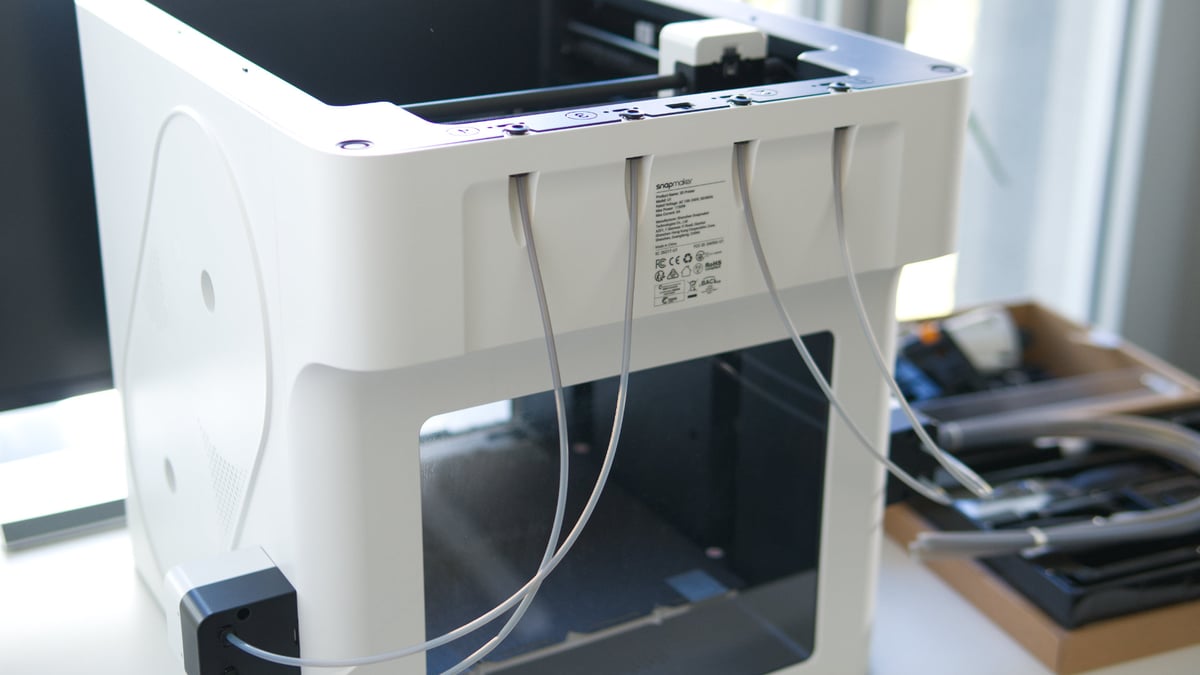
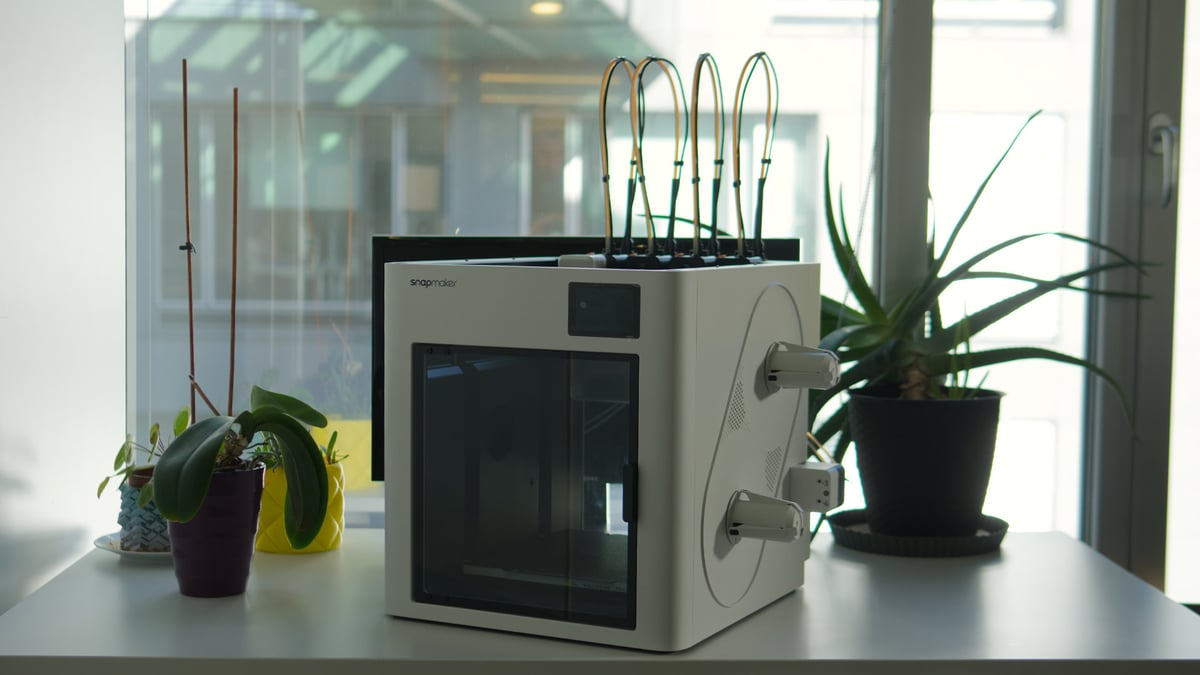
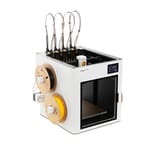
The filament autoloaders snap (ha) onto the side of the Snapmaker U1, with a single cable nestled into a channel between the loader and body of the printer (Source: All3DP)
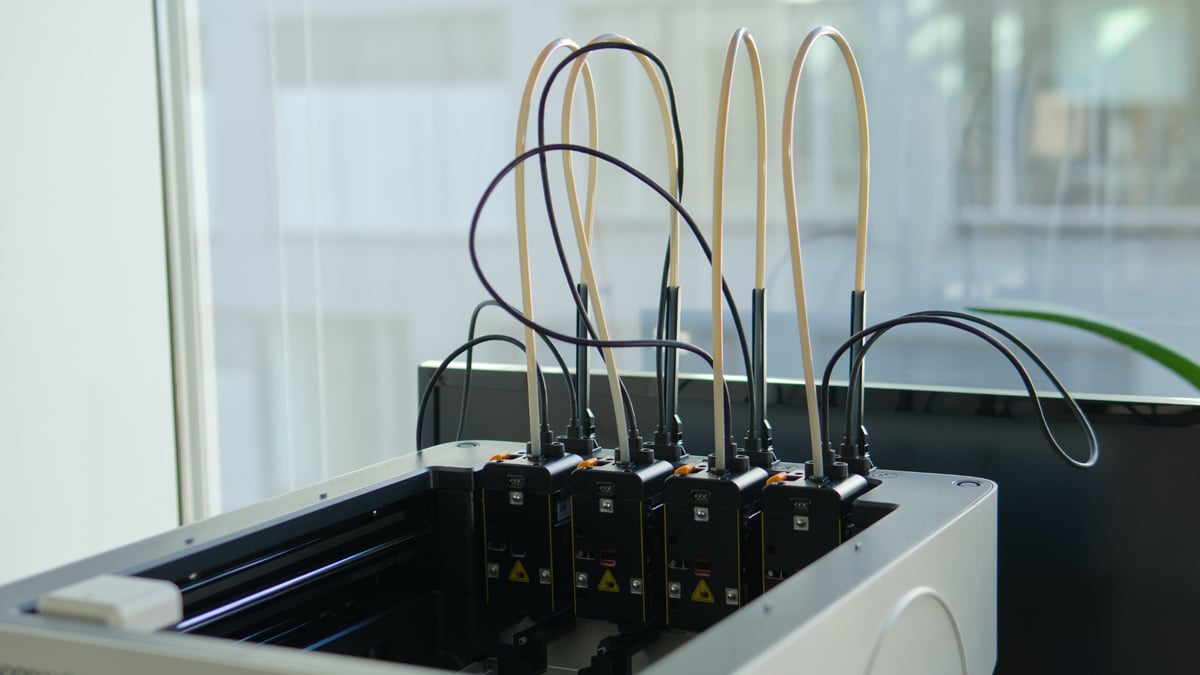
Filament guide tubes connect the autoloaders to four channels on the top rear of the printer (Source: All3DP)
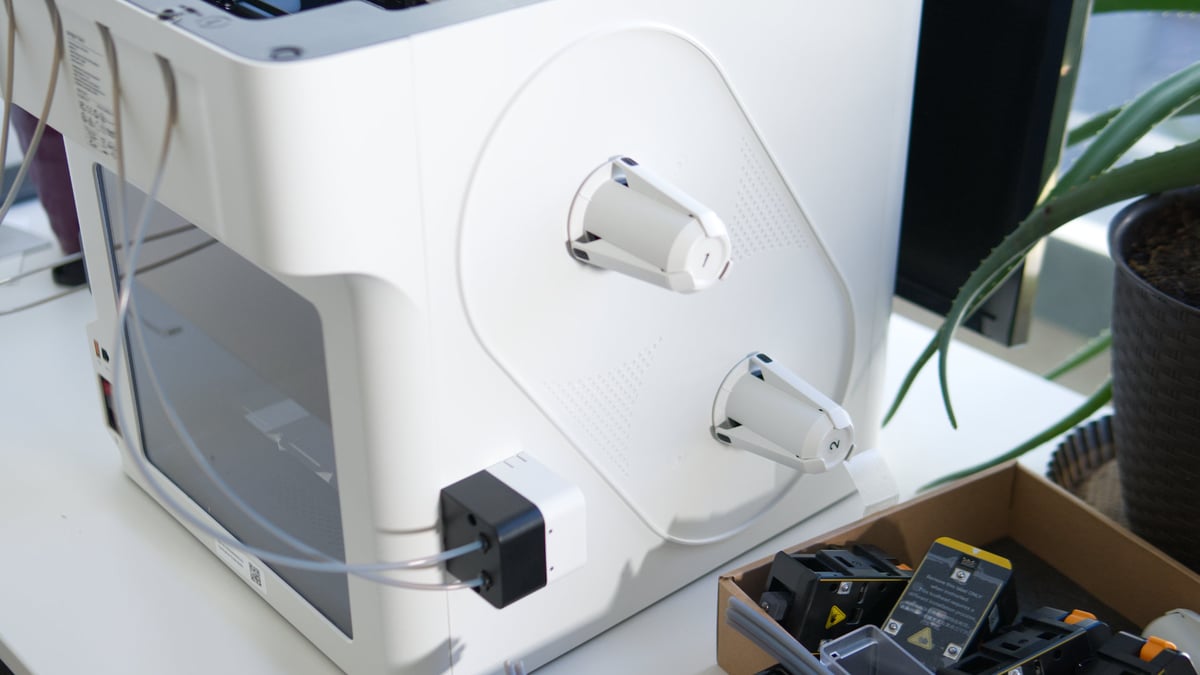
The spool holders snap into place on the side of the printer, too. The mounting point is fixed, but the holders can spin freely (Source: All3DP)
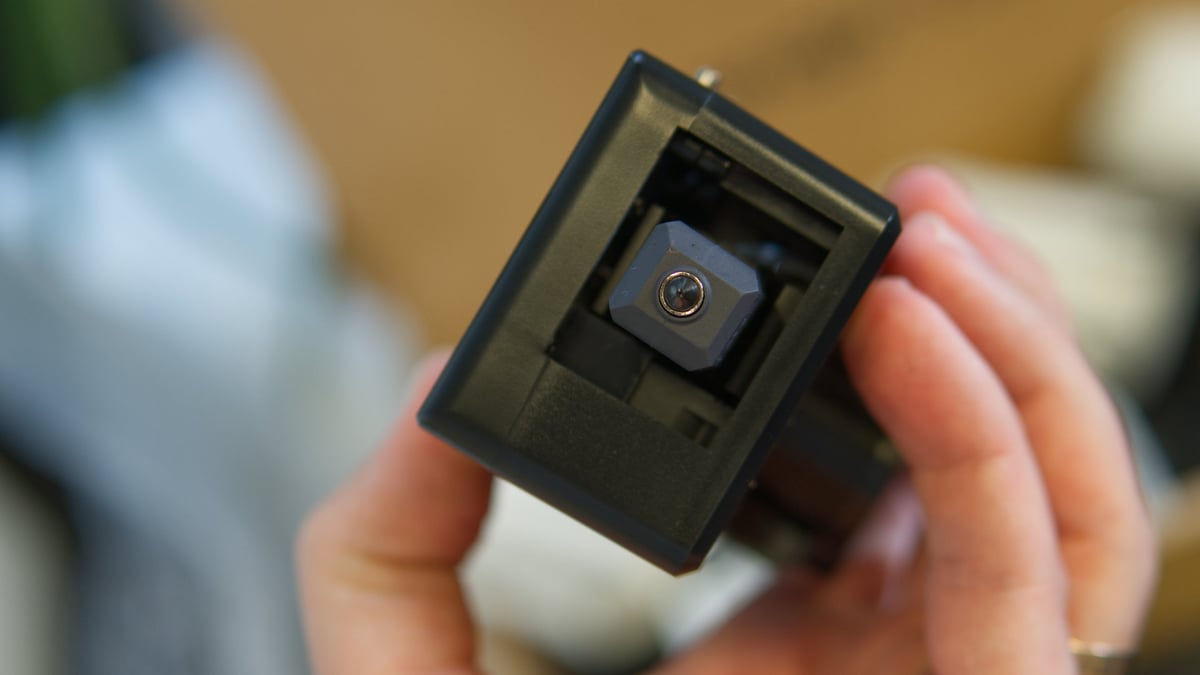
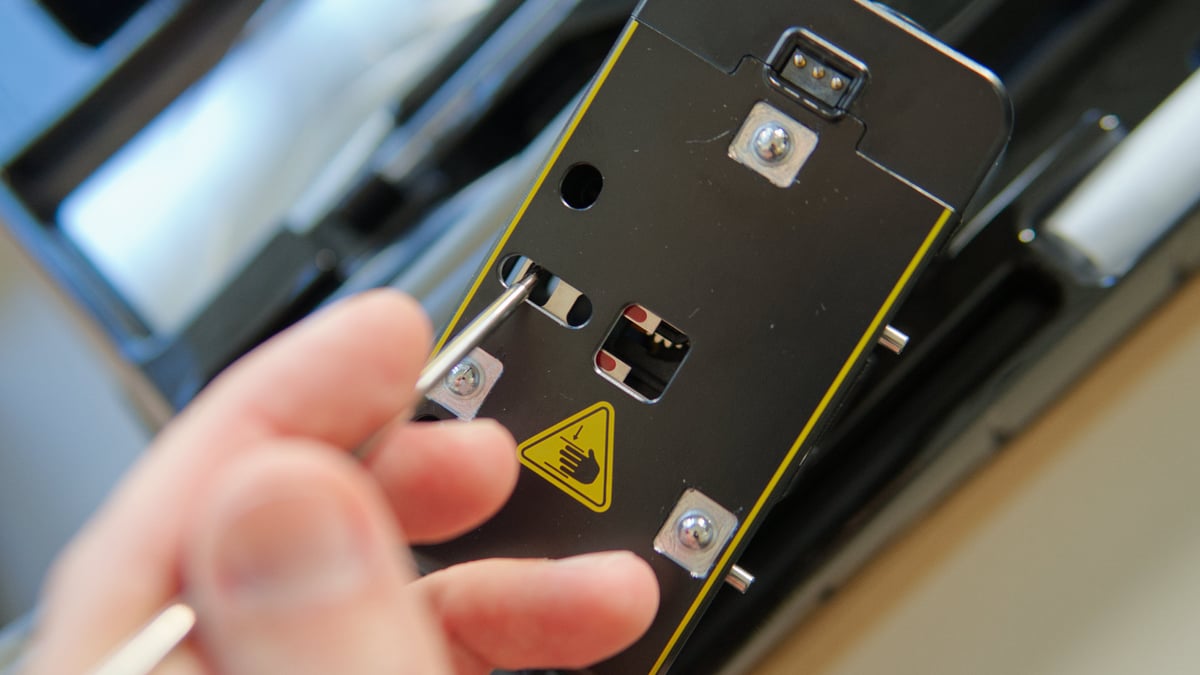
Attaching the toolheads to their respective docks requires you position a latch inside the toolhead correctly (Source: All3DP)
An alignment pin helps you slide the toolheads easily into place (Source: All3DP)
Toolhead cables fix into place using two screws each – it’s recommended to take care not to overtighten these (Source: All3DP)
Once connected, it looks a little messy (Source: All3DP)
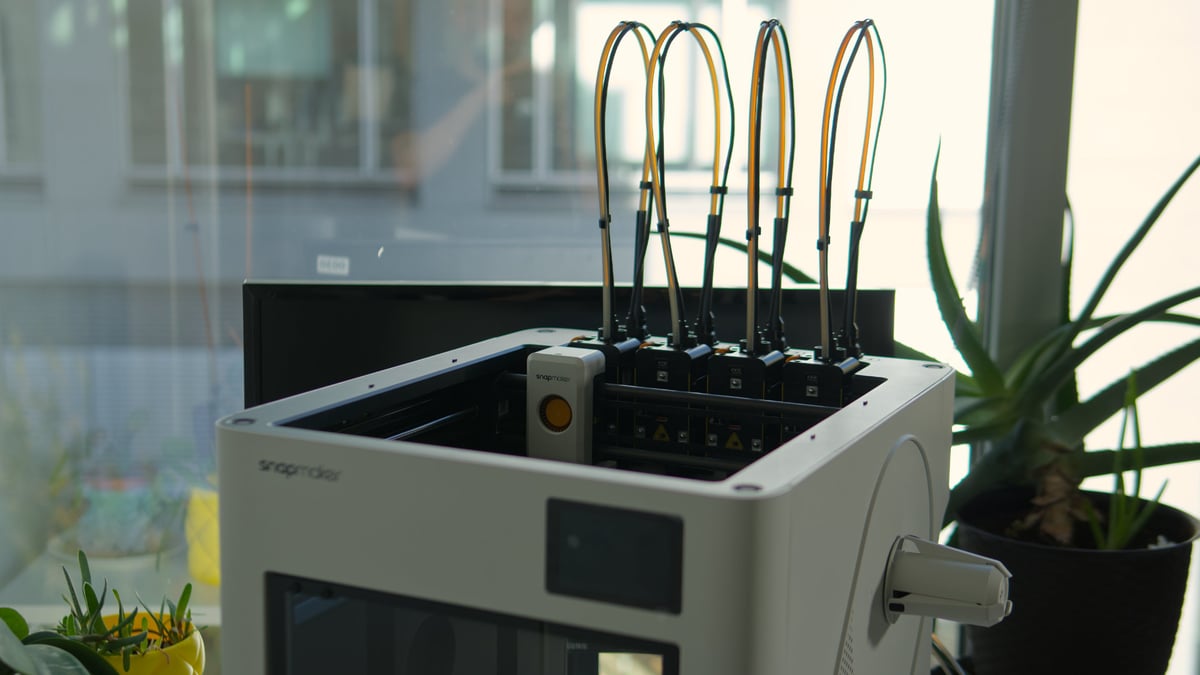
But the clips provided in the box tidy things up in a second (Source: All3DP)
Ready to go, the Snapmaker U1 set up is a pleasantly straightforward process – next up: printing! (Source: All3DP)
If there’s anything specific you’d like to know about the machine or see tested, let me know in the comments and I’ll compile a table of Q+As for a future article or update on the U1.
Snapmaker U1
Commissions EarnedCheck price at
and
Stay Informed, Save Big, Make More
Get our bi-weekly newsletter for the latest 3D printing news, deals, and guides.
We do not share your information! You can unsubscribe at any time. By subscribing you agree to our Privacy Policy.
Matthew Mensley is a senior editor at All3DP with nine years covering consumer 3D printing hardware. He writes news, reviews, and buying guides with the clarity of someone who's seen enough hype cycles to know which ones to take seriously.