CNC Kitchen’s Free Browser Tool Lets You Texture 3D Models – No Blender Needed

YouTubing engineer CNC Kitchen’s open-source vibe-coded mesh displacement mapping tool lets you easily manipulate the surfaces of your prints. How does it work and what can you achieve with it?
AI has its detractors – we know this – but there are some tools and use cases where it majorly shines. Personally vibe coding projects (using AI to generate functional code without writing it from scratch) to build single-purpose tools is one such super power, taking surprisingly little effort.
If that effort is focused through the lens of someone who really know the end use and requirements, though, it sings. CNC Kitchen’s new tool, BumpMesh, is one such case.
In a video posted to YouTube, Stefan Hermann, the mechanical engineer behind CNC Kitchen, explained that this open-source tool came to be, in part, from wanting to add different textures to specific parts of models without investing in expensive or complex software.
While fuzzy skin in slicers is available and one can add textures to models in Blender, neither these options were quite what he was after. After all, fuzzy skin won’t necessarily provide the grip needed for an object like a microphone, and working in Blender can be a bit of a challenge – even for a mechanical engineer.
Adding textures – beyond fuzzy skin – to 3D prints can help hide the occasionally pesky seam lines, plus it can make the model more appealing (especially if, for example, you’re going for terrain). As Hermann shows in the video explaining BumpMesh, depending on the design and texture combination, you can even add strength to a model.
So, knowing the benefits of what BumpMesh can do, let’s look at how the tool actually works.
Access is as easy as it gets: start over at bumpmesh.com – it works in-browser and there’s nothing to download and no registration needed.
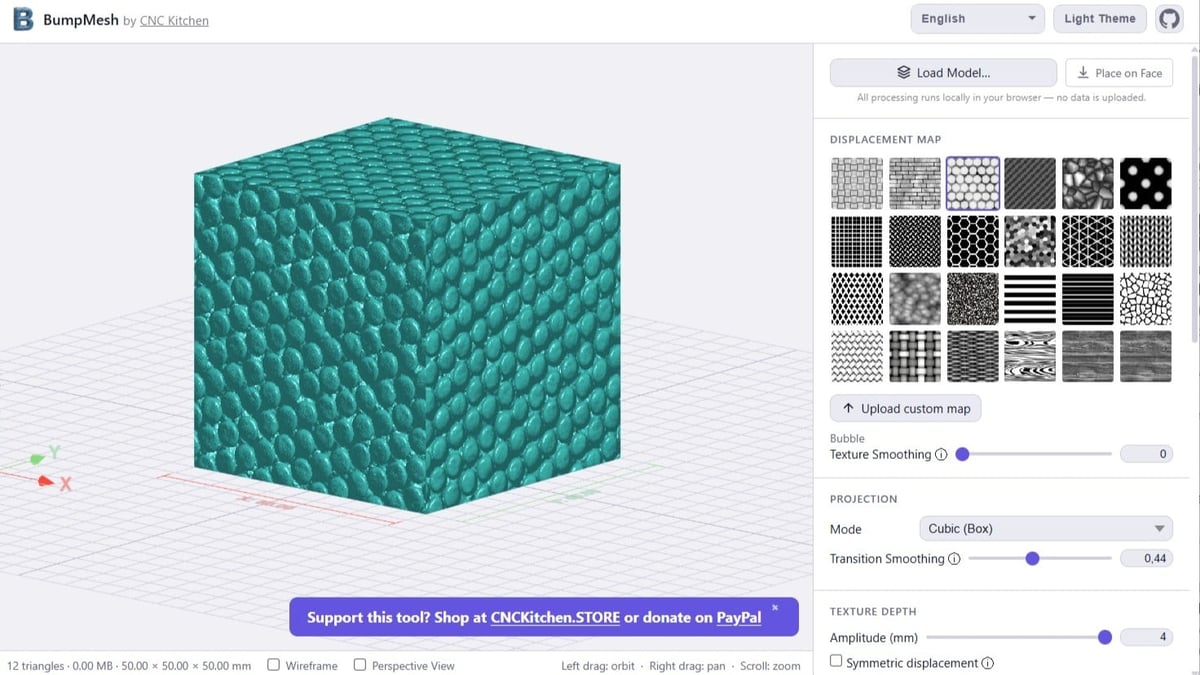
You can toggle between English and German languages, and there are light and dark themes for visual preferences. Aside from that, the platform is intuitive and the workflow pretty streamlined.
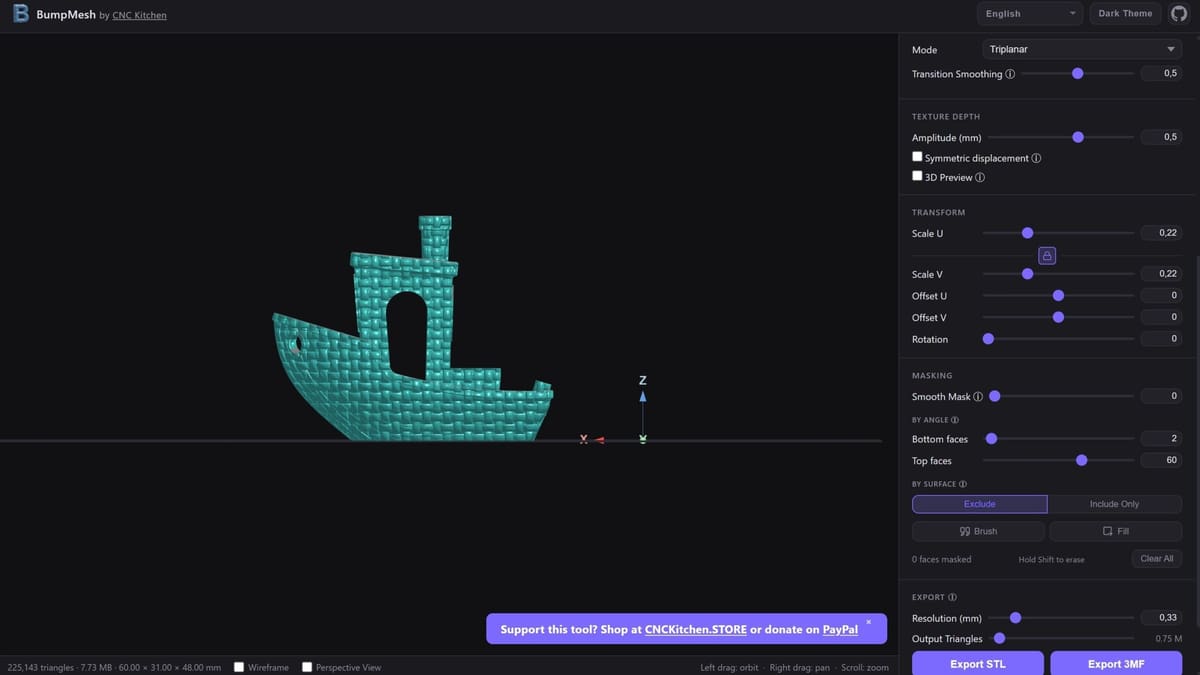
You can import STL, OBJ, and 3MF files, and the “Place on Face” button on the top right of the screen can help you orient the model. While 24 textures are available at time of writing, you can also upload your own. Once you’ve done so, you can choose how the texture wraps around your model with the Projection Mode – an important setting to toy with, as the general shape of the feature may require different projection approaches to wrap the texture cleanly.
One downside? Hermann points out that it can be a bit of a hassle to add different textures to one model. You need to apply one to a segment, export the model as an STL, then reimport it too add the second texture. Do this as many times as you want to add different textures. While he’s working on streamlining this, if it’s truly the only noteworthy improvement to be made to the tool, we’ll take it.
Hermann has released BumpMesh open source, with generous terms including commercial use. You can find the code over at GitHub.
Get our bi-weekly newsletter for the latest 3D printing news, deals, and guides.
We do not share your information! You can unsubscribe at any time.
By subscribing you agree to our Privacy Policy.
Read more recent news:
License: The text of "CNC Kitchen’s Free Browser Tool Lets You Texture 3D Models – No Blender Needed" by All3DP is licensed under a Creative Commons Attribution 4.0 International License.