3D Printer Under-Extrusion: 8 Simple Solutions

Plagued by 3D printer under-extrusion and don't know how to get rid of it? Check out this guide for some simple solutions.
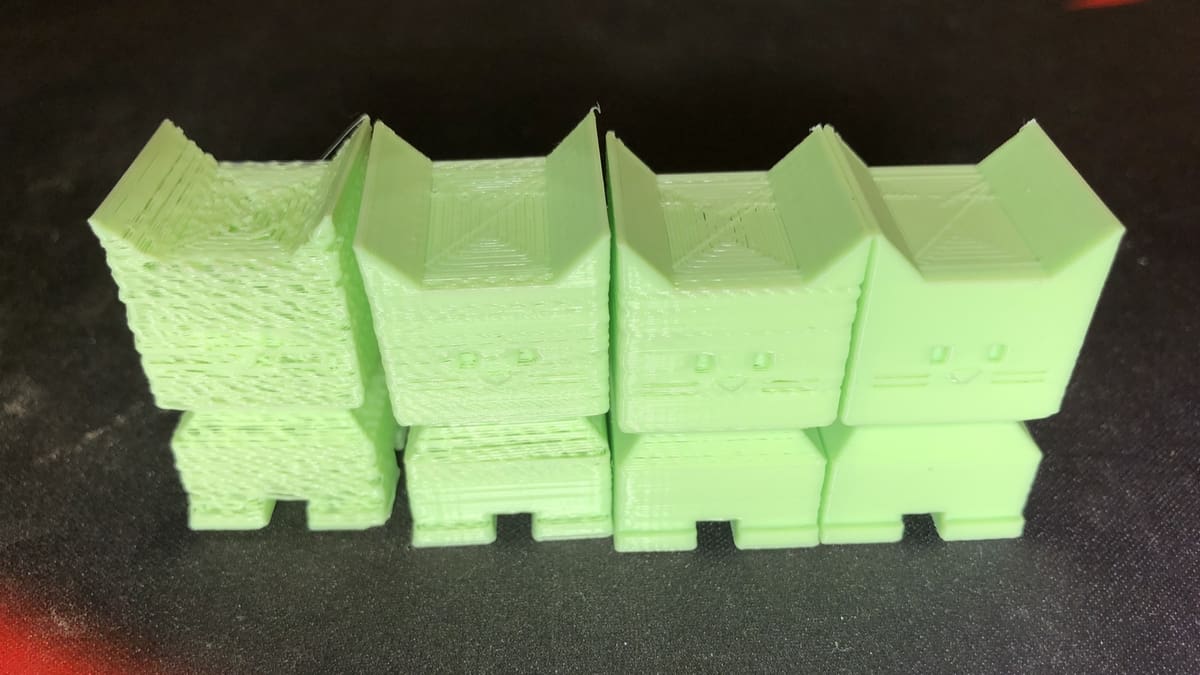
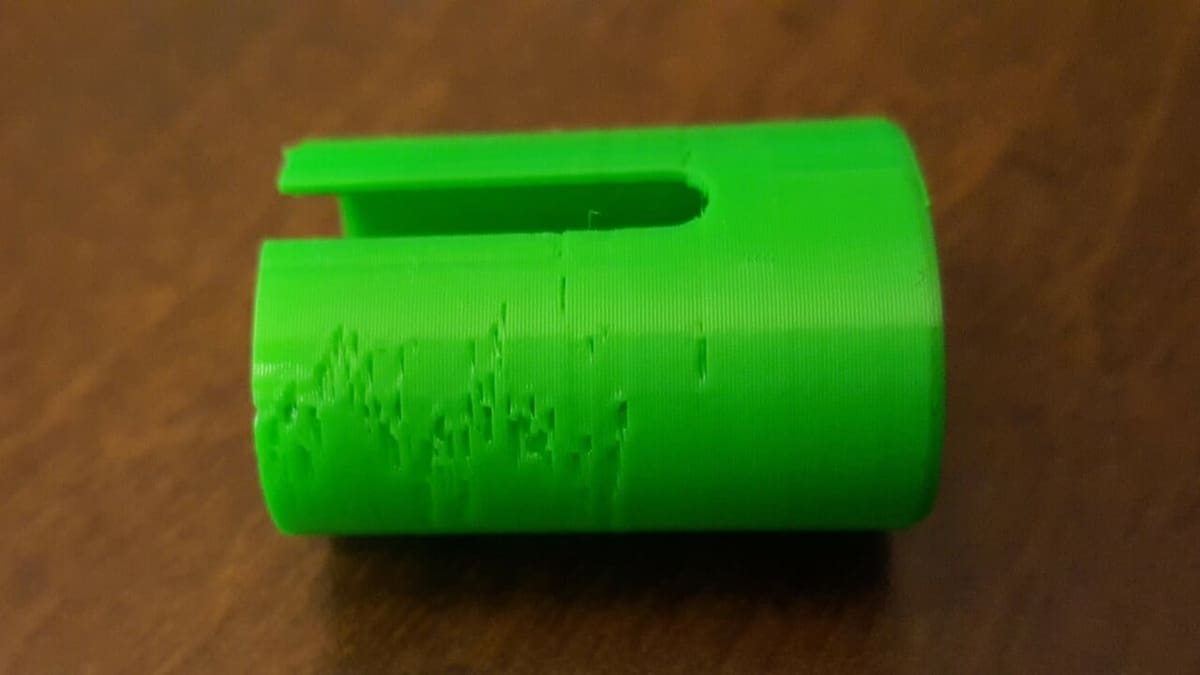
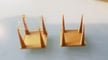
Under-extrusion occurs when too little filament is extruded during a print. This can result in gaps, missing layers, insufficiently small layers, and even little dots or holes appearing in a print. Print quality and print strength are compromised when under-extrusion occurs.
Under-extrusion can be either an issue related to settings and calibration (if you consistently experience under-extrusion), or it may have to do with hardware (if the issue suddenly arises). Make sure to check hardware issues first, and always be cautious about adjusting slicer settings too much, especially if you’ve had successful prints in the past with the same setup.
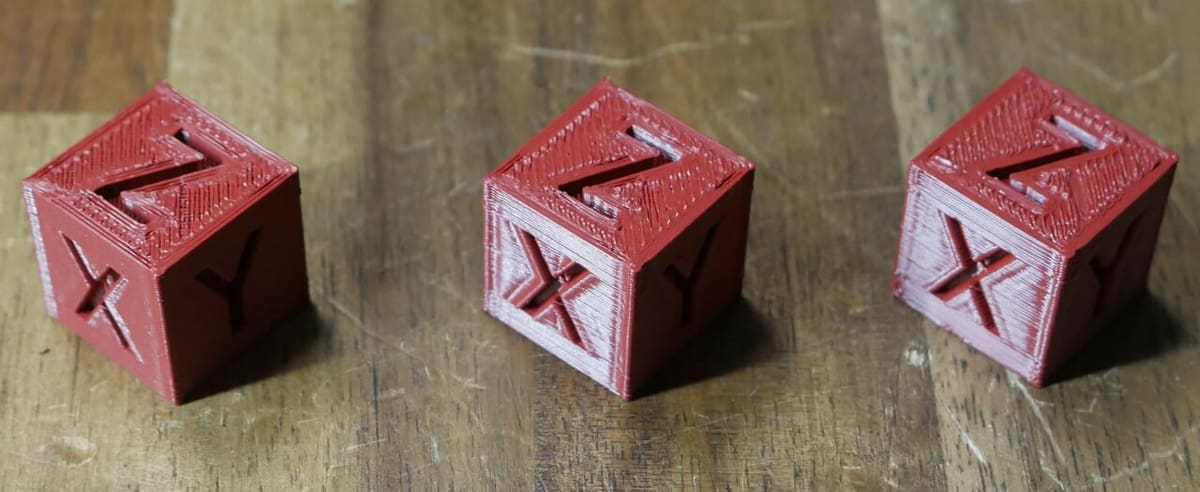
In the following, we take a look at some easy fixes for under-extrusion that should eliminate this annoying problem. But before you begin, make sure you’ve got a favorite calibration cube or test print that you can use to dial in your settings.
Things to Check
As mentioned, starting with the hardware is recommended. Let’s take a look at what you should consider first.
Filament Diameter
Incorrect filament diameter input is a common issue that can be fixed without needing to change anything on your 3D printer, and it starts with arguably the most basic component of your printing setup. As an extreme example, if your slicer is expecting 1.75-mm filament, and in fact, you’re trying to print with filament that’s 3 mm wide, the extruder won’t push the filament at a satisfactory rate.
To make the necessary changes, if you’re using Cura, go to “Settings > Printer > Manage Printers…”, select your printer or add a new one in case yours isn’t already listed, and click on “Machine Settings”. Under the corresponding extruder tab, change the “Compatible material diameter” to meet that of your filament. Then change the material diameter by going to “Settings > Extruder 1 > Material > Manage Materials…”. Because preset materials can’t be edited, you need to create a new one (based on an existing material, to make things easier) and under “Information > Diameter”, add the specific number.
Note that if you’re planning on printing with 1.75-mm filament later, you’ll have to change the material and machine settings again.
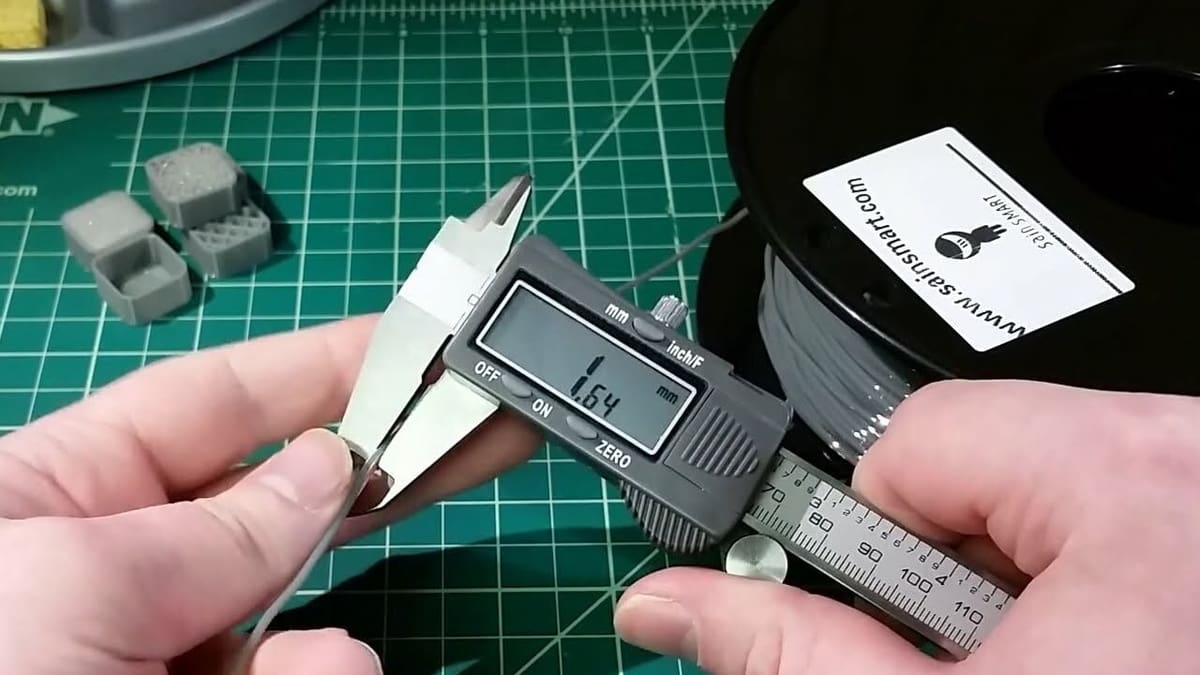
If you’re opting for a filament with a different diameter, you can use calipers to measure your material and find its correct diameter. Sometimes, even a 0.1-mm inaccuracy can cause printing issues.
Because of the specific and intricate conditions necessary for manufacturing filament (e.g. even temperatures, avoiding contamination), cheaper or off-brands may not meet the quality standards to produce the material that you need. Sometimes cheaper can be better, but this isn’t necessarily one of those cases.
Filament Knots & Hygroscopy
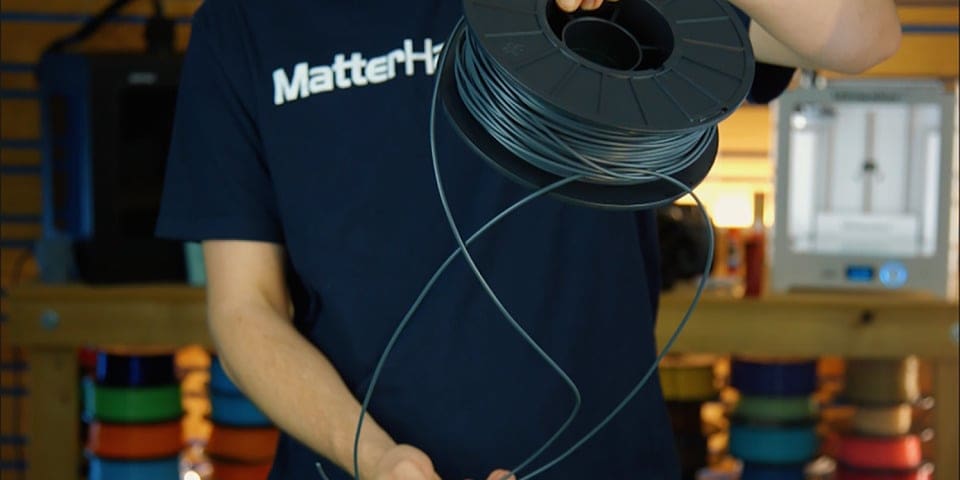
Another spool issue that may come up as you’re printing is knots and tangles, which are as annoying as they are inevitable. Be sure to check out our tips and tricks to avoid tangles.
The best way to fix a knot or tangle is to unwind your filament past the origin of the knot and carefully spool it back up. In the future, use a filament clip to avoid the hassle!
Of course, proper storage of your filament spools is also important, as most materials are hygroscopic and can absorb humidity if they’re left out in the open. Wet or humid filament can also lead to under-extrusion, so knowing how to dry the material and having a dry box around are significant aspects of attaining the best possible prints.
Nozzle & Hot End
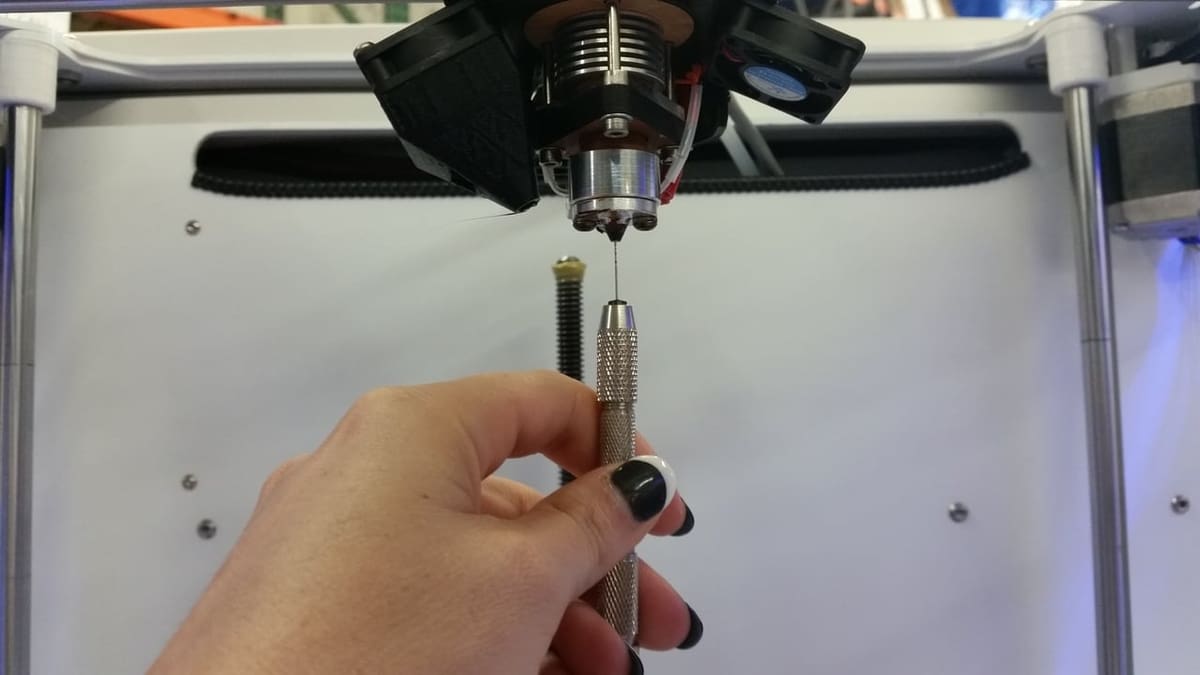
The most common cause of under-extrusion is a clogged nozzle. Even a partial clog can ruin your 3D prints. If your printer suddenly starts under-extruding, especially if you’ve been procrastinating on your printhead’s maintenance, a clogged nozzle is most likely the problem.
You can eliminate this issue by cleaning or replacing your printer’s nozzle. Most times, you can simply brush the nozzle with a wire brush and use an appropriately sized nozzle cleaner to push out leftover material and clear the nozzle opening. Other times, the solution is much more involved.
Bowden Tube & Cold End
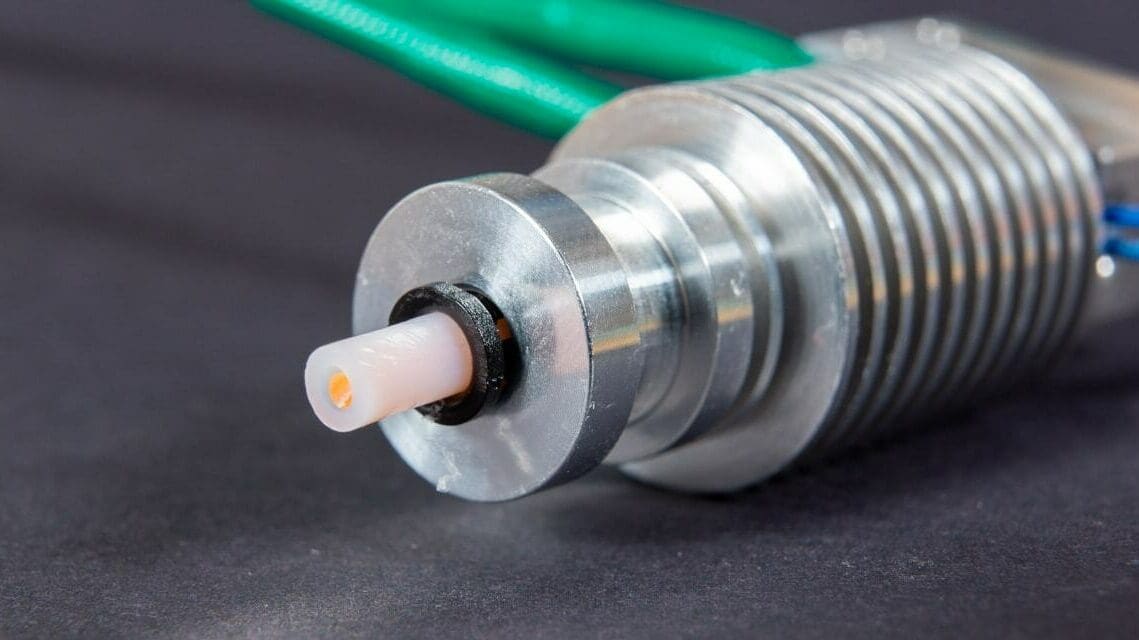
If your nozzle is clean and you’re still experiencing under-extrusion, check your printer’s Bowden tube (or cold end if it’s a direct extrusion setup). Sometimes, deteriorated PTFE tubing can fuse to filament and cause a clog.
To remove the clogged filament and bad PTFE tubing, remove the collet clip, press down the collet around the PTFE tube, and give the tube a firm tug. It will also help to heat your hot end up to printing temperature (~200 °C), though be very careful if you choose this method so that you do not burn yourself. Heating the nozzle will make sure that filament isn’t stuck in the nozzle, which would prevent it from being removed from the Bowden tube.
If your printer has a direct extrusion setup, you’ll need to access the cold end of the printhead to make sure filament can be pushed into the hot end without being obstructed.

Extruder Gears
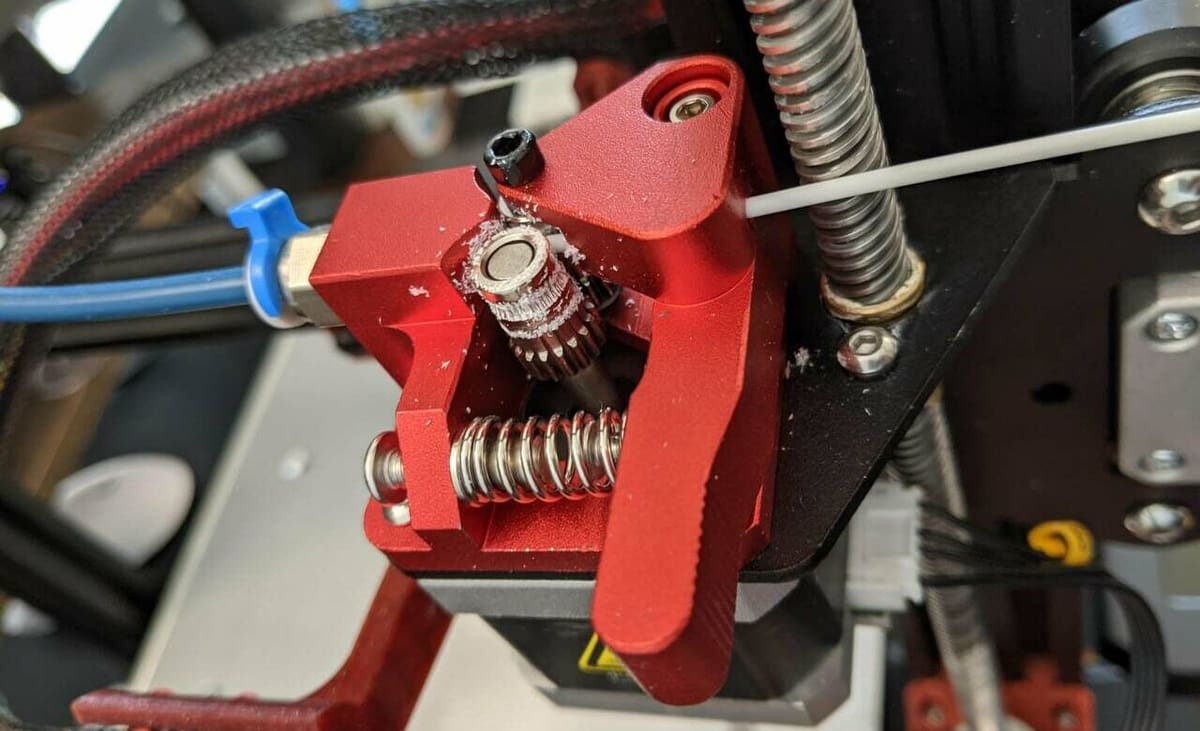
Another common cause of under-extrusion is uncleaned extruder gears.
Especially if you’ve had clogging issues in the past, extruder gears can grind the stationary filament and accumulate filament shards and particles on the gear teeth. This will inhibit the extruder from gripping and pushing new filament through the nozzle.
A quick wire brushing should fix this issue for you in a jiffy!
Quality can also be an issue if the stock option on your printer isn’t capable of keeping up with an abrasive filament or if it’s worn down. Upgrading the gears for stainless steel ones might also help avoid the issue, and it’s worth noting that the spring’s tension might need to be adjusted if it’s too tight or too loose.
Settings to Tweak
If none of the above checks have led to a fruitful solution, it’s time to tweak the settings.
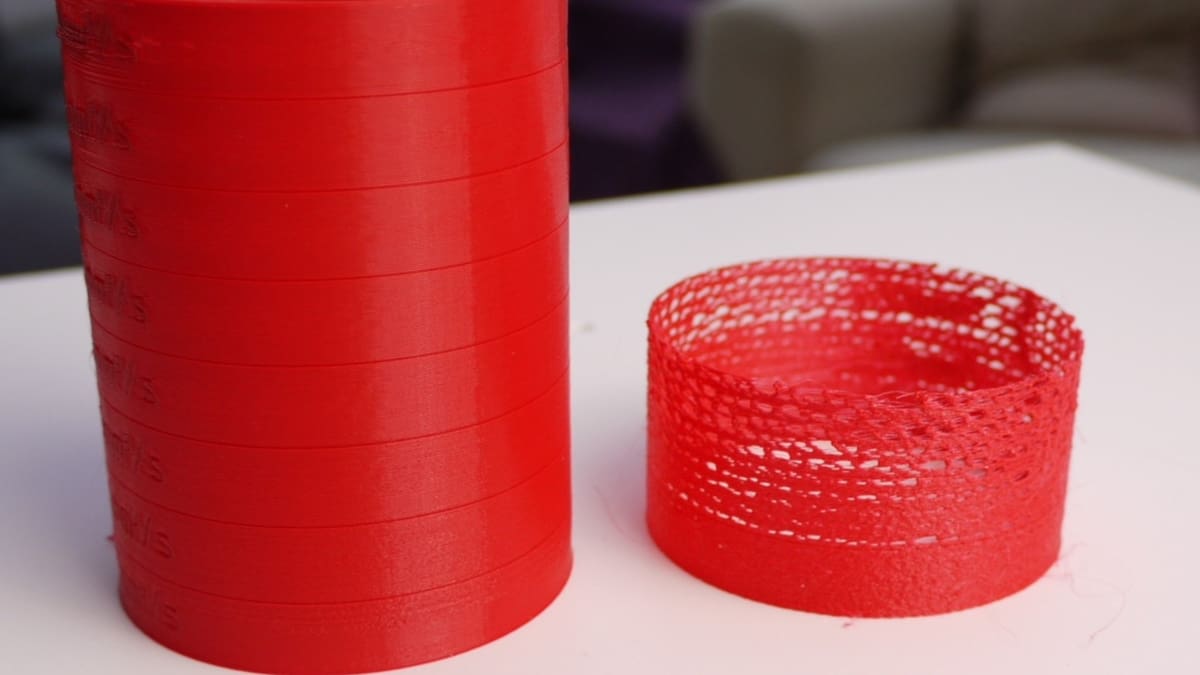
Increase Print Temperature
Even within the same material category, some filament brands and colors will require slightly different printing temperatures. If you recently switched filaments and are all-of-a-sudden seeing under-extrusion, chances are you need to adjust the print temperature. If the print temperature is too low, the filament won’t be able to flow properly.
Increase your print temperature by increments of 5 °C until you find the proper temperature for your machine and material. You can tweak this setting either by repeatedly printing a test and adjusting the temperature or by printing a single temperature tower, with which you can test several temperatures at once.

Adjust Retraction Settings
If you’re seeing under-extrusion near corners or seams of your prints, you might need to adjust your retraction settings. If you retract filament too far or too slowly, the extruder won’t be able to push enough filament through the nozzle to create a perfect layer.
Lower your retraction distance by 1 mm at a time and increase your retraction speed by 5 mm/s at a time. Stop when you see this issue disappear or become negligible. If your prints start stringing or blobs appear, you adjusted your distance and speed too much and need to backtrack a bit. As a general rule of thumb, never go below a 2-mm retraction distance or above a 45-mm/s speed.
Increase Flow Rate
If all your hardware is in tip-top shape, none of the settings tips are working, and you’re still experiencing under-extruded prints, try increasing the flow rate (also known as extrusion multiplier) in your slicer. This will push more filament through your nozzle resulting in fuller prints.
Tweak this setting by 2.5% until you find the right spot. Note, however, that increasing this setting too much can cause jamming. Sometimes different filament brands, colors, and materials will require slightly different flow rates. As a rule of thumb, don’t increase this setting to over 1.1 (or 110%). Otherwise, new problems will pop up.
As we noted before, never adjust this setting if you’ve produced acceptable prints with the same printer, settings, and material before. If under-extrusion randomly pops up, the issue is most likely in the hardware.
License: The text of "3D Printer Under-Extrusion: 8 Simple Solutions" by All3DP is licensed under a Creative Commons Attribution 4.0 International License.