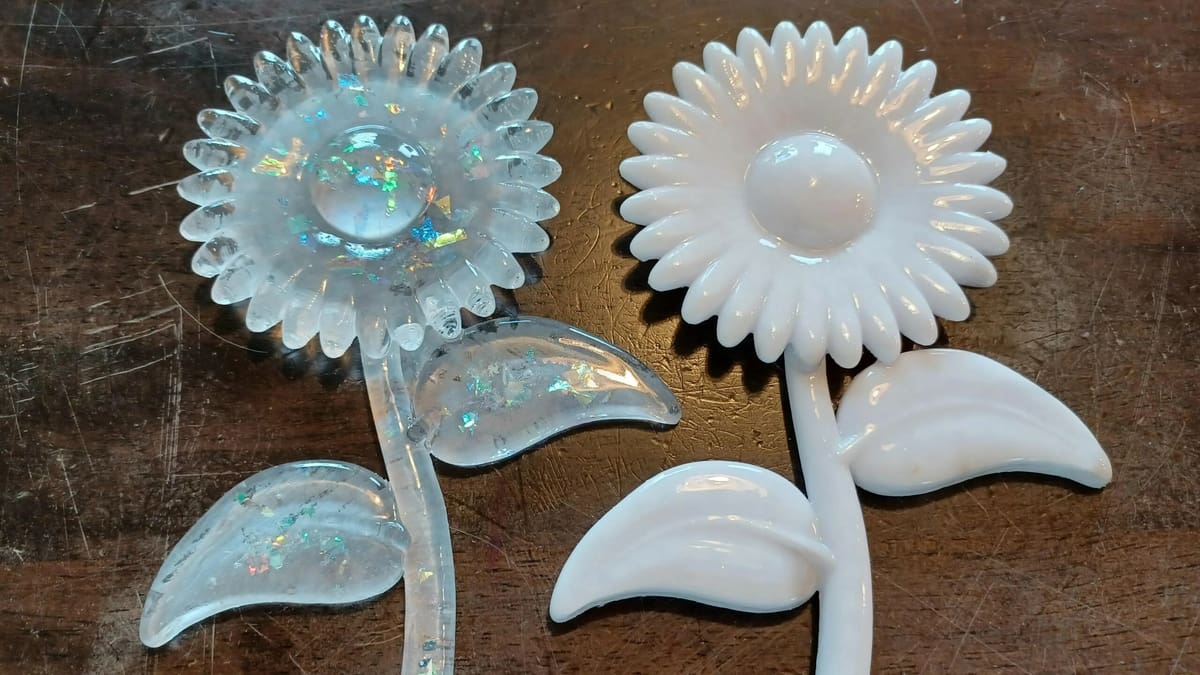
PLA Smoothing: How to Get a Smooth or Glossy Finish

From sanding and heat guns to epoxy coatings, here's every legitimate way to get rid of layer lines on a PLA 3D print.
When it comes to 3D printed layer lines, some people love them and some people hate them. Nevertheless, there are many reasons that you may want to give a print a smoother surface. Maybe it’s a display piece or prototype or perhaps you need to reduce friction between moving parts or maybe you want to prepare the surface for painting. In any case, there are several methods for smoothing your parts printed with PLA filament.
This guide focus only on techniques applicable to PLA not only because it’s the most common FDM 3D printing material, but the techniques solvents and coatings that work with other polymers, often don’t apply to PLA.
First, we’ll start with the basics, like trimming and sanding, before moving on to different ways to coat or even melt the surface of a part for a smooth finish.
Tweak Slicer Settings for Smoother Prints
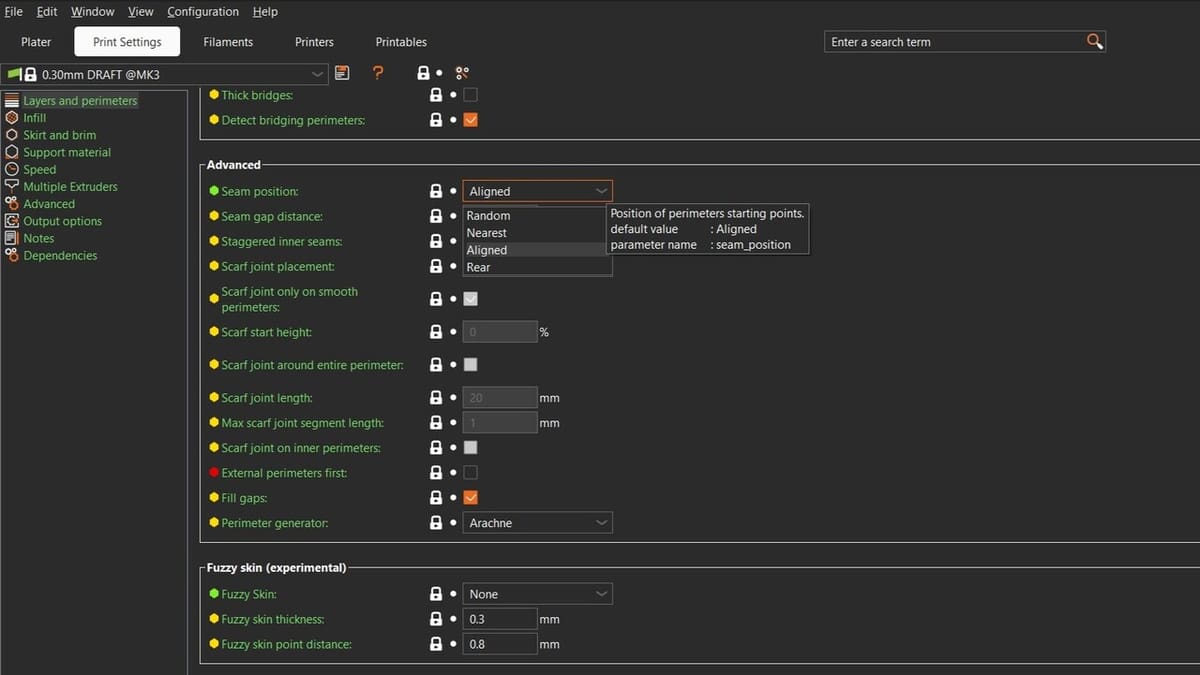
While smoothing takes place after the part’s printed, you can take advantage of several features and tools in your slicer beforehand to minimize the post-processing.
- Adjust Z seam position: Every layer has to start and stop extruding at some point, which creates a small “zit” or “seam”. Software like UltiMaker Cura, PrusaSlicer, OrcaSlicer, and Bambu Studio allow placement of the Z seam on the inside of sharp corners, for example, which reduces surface roughness.
- Scarf seams: For a more thorough fix, OrcaSlicer, PrusaSlicer, and Bambu Studio now offer scarf seams, which go a step further than hiding the seam in a corner. Instead of stacking a small vertical bump where each layer’s perimeter closes, a scarf seam tapers the start and end of the perimeter into a diagonal overlapping join — so there’s no bump or gap to hide in the first place. Look for “scarf joint seam” in your slicer’s seam settings.
- Ironing: Many FDM slicers also have options to “iron” the top layers of 3D prints, where the hot extruder retraces the top layer to smooth the material.
- Vase mode: For certain geometries (notably vases), slicers can enable “vase mode“, which 3D prints the object with one singular wall in a clean spiral. This facilitates a clean transition between layers, eliminating the Z seam because there are no stops and starts in layer shifts.
- Orientation: Fewer supports mean fewer scars on your prints when removing them, and gradual overhangs mean decreased chances of poor bridging. Changing the orientation of the part so that it has no supports or overhangs over 15 degrees can ensure a 3D print that comes off smooth. If your 3D printer is a dual-extruder, dissolving supports can help decrease or eliminate these problems altogether.
- Layer height: Smaller layer heights will lead to better defined 3D prints at the expense of a longer 3D printing time. You don’t have to choose one layer height for the whole print, though: PrusaSlicer, OrcaSlicer, and Bambu Studio all support adaptive (variable) layer height, which automatically uses thinner layers only where the model’s geometry needs them — curves and angled surfaces — and reverts to thicker, faster layers on vertical walls. It’s a good way to get a smoother finish on rounded parts specifically, without paying the full print-time cost of a small layer height everywhere.
In addition to these slicer features, it’s important to have dialed-in retraction settings for the specific materials, like PETG and foaming PLA. This is because inadequate retraction settings can lead to stringing or oozing, which takes a lot of effort to fix. Stringing can also be reduced by drying the filament before 3D printing.
Removing Supports Efficiently
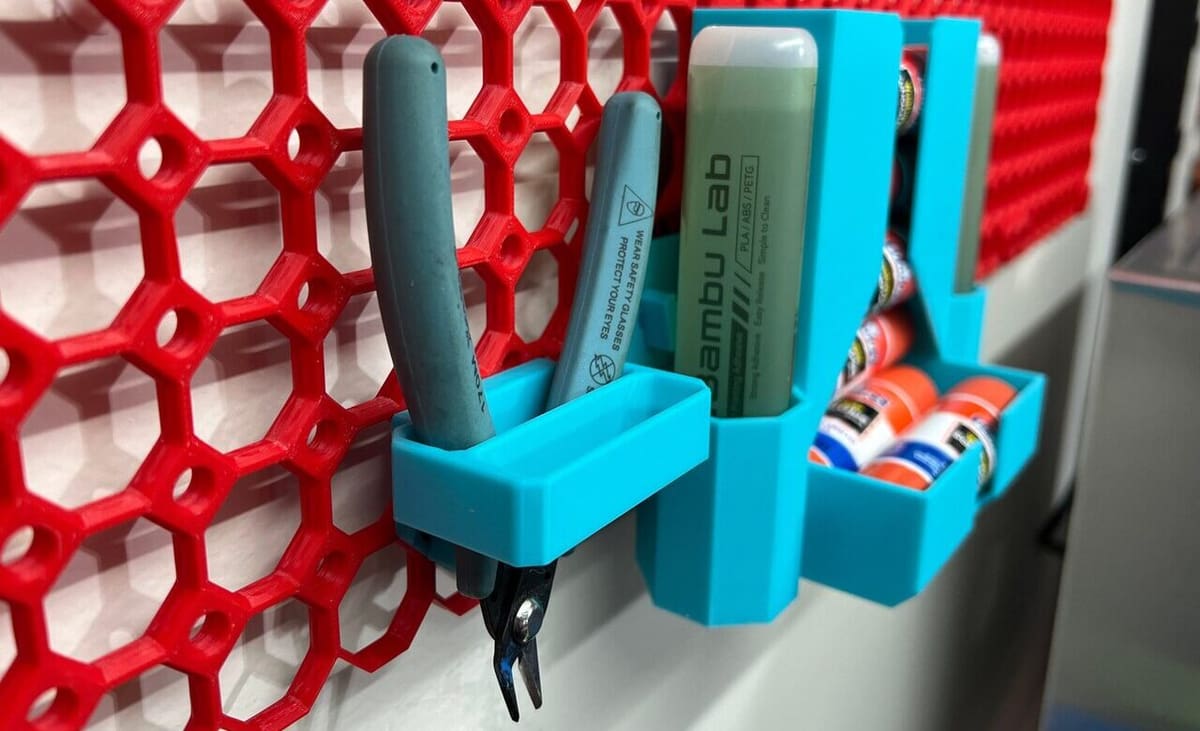
Before you get down to removing layer lines and smoothing, you likely need to remove supports, brims, rafts, or stringing artifacts effectively. This is best done manually, leaving the real smoothing to the sanders and chemicals.
Flush cutters are the best tool to use for most excess material. Used with caution, they can effectively remove filament from flat surfaces.
For places where the flush cutters can’t effectively remove material (for example, because they can’t fit into tight corners), a utility knife can be handy.
Rotary Multitool
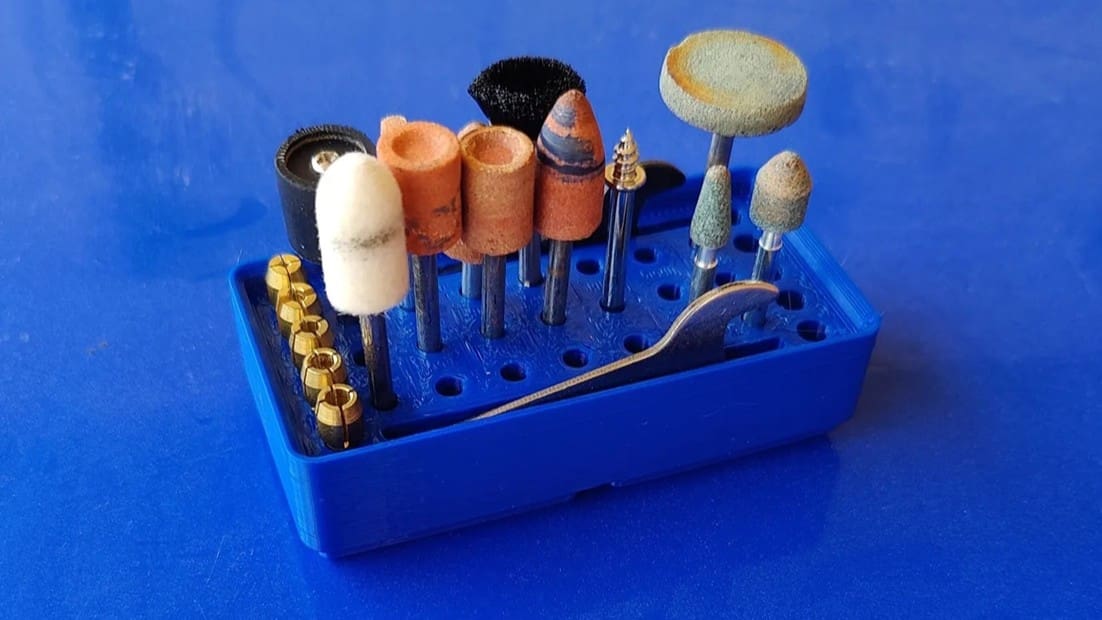
Rotary multitools like Dremels are another great option for finishing 3D prints. You use these tools similar to how you would use a knife, but because of the many different bits available, they allow you to easily finish the inside edges and other difficult-to-reach places on a part.
There are two things to keep in mind when using a rotary multitool. First, they are speed tools, not torque tools. So, rather than applying more pressure when you aren’t seeing the desired results, increase the rotary speed. This will not only save you a lot of work, but it will also increase the lifespan of your tool.
Second, because you’re using a power tool on plastic, don’t hover over one spot for too long or apply too much pressure. The movement of the tool creates heat, so doing this is a surefire way to melt the plastic on the spot where you’re working and create divots and holes in the print.
Some rotary tools also come with sanding attachments, but they can be too intense for smoothing PLA. We’ll look at effective sanding techniques next.
Deburring Tools
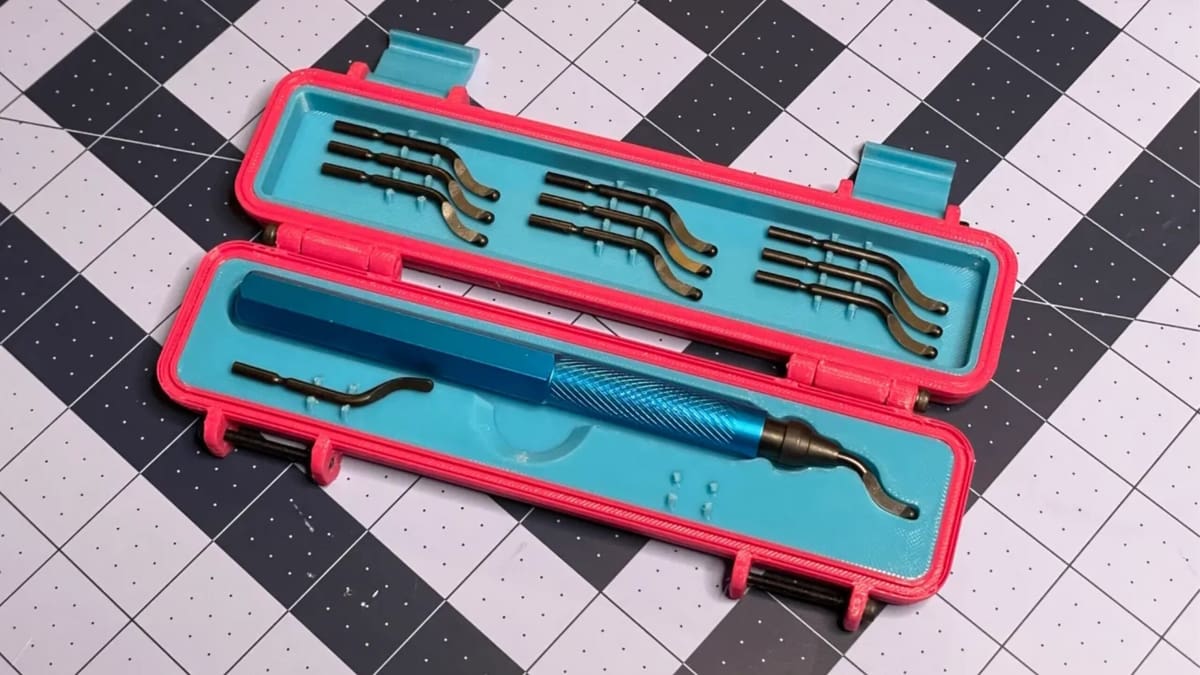
If you’d rather avoid a fixed blade altogether, a swivel-blade deburring tool is worth having in the kit and they’re typically under $20. These are sold specifically for 3D printing (often in multi-blade sets) and use a rotating or swiveling blade to scrape burrs, support nubs, and small layer-line defects off a surface. This includes curved or awkward ones a flush cutter can’t reach flat against. They don’t need the same clearance and blade-direction precautions a utility knife does, which makes them a reasonable first tool to reach for before graduating to a blade for tougher cleanup.
Sanding
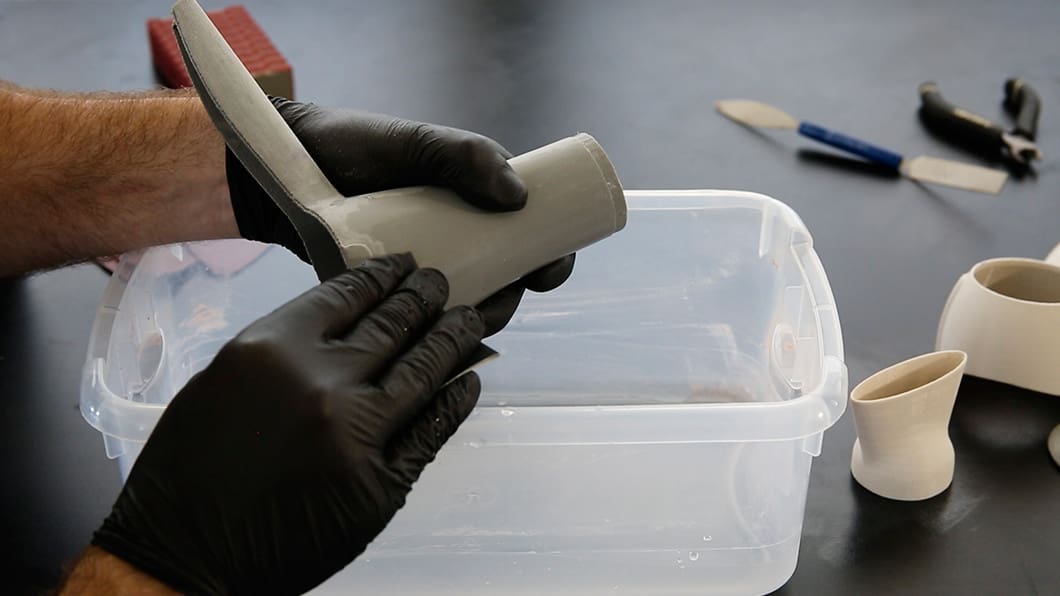
Now that you’ve removed the large blemishes, it’s time for sanding.
If you have a print with large surface areas, consider using a sanding block (you can even 3D print one). They take the strain off your hands and create even wear on the sandpaper and your print.
If you have a print with lots of detail, your best bet is to use nail files. There are many different sizes and types of nail files, and the right choice will depend on what you’re sanding, but the cheap cardboard files will often work perfectly well.
Of course, you can also use loose sheets of sandpaper, which may be preferable in some situations. To get the best results from your sanding efforts, move the sandpaper in circular motions across the print against the grain of the layer lines.
You’ll also want to step up your sandpaper grits. Depending on the result you’re looking for, you could start as low as 400 grit sandpaper and work your way up to 4,000 grit.
On a final note, we’d suggest wet sanding as a final step. High-grit wet sandpaper can be used as the final sanding stage because it doesn’t remove a lot of material and will leave a polished finish.
Surface Melting
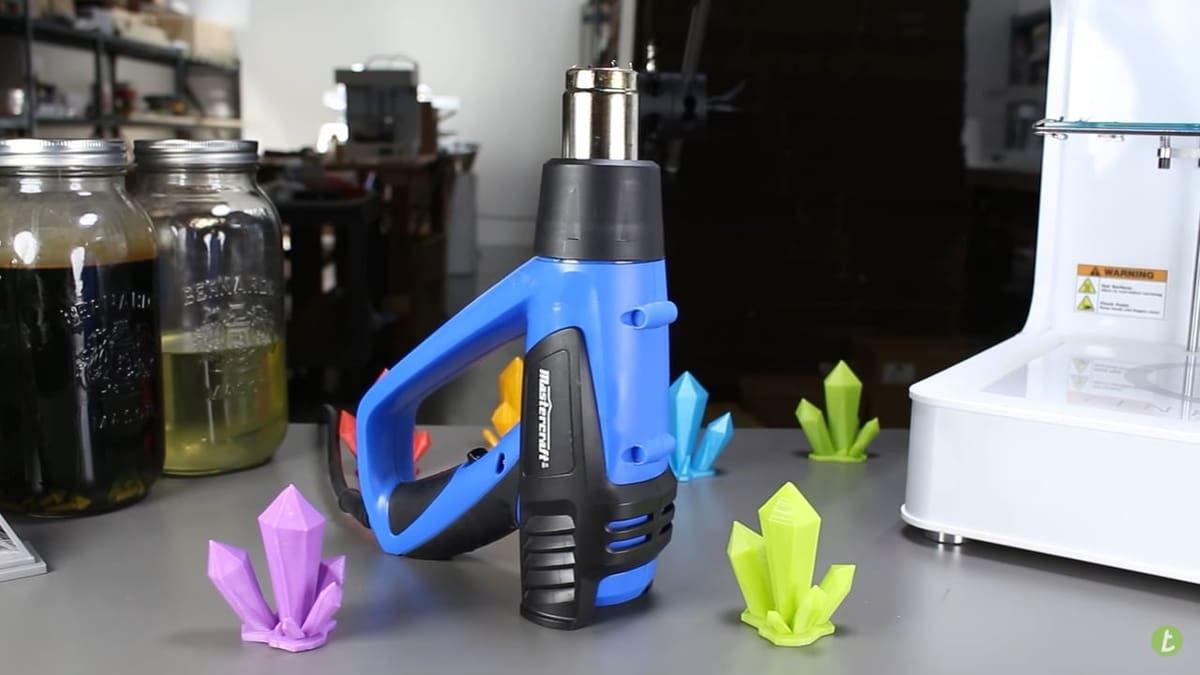
As you may already know, PLA is not particularly heat resistant, which, when it comes to surface smoothing is an advantage.
The most commonly used tool for this purpose is a heat gun, set to its lowest heat setting. The best, most consistent results are attained by placing the print on a turntable and spinning it slowly to evenly distribute the heat. This also helps prevent over-melting any specific areas for an overall better result.
A gentler, tool-free alternative is briefly submerging the print in hot water, roughly 60–70°C (140–158°F), just above PLA’s glass transition point (around 55–60°C depending on the filament). At that temperature the surface softens enough for its own surface tension to round off small layer lines, without the localized, uneven heat a gun applies.
It’s also the easiest method here to get wrong: use a thermometer rather than guessing the water temperature, keep the part moving rather than resting against the container, and drop it into cold water the moment it’s done to lock the shape back in. Test on a spare or low-stakes print first — thin walls, overhangs, and anything not fully symmetrical are the most likely to warp.
Skip the Hair Dryer: Although it might seem like a hairdryer would be a good alternative to a heat gun, it won't get enough to melt plastic.
Surface Coating
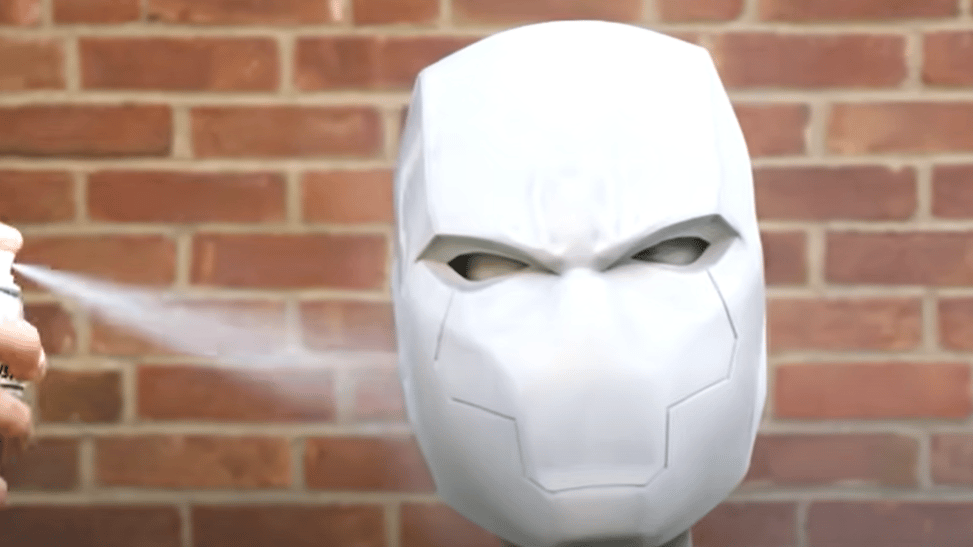
Another way to achieve a smooth surface on a print is by adding an additional coat of material, whether sprayed, painted, or dipped. This can fill any defects in the surface texture, including layer lines, and leave a shiny, even finish. Two common examples for PLA are using a paint primer or an epoxy coating.
Primer
Using primer on a print more or less goes hand in hand with sanding. The idea behind using a primer to finish your print is that the primer will fill in the layer lines to create a smooth surface. You then let the primer dry and subsequently sand the top layer down. Sanding the primer is generally a lot easier than sanding down the actual PLA because the primer is much softer.
Using primer usually results in a print that looks nicer than a print that has simply been sanded. You should, however, remember that this method is more time-consuming since you’ll have to wait for each layer of primer to dry. Additionally, it’s best to follow up a primed print with paint, as primer alone won’t stand the test of time if left uncovered.
Epoxy
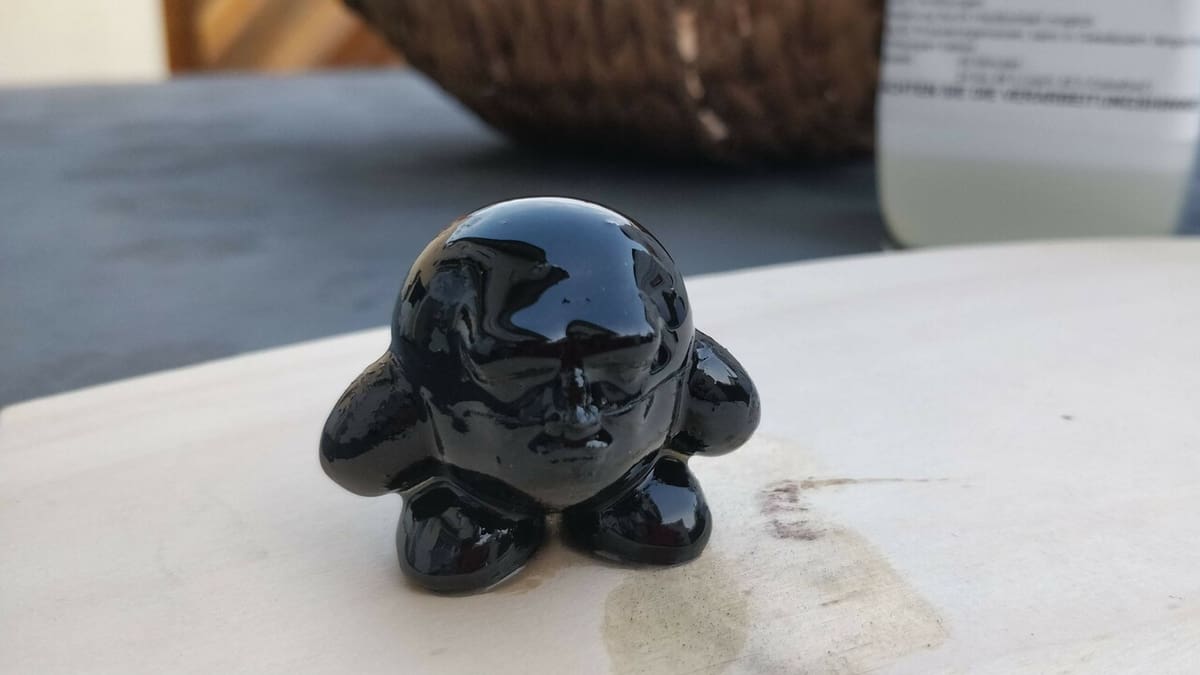
Epoxy is a resin coating that works in much the same way as a primer. However, it’s a little more challenging to work with as you need to mix it before applying it to your print. That said, one thing epoxy is significantly better at than primer is filling larger holes or print artifacts left behind by the printing process.
Finishing your print with epoxy consists of mixing up a batch of epoxy resin. You can then apply it liberally to all surfaces of your print with a paintbrush. Just make sure that your coats are even, so you’re not left with different thicknesses on the finished print.
XTC-3D is a well-known option that sticks to and self-levels within the layer lines of 3D prints. MatterHackers claims it is capable of smoothing a 3D print to a matte finish with one coat of resin, and smoothing it to a glossy finish in a second coat. Each coat adds 0.4 mm of thickness to the wall of the 3D print, so make sure to account for this when designing multi-part assemblies.
Chemical Smoothing
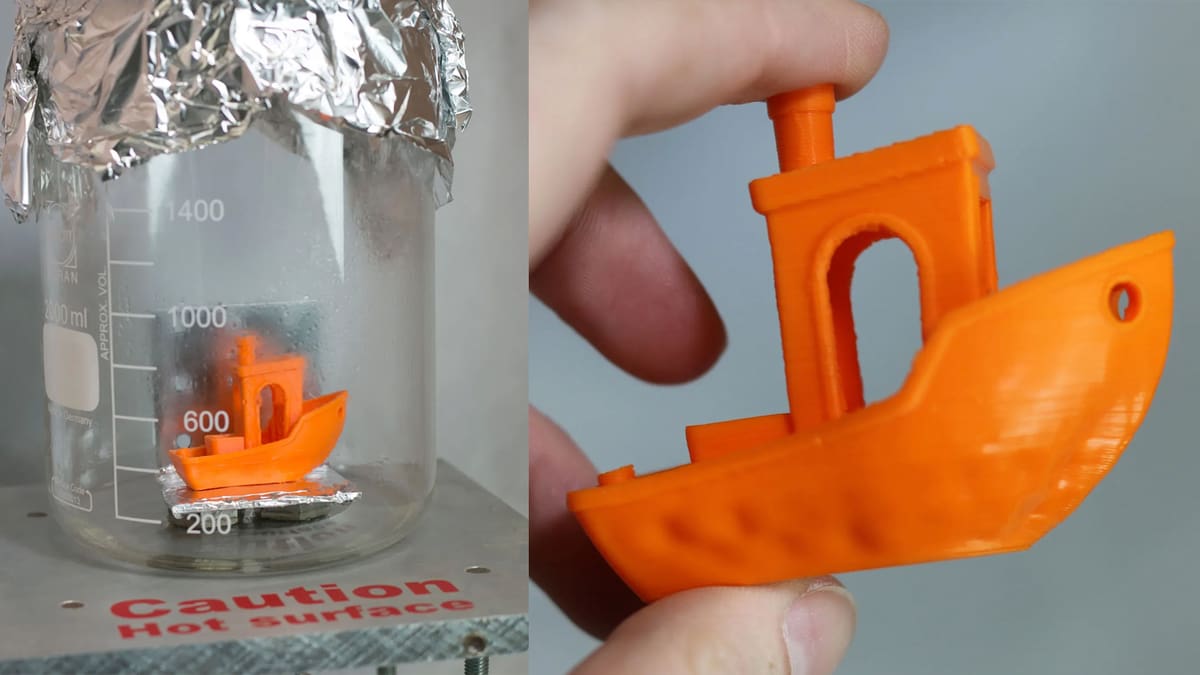
Finally, we come to chemicals. These are the last on the list since they are the least effective on PLA, and frankly, not worth using at home. Aside from ethyl acetate vapor, most are highly flammable and unpleasant, and the results are corrosive and difficult to control.
Ethyl acetate vapor smoothing is probably the only reasonable starting point, and even it’s more of a science experiment than a post-processing method. Put a small amount of ethyl acetate in a sealed container, with the print suspended above it rather than dipped in. This softens the outer layers and lets them re-flow slightly. It’s flammable and needs ventilation and care around open flame.
An expert with lots of practice may be able to brush on ethyl acetate or soak a part in it to melt layer lines, but it frequently leaves behind a matte, satin, or unevenly textured finish rather than a glossy shine, and can warp or over-dissolve thin parts.
Keep in mind that acetone-free nail polish remover is not the same as ethyl acetate. Nail polish remover often contains water, alcohols, fragrances, oils, dyes, or conditioning agents that can make PLA smoothing inconsistent or leave residue.
Dichloromethane (DCM, also known as methylene chloride) was once a common solvent, but is now often banned due to its carcinogen classification.
You May Also Like:
License: The text of "PLA Smoothing: How to Get a Smooth or Glossy Finish" by All3DP is licensed under a Creative Commons Attribution 4.0 International License.