PETG Smoothing: Expert Tips for a Mirror-Like Shine on Your 3D Prints

Discover five proven post-processing techniques to achieve a nearly flawless, injection-molding-like finish on your PETG prints
If you’ve ever tried to smooth a PETG print, you might know the sinking feeling of watching your part sit in an acetone vapor bath for hours, only for absolutely nothing to happen.
Unlike ABS, PETG is notoriously stubborn, boasting a chemical resistance that shrugs off common solvents. It’s the very trait that makes PETG a powerhouse filament that’s well suited to a variety of applications, but it can also make achieving a professional, layer-free finish feel like an impossible task. One saving grace of PETG is that it’s very easy to sand, which is halfway to a smooth finish.
Whether you’re looking to create a glass-clear lens or an injection-molded look for a functional part, there are proven ways to tame the texture. We’ve curated the most popular chemical, thermal, and mechanical methods, so you can find out what actually works. From high-grit sanding to specialized solvents, here’s a quick guide to mastering the PETG finish.

Sanding: The Most Reliable Way to Get a Uniform Surface
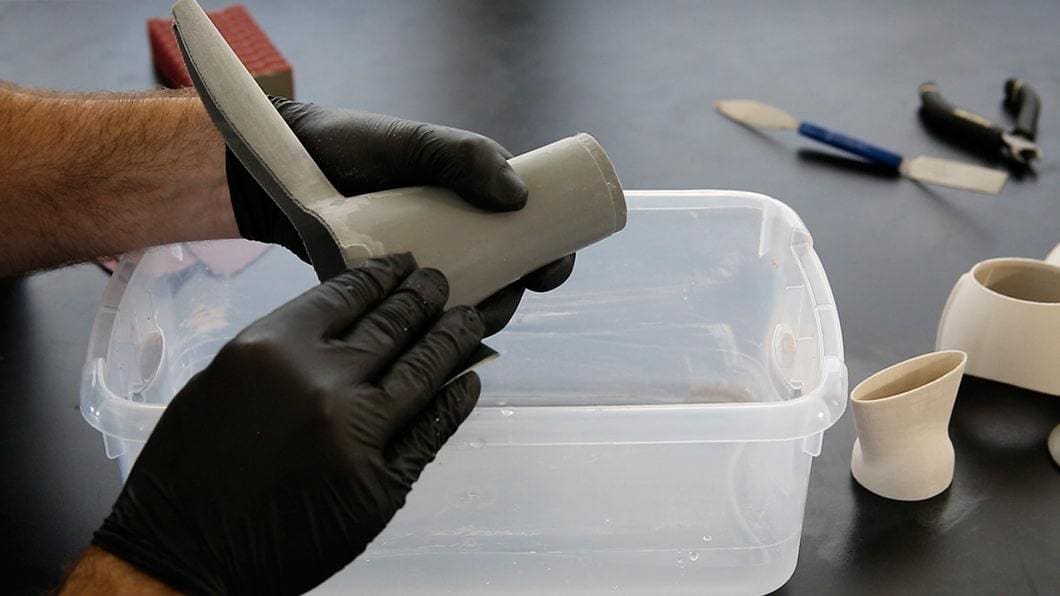
Sanding remains the gold standard for refining 3D prints, offering a reliable path to smoothness across nearly every filament type. Beyond hiding layer lines, it’s the most effective way to erase stubborn support marks and zits that mar an otherwise perfect surface. The trade-off is the labor; for massive or highly intricate models, this process demands a serious investment of time and patience.
To achieve pro-level results, always start with a low grit and progressively work your way up the scale. As you reach the higher grits, consider switching to wet sanding. This prevents the sandpaper from clogging and keeps the plastic from overheating. Maintain a consistent, circular motion to ensure a uniform finish without flat spots. For a deeper dive into these techniques, explore our comprehensive guides on cleaning and post-processing your 3D prints.
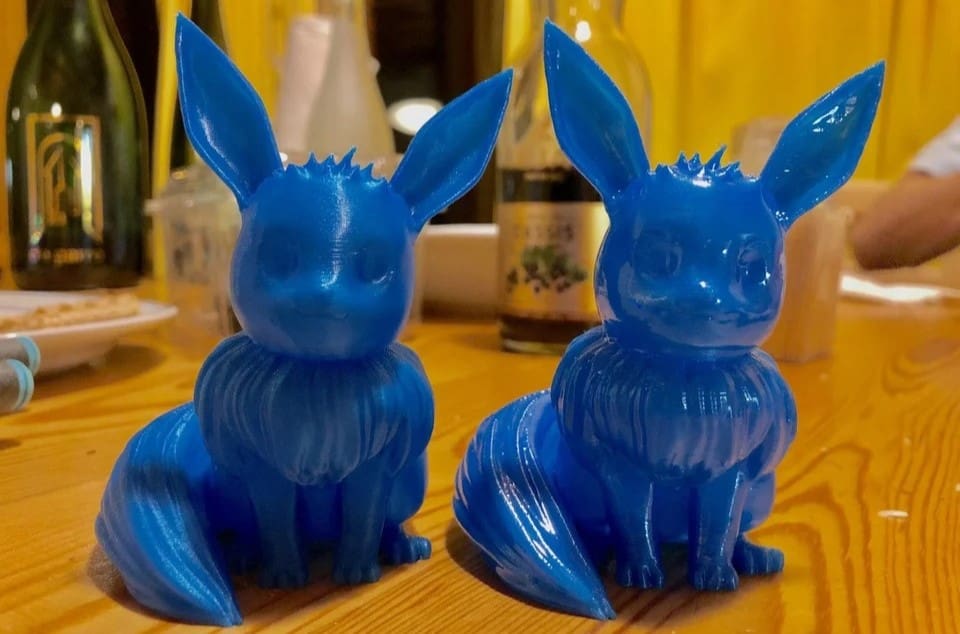
Polishing: The Secret to a High-Gloss Finish
Polishing is the essential second act to sanding, taking your PETG prints from merely “smooth” to a high-end, gallery-ready finish. This step does more than just shine; it fills the microscopic gaps left by sanding, effectively erasing any remaining trace of layer lines. However, preparation is everything. If your part hasn’t been thoroughly worked with high-grit sandpaper, the compound won’t “bite” into the surface correctly.
For the best results, consider using liquid metal polishes such as Brasso.
Apply a small amount onto a soft cleaning cloth and work it into the plastic using firm, deliberate pressure until the compound is fully absorbed. Finally, use a clean section of the cloth to buff the surface into a brilliant, mirrored shine. Just keep in mind that this process requires some elbow grease; if your print has delicate, thin-walled features, proceed with caution to avoid accidental damage.
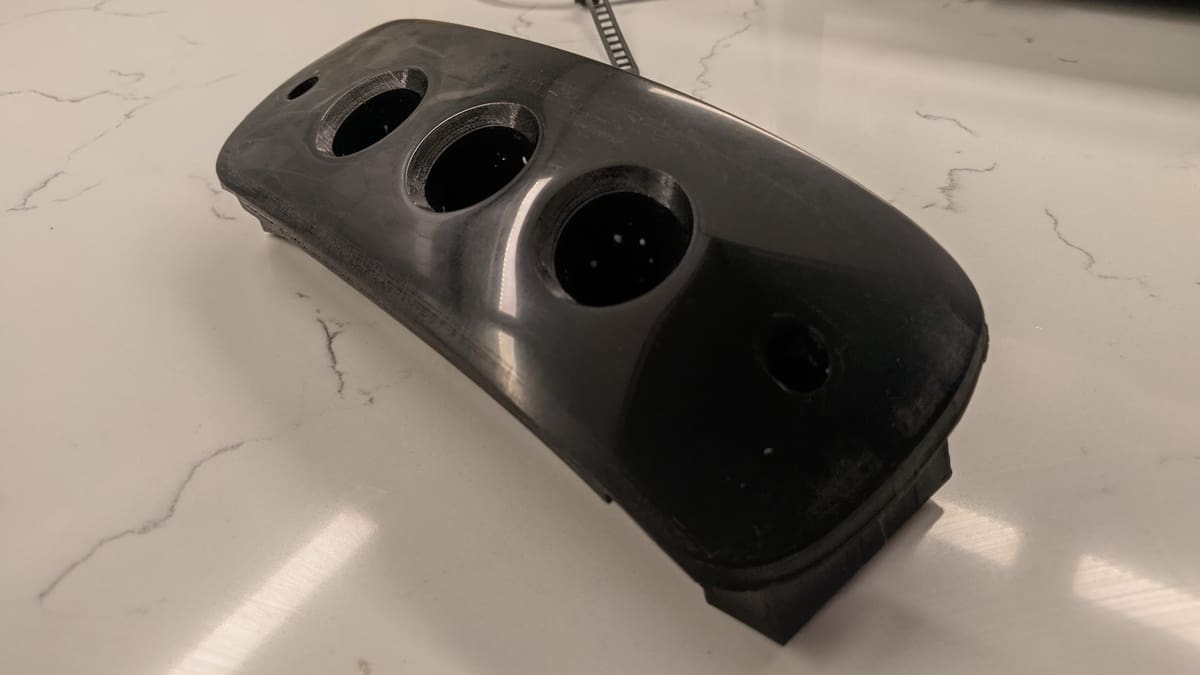
Coating: Give Your PETG Prints a Hard, Durable Shell
Coating your PETG prints is perhaps the most effective “shortcut” for hiding surface defects and achieving a flawless exterior. Just as it does for PLA and ABS, epoxy resin acts as a high-build filler that levels out layer lines in a single application. For many in the community, XTC-3D is the go-to choice; its self-leveling properties ensure resin flows evenly into every crevice, virtually eliminating visible brush strokes.
Because epoxy cures into a hard, high-gloss shell, it is vital that you finalize the part’s shape and any necessary sanding before you begin. While the exact workflow depends on your chosen brand, the process generally involves a precise resin-to-hardener mix followed by a careful application with a fine-bristle brush. This method is ideal for complex geometries where mechanical sanding is impossible, but always consult your specific product’s instructions for the best results.
Heat Treatment: A Fast Method of Melting Away Later Lines
Heat treatment is a high-speed path to a professional finish, offering almost instant gratification for makers with a steady hand. Despite PETG’s inherent heat resistance, you can achieve a stunning, glass-like surface by carefully melting a microscopic “skin” of the material, allowing layer lines to flow together and vanish. The stakes are high, however, because the ideal smoothing temperature sits so close to the filament’s actual melting point (typically around 250 °C). This means the line between a perfect finish and a melted-plastic puddle is rather thin.
To pull this off safely, you’ll need a heat gun with precise digital temperature control. The secret to success is absolute consistency. Maintain a fixed distance from the print and keep the heat moving in a fluid, continuous motion to prevent “hot spots”. If you’re new to the technique, we recommend dialing the temperature back and taking a slower approach. While it requires more patience, it significantly reduces the risk of warping your print.
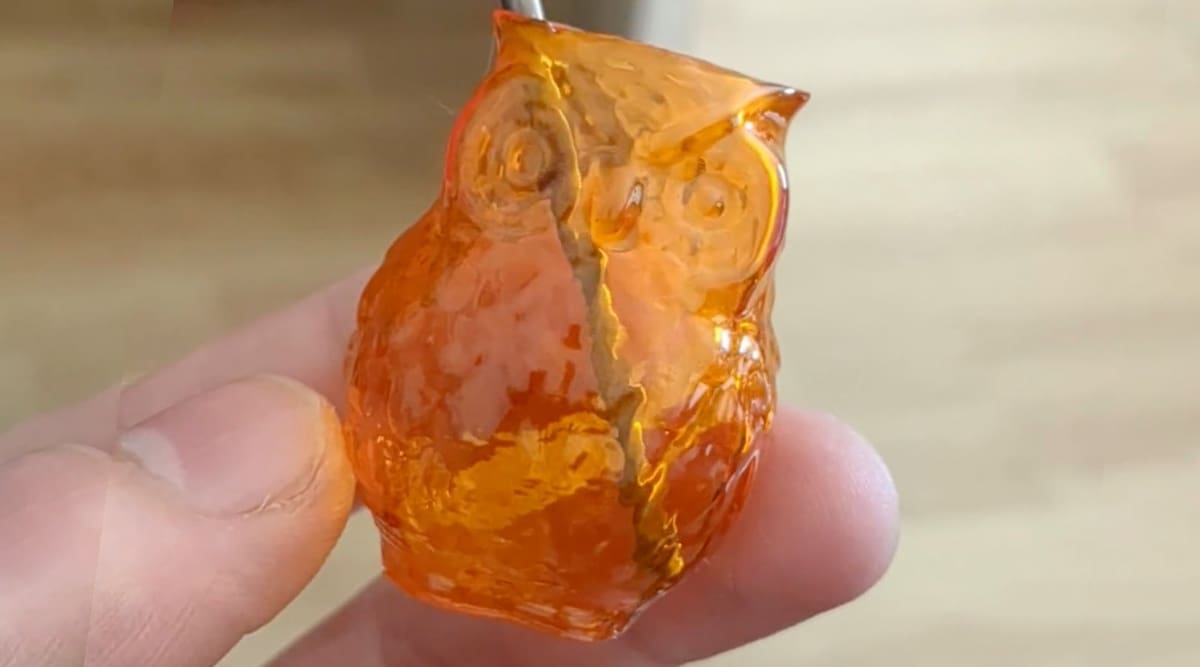
Dissolving: How to Use Solvent Vapors Without Damaging Your Print
Dissolving your PETG surface with chemicals might be the ultimate test of a maker’s skill. Traditional acetone smoothing is notoriously ineffective here, but other specialized solvents are more than capable of melting away layer lines. However, these are industrial-strength chemicals that demand a high level of expertise, a well-ventilated workspace, and rigorous safety precautions.
For most PETG varieties, Ethyl Acetate is the best place to start, as it is generally less aggressive than the alternatives. If that doesn’t react with your specific brand of filament, you can consider more potent solvents like Dichloromethane (DCM), Methyl Ethyl Ketone (MEK), or Toluene, though they require extreme care. We always recommend testing Ethyl Acetate on a scrap piece first before escalating to harsher chemical options.
Application Methods & Professional Tools
The most effective way to achieve a glass-like finish is through vapor smoothing, where the print is suspended in a controlled environment of solvent fumes. For a simpler approach, some makers use the “paper towel method”, wrapping the model in solvent-soaked tissues for a similar effect. Whatever you do, avoid the temptation to “dunk” your print directly into the liquid, as the reaction is often too aggressive and can turn your print into a featureless blob in seconds.
License: The text of "PETG Smoothing: Expert Tips for a Mirror-Like Shine on Your 3D Prints" by All3DP is licensed under a Creative Commons Attribution 4.0 International License.