The Best Creality Slicer Settings / Profile

Looking to master Creality's slicer? Learn all about the crucial Creality Slicer settings and how to obtain a flawless print.
3D printer manufacturers like Prusa Research and Creality have made 3D printing available to the masses. In conjunction with amazing hardware, they’ve also introduced their own software that works best with their machines, PrusaSlicer (based on Slic3r) and “Creality Slicer“, respectively.
Creality Slicer is based on Cura, which includes all the functionality of Cura 4.2 with adjustments made specifically for Creality printers. That might sound great, but like any other slicer, Creality’s is still just a tool that enables you to print a model. The actual skill lies in getting the slicer settings spot on.
Generally speaking, slicer settings are based on many factors, including material, model design, desired print quality, and your printer’s capabilities. Here, we’ll be focusing on the Creality Slicer and walking you through the eight most important slicer settings you need for an amazing 3D printing experience. So, let’s get started!
Overview
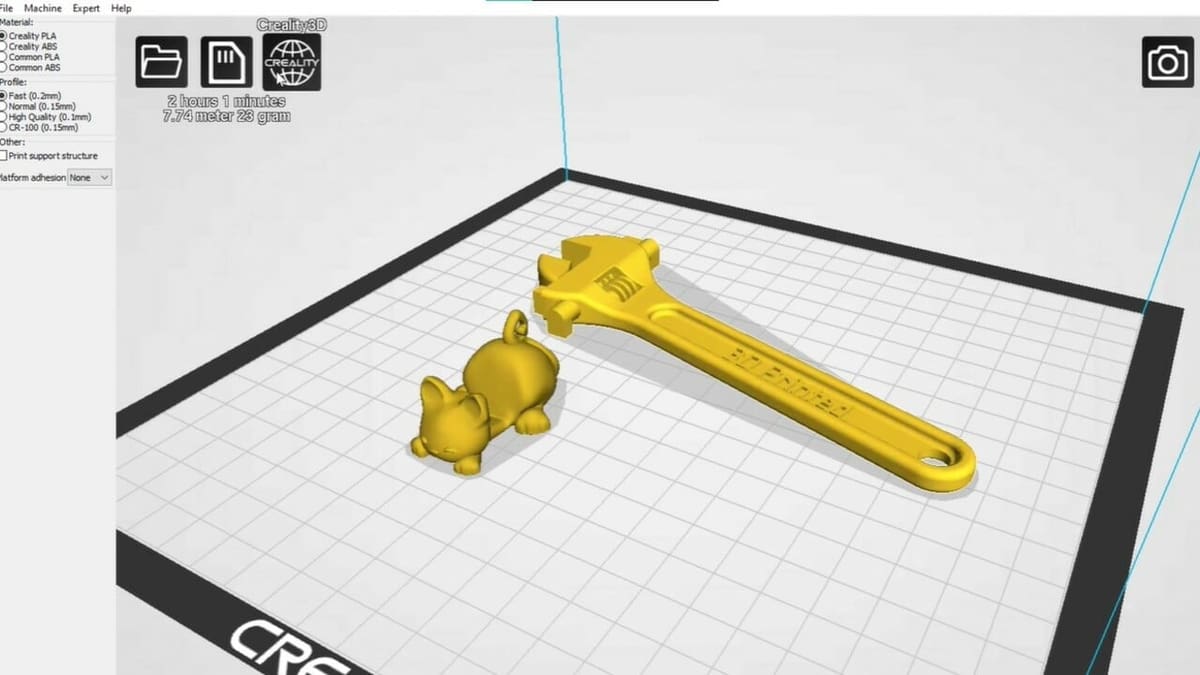
Before we dive straight into the slicer settings, let’s familiarize ourselves with Creality Slicer. If you don’t have it installed on your machine, you can download and install Creality Slicer from Creality’s website for free. Just note that this slicer is available only for Windows users. In this article, we’ll be looking at the latest version of the slicer: Creality Slicer 4.2.
The first time you open the slicer, you’ll be greeted with a user interface that’s similar to Cura’s. The only significant visual difference is that there’s a blueish hue in the slicer theme.
All of Creality’s printers are available under the printer tab, so you shouldn’t have to configure anything. Once you’ve selected your printer, you’re ready to play with the settings.
Temperature
Correctly setting the temperature for a 3D printing material has a major effect on the final output. Apart from yielding the best aesthetic quality, otimized temperature settings will result in the best bonding between the layers, too. Temperature settings fall under two categories: hot end and build plate.
Hot End
The hot end of a 3D printer is where material melts. If the hot end temperature is too high, the material will ooze out (not in the precise manner that you want) of the nozzle, and if it’s too low, it’ll jam the nozzle, leading to extrusion-related issues.
As the hot end temperature is connected to the material being used, the right temperature setting for the material will guarantee quality results. Normally, PLA is printed between 180 and 210 °C, ABS between 210 and 230 °C, and PETG above 235 °C. To dial these numbers in, below are the most relevant settings:
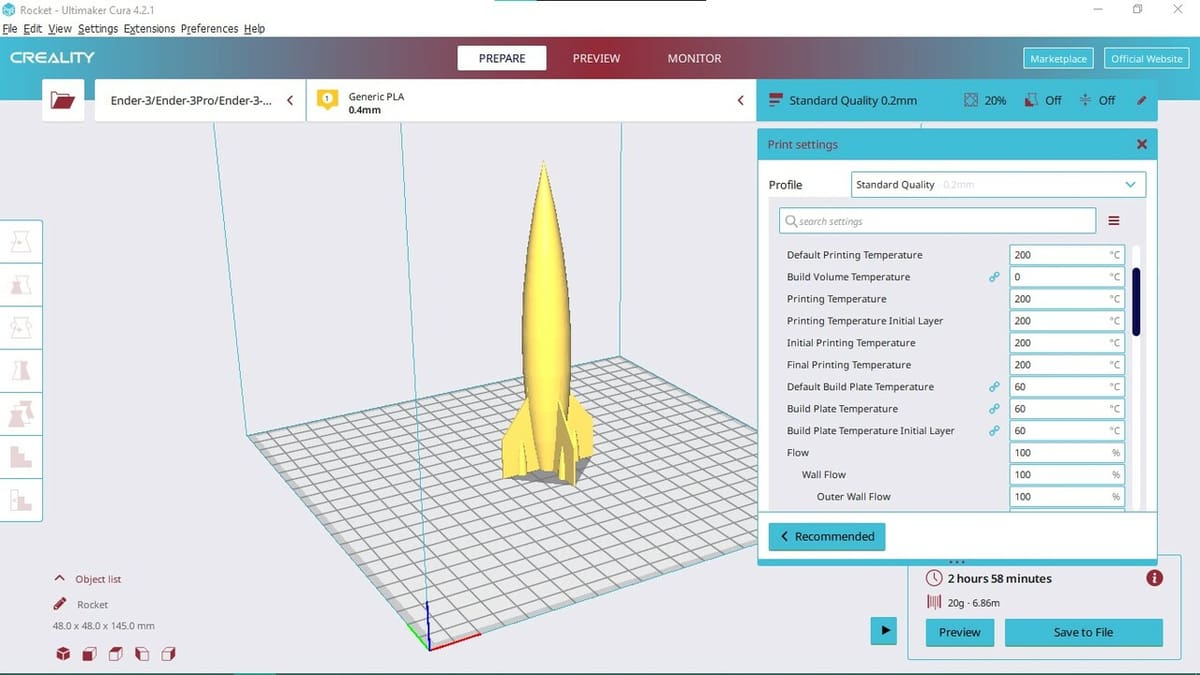
- Default printing temperature affects all settings related to the hot end. If you don’t want to fiddle around with each temperature setting, just set this one value. The slicer will calculate the rest of the values relative to this one.
- Printing temperature is the temperature at which the printing of filament occurs. As mentioned earlier, this value is dependent upon the material being printed.
- Initial layer printing temperature affects the temperate of the initial layer of the 3D print. Generally speaking, having a higher temperature for the first layer can aid the 3D print’s adhesion to the base surface.
Build Plate
Almost all Creality 3D printers are equipped with a heated build plate, an essential component for printing with certain materials, like ABS and PETG. It helps 3D prints adhere to the print surface and also maintains the ambient temperature of the build plate area.
Just like the hot end, the build plate temperature depends on the material being printed. For example, it’s possible to print PLA without heating, but a temperature of below 60 °C helps. For printing with ABS, it’s essentially necessary to have a heated build plate with temperatures above 90 °C. PETG can be safely printed between 60 and 100 °C.
In Creality Slicer, we can access these settings under the “Material” section:
- Build plate temperature varies the temperature of the build plate. The temperature set here will be constant throughout the entire 3D printing process.
- Build plate temperature initial layer sets the temperature only for the first layer of your 3D print. Just like the hot end temperature for the first layer, a higher temperature of the build plate for the first layer can help with adhesion.
Summary
- PLA: Hot end 210 °C, build plate 60 °C
- ABS: Hot end 235 °C, build plate 105 °C
- PETG: Hot end 240 °C, build plate 70 °C
Layer Height
Layer height is the distance along the Z-axis the printhead moves up before each new layer. A higher value will result in a coarser, less-detailed print that prints fast. In contrast, a shorter layer height shows details but takes longer to print. As such, you’re always going to be balancing print quality and print time.
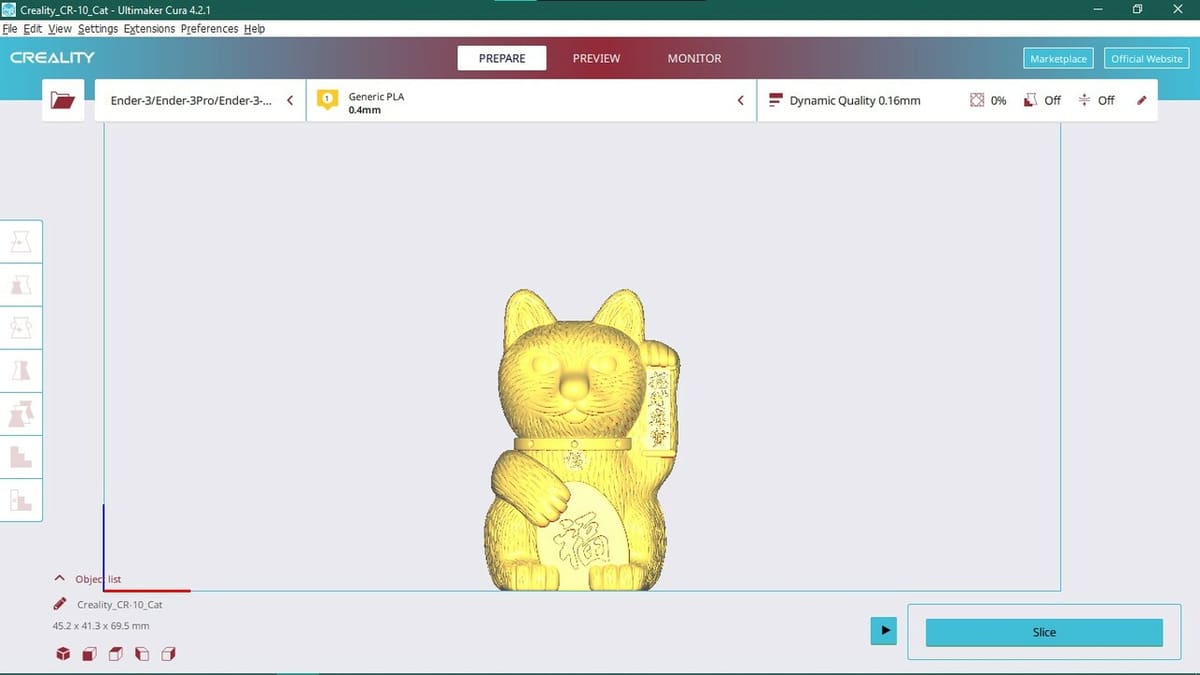
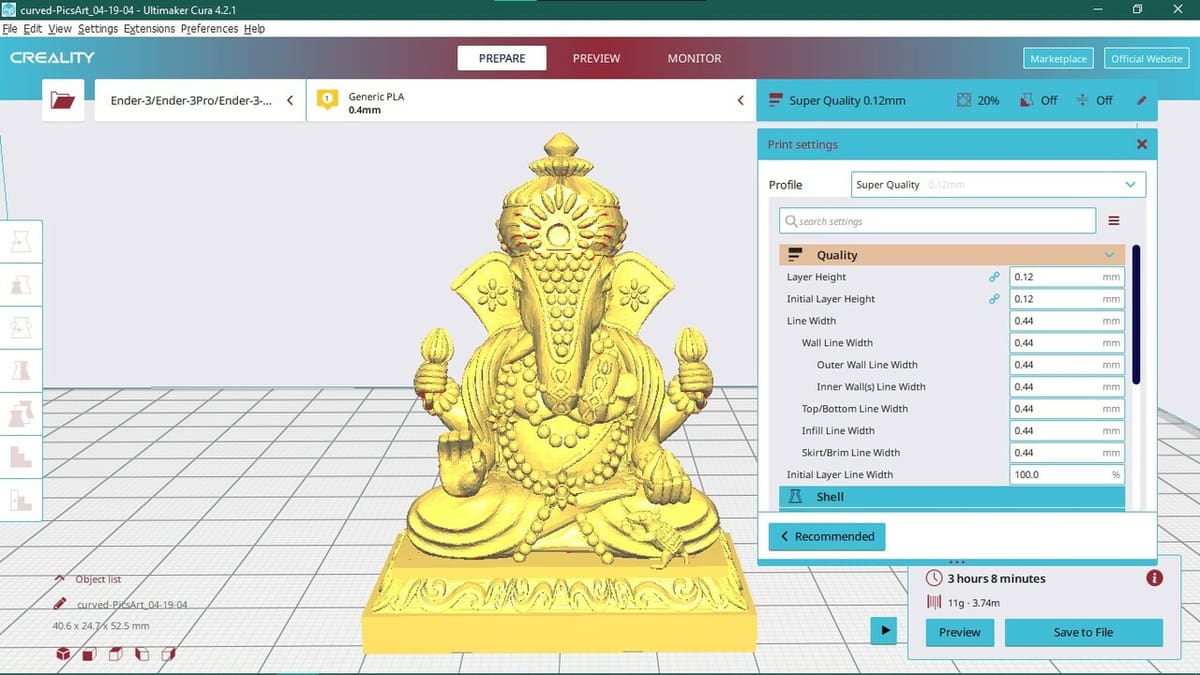
A layer height of 0.2 mm is standard, as it’s a nice middle ground between printing time and quality. Smaller 3D models like figurines benefit from a lower layer height of around 0.12-0.16 mm, while you can get away with a layer height of 0.2-0.35 mm for larger or more functional objects. Keep in mind that your printer might better accommodate layer height changes with differently sized nozzles.
Since the layer height controls the quality of the 3D print, you’ll find these settings under the “Quality” tab:
- Layer height is the primary setting that sets a value for the entire 3D print.
- Initial layer height sets the layer height of the model’s first layer. This value, if higher than the layer height, can help with adhesion of the 3D print to the base surface.
There are set profiles in the Creality Slicer in which the layer height varies according to the quality of the print you need. Layer height isn’t dependent on any material; it’s used to enhance the quality of the 3D print or reduce print time. In Creality Slicer, there are four profiles available, depending on how much detail you want.
Summary
- Super quality: 0.12 mm
- Dynamic quality: 0.16 mm
- Standard quality: 0.2 mm
- Low quality: 0.24 mm
Speed
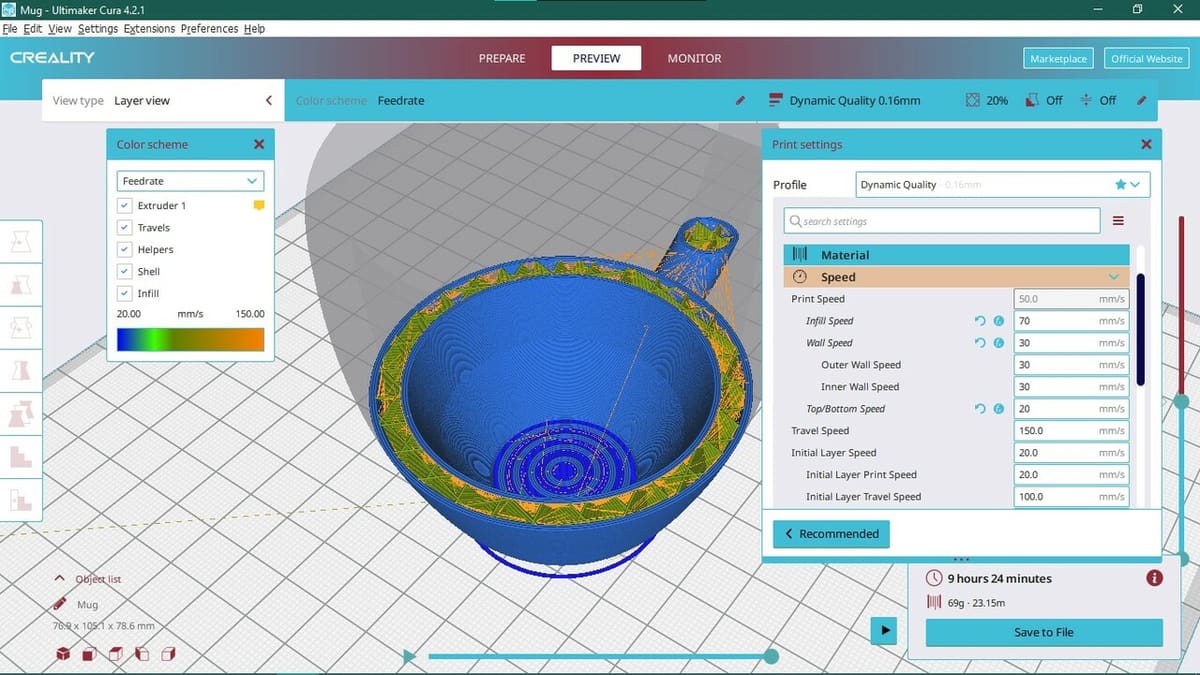
Another setting that governs the quality of the printed object is the speed at which it’s printed. If you set your printing speed too high, your 3D prints may suffer from under-extrusion and insufficient layer adhesion. However, if you keep your printing speed too low, the 3D prints will have blobs of material and also feature over-extrusion in certain areas. So, finding the right printing speed is also a balance. Sensing a theme?
To hit that sweet spot, Creality Slicer provides you with a number of 3D printing speeds for different sections of the 3D print. Specifically, details aren’t very important for bridges, supports, and infill, so a higher printing speed can save time when printing these structures. For outer perimeters and the initial and top layers, you’ll want a slower printing speed for better results.
You can find the relevant settings under the “Speed” section:
- Print speed is the main speed. Again, all of the other speed values are calculated with respect to this setting. Generally, a higher value will cause poorer quality, while a lower speed will increase the printing time significantly.
- Infill speed is the speed at which the printer prints the infill of the model. As there’s no need to maintain any aesthetic quality of the infill, you can use a higher speed and save yourself some time (as long as it doesn’t result in under-extrusion).
- Wall speed is the speed at which the perimeters of the model are printed. This setting affects the speeds of the inner, middle, and outer walls of the 3D print. For a better aesthetic appearance, you can set the outer wall speed lower while gradually increasing it towards the inner wall.
- Top/bottom speed is for the bottom and the top layers of the 3D print. For good adhesion at the bottom layers, a slower speed helps. In the top layers, having a slower speed aids the model’s aesthetic appearance.
- Travel speed is the speed at which the printhead moves when not extruding material. As such, you can set this speed much higher, but it will depend on the firmware and the hardware capabilities of your 3D printer.
- Initial layer speed should be set low to help the entire 3D print be successful. A slower printing speed will cause better adhesion to the build surface, thus laying a strong foundation for the rest of the layers.
Summary
- Print speed: 50-55 mm/s
- Infill speed: 70-80 mm/s
- Wall speed: 30-35 mm/s
- Top/bottom speed: 30-35 mm/s
- Travel speed: 100-110 mm/s
- Initial layer speed: 10-15 mm/s
Retraction
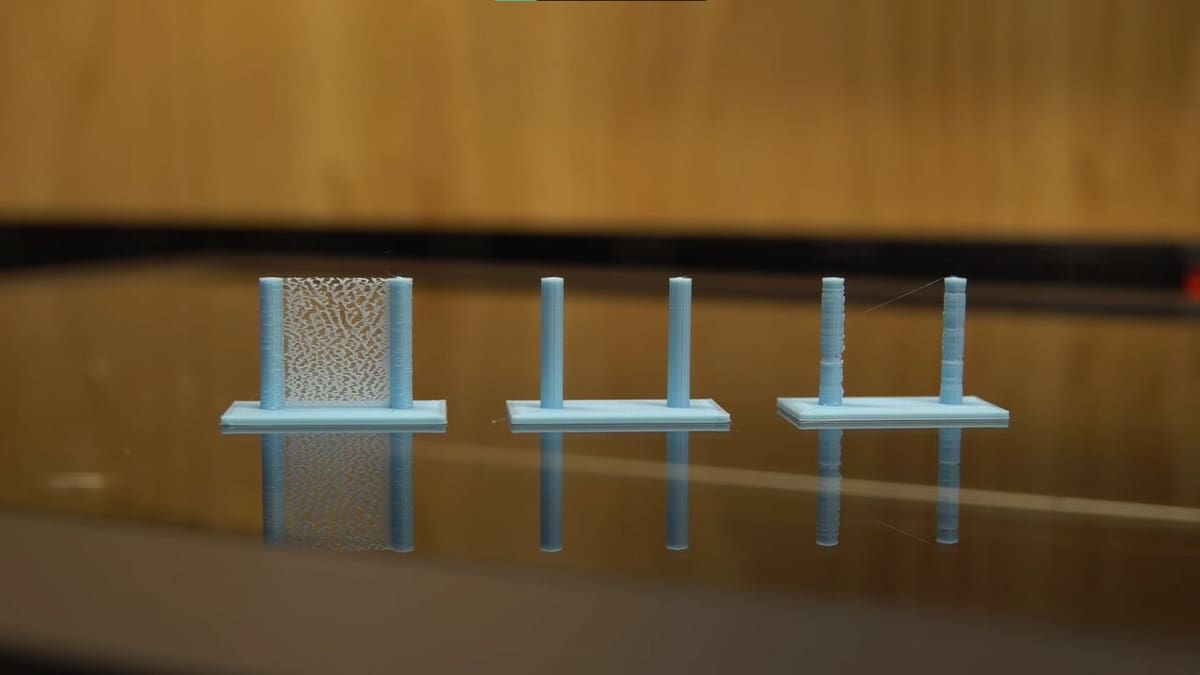
Retraction is a feature inherent to additive manufacturing. Essentially, it involves pulling filament back into the hot end so that material is deposited only where it’s required. In this way, retraction can be a very useful function, but improper settings can lead to problems. Specifically, a lower retraction value may lead to stringing issues, while a higher value may jam the nozzle.
In Creality Slicer, we find retraction under the “Material” section. Below are the relevant settings:
- Retraction length controls the amount of the material that’s pulled back into the nozzle, literally the length of filament. It’s preset in the slicer, and the main advantage of Creality Slicer is that this setting is optimized based on input from the community. If you’re facing issues while setting this, refer to our article on retraction settings.
- Retraction speed is how quickly the extruder pulls the material back into the nozzle. There’s usually not much need to tweak the default speed set in the slicer. However, you can change the speed if you’re facing issues such as hairs or blobs of materials.
Fans
The cooling setting is often an overlooked feature in a 3D slicer, but it can be just as important as melting the filament correctly. Here, we’re focusing on the part cooling fan. By blowing air over the 3D printed part, this fan solidifies the layer that’s just been laid down by the nozzle.
As such, fans help in maintaining the structural integrity of the layers. Likewise, if the model has overhangs and bridges, having a cooling fan will help them quickly solidify instead of potentially drooping. That said, materials like ABS shouldn’t be printed with a cooling fan, as it can lead to warping issues.
In Creality Slicer, you can access the fan settings under the “Cooling” section:
- Fan speed controls the amount of air being pushed by the part cooling fan throughout the 3D print. It’s denoted in percent, and the default value is set according to whatever material you’re using. If you’re printing with PLA, it’s best to leave it at the default 100%.
- Initial fan speed controls the speed of the fan for the initial layers of the print. The fan is normally switched off or set at a very low speed during these layers. This helps ensure proper adhesion of the initial layer to the build surface.
Infill
The infill is among the core defining characteristics of a 3D print. Instead of having a completely solid interior, infill can provide sufficient rigidity while saving considerable material, time, and weight.
Indeed, for aesthetic models, structural strength isn’t necessary. These models can then be printed completely hollow if their geometry allows it, or you can print them with very low infill.
In Creality Slicer, you can find the relevant settings in the “Infill” section:
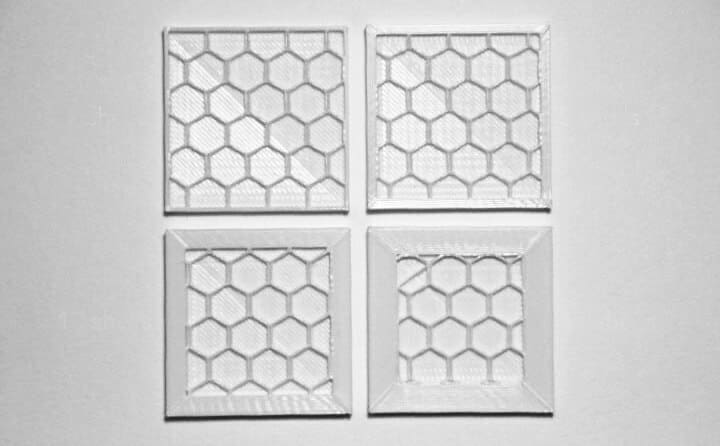
- Infill density adjusts the percent fill inside a model. Generally speaking, for a non-functional part, we can keep the infill density between 0% and 20%. For functional components, we can increase this density up to 50-60%.
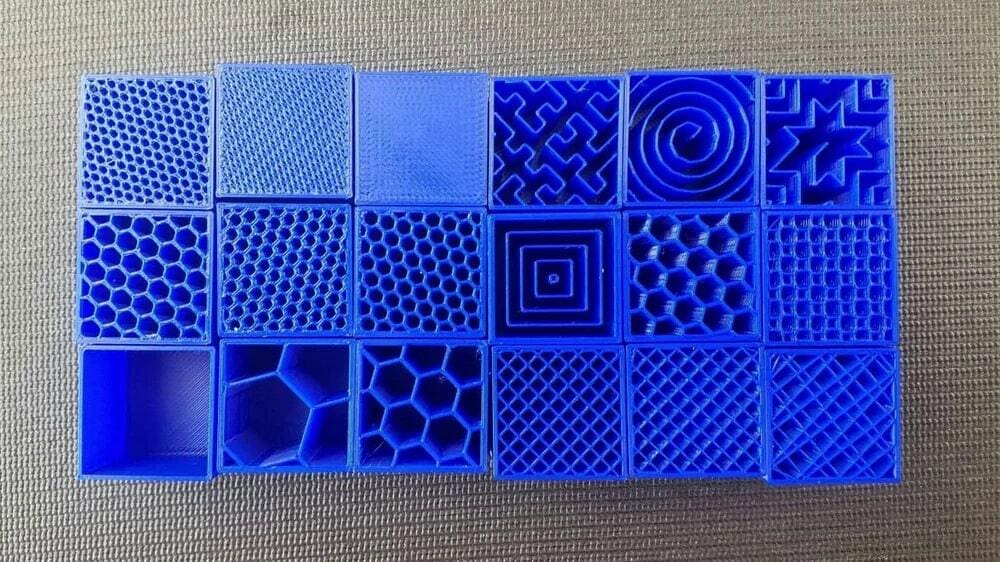
- Infill pattern plays a crucial role in providing structural rigidity to the 3D printed part. There are over 10 infill patterns to choose from in the Creality Slicer. Some patterns provide structural integrity to the model, while some provide greater model flexibility. You can learn all about infill patterns in our guide about them.
Shells
Shells, often referred to as perimeters, are the boundaries of a 3D printed object. Just as infill provides the model with internal strength, shells provide the model with external strength. You can almost always “trade” your infill for an extra shell to gain additional strength in a different way. However, just as with infill, having extra shells can quickly add to your printing time.
Creality Slicer has two main settings under its “Shell” section:
- Wall thickness controls the total thickness of the vertical shell. This setting is dependent on the nozzle size of the printer. Altering the thickness of the wall changes the number of shell layers in a 3D print. A higher thickness will give you extra strength but take longer to print. A good practice is to start with 1.6 mm, which will give you four vertical layers for a 0.4-mm nozzle size.
- Top/bottom thickness denotes the horizontal layers at the top and bottom of a model. It’s a good practice to keep the top and bottom thickness of a shell equal to the wall thickness to ensure equal strength throughout the model. However, unlike the wall thickness value, which depends on the nozzle size, the top and bottom thickness values are functions of the layer height. (A layer height of 0.12 mm and top/bottom thickness of 1.6 mm will give you 14 layers each on top and bottom, while a layer height of 0.2 mm will give you just 8 layers each.) A good starting point is to have a minimum of four layers each for top and bottom surfaces.
Build Plate Adhesion
A strong foundation for your 3D prints is essential for successful printing. Therefore, strong adhesion of a 3D print to the build surface ensures that the model is firmly stuck to the bed, giving you better prints while reducing the possibility of warping.
Creality Slicer lets you choose from three options for build plate adhesion: a skirt, brim, and raft. All these settings are available under the “Build Plate Adhesion” tab.
- A skirt is an external perimeter that surrounds your 3D print that doesn’t come into contact with the actual model. Technically, a skirt doesn’t actually help with adhesion, but it’s a good practice for priming the nozzle. Printing a skirt ensures the material flow is even so initial layers can print optimally.
- Skirt line count shows the number of perimeters around the model. A higher number helps in priming the nozzle better. A value of five is generally sufficient for this setting.
- Skirt line distance adjusts the distance of the inner skirt perimeter from the model. If you set the distance too far from the model, it’ll take longer to print and also use a little extra material. We recommend a value of 5-6 mm.
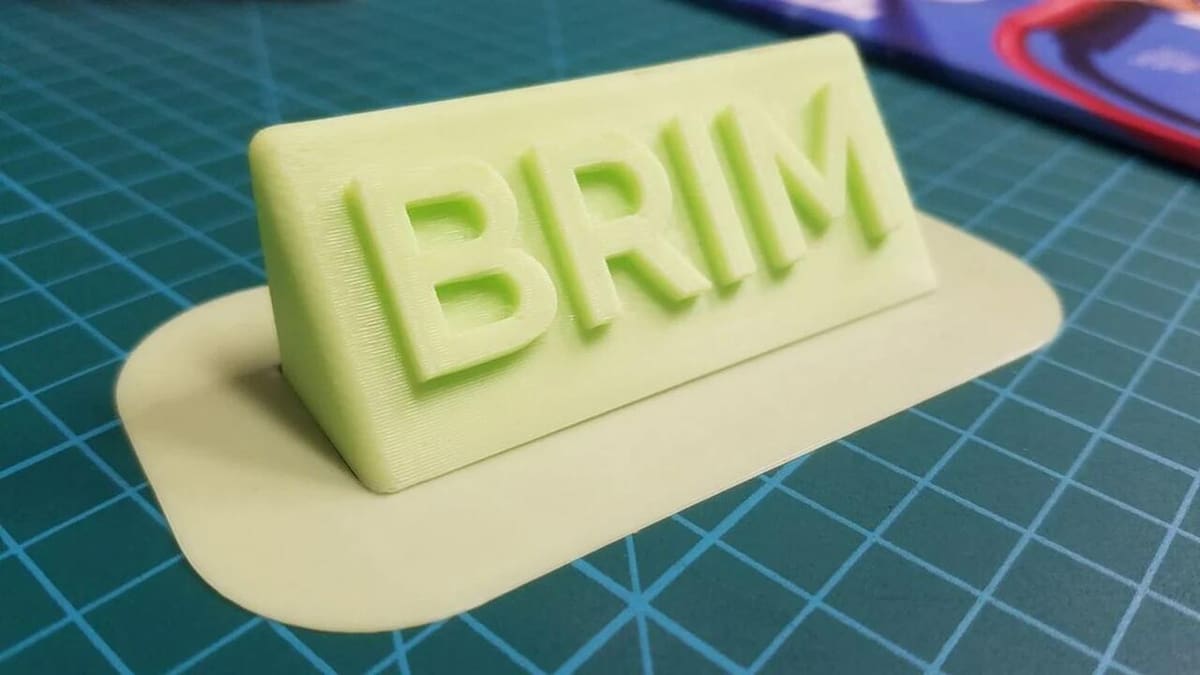
- A brim is also an external perimeter that goes around the model. However, a brim touches the initial layers of the model. Thus, it provides the model with the extra surface area for better adhesion to the build surface.
- Brim width is like the skirt line count. Instead of the actual lines, you can set the width and thickness here.
- A raft takes the brim adhesion method a step further. Instead of touching the initial layers, a raft forms the base of the entire 3D print. In other words, your object is being printed on extruded material rather than the build surface. The raft is often suitable for printing with ABS material (to prevent warping). However, printing them can take a considerable amount of time and material so you should use one only a brim isn’t enough. As a raft has a lot of settings, we have a separate article that covers all you need to know.
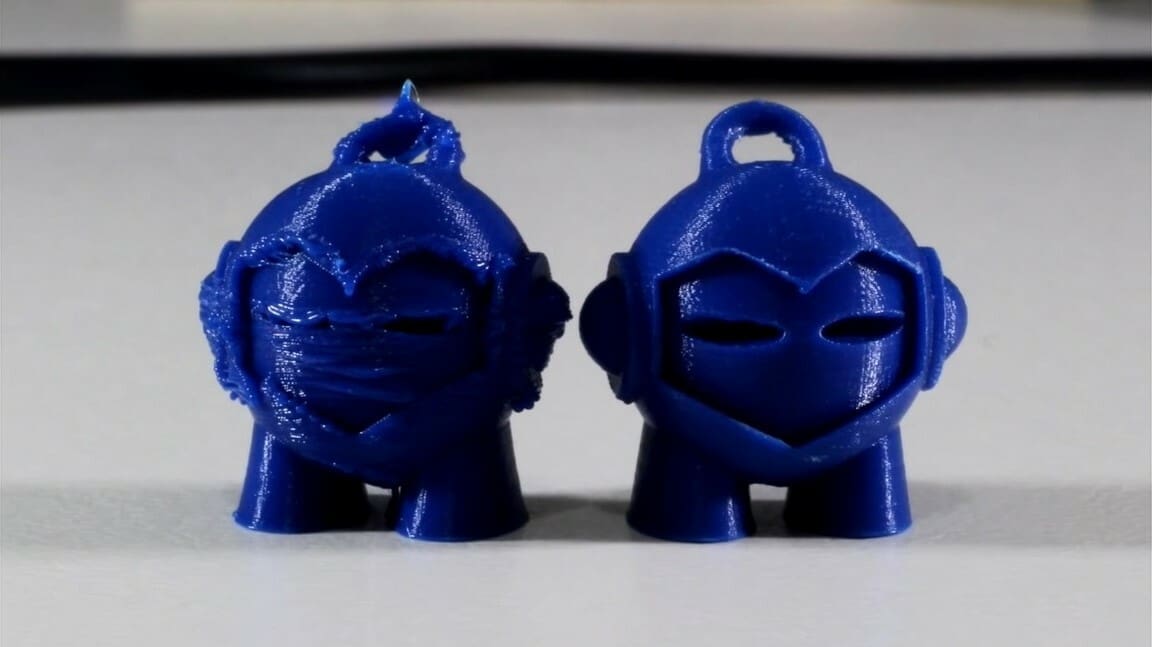
Lead image source: NozzleWorks via YouTube
License: The text of "The Best Creality Slicer Settings / Profile" by All3DP is licensed under a Creative Commons Attribution 4.0 International License.