Elegoo Neptune 4 (Pro) Cura Profile / Settings

Get the best out of your Neptune 4 (Pro) with the right settings. Check out how to set up the perfect Elegoo Neptune 4 (Pro) Cura profile!
You’d be forgiven for thinking the Neptune 4 and 4 Pro are your average run-of-the-mill bed-slingers until you see them churning out prints at a maximum of 500 mm/s.
To achieve quality prints at these speeds, the Neptune 4 and 4 Pro run Klipper firmware that allows them to take advantage of features like input shaping and pressure advance. While the jury’s still out on whether the boards on these printers make the most out of Klipper, one surefire way of elevating your experience with these printers is to match them to the latest slicing software available.
The Neptune 4 and 4 Pro ship with Elegoo Cura 4.8, an older derivative of the popular slicer Cura. Sticking with the slicer Elegoo provides means you’ll miss out on the latest features available in Cura. However, if you’d like to use the latest version of Cura with your printer, we’ve got you covered. While there are no official profiles for the Neptune 4 and 4 Pro in the latest version, thankfully we can use Cura’s Custom Printer to get us up and running.
In this article, we’ll cover configuring the Elegoo Neptune 4 and 4 Pro in Cura and provide essential settings to help you unlock the optimal potential of your Neptune 4 and 4 Pro.
Getting Started
To use Cura with your Neptune 4 or 4 Pro, you’ll need to use Cura’s Custom printer functionality to create a profile for your printer. Here’s how to get started setting up your Neptune 4 or 4 Pro in Cura:
- Go to “Settings > Printer > Add Printer”.
- Select “Non-Ultimaker printer”, then “Add a Non-Networked printer”.
- Scroll to and select “Custom FFF printer” from the Custom drop-down options.
- Name your printer according to your model, then click “Add”.
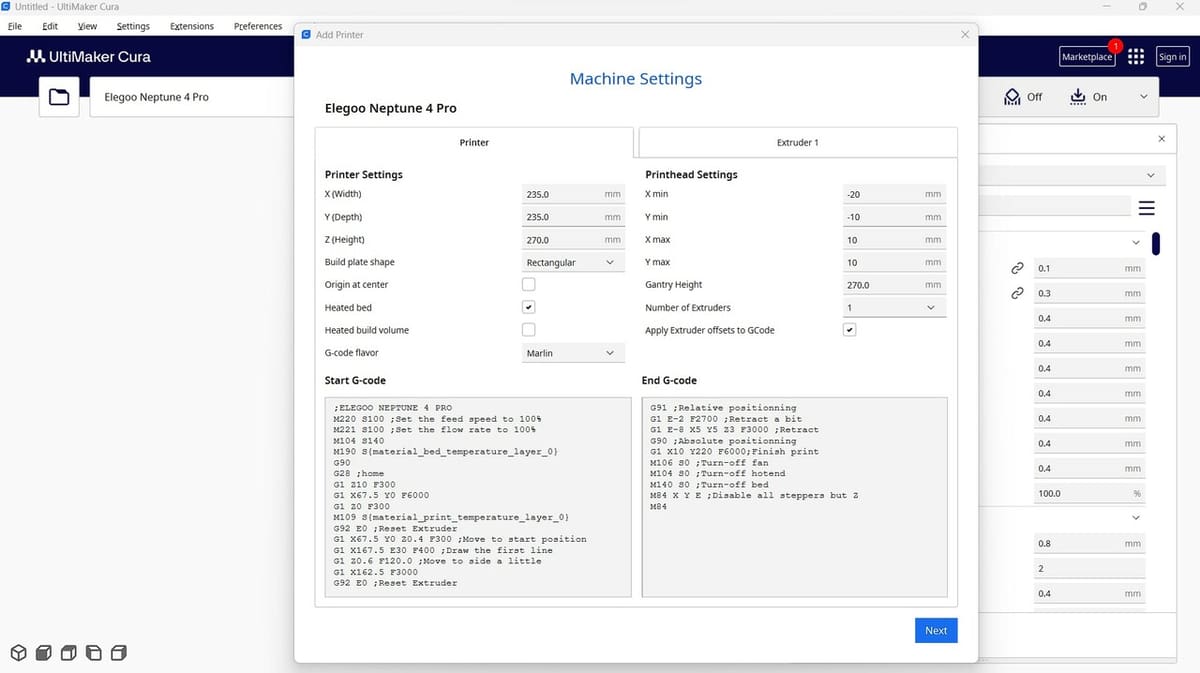
- Set the build area of your printer (both the Neptune 4 and 4 Pro). The X(Width) and Y(Depth) should be set to 235 mm and Z(Height), to 270 mm.
- Next, you’ll have to enter the start and end G-code for your printer, so check out the applicable code below.
- Finally, open the “Extruder 1” tab and change the “Compatible material diameter” value to 1.75 mm (if you use 2.85 mm filament, leave the value unchanged), then click “Close”.
Start & End G-code
The start G-code for both the Neptune 4 and 4 Pro printers is the same. Here’s what you’ll need to add:
M220 S100
M221 S100
M104 S140
M190 S{material_bed_temperature_layer_0}
G90
G28
G1 Z10 F300
G1 X67.5 Y0 F6000
G1 Z0 F300
M109 S{material_print_temperature_layer_0}
G92 E0
G1 X67.5 Y0 Z0.4 F300
G1 X167.5 E30 F400
G1 Z0.6 F120.0
G1 X162.5 F3000
G92 E0
The end G-code for the Neptune 4 and 4 Pro are different. For your Neptune 4, enter the following:
G91
G1 E-2 F2700
G1 E-2 Z0.2 F2400
G1 X5 Y5 F3000
G1 Z2
G90
G1 X0 Y230
M106 S0
M104 S0
M140 S0
M84 X Y E
For your Neptune 4 Pro, enter the following:
G91
G1 E-2 F2700
G1 E-8 X5 Y5 Z3 F3000
G90
G1 X10 Y220 F6000
M106 S0
M104 S0
M140 S0
M84 X Y E
The settings we provide here will be for a 0.4 mm nozzle, as this comes stock with both printers. You’ll need to vary these settings if you’re using a different nozzle size. Check out our guide to G-codes for 3D printing to learn all about the most important commands.
Perfect Elegoo Neptune 4 (Pro) PLA Profile
- Printing temperature: 225 °C
- Bed temperature: 60 °C
- Speed: 200 mm/s
- Layer height: 0.2 mm
- Retraction: 0.8 mm at 45 mm/s
- Infill: 20%
- Initial layer speed: 20-25 mm/s
- Initial fan speed: 0%
Hot End Temperature
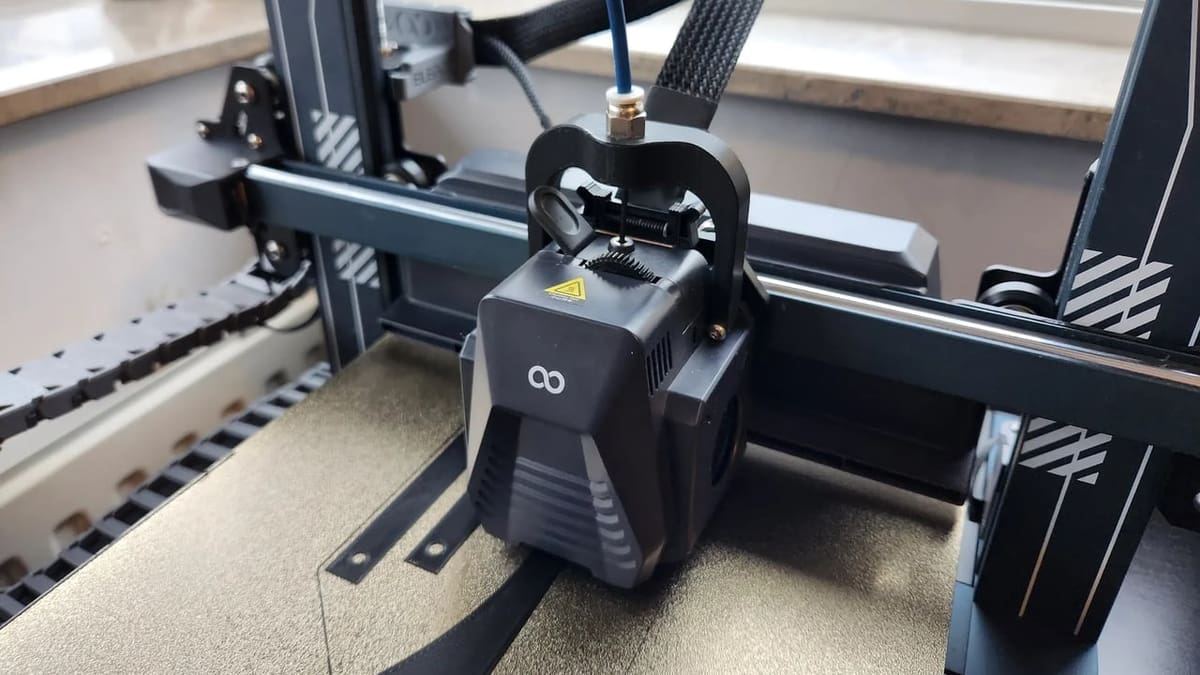
Both the Neptune 4 and Neptune 4 Pro come with a hot end with a maximum temperature of 300 °C, supporting filaments like PLA, ABS, PETG, and TPU as well as higher-temperature filaments such as nylon and PC. This, combined with the copper-titanium bi-metallic heat breaks on both models ensures consistent extrusion of filaments, which is especially important considering the speeds you’ll likely be printing at with these machines.
As a result, PLA seems to print smoothly at 225 °C on these printers. ABS gives quality prints at 255 °C with the printer enclosed, PETG at 245 °C, and TPU at 230 °C. Keep in mind that other factors like printing speed, nozzle size, and filament brand will play a role in the ideal temperature. For example, Polymaker’s PolyTerra PLA has a minimum printing temperature of 190 °C, while Prusa’s Prusament PLA minimum printing temperature is 210 °C.
We suggest starting with a temperature tower to dial in your particular filament. If your hot end temperature is too high, you may experience blobs or over-extrusion, whereas too low of a temperature can result in under-extrusion.
Summary
- PLA: 225 °C
- ABS: 255 °C
- PETG: 245 °C
Bed Temperature
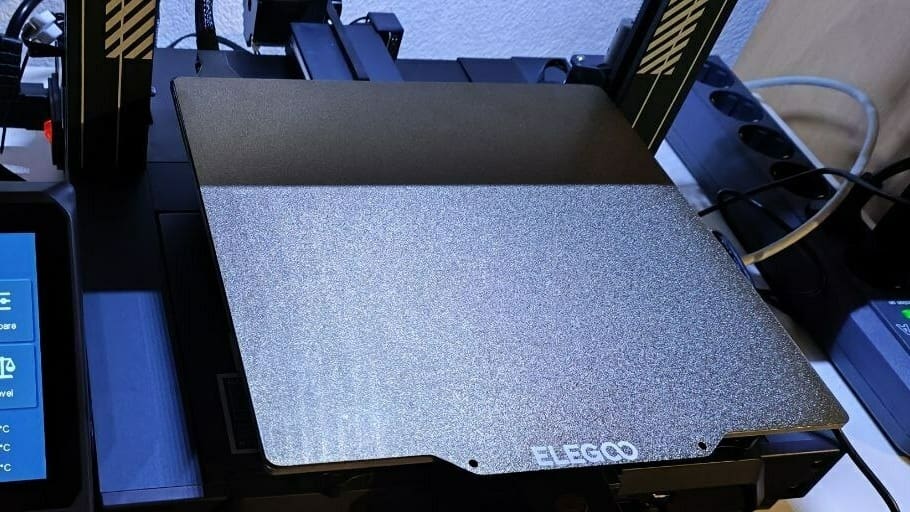
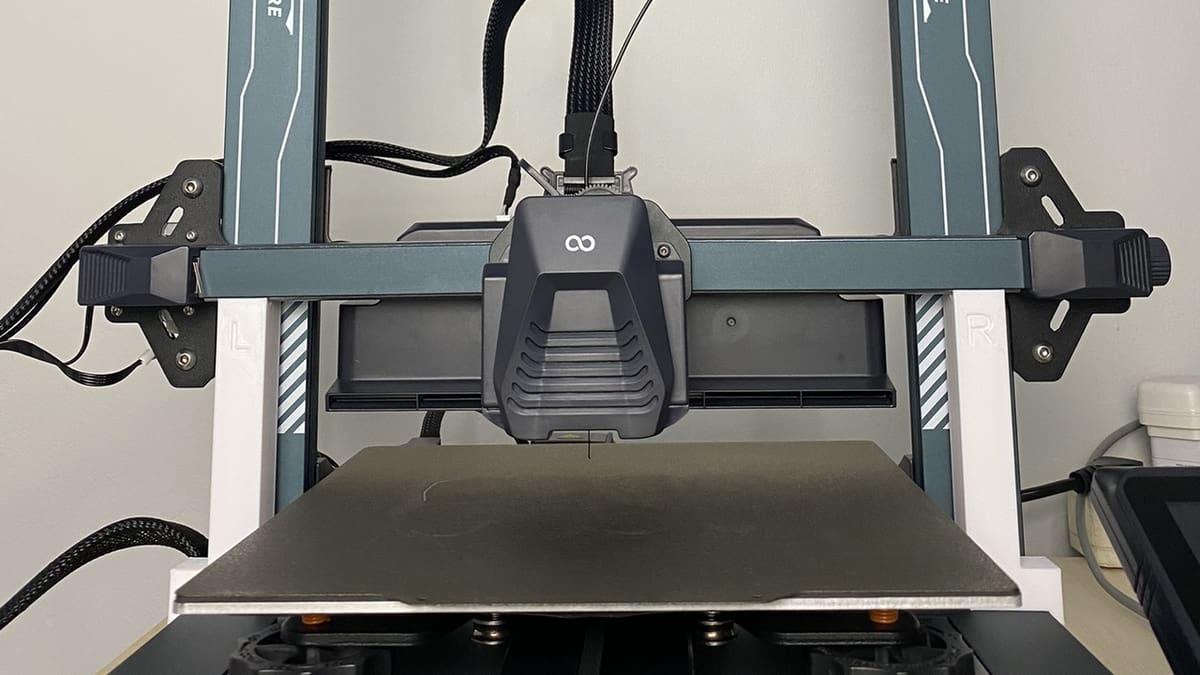
The magnetic PEI print beds on both the Neptune 4 and 4 Pro have a maximum temperature of 110 °C, which is adequate for printing more challenging materials like ABS without experiencing adhesion issues.
The bed on the Neptune 4 Pro is segmented, having an inner area of 120 x 120 mm with a 100-W rating. Elegoo says this is intended to reduce the cost of operating the 4 Pro when printing small pieces. For comparison, heating the whole bed requires 250 W. This is intelligently controlled by the printer detecting the required print region and heating the bed appropriately, so there’s no separate setting for it in Cura. The feature can also be directly controlled from the printer via the touchscreen.
For best filament adhesion on the Neptune 4 and 4 Pro, set your bed temperature for ABS between 100 °C and 110 °C with the printer enclosed, PLA at 60 °C, TPU at 55 °C, and PETG at 80 °C. The PEI finish of the build plate doesn’t require the use of glue or other adhesion aids and once cooled, your prints will have no problems coming off the build plate with just a little flex. If you do start having adhesion issues, it may be time to replace your build plate.
Summary
- PLA: 60 °C
- ABS: 100-110 °C
- PETG: 80 °C
Speed
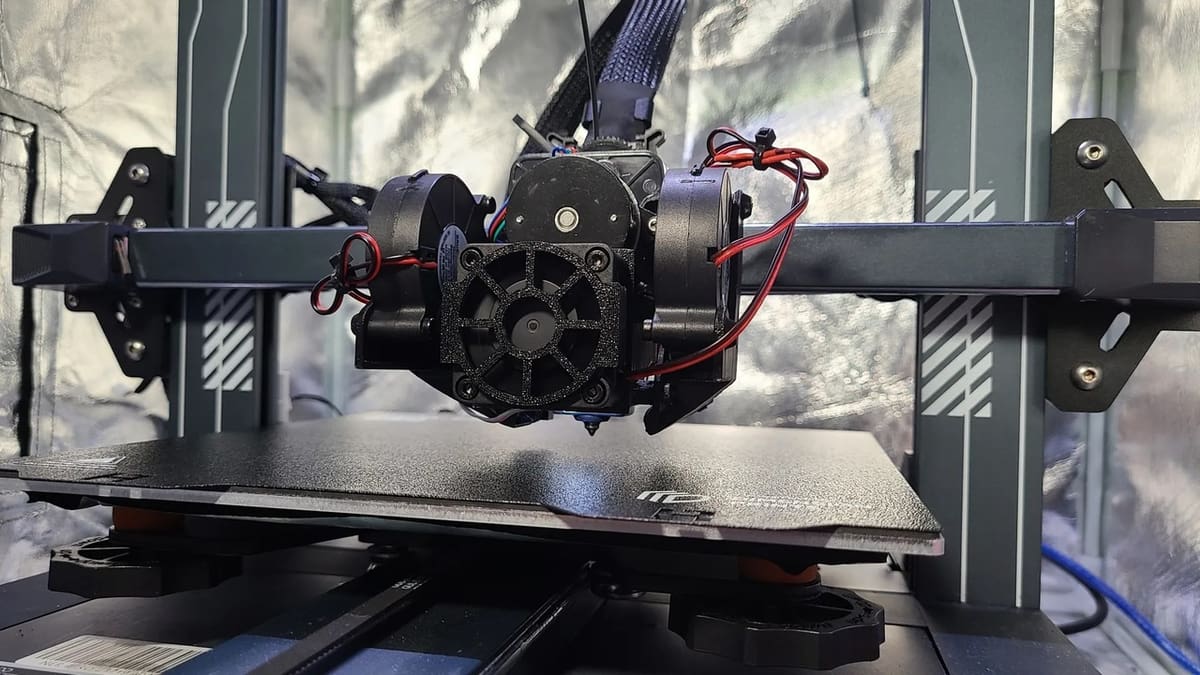
The Neptune 4 and 4 Pro are built to print fast, and Elegoo has made some smart design choices to ensure the hardware of the printers can keep up. The Neptune 4 uses POM V-guide wheels on its X- and Y-axes with the Neptune 4 Pro upgraded to metal double-row U-shaped bearings for more precise motion even at high speeds. The printhead has also been made lighter to reduce vibrations that can cause artifacts on your prints.
Even with these features, you must balance your print speed with print quality for the best results. For PLA and ABS, we recommend starting with a speed of 200 mm/s and adjusting up from there. Print PETG at a speed of 150 mm/s and TPU at 80 mm/s, which benefits from slower print speeds due to its stretchable nature. Like the printing temperature, you can always print a speed test to get the best settings for your exact filament!
Summary
- PLA: 200 mm/s
- ABS: 200 mm/s
- PETG: 150 mm/s
Layer Height
The double Z-axis lead screw and motors on the Neptune 4 and 4 Pro increase the accuracy of the Z-axis on these printers to help you obtain uniform layer heights across the bed, thus improving the dimensional accuracy of your prints.
A layer height value between 25% and 75% of your nozzle size will give the best results, but the value you go for will largely depend on your print’s purpose. If your print is aesthetic, a smaller layer height will provide more detail and is likely the best choice at a slight sacrifice to print time. Larger layer heights will sacrifice detail for strength and faster print times, and they’re best used for more functional prints.
While Elegoo has not released official magic numbers for the Neptune 4 and 4 Pro, the profiles they provide in their version of Cura use a Z-axis resolution of 0.04 mm, so we suggest adjusting layer height in 0.04-mm intervals for the best printing results.
Summary
- Fine detail: 0.12 mm
- Coarse detail: 0.24-0.32 mm
Retraction
The direct drive extruders fitted on both the Neptune 4 and 4 Pro handle retractions exceptionally, even at high print speeds. However, retractions can greatly increase your print time so you should aim to minimize their use. This will also reduce the risk of your extruder grinding your filament, leading to failed prints. Try to limit retractions to prints that require travel moves from one part of the print to another or when printing multiple items simultaneously to avoid stringing.
Retracting PLA and PETG 0.8 mm at 45 mm/s produces quality prints. While we advise avoiding retractions with flexible filaments like TPU, you might get away with retracting TPU 1 mm at 20 mm/s with these printers. ABS gives quality prints when retracted 0.8 mm at 25 mm/s.
To improve the efficiency of retractions, we recommend you match your retraction speed to your print speed. The best way to achieve this is by printing a retraction test.
Summary
- PLA: 0.8 mm at 45 mm/s
- ABS: 0.8 mm at 25 mm/s
- PETG: 0.8 at 45 mm/s
Infill
The amount and type of infill pattern you use will affect the weight, strength, and time taken to complete your print, so you’ll need to balance this according to your print’s purpose.
For decorative pieces, limit your infill to 20%, while we recommend starting at 50% for functional end-use parts. You can also use Cura’s Infill Line Multiplier setting to increase your print strength at a lower infill percentage.
Summary
- Decorative prints: 0-15%
- Standard prints: 15-50%
- Functional prints: 50-100%
Initial Layer
With manual (Elegoo calls it “Auxiliary”) and 121-point automatic bed leveling capabilities on the Neptune 4 and 4 Pro, you have a great chance of getting a perfectly level bed for flawless initial layers every time. The PEI print bed, which leaves a gorgeous finish on the bottom side of your prints, also has superb adhesion qualities that should keep failed prints to a minimum.
For perfect initial layers, limit your initial layer speed to 25 mm/s and turn off all cooling fans. Using a larger layer height for your initial layer compresses your filament into the print bed, and 3-5 initial layers produce impressive results. We also recommend using slightly higher nozzle and bed temperatures for your initial layer to keep the plastic molten for longer and increase its adhesion to the print bed.
Summary
- Initial layer height: 0.24-0.28 mm for 0.2-mm print layer height
- Initial layer speed: 20-25 mm/s
- Initial fan speed: 0%
- Number of initial layers (“Initial Bottom Layers”): 3-5
License: The text of "Elegoo Neptune 4 (Pro) Cura Profile / Settings" by All3DP is licensed under a Creative Commons Attribution 4.0 International License.