3D Printing with PETG: 5 Tips for Perfect Prints

3D printing with PETG isn't as difficult as you might think! Read on for five great tips on how to print PETG.
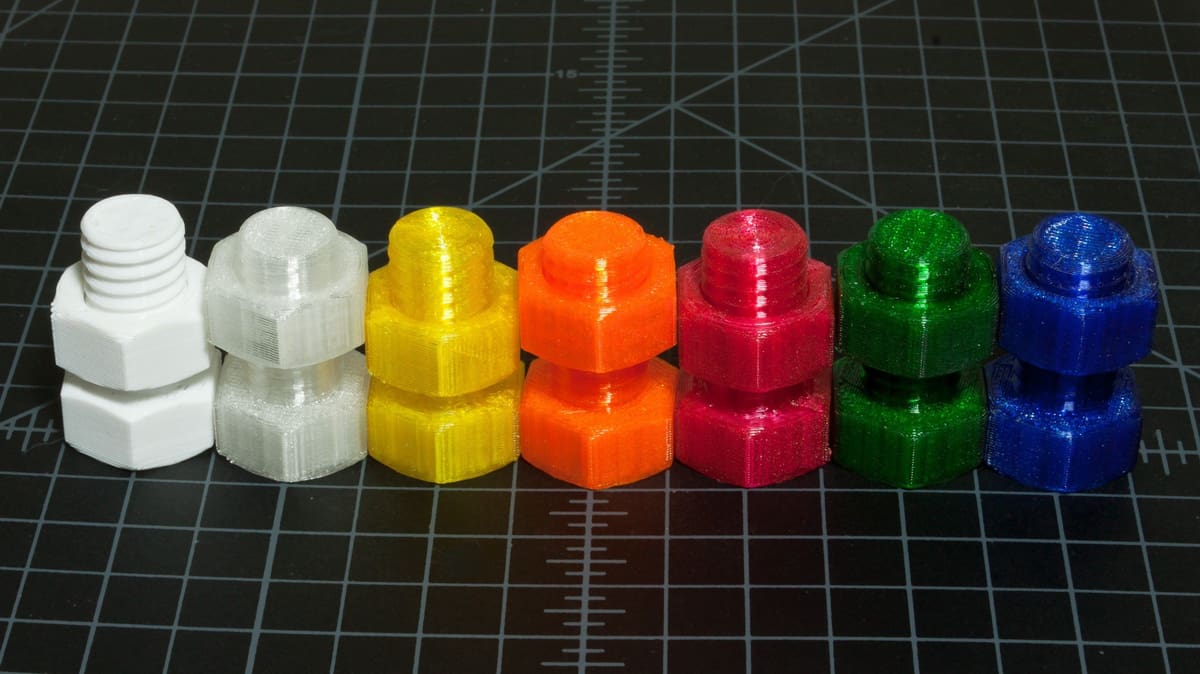
PETG, short for polyethylene terephthalate glycol-modified, is a tough, temperature-resistant, and highly impact-resistant plastic often used in FDM-style 3D printing. There’s quite a lot to this material, so check out our guide to the best PETG settings for more.
Here, we’ll take you through how to successfully print with PETG and help you troubleshoot common issues. While printing with PETG is certainly less challenging than with materials like ABS, it does have its special issues, which we’ll address.
Still, with just a little bit of work, you can get incredibly high-strength, high-quality prints with PETG filament. Let’s get started!
Tuning Print Settings
To start, open your slicing software to access your print settings. You’ll want to tune these to your PETG filament for optimal results.
Initial Settings
If your slicer has built-in PETG material profiles, those will be a great place to start. Otherwise, you can take your ordinary PLA settings and make a couple of changes:
- Increase the nozzle temperature as per manufacturer recommendations (usually between 220 and 260 °C)
- Increase the bed temperature as per manufacturer recommendations (usually between 50 and 85 °C)
- Decrease fan speeds to somewhere in the range of 20-50%

Fine-Tuning
Using the settings described above, try printing a test piece like a calibration cube. Two things you’ll notice about PETG is that it’s quite prone to stringing, and excessive cooling can delaminate layers.
Using the test piece, modify your print settings. If the layers aren’t staying together, decrease fan speeds or increase the print temperature. If stringing is severe, increase the retraction speed or distance. If parts are curling or deforming, lower the print temperature.
For more help diagnosing print artifacts, you can refer to our troubleshooting guide.
Keep tuning until you’re satisfied with your results. If issues persist, the following tips may be helpful.
Tip #1 Use a Glue Stick or Hairspray
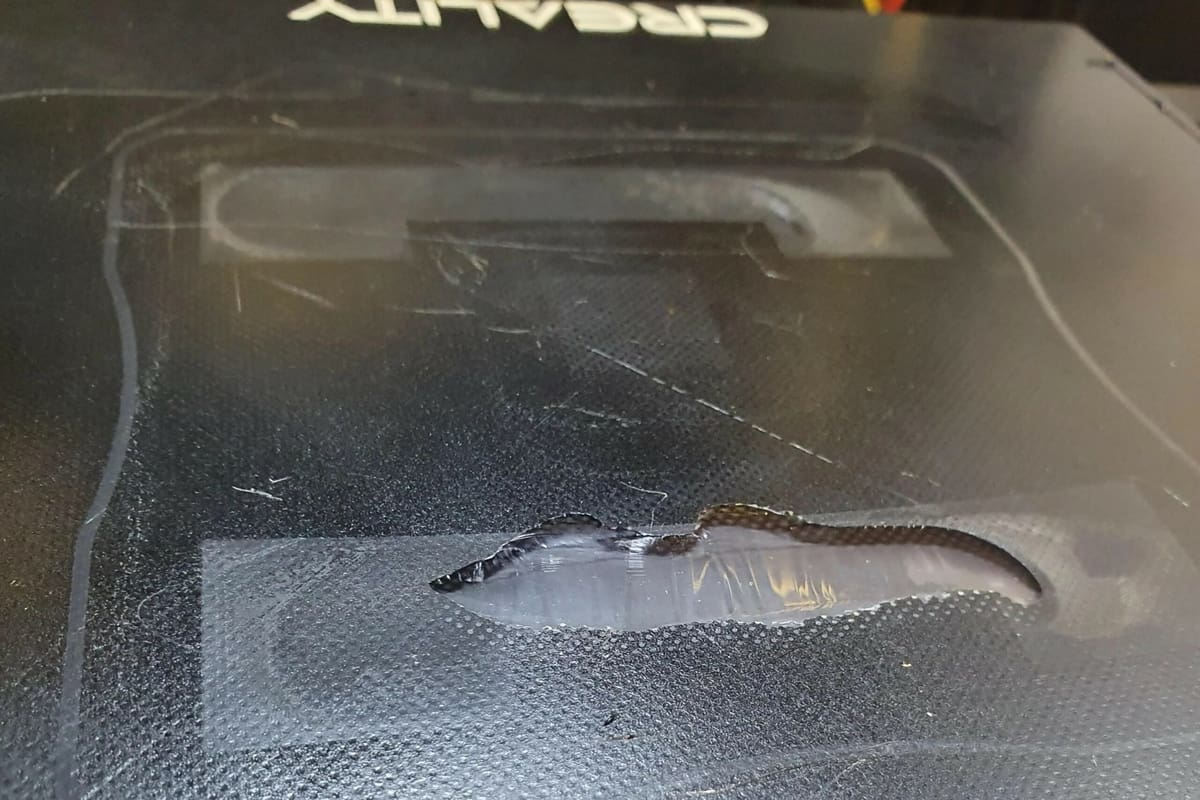
Usually, glue sticks or hairspray are applied to print surfaces to help parts stick to the bed when adhesion is poor. PETG, however, often sticks too well, enough to tear out pieces of your printed part or build surface!
As a result, you should always use glue stick or hairspray as a release agent and never print directly on something like BuildTak, PEI, or glass. That way, your parts will come off with the agent and not with bits and pieces of your precious build surface.
Tip #2 Get Retraction Right
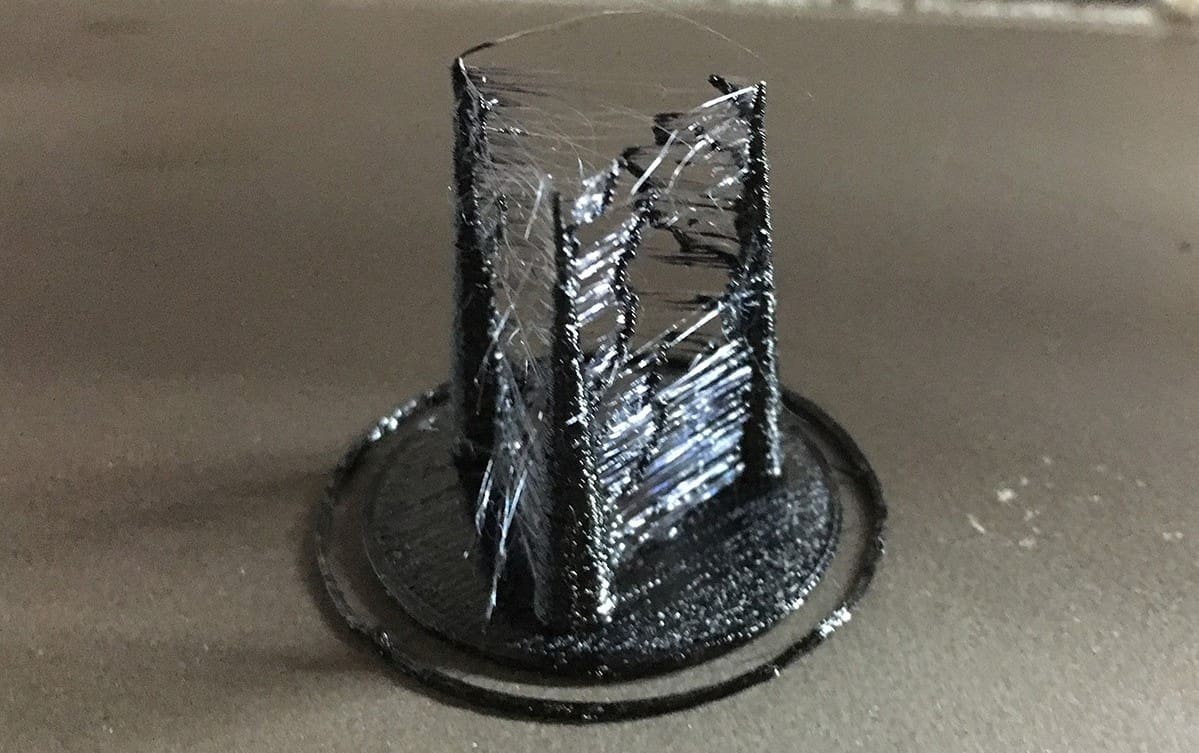
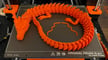
As explained already, PETG has a high tendency to string and ooze. And the material’s toughness makes strings of molten plastic difficult to break, leading to unsightly webs and wisps on your prints.
These can be mitigated by properly tuning your print settings, described earlier. In particular, try to increase retraction distance, retraction speed, and travel speed, within reasonable limits.
Finally, if all else fails, a little help from a heat gun can take care of any remaining strings.
Tip #3 Prevent Cracking
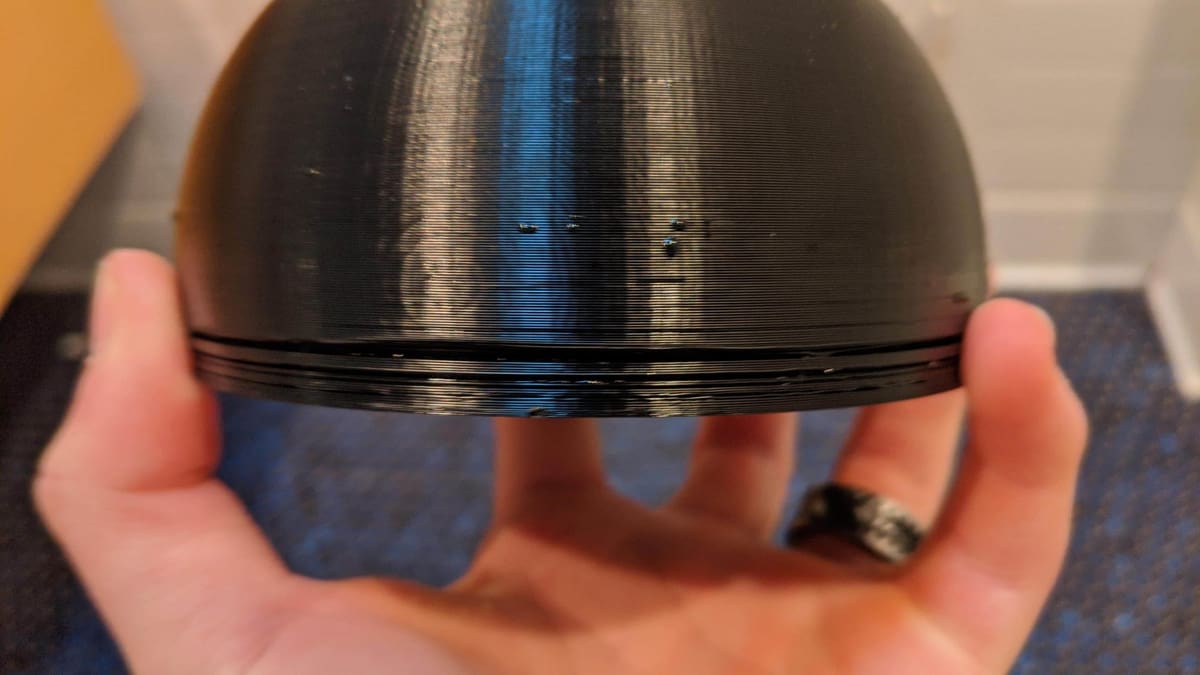
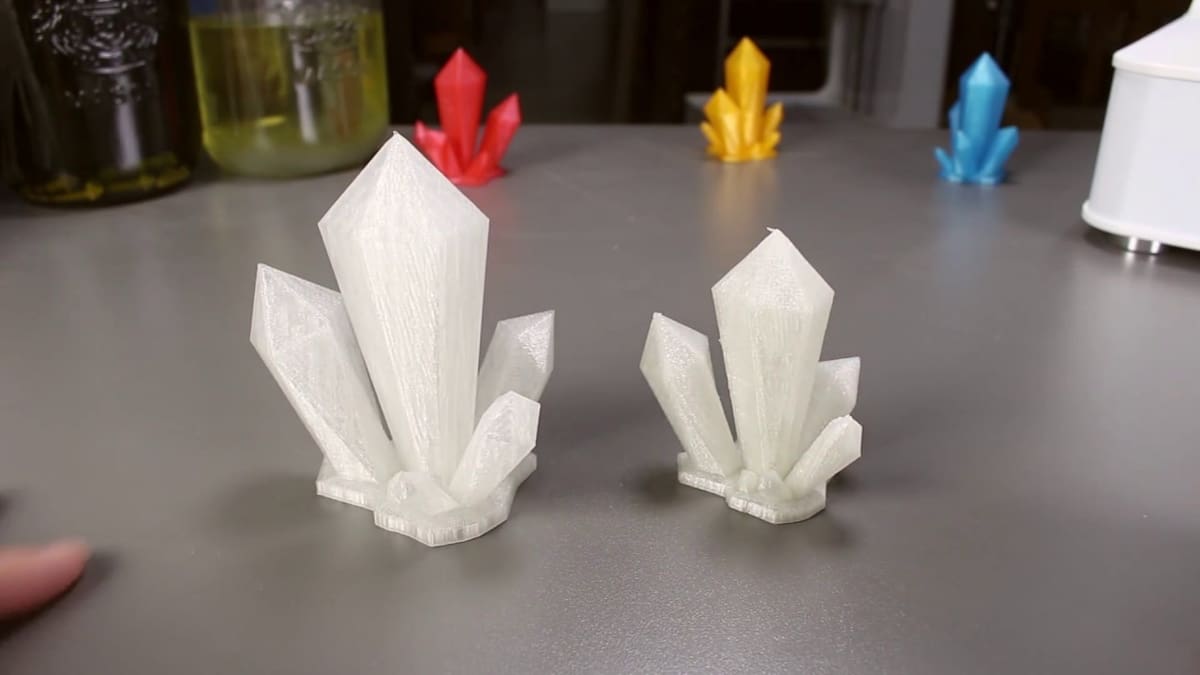
If you’re transitioning to PETG from PLA, you may find that PETG cracks rather easily. While PLA benefits from large amounts of cooling, PETG can suffer if it’s cooled too quickly.
If print layers begin to separate or crack, reduce the fan speed. PETG retains its shape at much higher temperatures than PLA, so overhangs and complex shapes will still come out sharp. The reduced cooling will give extruded plastic time to fully bond with the rest of the model.
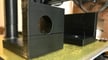
Tip #4 Give Support Structures Space
As with any other FDM printing material, some models printed in PETG may require support structures.
However, once tuned for layer adhesion, PETG can stick too well to itself, making supports difficult to remove. You may want to dive into your slicing software’s more advanced settings and increase the distance between the support structures and your actual model (“Support Z Gap” or similar).
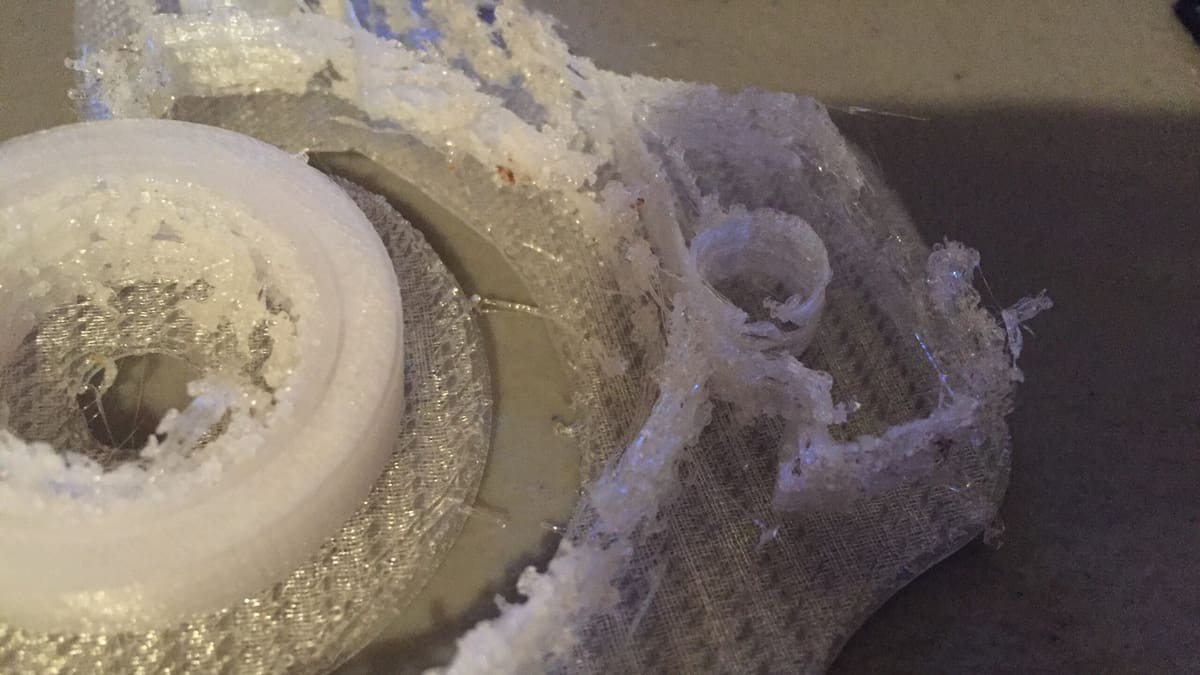
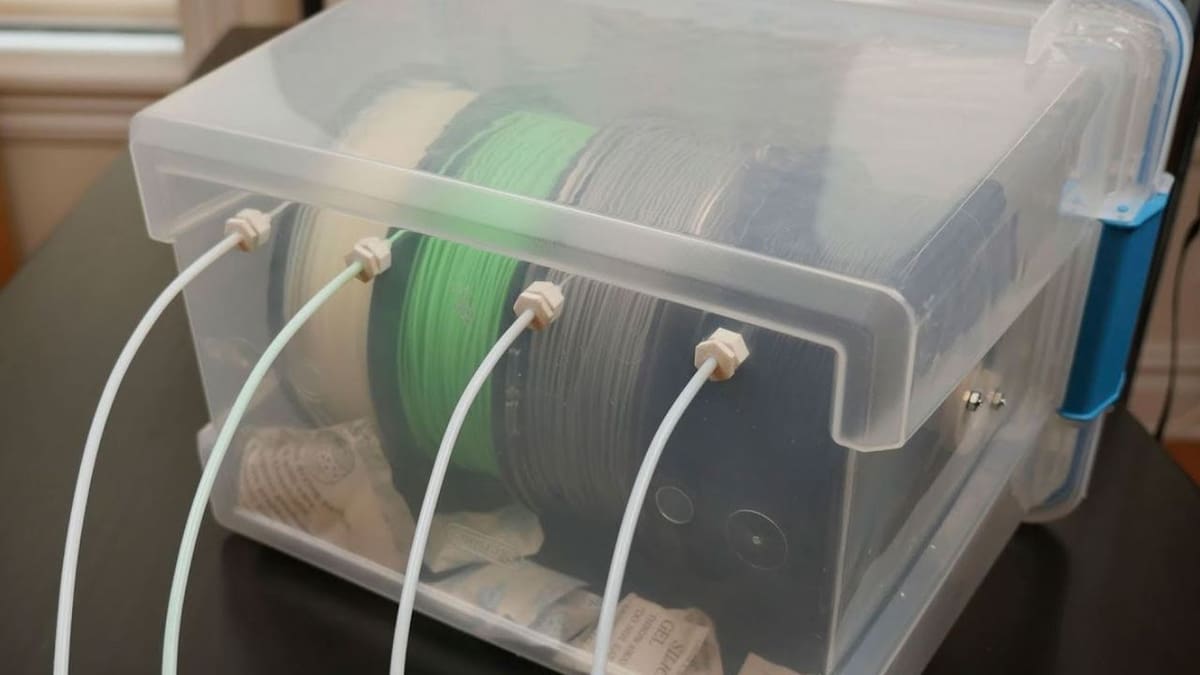
Tip #5 Keep It Dry
After printing PETG for a while, you might begin to notice deteriorating print quality and strength. That’s because PETG is hygroscopic, meaning that it easily absorbs moisture from the air. This moisture deteriorates the material itself and can ruin an otherwise fine spool of filament.
As such, keep your filament stored in a dry environment, like in an airtight bag or box with desiccant packs. This should preserve the filament and prevent it from absorbing too much moisture.
If your filament is already wet, then you can dry it out with an oven set at around 60 °C. Leave the spool in the oven for a few hours while the moisture is cooked out.

License: The text of "3D Printing with PETG: 5 Tips for Perfect Prints" by All3DP is licensed under a Creative Commons Attribution 4.0 International License.