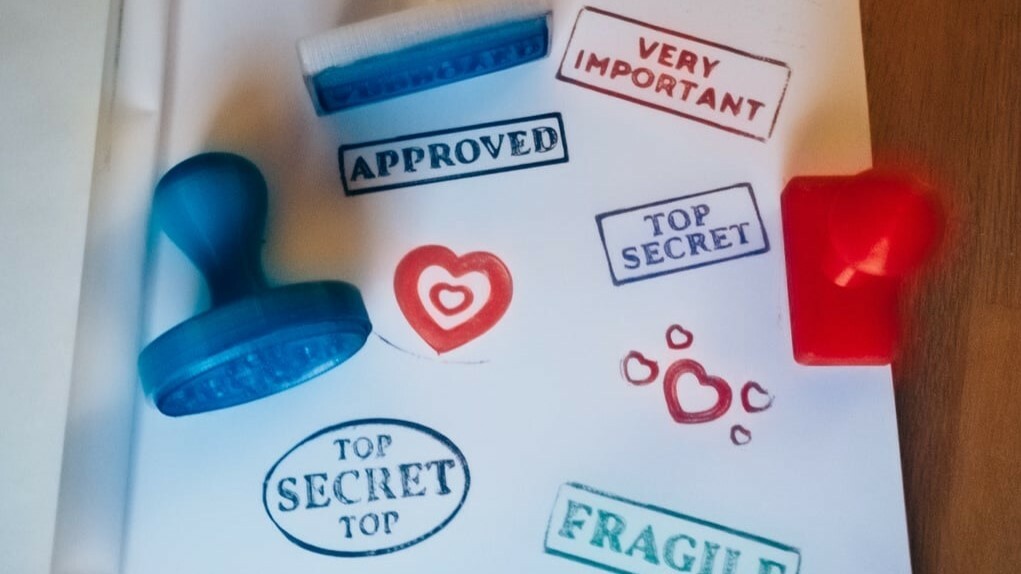
From jewelry to cookie cutters, 3D printers let us make just about anything we can imagine. Makers put their creativity into making tools, replacing broken parts, and designing decorations. It should come as no surprise that many have also decided to experiment with ink stamps.
Much like 3D printers, stamps are another incredibly versatile and imaginative tool. They can be used for work, hobbies, or play time. A stamp can be as simple as a circle, as complicated as a mechanical time and date stamp, or somewhere in between, like the ubiquitous “Approved/Denied” set.
In this article, we’ll take you through an uncomplicated method to make one. We’ll start by making a 2D design and give you tips for exporting it in the best format to make it 3D. Next, we’ll import our file into a popular 3D web app and walk you through attaching it to a stamp base and handle. Finally, we’ll give you suggestions for printing a successful stamp so you can start laying down some ink.

Step 1: Find or Create Your Design
The versatility of making your own stamp is that you can use text, logos, pictures, clip art, or many other types of graphics.
Something major to take into consideration when you first start making stamps is design simplicity. The more intricate your stamp, the more difficult it will be to 3D print, ink, and stamp clearly, so you’ll want to start out with designs that are simple. As you become more experienced with making stamps, you can add more complexity.
For our example, we will create a simple text-based stamp. However, you can start with your own picture or logo – the process is the same.
If you already have a design in hand, you can skip to Step 3, and if your design is symmetric and doesn’t have text, you can skip to Step 4. Keep in mind that your 2D image file must be in SVG format, and will need to be “flattened” for the 3D software we are going to use. Various 2D editing programs may implement these options in different ways and may not produce compatible image files. If you follow along with our suggestions, you shouldn’t have any compatibility issues.
Step 2: Edit the Design
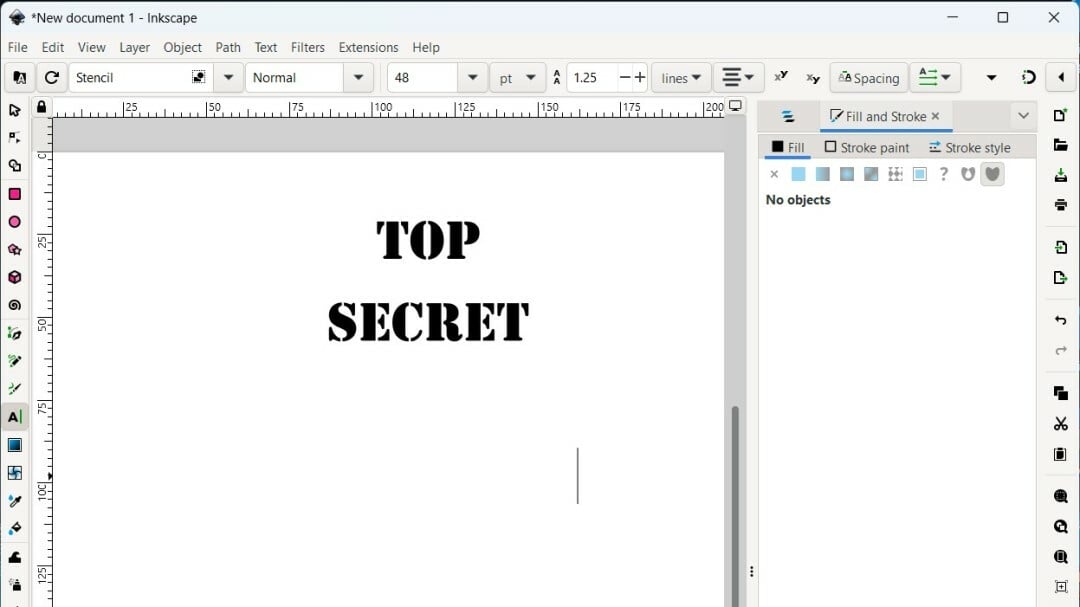
The stamp shown above was created in the free and open-source vector graphics program called Inkscape, which is available for Windows, Linux, and MacOS. Of course you can use any graphics program you’re familiar with, such as Adobe Illustrator CC, GIMP, or CorelDraw. If you do use a different program, keep in mind the formatting notes mentioned previously.
When it comes to text, many font options are available, but we suggest you stick to block style fonts for stamps. Block fonts have big, bold, uncomplicated letters. Stamps made in this style will be easier to print and more likely to pick up and lay down ink when stamping.
When using shapes or pictures for your stamps, it’s important that your stamping surface be wide and thick enough for the same reason. Your choice in filament or resin will also influence your inking results, but thicker is better generally.
Step 3: Invert the Image
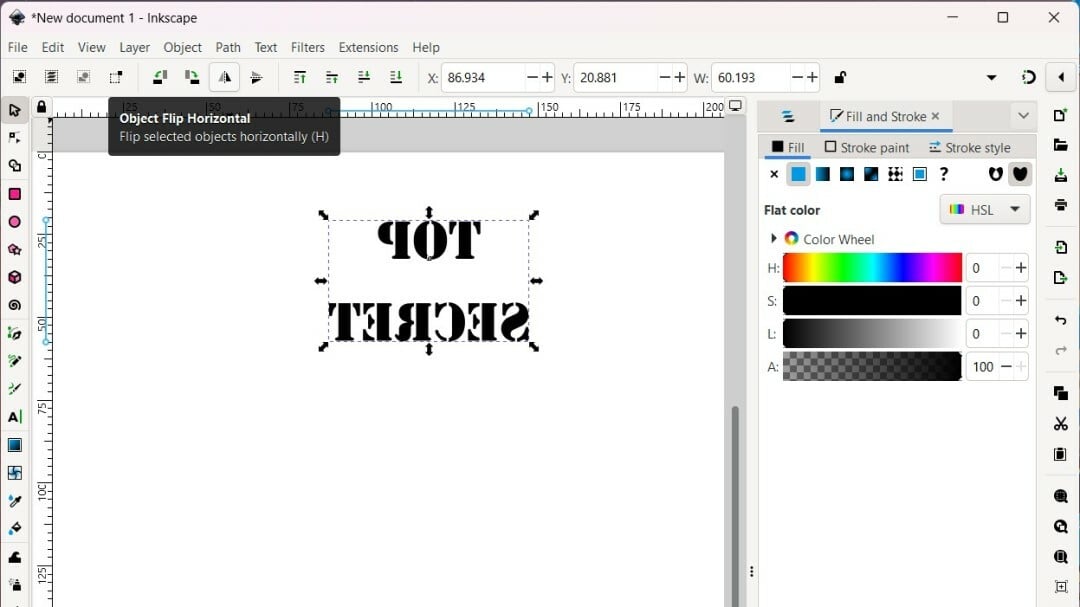
When stamps are made, they have to be done in the reverse design of what you want it to look like. If you don’t do this, when you press the stamp to paper, the design will be a reversed mirror image of itself.
If you have a completely symmetrical design that you are turning into a stamp, then reversing the design isn’t needed. However, when there’s text involved or the design isn’t symmetric, you’ll need to reverse the design.
Inkscape, or any graphics program, makes this easy. Select the text, then go to the “Objects” menu and select “Flip Horizontal”. The image will then look like a reverse mirror image of itself. Other programs might have a different path or name for the tool, but the concept should be the same.
Be sure to do all your proofreading before this step, as it’s more challenging to look for typos when the image is reversed.
Step 4: Create a 3D Volume from the Design
Inkscape is a powerful graphic design program. However, it’s not meant to make complex 3D models. For that, we will import the image into a 3D modeling program. But first, we have to “Flatten” and “Export” our text as an image.
If this sounds complicated, don’t worry. All you have to do is select the text, click on “Path” in the top bar, and then select “Flatten” from the drop-down menu. Inkscape changes the text format into an image format (SVG) that’s readable by 3D design programs.
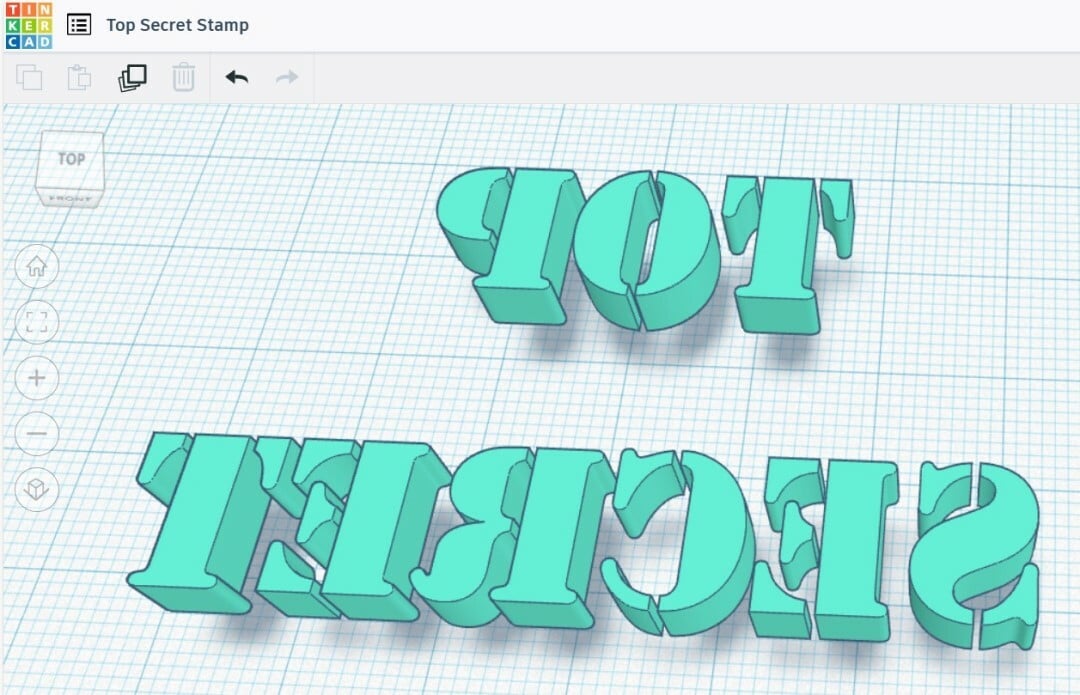
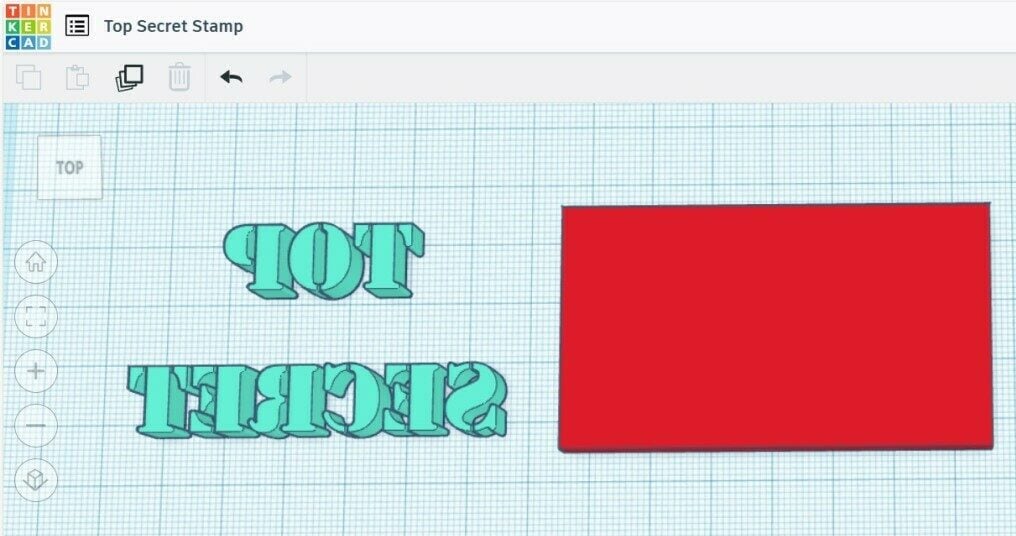
Next, we will import the image into the 3D modeling program Tinkercad. Tinkercad is a free, simple, yet robust, browser-based 3D modeling app that was acquired by Autodesk in 2013.
Tinkercad will import SVG files that you create in Inkscape (or other programs) and let you make a 3D model with them.
After the file imports to Tinkercad, it will automatically turn the 2D text into a 3D object. It’s worth noting that you can design your stamp directly in Tinkercad – without Inkscape or other programs. However, there are just four font style to choose from in Tinkercad, so if you’re looking for more variety, you’ll want to start in another program.
Step 5: Add a Base
Once we’ve got the reverse 3D text, we need a base to set it on. In Tinkercad, create a shape that will be the base for your stamp.
Depending on your image, you may want to make the base a square, rectangle, triangle, or circle. In our example, we made a rectangle that’s just slightly larger than the area of the text. In Tinkercad, you can easily change any of the dimensions, like length, width, and height by dragging the object’s corners with your mouse to the desired size.
What’s crucial to making stamps is the thickness of the base as well as the thickness of the design. Our example has a base height and design height of 5 mm each for a total thickness of 10 mm. You can play around with this number to get your stamps to a height of your liking, and it will obviously depend on what the intended use of the stamp is.
Step 6: Join the Design with the Base
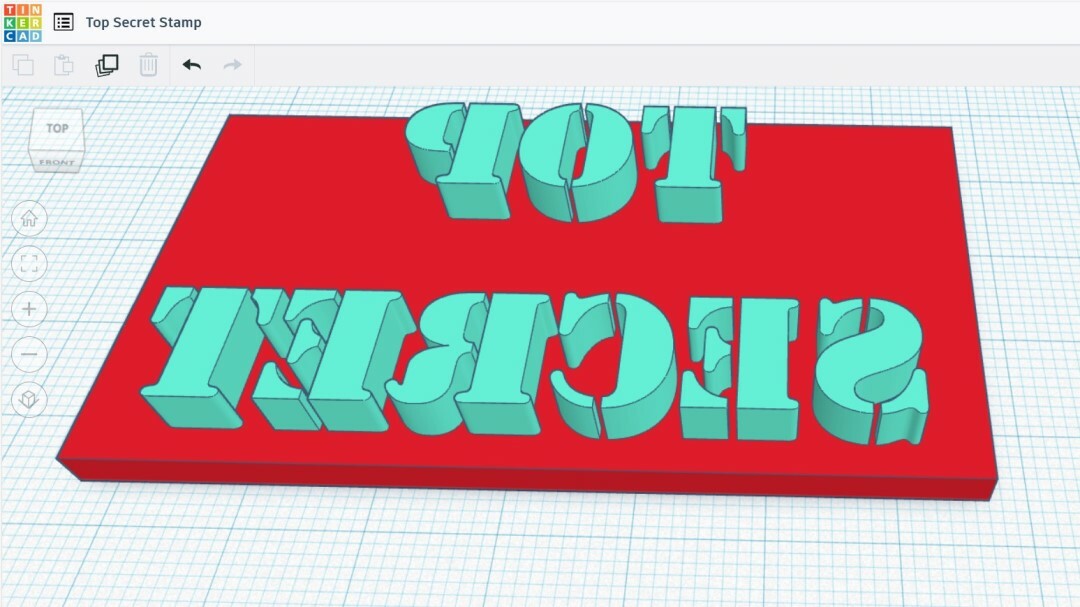
Perhaps the trickiest part of this whole process is placing the stamp design on top of the base.
In our example, once we’ve set the base height to 5 mm, we select and move the text “up in the air” 5 mm so that when we slide it on top of the base, it’s sitting on top of it and not inside it.
When you have the letters at their proper height, it’s time to center them on top of the base. This can be done either manually by dragging it or with the “Align” tool. For the latter, select both objects by clicking on one and then holding Shift and clicking on the second one, selecting the “Align” tool on the top right or clicking the letter ‘l’, and selecting the center dots that appear on the X- and Y-axes.
To then merge the two objects into one, with both still selected, click on the “Group” tool in the top right or “Ctrl + g”. The two objects should become the same color, indicating that they’re integrated.
Once the model is finished, you can export it as an STL for slicing.
Step 7: Making a Handle
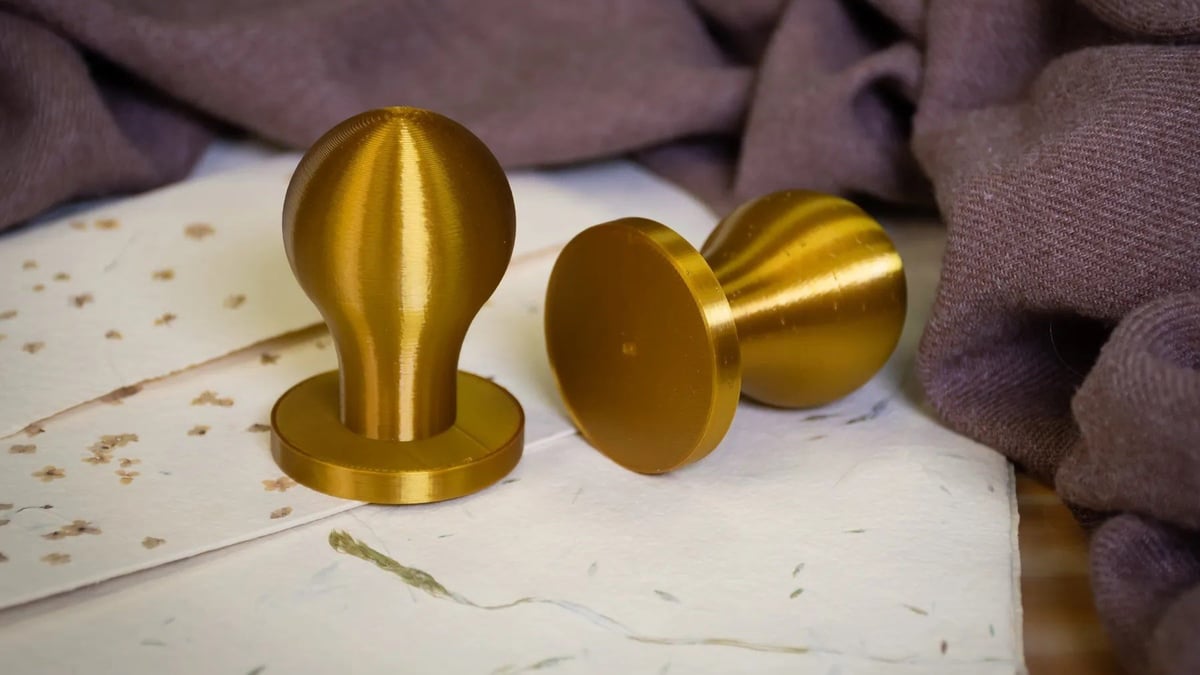
We suggest you design and print a handle for your stamps separate from the lettering and base for various reasons.
When designing a handle to be printed on its own, the options for printing orientation expand, allowing us to make handles with various ergonomic or stylish shapes.
Additionally, printing both in one model could require complicating the print with supports, which would then require more time to remove in post-processing.
When we split the job into two parts, we also get to print the handle at a lower resolution with lower infill. This enables us to save filament on a part of the stamp that doesn’t need as much material. The base and lettering need to have a high infill percentage for strength, so it’s nice to be able to save filament here.
Last but definitely not least, if you 3D print the handle separately from the actual stamp, you can customize various designs and reuse the handle, instead of printing the whole object many times and wasting material.
When both are printed, a few drops of superglue should stick them together.
Step 8: 3D Print Your Stamp
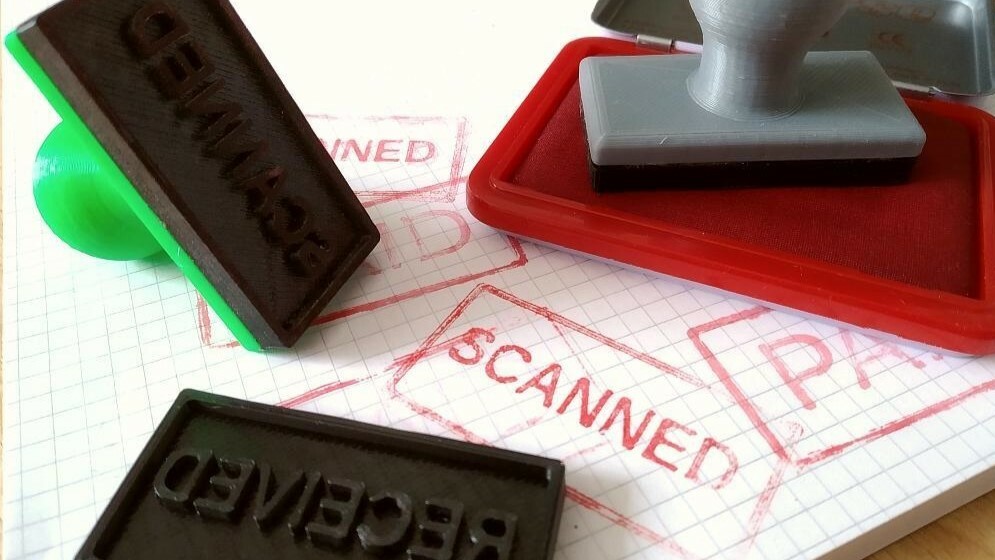
With the design finished, you’re ready to 3D print your new stamp. To do this, import your stamp file into a slicing program, like Cura or PrusaSlicer, to get it ready to print.
Here are some tips you might want to keep in mind:
- First, you’ll want to set your printer to print at a high resolution. This will be especially important when you begin to make stamps with finer details. You could do this by changing to a smaller nozzle or reducing the line width in your slicer settings to 75% of the nozzle size. This would be a 0.3-mm line width on a 0.4-mm nozzle.
- Second, you’ll want to use a higher infill percentage to insure the stamp and base are very rigid. No less than 50% is recommended, and you may wish to go higher depending on the design. Solid and even contact between the stamp and paper is important for successful ink transfer, which makes for great stamping.
- Third, most people will likely be printing with ASA or PLA, which are hard materials. Consider experimenting with TPU and other soft, flexible filaments if you find that printing stamps is what you want to do frequently. That said, good results are apparently possible in a variety of materials.
- Fourth, if you do opt for a hard filament like PLA, be sure to use your stamp with a soft surface like a rubber or leather mat under the stamping surface – this will help with the ink transfer from the stamp to the paper.
Now that you know how to design, edit, slice, and print a stamp, get an inkpad and start stamping!
License: The text of "How to 3D Print Your Own Stamps in 8 Simple Steps" by All3DP is licensed under a Creative Commons Attribution 4.0 International License.