3D Printer Z Offset: Simply Explained

If you're struggling to get your 3D prints to stick or want to print on top of an existing model, Z offset is the answer. Learn more!
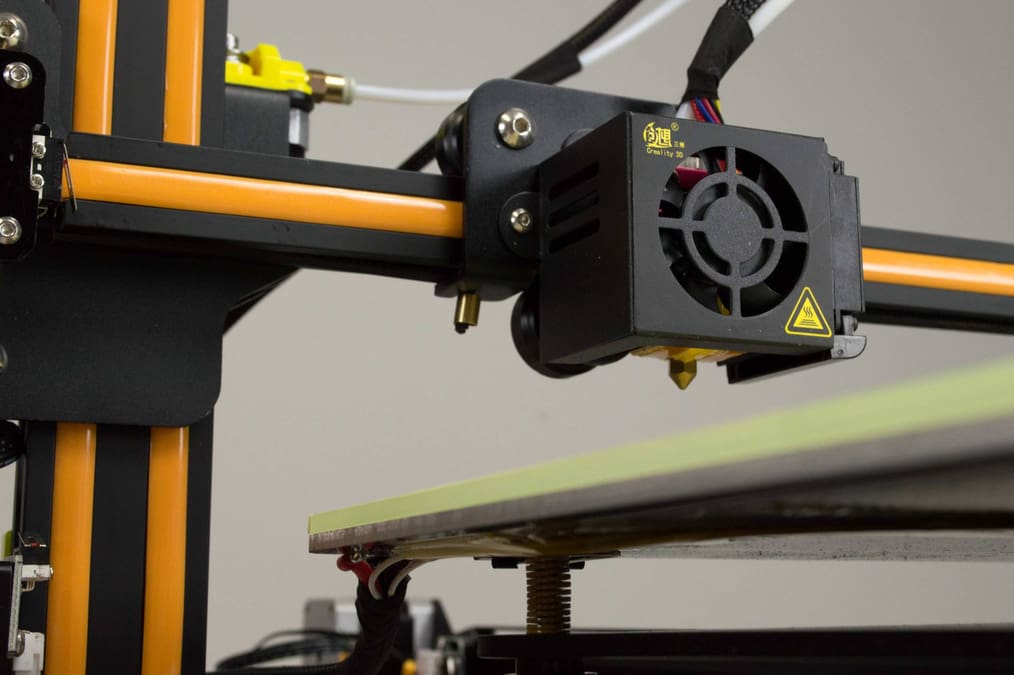
For many 3D printing enthusiasts, getting the perfect initial layer determines the quality of the resulting print. Apart from ensuring a level bed, something you should consider is whether your printer is using the correct Z offset, which is the distance between the hot end and the Z home position on a 3D printer.
Ideally, this value should match the distance between the hot end and the print bed. However, differences in limit switch position, homing probes, and manual bed leveling complicate the issue.
One common reason for adjusting the Z offset is to allow for the addition of a thicker bed material, like glass. Other reasons include printing directly on top of an existing object (for example, printing directly on glass to make a picture frame), embedding magnets inside a print (by pausing mid-print), or simply fine-tuning the first layer for perfect printing.
Note that adjusting the Z offset is not a replacement for leveling the bed, manually or with an auto bed leveling tool. Typically, the Z offset is something one rarely needs to adjust, while the print bed should always be level.
There are three main methods of adjusting the Z offset: directly inputting an offset in a slicer, altering G-code, or (depending on the printer you’ve got) tweaking the setting through the printer’s display. In this article, we’ll explain all three. Let’s get to it!
Adjusting with a Slicer
Adjusting the Z offset using the slicer can be much easier than doing it manually in G-code. The exact location of this feature will depend on the slicer you’re using, but here we’ll walk you through the steps for the commonly used Cura. Note that you’ll need to install a plug-in to access the Z offset settings. Here’s how:
- In the latest version of Cura, 5.3, go to the marketplace by clicking on the button in the upper right-hand corner of the screen. This will bring up a box of downloadable plug-ins.
- Navigate to the bottom of the list and hit “Install” for “Z Offset Setting”.
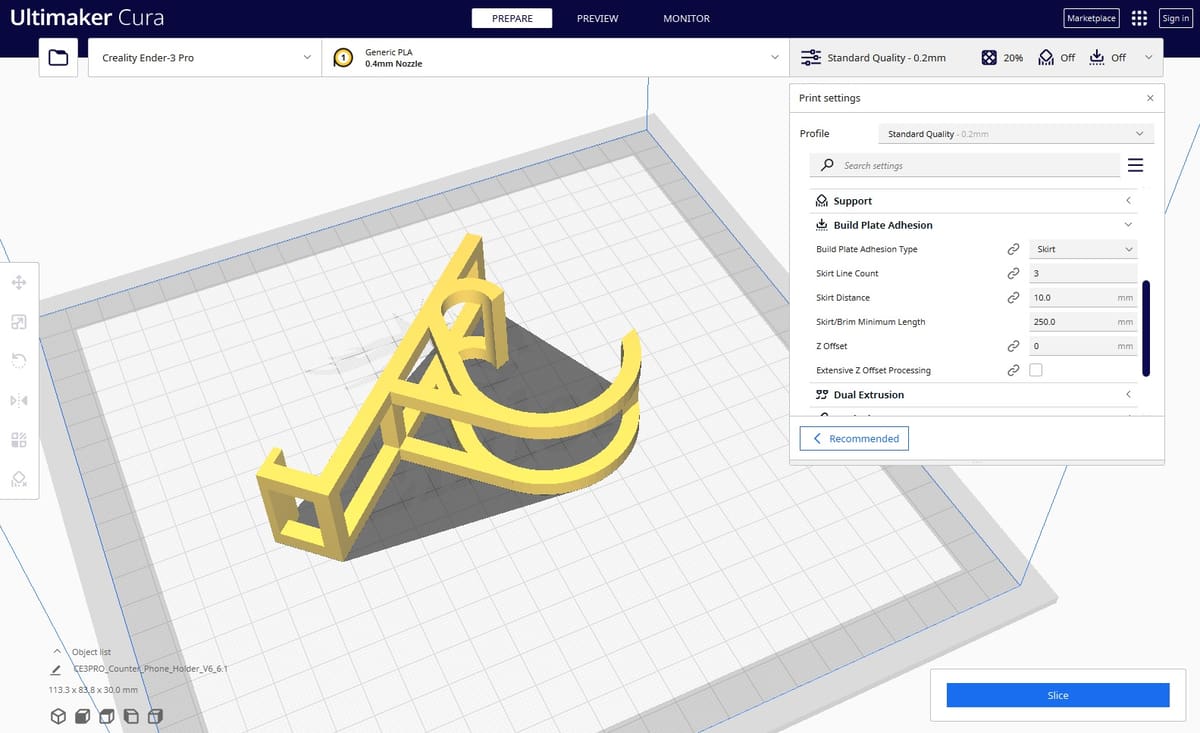
Once installed, you can access the setting under the “Build Plate Adhesion” dropdown to set the amount of offset. (You’ll need to turn on all settings through the three-line button next to the search field.)
Adjusting with G-code
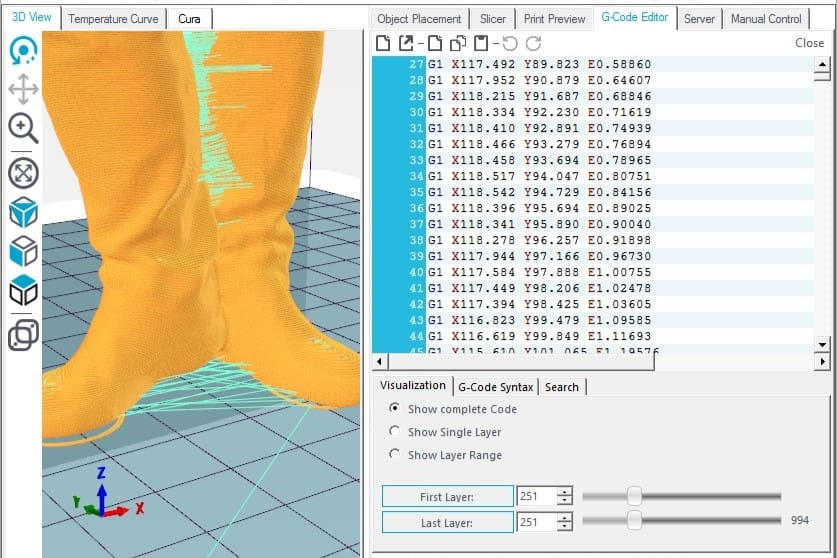
To adjust the Z offset using G-code, first home the printer using the command G28 Z0.
Next, G92 Z0.1 can be used to set a manual Z offset for printing. The G92 command assigns the provided coordinates to the printhead’s current physical location. In this case, only a Z coordinate is provided, Z = 0.1 mm, and it’s being assigned to the printer’s home position. In effect, this “shifts” the printer’s coordinate system inversely to the provided value, creating a -0.1-mm offset.
As such, if you want to raise the nozzle to print on a surface, make sure to provide a negative Z value, for example Z-0.1 to go up by 0.1 mm.
Adjusting with the Printer's Display
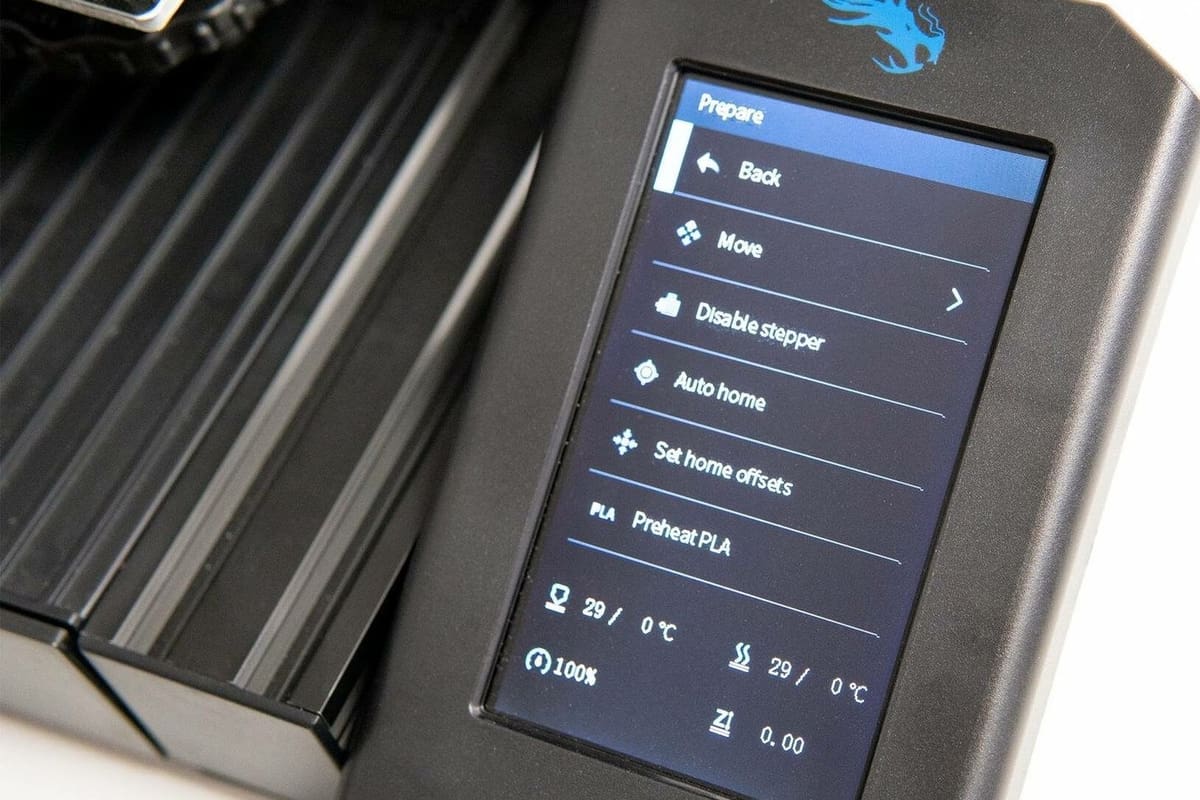
Some printers – like the Ender 3 printers – allow you to change the Z offset directly on the display. In fact, this is true for any printer with a display running Marlin firmware.
Depending on the version of Marlin you have, the Z offset option may be in the “Control” section of the interface, so it’s good to check what firmware you have and which specific version. Because adjusting the setting directly on the printer’s display is perhaps the easiest way to do it, and doing so should apply the offset to every print that follows, it could be useful to do some research and find the version that includes the option.
On the other hand, if you have Klipper firmware, you can check out our handy guide on how to calibrate your printer’s Z offset in Klipper.
Final Thoughts

Yes, it’s that easy! However, there are still a couple of things to keep in mind:
- Hitting the limit switch: Problems can occur when inputting a Z offset that causes the printhead to hit the limit switch. This will prevent the offset from taking hold, as the switch overrides any written G-code.
- Uneven object: If you’re trying to print on a significantly uneven object, you might have issues. Specifically, the nozzle could run into the object during travel or printing, possibly damaging the object or the printer. In theory, you could accommodate this with G-code, but it would likely be extremely complex.
Overall, adjusting the Z offset is an easy process that will expand what you can print. Using this guide, you’ll reach new heights in no time!
If you’re curious to learn more about important concepts related to the Z offset, we recommend that you check out our articles on mesh bed leveling and auto-leveling.
License: The text of "3D Printer Z Offset: Simply Explained" by All3DP is licensed under a Creative Commons Attribution 4.0 International License.