Ender 3 (V2/Pro) Layer Shift: 6 Tips to Fix It

Layer shifting is a frustrating print failure, even on Ender 3, V2, or Pro. Check out 6 helpful tips to fix this problem!
What Is It & Why Is It Happening?
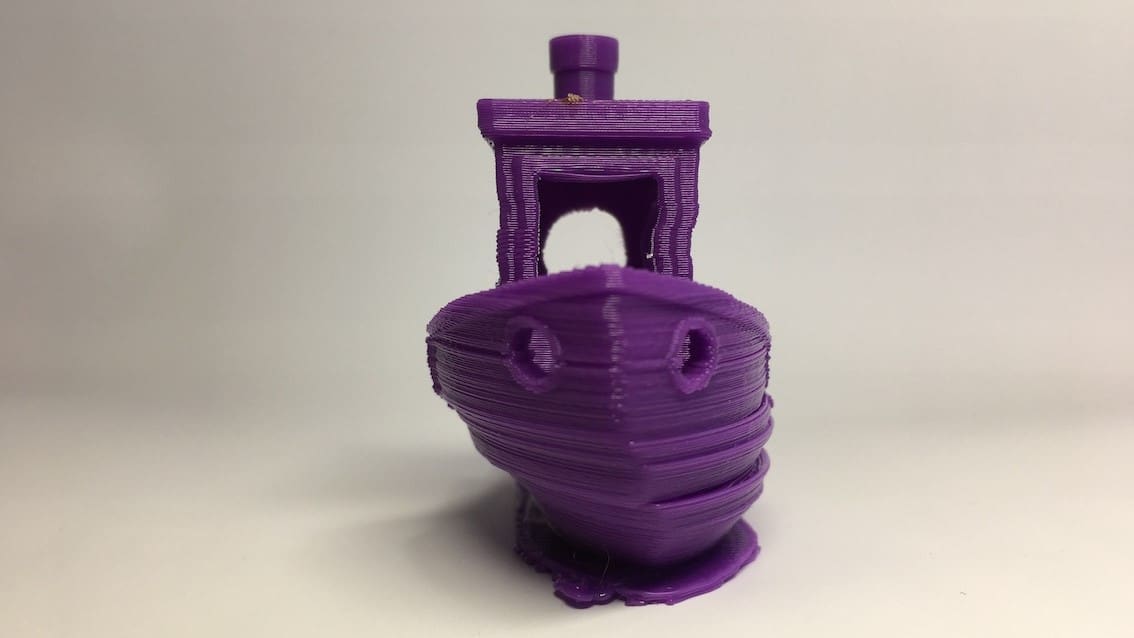
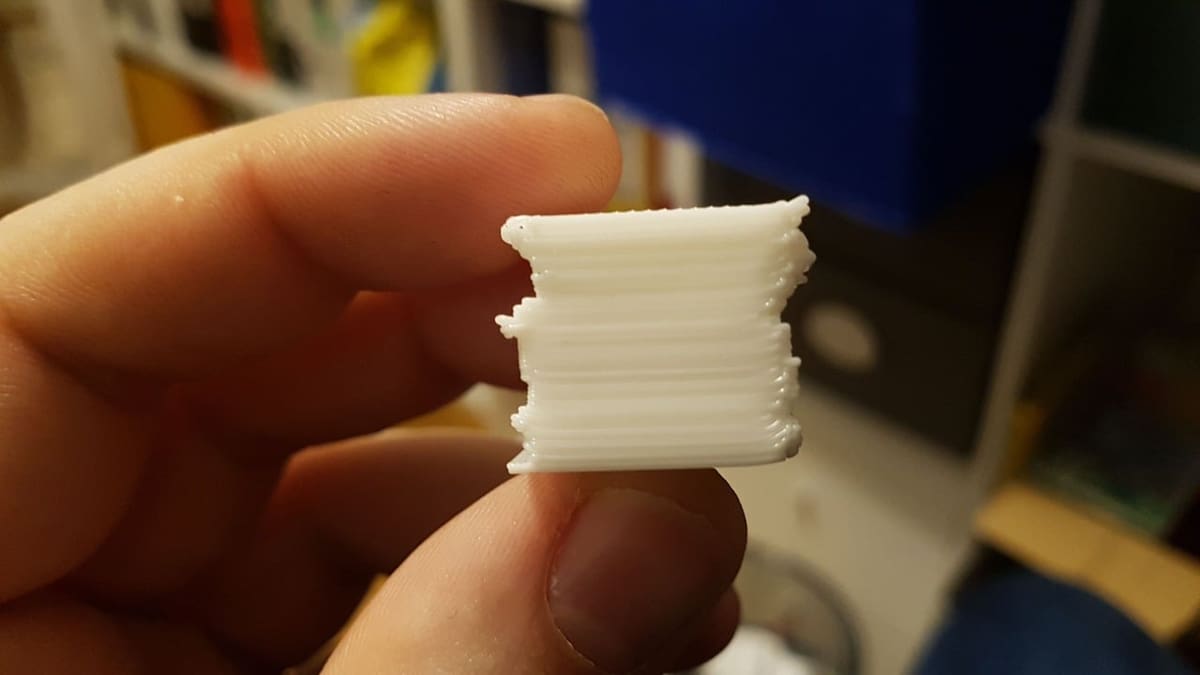
Layer shifting is a common printing issue that happens when your tool head inadvertently moves to a new position, causing layers to be misaligned or to shift from their intended position. What’s left is a print with a staggered, “staircase” look and a generally ruined print, even if the problem only occurs on one layer.
This is an issue for many printers, including Creality’s Ender 3. Its uneven base can cause the entire printer to wobble, making it more prone to layer shifting. What’s worse, the Ender 3 lacks an auto-leveling feature, so you have to level the bed manually. The Ender 3 Pro and Ender 3 V2, both more recent models, have higher price tags, but those extra bucks get you a handful of upgrades, including more stability.
Besides some upgrades, there isn’t much that separates the Ender 3 from its successors. The three printers have similar designs, build volumes, and functionality. In this article, we’ll give you several tips on how to prevent a layer shift, whether you’re using the Ender 3, Pro, or V2.

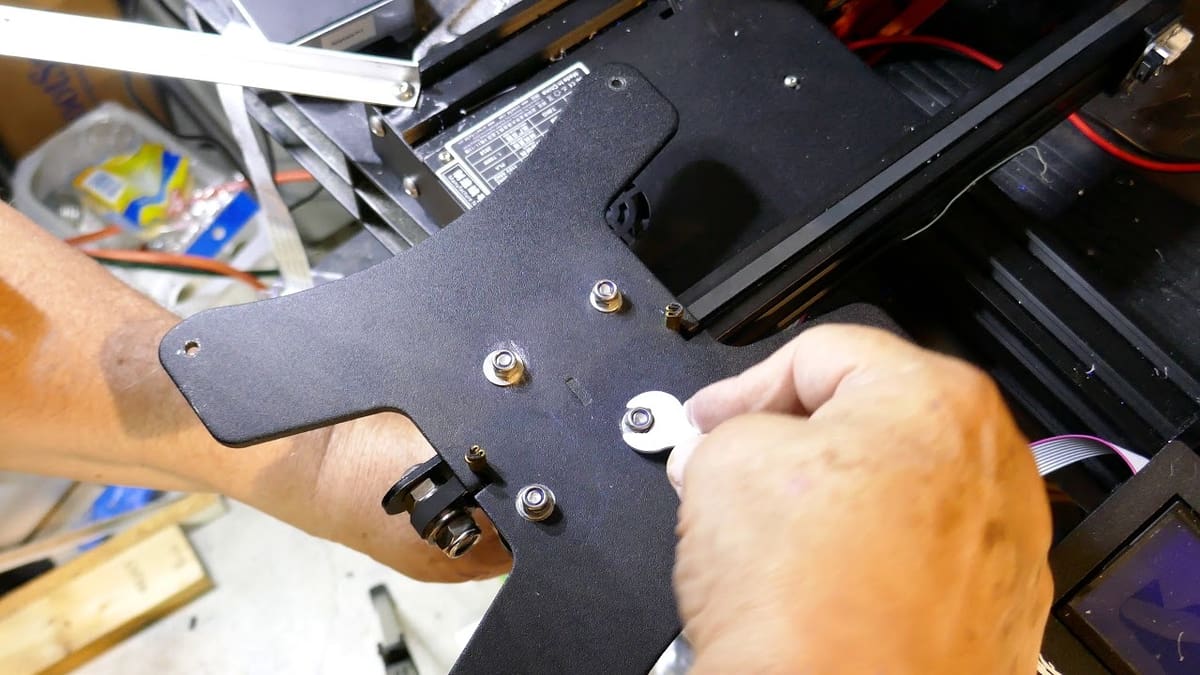
Adjust the Belt Tension & Check the Pulleys
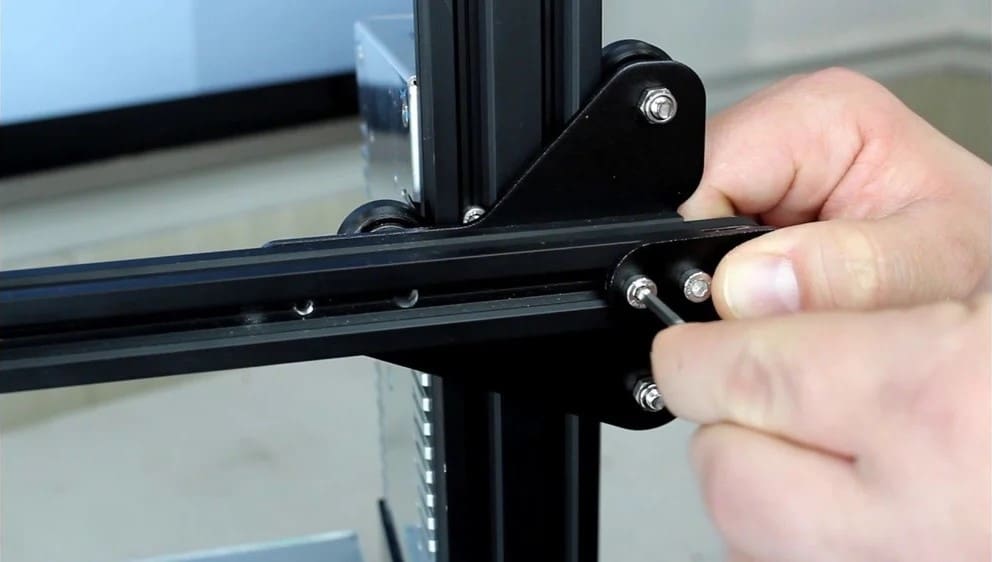
Let’s talk about belts. Nobody likes a belt that’s too tight or too loose, and the same goes for 3D printers. Too much tightness can cause binding, and too much slack will make the belt skip over gear teeth, which can result in layer shifting. To get the correct tension between the stepper motor and the bearing, unscrew the brackets that hold the bearings and move them.
If that doesn’t do the trick, check that the pulleys are held in place securely by the screws. These need to be tight enough to ensure that the pulleys don’t slip.
Remember, your printer’s belts and pulleys will naturally loosen over time, so you’ll need to check them periodically. You’ll know that the tension is correct if the belt produces a slight twang when plucked. In some cases, you may need to replace the belts or print a tensioner (the V2 comes with a tensioner of its own).
Stabilize the Bed
Another culprit of layer shifting is a wobbly bed. This can contribute to a misalignment in the extruder’s head, and that in turn causes the extruder to bash into the model during printing.
To check that the bed is stable enough, power off your machine, tilt it, and look for the eccentric nuts under the bed (they are usually on the X-carriage). Generally, the bed should slide smoothly and freely, and it shouldn’t feel “tight”. Use a spanner to adjust the eccentric nuts on the rollers. Again, the nuts shouldn’t be too tight or too loose, but do make sure to tighten them enough so that the bed can roll without any resistance.
Free the Z-Axis
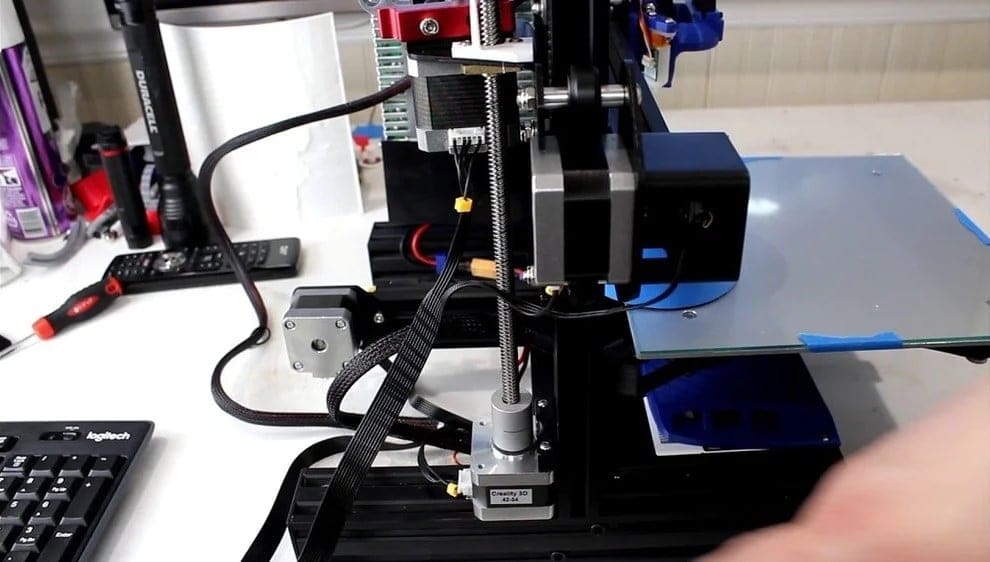
You want freedom for your Z-axis. However, this may not always be the case. When the lead screw is out of alignment with the coupler, the motor is prevented from moving the lead screw. In some instances, you’ll discover that the Z-axis won’t move using the motor’s power, another reason layer shifting occurs.
If the Z-motor bracket is tightened too much, it can bend the lead screw and cause binding. You could loosen the screws on either side of the long rod that goes through the Z-motor mount, but an easier solution is to print and install the Z-motor spacer. This spacer will support the Z-motor and align it to prevent the lead screw from binding.
Untangle the Spool
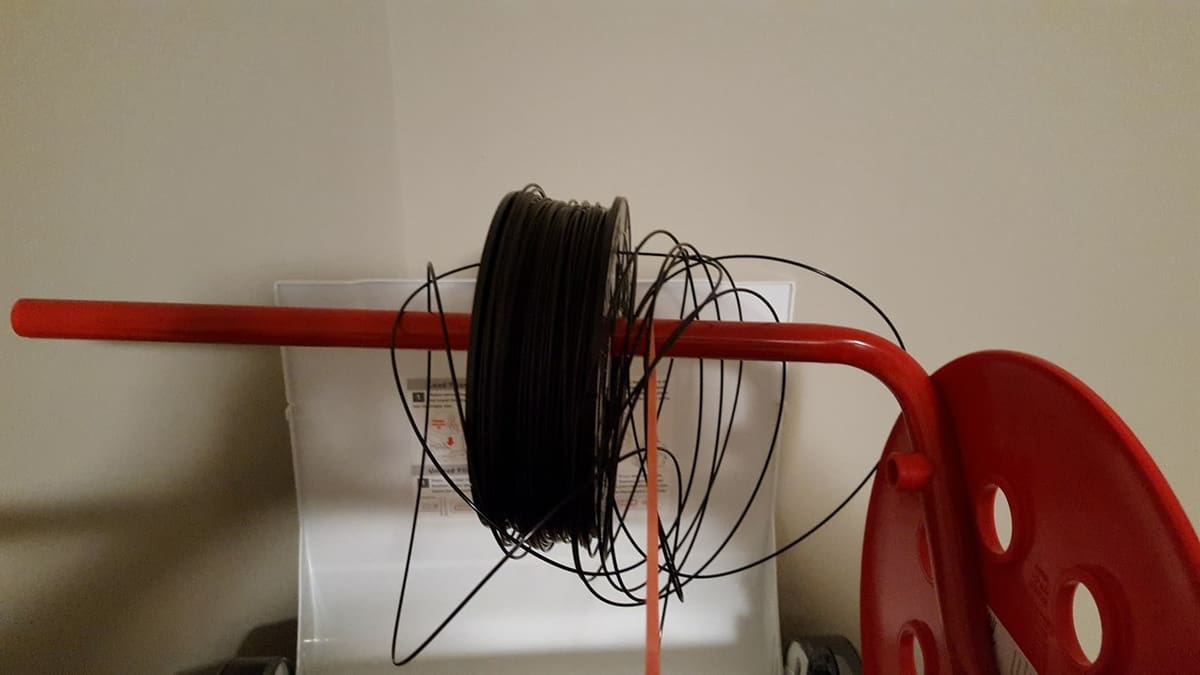
Sometimes filament can get stuck on the spool, a concern that’s likely to be overlooked. We’ve already covered some tips and tricks against filament tangles, but one of the most straightforward solutions is often to simply rewind the offending filament.
Some Ender 3 users believe it’s much better to set the filament on an external roll holder instead of having it on top of the printer. This is because having the spool on top can cause the frame to wobble when the extruder head is moving about. Since the spool is heavy, it can jerk when the motor tries to pull filament, even if it isn’t tangled. Therefore, getting an external holder could be optimal to prevent the added weight on top from affecting the quality of the print.

Keep the Temperature Even
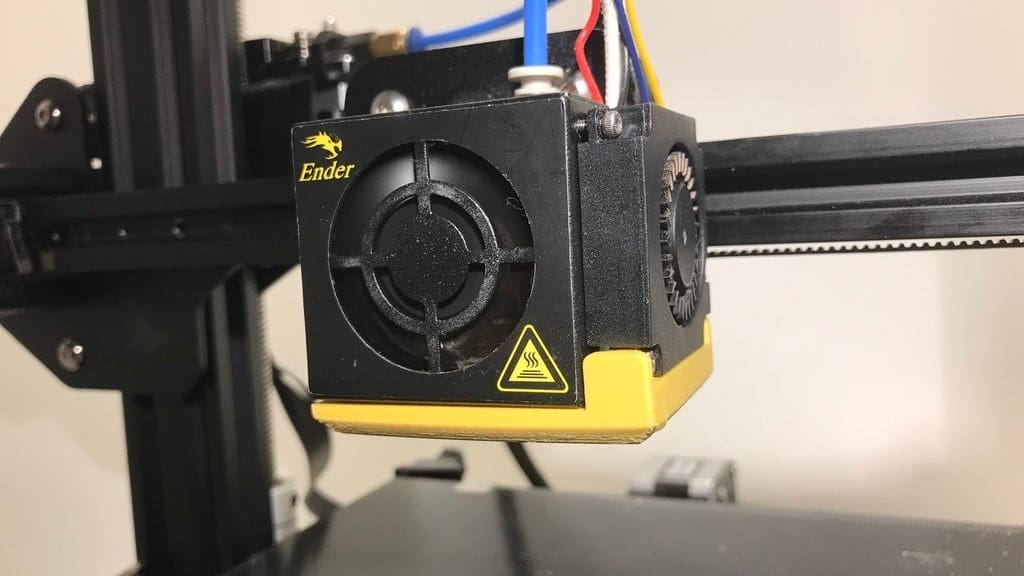
Temperature is another cause for layer shifting, either presented as warping or blobbing.
Warping happens as a result of uneven cooling between the printed layers (colder layers pulling on hotter layers), and this causes the edge(s) of the printed part to rise. As the printed part starts to rise or curl, it will let go of the grip on the print bed, and this raised section can have an effect on layer alignment.
One way of preventing warping is by keeping the temperature of the model even at all times. This can be done in several ways, including using a heated bed, an enclosed chamber, controlling the room temperature, and adjusting the cooling by either turning off or lowering the speed of the cooling fan.
Blobbing is caused by the temperature being too low and is another problem can cause layer shifting. This usually happens due to blobs catching on the nozzle, so keeping a clean nozzle can help to avoid it.

Check Your Software
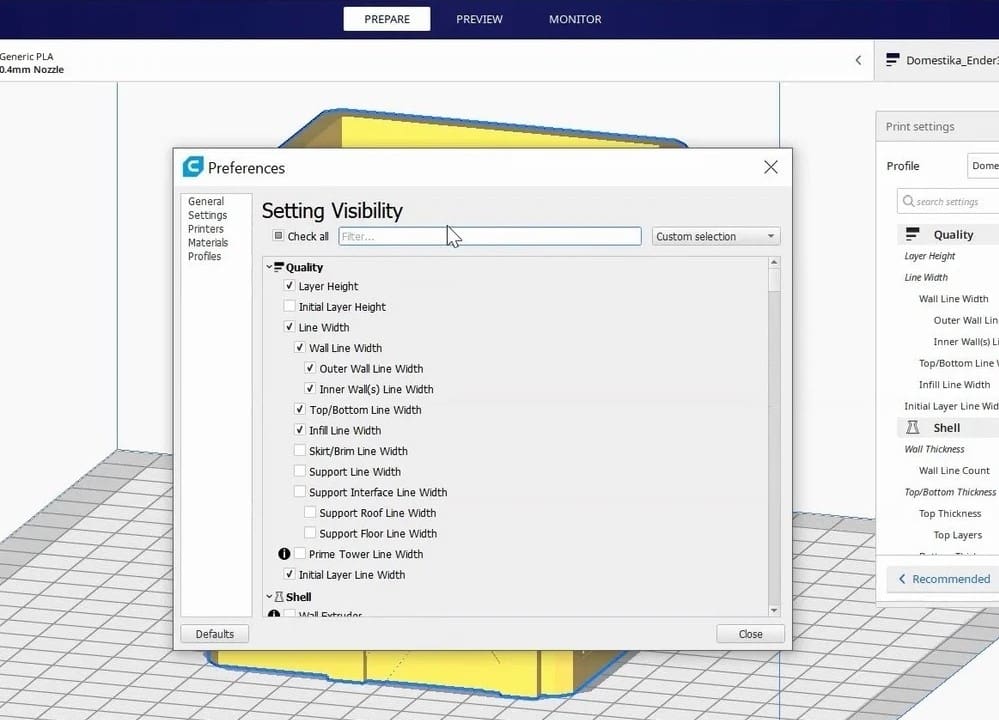
After checking the technical aspects of your machine thoroughly, the last thing to do is make sure you have the right settings for Cura.
Most of the time, adjusting your jerk and acceleration settings in Cura will fix any layer shifting. Jerk determines how fast the printer changes direction, and if it’s set too high, the machine will be unable to keep up with the commands being sent to the motors. Cura will likely set your jerk settings to 20 by default, but this can be quite high and you may need to lower it. You may also be forced to reslice your model to make sure you have no software issues.

Lead image source: Tamonir via GitHub
License: The text of "Ender 3 (V2/Pro) Layer Shift: 6 Tips to Fix It" by All3DP is licensed under a Creative Commons Attribution 4.0 International License.