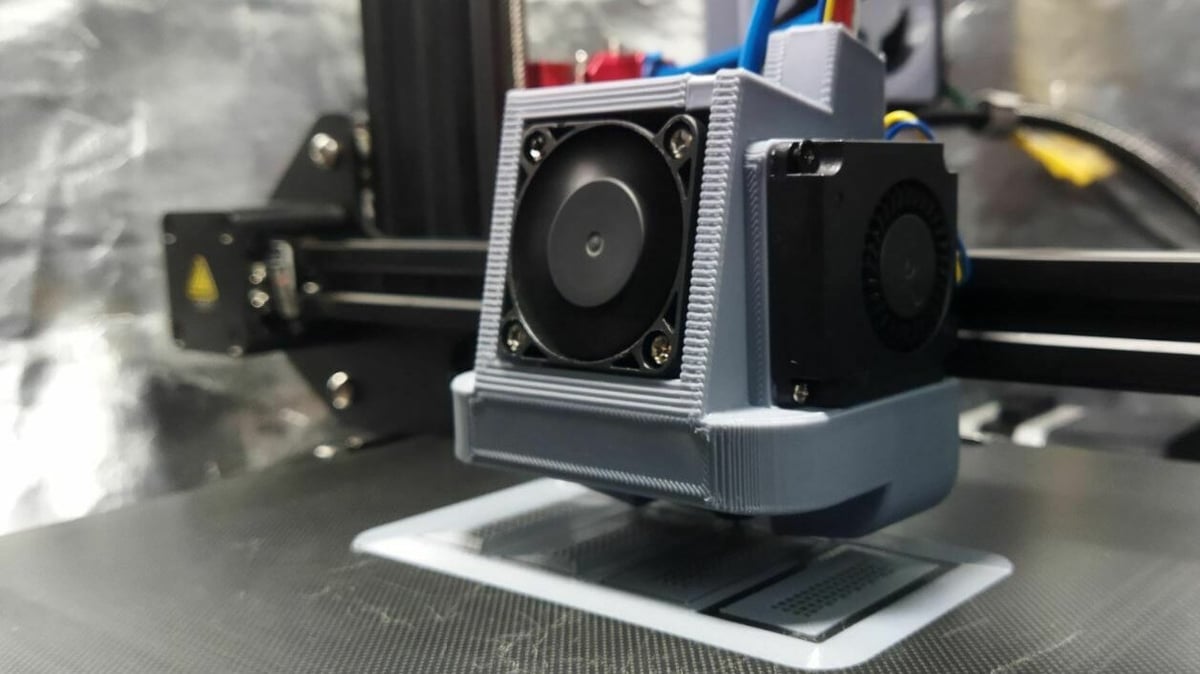
When it comes to budget 3D printers, it’s hard to find a more popular option than the Creality Ender 3. Released in 2018, the original Ender 3 was a hit in the 3D printing community due to its versatility and print quality.
The large community following behind the Ender 3 has led to tons of upgrades and modification options to enhance the printer’s abilities and performance. This also paved the way for Creality to release additional versions of the Ender 3, including the Pro, V2, and S1. While each version offers slightly different features, they’re all capable of incredible fine-tuning when it comes to print settings.
There are many print settings available in a 3D slicer, such as Cura or PrusaSlicer, and each has an effect on the printing performance of the machine. In this article, we’ll focus on the speed settings for the Ender 3 and its different versions. Enjoy!

The Settings
“Print speed” is a broad term that refers to how fast your 3D printer is operating and pumping out 3D models. There are a number of slicer settings that relate to print speed.
In the sections below, you’ll find descriptions of specific print speed settings that can be found in most 3D slicers. For each setting, we’ve also provided suggested values for some of the different versions of the Ender 3.
Now, let’s get to it!
Print Speed
First up, we have the actual print speed setting. This setting is literally called “Print Speed” in most 3D slicers and is the main setting you should change when you want to adjust how fast your Ender 3 prints.
The print speed setting is a parent setting that controls the values of a handful of other speed settings, such as infill speed and wall speed, which we’ll talk more about later. As such, the actual print speed setting itself doesn’t do much apart from controlling other speed settings, which control how fast the printer is actually extruding and applying filament.
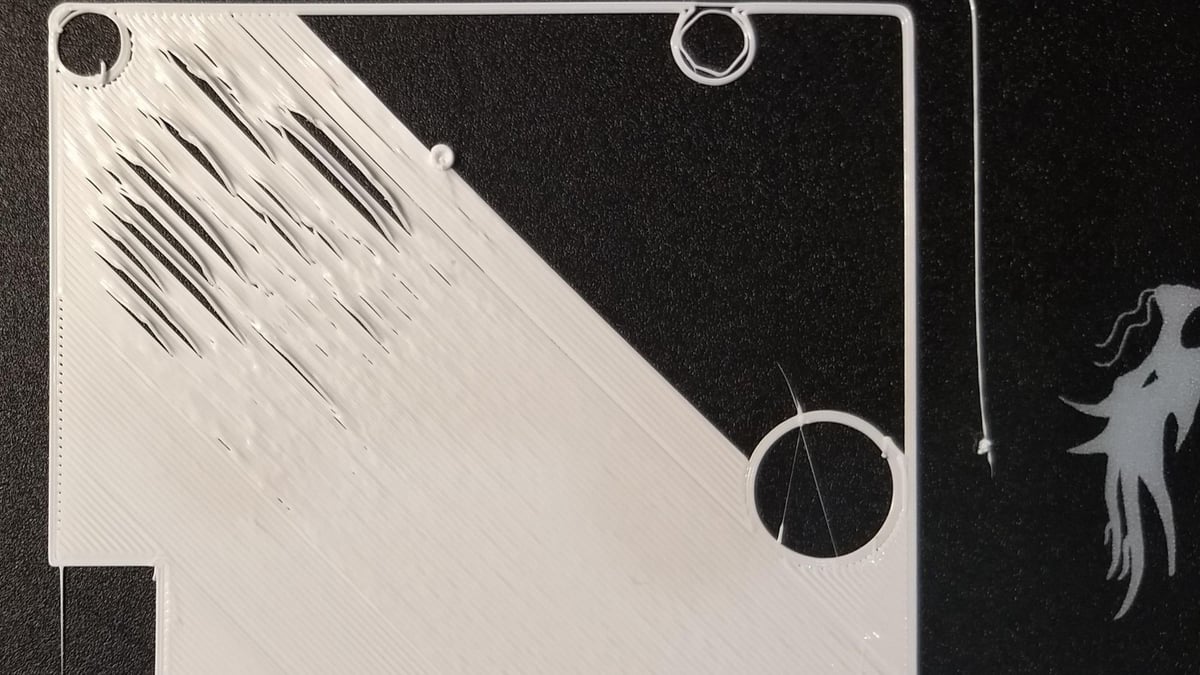
As for what the print speed setting should be, that depends on a few factors, including the filament material and nozzle size. However, the typical print speed for a stock Ender 3 (Pro/V2/S1) printing PLA is between 45 and 65 mm/s. We’ve found that 60 mm/s works great, but again, results will vary from printer to printer.
You can use the same print speed value for ABS filaments (60 mm/s), but other materials, such as PETG and TPU, work better with slower speeds. Specifically, if you’re printing PETG or TPU on a stock Ender 3, a print speed of 40 and 30 mm/s, respectively, should work just fine.
But don’t feel constrained by the recommended print speed value! Adjusting the speed is critical to achieving the best prints, but if you like to tinker with print speed settings, do so in increments of 5 mm/s or less, based on the quality of your current prints.
Infill Speed
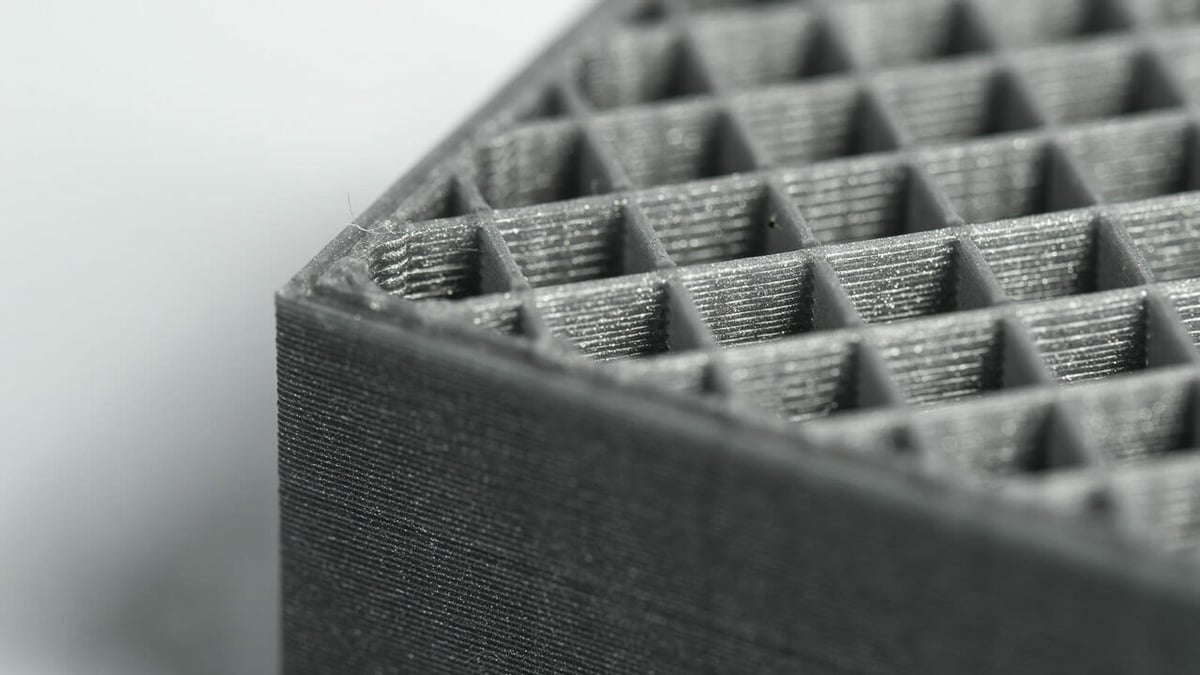
The infill speed is a common slicer setting that tells your printer how fast to print the infill structure of your 3D model. The infill is on the inside of your print, so it’s not typically visible (unless you don’t use any walls or top/bottom layers, which can create its own mesmerizing effects).
Most 3D slicers, such as Cura, have the infill speed set, by default, to the same value as the main print speed setting. Since infill usually makes up most of the volume of a 3D model, this specific speed setting significantly impacts the overall print time of your model.
For the Ender 3 (Pro/V2/S1), we suggest keeping the infill speed setting at Cura’s default, which is the same value as your main print speed setting. This means your infill speed should be in the 40-60 mm/s range.
However, feel free to adjust the infill speed in increments of 5 mm/s depending on the print quality and print time of your 3D models. Just keep a watchful eye on how well the infill structures of your model are being printed during the printing process. Since you can’t see the quality of the infill from the outside of a 3D model, checking up on the infill structures will inform you whether you’ve set your print speed too high (or too low).
Wall Speed
The walls of a 3D print are the structures that separate the infill structures on the inside of the model from the outside (visual) part of the print. The wall speed is another speed setting in most 3D slicers, and it controls how fast your Ender 3 prints the wall structures.
In Cura, by default, the wall speed is set as one-half of the main print speed setting. That’s because the walls on a 3D print are visible from the outside, so a lower wall speed will help ensure that your model looks better and is printed more smoothly.
However, you can increase the wall speed to speed up prints, and as long as you don’t increase it too much, you shouldn’t notice a significant difference in the print quality of the walls. If you’re using the main print speed of 60 mm/s (the recommended range for Ender 3s printing PLA), then the default wall speed will be 30 mm/s. We suggest increasing it to 35 or 40 mm/s and seeing how your prints turn out.
The same math applies when you’re printing other materials. Moreover, an outer wall speed of 25-30 mm/s should work well for PETG. However, because TPU should be printed slowly, we recommend keeping the wall speed at the default value of 15 mm/s (one-half of 30 mm/s).
If the walls still look good at the adjusted print speed, you can try increasing this setting further in increments of 5 mm/s. We don’t suggest increasing the wall speed higher than the main print speed setting since it doesn’t make sense to print the visible section of a model faster than other segments.
Support Speed
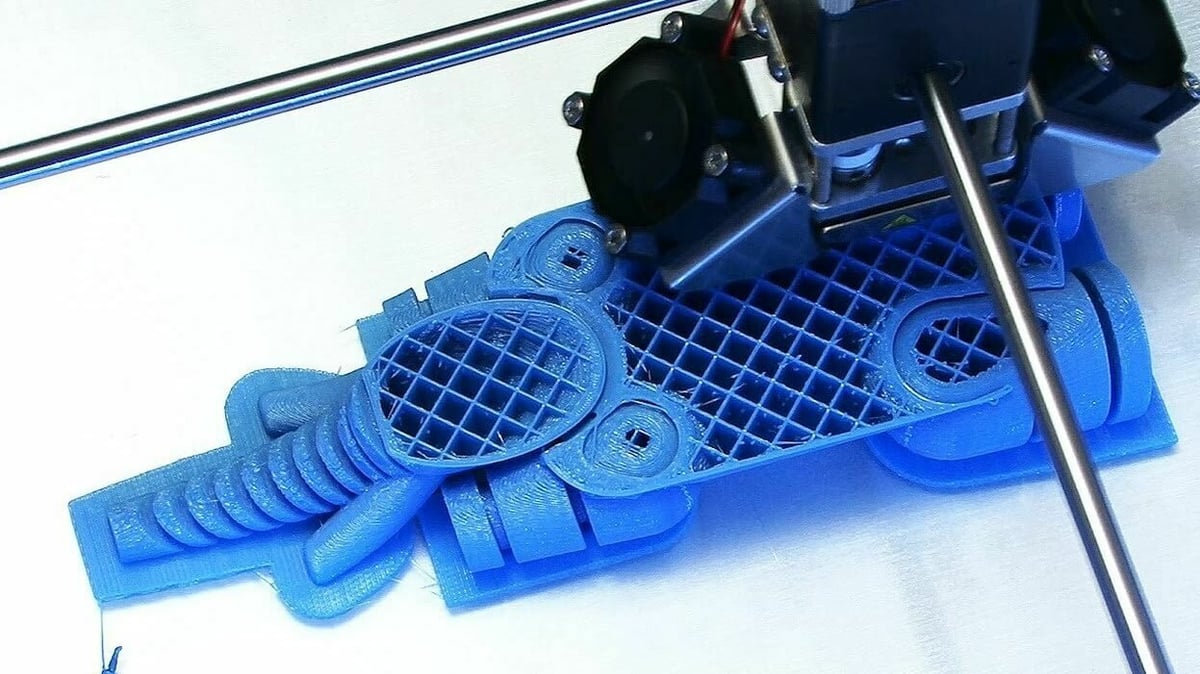
Supports are the automatically-created structures of a 3D print that are generated by your slicer. They ensure that the overhangs on your 3D model print properly. If supports are activated in your 3D slicer, there should be a corresponding speed that controls how fast your Ender 3 prints them.
Because you’ll remove the support structures from your 3D model post-printing, we don’t need to set this speed setting particularly low.
For an Ender 3 printing PLA, the default support speed setting is set to one-half of the main print speed value. This means it will be in the 20-30 mm/s range if you’re using our suggested main print speed value. However, you should be able to reliably increase the support speed to 30-40 mm/s without significantly risking structure failure.
If you want to increase the support speed further, we suggest doing so in increments of 5 mm/s. This will ensure that you don’t over-adjust the support speed – because too high a value could cause extrusion issues.
On another note, if increasing the support speed has caused your Ender 3’s printhead to run into the support structures mid-print, we suggest turning on the Z Hop setting in your 3D slicer. Activating this setting (available in Cura) will tell the printer to lift the printhead during travel moves so that the nozzle doesn’t run into support structures accidentally.
First Layer Speed
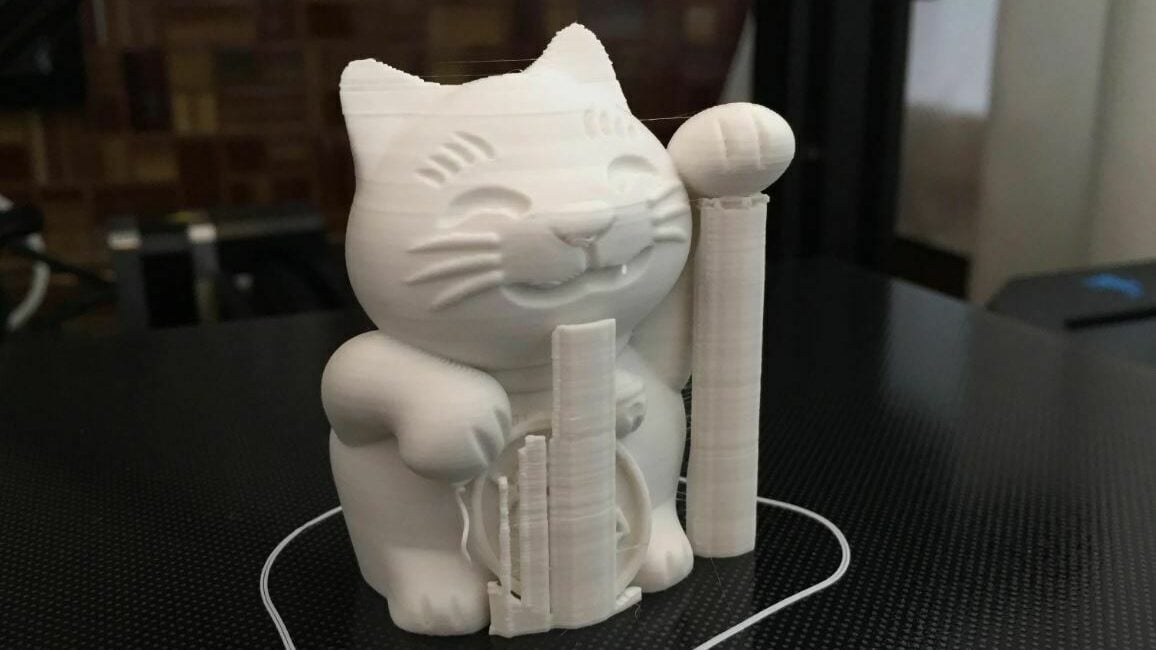
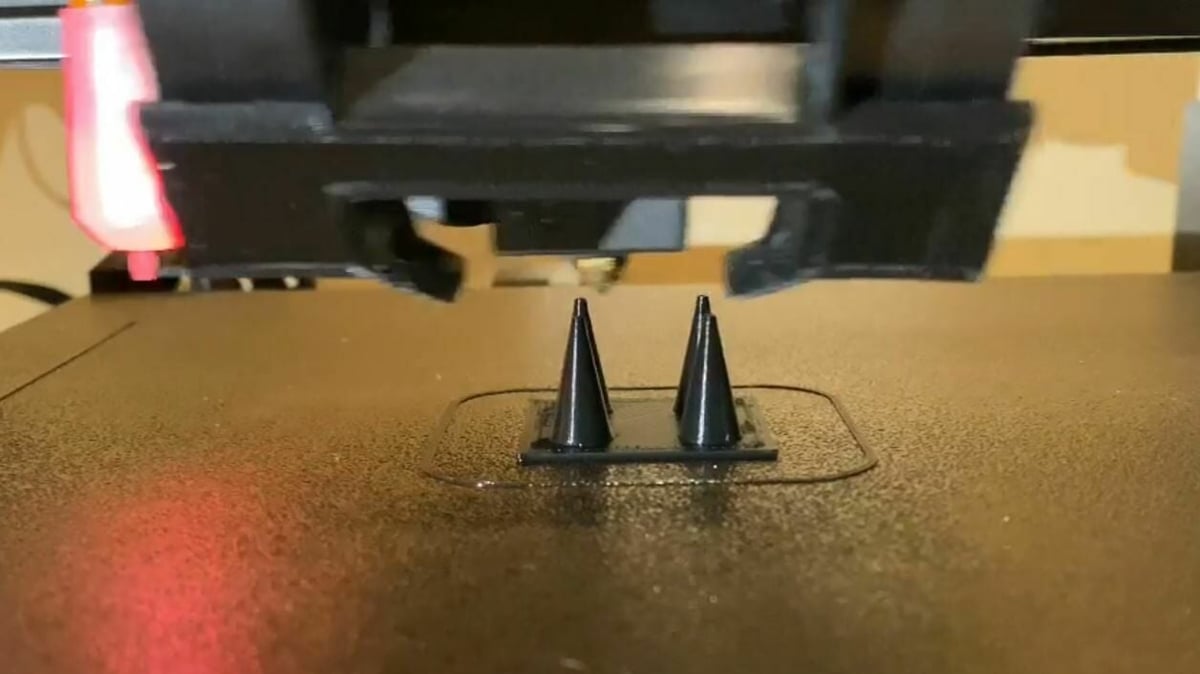
If you’ve ever used a 3D printer, then you probably know the importance of the first layer. A poor first layer can cause your entire print job to fail, as every consecutive layer builds upon it. As such, it’s important to set the right first-layer print speed correctly.
In Cura, the default value for the first layer speed, also called the initial layer speed, is set to one-third of the main print speed setting. Using this much-lower speed value ensures that the first layer has enough time to properly adhere to the print surface so that, later in the printing process, it doesn’t separate from the build plate, which is typically the cause of such issues as warping.
We suggest keeping the first layer print speed at the default value in your 3D slicer and not increasing the value. Increasing the speed of the first layer will only save you, at maximum, a few seconds or minutes – but it will significantly increase the chances of a print failure or another issue.
Travel Speed
The last speed setting we’ll be going over for the Ender 3 is the travel speed. Unlike every other speed setting value we’ve gone over, the travel speed doesn’t affect how fast the filament extrudes from the hot end.
Instead, the travel speed controls how fast the printhead moves during non-extrusion. In other words, the travel speed is how fast the printhead moves when it’s not actually printing your model. For example, the travel speed controls the speed of the printhead moving from one section of a print to another (e.g. if you’re printing two models at once).
In Cura, the default travel speed for the Ender 3 is 150 mm/s, but we’ve been able to go up to 180 mm/s without experiencing any noticeable change in the quality of prints. If you decide to increase the travel speed for your Ender 3, we suggest doing so in increments of 10 or 15 mm/s, as this will ensure you don’t over-correct any issues. Also, we wouldn’t recommend going higher than 220 mm/s, as moving the printhead this fast may harm precision and increase vibrations.
Additionally, it’s worth noting that the Ender 3 S1, because of its heavier direct extruder, will need to travel at lower speeds than the other versions of the Ender 3. A value around 110 mm/s should work just fine, but you can also try staying at the default 150 mm/s or even going a little bit higher. However, for weight reasons, we don’t suggest exceeding 180 mm/s for the Ender 3 S1.
Related Settings
While the settings we’ve discussed are the major factors that affect how fast your Ender 3 is printing, a few other slicer settings will influence print time. These settings might not control the actual speed of your printer but will still have a noticeable effect on how long a print will take, so you might be interested in adjusting them. We’ve listed these settings below with a brief description of what each one does.
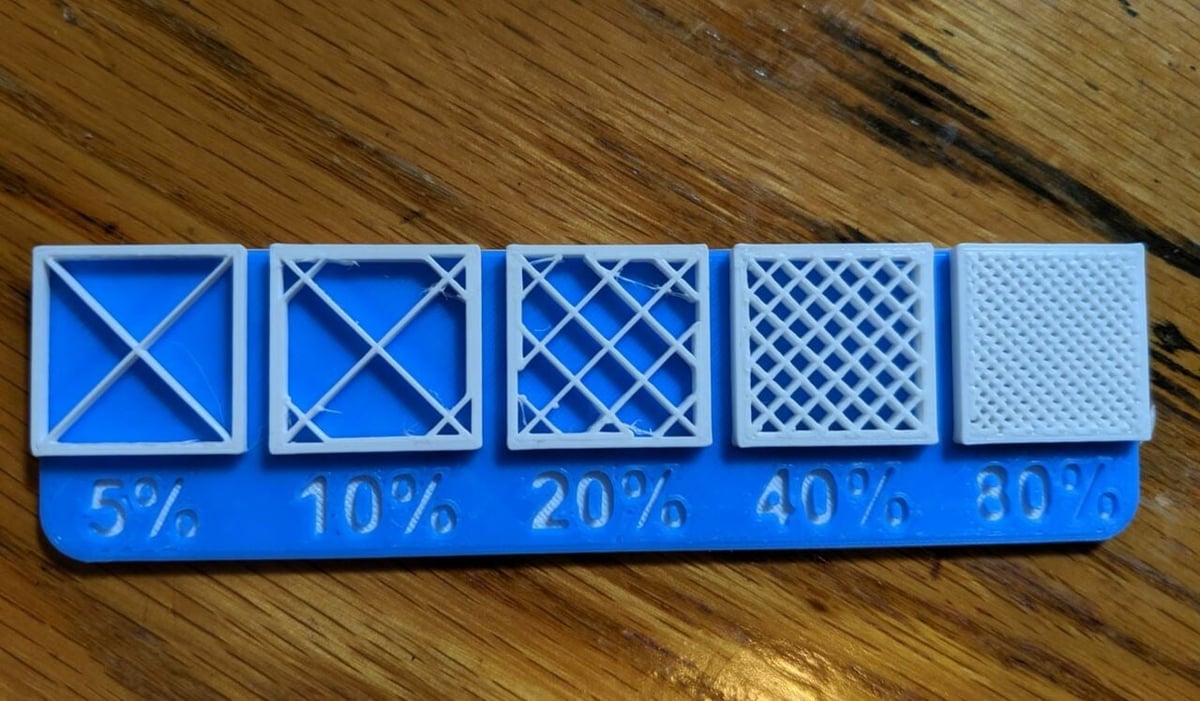
- Infill density: The infill density controls the internal filling of a 3D printed part. The infill density is expressed in a 3D slicer as a percentage, and the higher the value of this setting, the more solid your 3D print will be. Lowering the infill density is a surefire way to decrease the print time (and material use) for a model.
- Layer height: Layer height is one of the most important settings for a 3D printer. The layer height controls how tall each layer is, and the lower this setting, the more layers will be in a 3D print. As such, lower layer heights mean longer prints because the nozzle has to move more to print more layers. The default layer height for the Ender 3 is 0.2 mm, but increasing it to 0.24 or 0.28 mm is possible without changing the nozzle diameter and it can significantly decrease the time of your prints.
- Wall thickness: On 3D prints, as mentioned, walls are the structures that separate the infill structures of a model from the outside. In other words, they’re the outermost features of a model. The wall thickness controls the width of these wall features, and, as you probably guessed, the lower the wall thickness, the less time prints will take (but also, the strength). Consider decreasing the default wall thickness by 0.2 or 0.4 mm, but we don’t recommend going lower than 0.6 mm as this might make your 3D prints a little too weak.
- Nozzle temperature: The nozzle temperature is mainly adjusted when changing filament materials, but it also should be changed whenever you adjust the print speed. That’s because the nozzle temperature directly affects the extrusion process of the printer. The higher it is, the faster filament melts, and the more material can flow out of the nozzle. If you increase your print speed by 25%, we suggest also increasing your nozzle temperature in small increments (e.g. by 5 °C) so that you don’t run into issues like under-extrusion. CNC Kitchen has a video where Stefan does a deep dive into volumetric flow rate that might also help make the right adjustments.
- Retraction speed: Finally, the retraction speed controls how fast the extruder pulls the filament back during a retraction move. The retraction speed is usually set based on what material you’re using and the extruder configuration of your printer. However, you can also change it to try to lower print times because a faster retraction speed can slightly reduce the time it takes for a print to complete. Increasing the retraction speed by 5 or 10 mm/s won’t lower the print time, but it does have a slight effect and can also help prevent stringing. Just ensure you don’t increase the retraction speed too much, as it can cause other issues with extrusion.
License: The text of "The Best Ender 3 (V2/Pro/S1) Print Speed Settings" by All3DP is licensed under a Creative Commons Attribution 4.0 International License.