The Ender family of printers is very popular. The Ender 3 is one of the best printers under $200 right now, desired for its performance and versatility. The Pro and V2 (both under $300) have also received high praise. And the upgraded S1 (under $400) hit the scene with a range of new features.
Even though these are budget printers, the features they have are comparable to many high-end devices. A wide range of material choices is one such benefit, which is exactly what this filament guide will cover.
With some tweaks, you can get many of the materials out there to work with your Ender. In this article, we’ll start by looking at the stock Ender 3 components, and then we’ll move on to filament-specific settings for your machine.
Standard Features
Just like any other 3D printer, the Ender 3 uses some specific components, which we’ll have a look at one by one.
- Hot end: The stock hot end on the Ender 3 series is quite reliable and can easily reach up to 280 °C. Unfortunately, it’s limited to 240 °C because it uses PTFE tubing and other components that can’t take the heat. Nonetheless, these temperatures are enough to print conventional plastics, including PLA, ABS, TPU, and even PETG. To reach nozzle temperatures up to 300 °C, look no further than the Creality Sprite upgrade, which is stock on the S1.
- Nozzle: The standard 0.4-mm brass nozzle used on the Ender 3s will give you excellent printing performance with a wide range of filaments. You can’t use abrasive materials, though, since those would eat through the brass very quickly.
- Heated bed: The Ender 3, Pro, and S1 have a detachable magnetic heated bed that can reach temperatures of up to 110 °C. This enables you to print with materials that are prone to warping, such as ABS. The V2 has a textured glass bed, which is easy to get prints to stick to as well as remove.
- Enclosure: The Ender 3s don’t come with one, but we’ll be looking more into enclosures in the upgrades section of this guide.
PLA
Polylactic acid (PLA) is undoubtedly the most common 3D printing material. But what does it take to print it on the Ender 3s?
Quite simply, nothing much. PLA is a versatile material, and the Ender 3s are versatile machines. All of the Ender 3s can easily reach the melting range of PLA, which is 180-230 °C, and the brass nozzle has no problems at all.
Settings
- Printing temperature: 180-230 °C. Naturally, the exact temperature you use depends on the brand of PLA.
- Build plate temperature: PLA doesn’t necessarily need a heated bed but can benefit significantly from having one, as it will reduce the chances of warping. A modest 20-60 °C helps a lot. Any higher and the bottom layer might deform.
- Bed adhesion: The stock build surface on the Ender 3, Pro, and S1 provide fine bed adhesion for PLA. The V2’s glass bed provides a smoother bottom surface.
- Print speed: PLA has no issues as far as speed is considered. A generally recommended speed of 50 mm/s works great, balancing quality with printing time.
- Retraction: PLA is a stiffer material so these settings can be easily tuned. As the Ender 3s have a Bowden setup, retraction settings are usually higher. We only need to consider two factors here:
- Distance: 6 mm
- Speed: 25 mm/s
- Part-cooling fan: This should be on. PLA is a runny material, so it needs to be adequately cooled.
ABS
Acrylonitrile butadiene styrene (ABS) is a robust and durable material with high temperature and mechanical resistance. Its properties allow for a wide range of applications, but printing a high-quality ABS component is a difficult task by itself. It’s notorious for being challenging to print.
Settings
- Printing temperature: ABS needs to be printed a little hot, typically 210-250 °C. A good starting point is 230 °C, though you should always default to the recommended temperature from the specific brand you’re working with.
- Build plate temperature: ABS is infamous for warping, but a heated bed does a good job of preventing this. A bed temperature of 90-110 °C should do it. Since the Ender 3s are capable of reaching such temperatures, ABS is well within the printable range.
- Build plate adhesion: ABS needs some adhesion or you may find the corners of your prints lifting up. A raft or a brim can reduce the amount of warping in parts. Additionally, you should also be using a glue stick or ABS slurry for better adhesion. The V2’s glass bed will be better than the Ender 3 and Pro for this.
- Print speed: This doesn’t differ much from PLA; 60 mm/s works well enough for ABS, too. If you go any higher, you risk layer splitting.
- Retraction: Same values as for PLA:
- Distance: 6 mm
- Speed: 40 mm/s
- Part-cooling fan: Leave this off, since ABS likes to be cooled down gradually. If it’s cooled down suddenly, it can shrink and the chances of layer splitting will increase.
PETG
Polyethylene terephthalate glycol (PETG) is a nice middle ground between PLA and ABS: strong, temperature resistant, and easy to print with.
One extra tip about printing PETG is that it shouldn’t be squeezed on the bed. It should lay down smoothly, with a first-layer height of approximately 0.32 mm high. This prevents material from building up on the nozzle, which can introduce strings and blobs.
Settings
- Printing temperature: PETG prints best at 220-250 °C. Fortunately, many brands have optimized their PETG filament to print at temperatures lower than 240 °C. In spite of this, if you’re finding it challenging to print, a small upgrade can set you straight. (We’ll discuss this later.)
- Build plate temperature: The first layers should be a little hot. It helps with adhesion and also reduces warping. Starting with a bed temperature of 50-60 °C works well for PETG.
- Build plate adhesion: You must use a releasing agent on the V2’s glass surface for PETG. Otherwise, you may get a chunk of glass along with your part! For the Ender 3, Pro, and S1, PETG adheres very well to the blue painter’s tape. Hairspray or a gluestick also works well.
- Print speed: PETG prints well at around 30-50 mm/s. With higher speeds, quality suffers, and there might even be under-extrusion issues. You can go slower at 25-30 mm/s, too, for better quality.
- Retraction: Nobody wants stringing or blobs on their prints. PETG needs higher retraction than PLA, but go too high, and you’ll clog the hot end. These settings should help you get going:
- Distance: Start with 6 mm and increase in 0.2-mm increments. Your max should be 7 mm.
- Speed: 40 mm/s to begin, with 5 mm/s increments to dial it in.
- Part-cooling fan: Keep this on, except for the initial layers, as it will give you very detailed prints and help reduce stringing and blobs. You can also choose to turn off the fan if you want a stronger part.

TPU
Thermoplastic polyurethane (TPU) is recently becoming more popular with makers. Apart from being flexible, it has excellent shock absorption and abrasion resistance.
Unfortunately, flexible materials are more difficult to print with Bowden extruders. If you have an Ender 3 S1, you’re in luck since it comes stock with a direct extrusion setup. If not, then consider upgrading or reducing your printing speed to improve your chances.
Settings
- Printing temperature: TPU prints well at temperatures between 220 and 230 °C.
- Build plate temperature: A heated bed isn’t necessary, as TPU doesn’t shrink or warp like other materials. Even so, if you want, you can limit it to 60 °C.
- Build plate adhesion: Blue painter’s tape works just fine on the Ender 3, Pro, and S1, though it shouldn’t be necessary on your V2. Whichever Ender 3 you have, a brim or a raft is an option, but not essential.
- Print speed: Make sure to go slow. TPU is a flexible material, and printing it fast will lead to problems, such as the filament getting wound up in the extruder gear. The recommended maximum speed is about 30-40 mm/s.
- Retraction: Keep this as low as possible. Higher values of retraction may lead to filament winding up in the extruder.
- Distance: 3 mm should do it to start. If you still have stringing issues, increase the value by 0.2 mm at a time.
- Speed: 25-30 mm/s should be your maximum. Any higher, and you risk clogging or extruder issues.
- Part-cooling fan: Leave this on. It’ll help in the active cooling of layers and also prevent any stringing or blobs, thus improving print quality.
Functional (Soluble)
The stock Ender 3s are single-extruder machines, so it’s quite unlikely you’ll be using a secondary support filament. But, these filaments can also be used for other purposes. For instance, HIPS can serve as a lightweight version of ABS, exhibiting high stiffness and abrasion resistance.
And as we’ll get to later, it’s not impossible to hack together a dual-extruder for your Ender 3!
HIPS
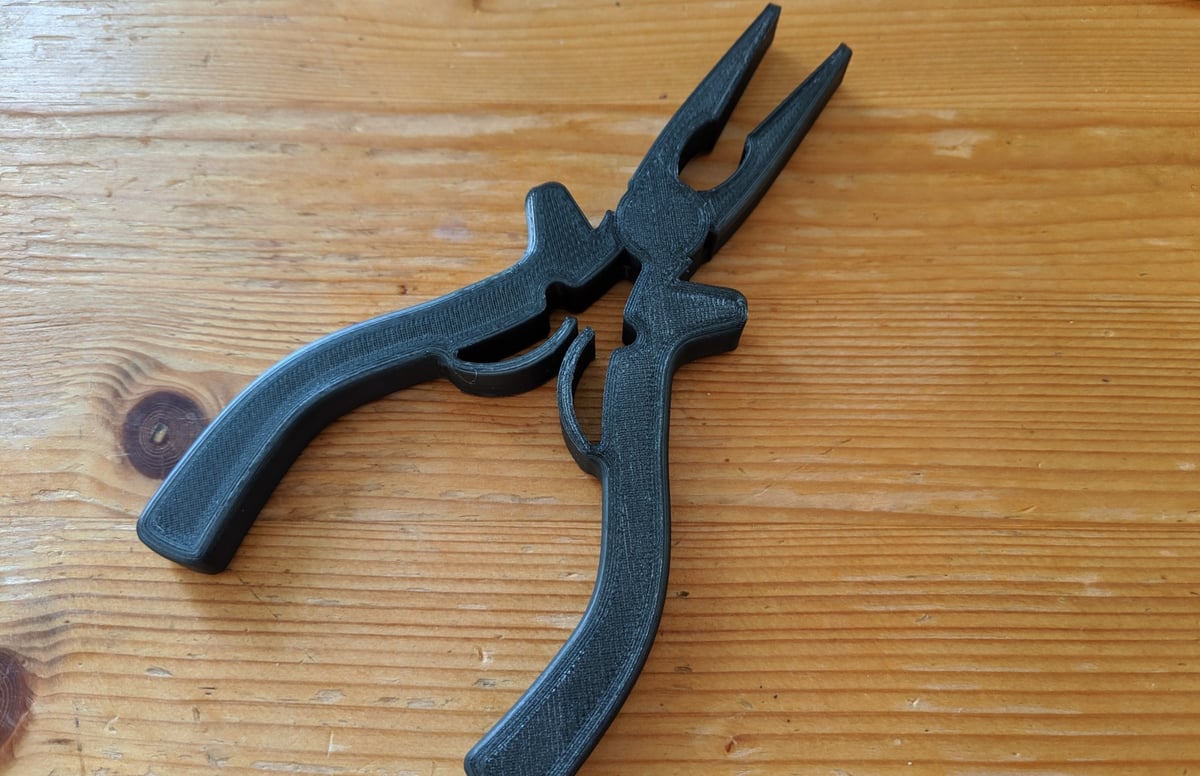
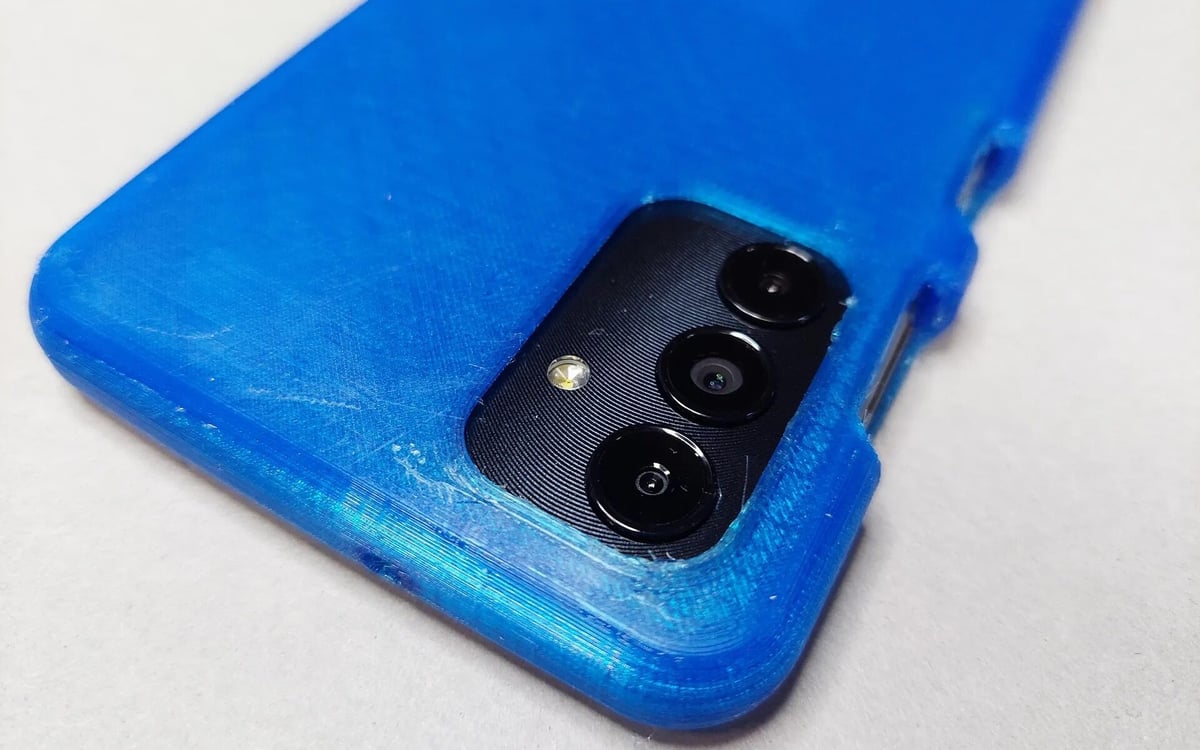
Commonly used as a secondary support material for ABS, high-impact polystyrene (HIPS) is also used on its own for protective cases because it’s stiff and lightweight. However, HIPS can be a little tricky to print since it likes things hot.
Settings
- Printing temperature: HIPS prints at 220-240 °C, making it fair game for all of the Ender 3s.
- Build plate temperature: This material requires a high temperature, 90-110 °C, for good adhesion. This is pushing the envelope in terms of the Ender 3 configuration, but it’s certainly doable. High ambient temperatures are recommended for printing HIPS, so you might need to invest in a different bed if you’re interested in working with it long-term.
- Build plate adhesion: HIPS will stick to almost any common bed surface except bare metal, so you shouldn’t have an issue with the Ender 3s.
- Print speed: Start with ABS settings, then decrease them in 5-mm/s increments if you notice stringing.
- Retraction: Similar settings to ABS should work fine.
- Part-cooling fan: Not required for HIPS.
PVA
Most notorious as a secondary water-soluble support material for PLA, polyvinyl alcohol (PVA) can also be used for decorative purposes. However, it’s expensive, so you’ll want to make sure you print it right!
Settings
- Printing temperature: This filament will print from 180-200 °C. Nothing special to see here.
- Build plate temperature: A heated bed is optional, but if you’re using one, keep it at 45-60 °C.
- Build plate adhesion: PEI or painter’s tape should work fine on the 3, Pro, and S1. It’s a similar material to PLA with the exception of sticking well to the V2’s glass.
- Print speed: Similar to PLA, start with the standard 60 mm/s.
- Retraction: PLA retraction settings should work just fine.
- Part-cooling fan: The cooling fan is required, as it can take a while to cool and harden naturally.
Not Recommended
All Ender 3s can only print with several key filaments right out of the box. Now that we’ve gone through what filaments you can use, let’s have a look at what you can’t:
- Nylon: Also called polyamide, this material requires temperatures above 250 °C that most Ender setups can’t sustain. The S1 is capable of reaching 260 °C, but that might be pushing the limit. Other than that, material storage and warping are also issues when it comes to nylon 3D printing.
- PEEK: Expensive and difficult to print, PEEK requires a printing temperature upwards of 350-400 °C.
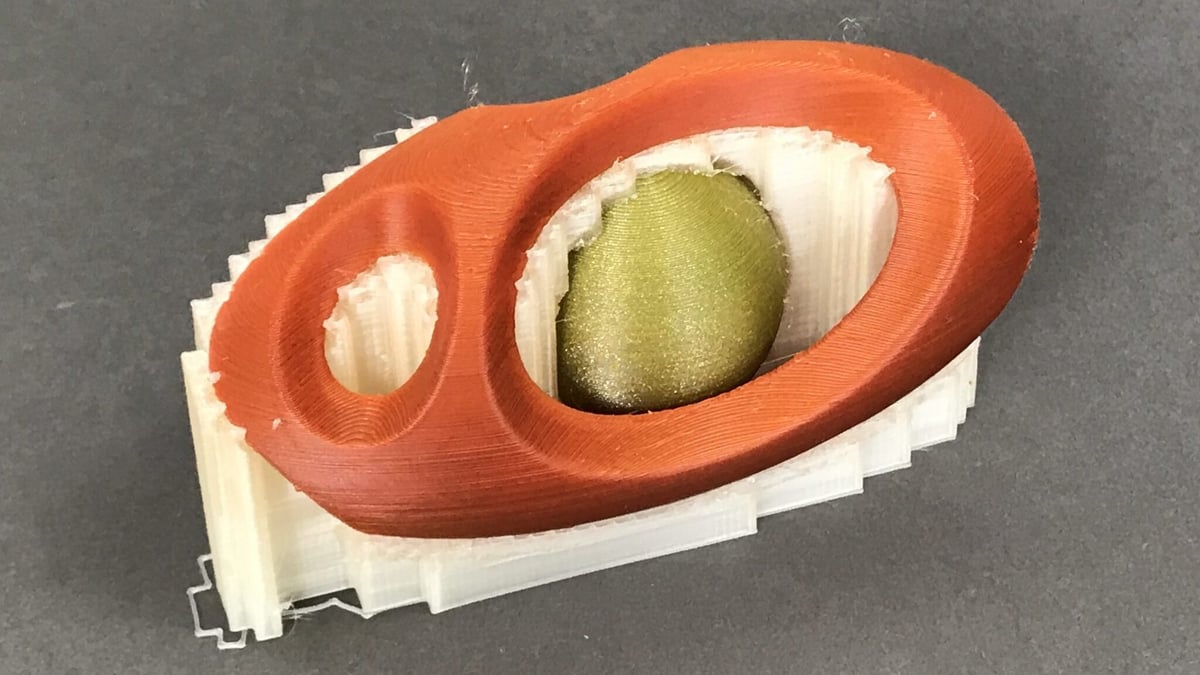
- Filled filaments: Both metal and glow-in-the-dark filaments are abrasive and will wear out the brass nozzle quickly. If you want to print these materials, it may be worth investing in a nozzle designed for wear resistance, like the Olsson Ruby nozzles. You’ll also need an all-metal hot end, like the one that comes stock on the Ender 3 S1.
- Wood: Wood is also an abrasive filament. Additionally, one typically needs a wider nozzle than the standard 0.4 mm. A 0.6 mm hardened steel nozzle would be ideal.
If you do need something in a material you’re unable to print with, consider Craftcloud by All3DP. Craftcloud connects you with suppliers around the world printing in a variety of materials, so you’re sure to find the best price and provider for your needs.
Upgrade It
Now that you know what your print options are and how to do it, there are a few upgrades that will let you do even more. Let’s take a look:
- PTFE tube: The Capricorn PTFE tube should’ve been the default tube on the Ender. It has tight tolerances and provides a constricted path for the filament, from extruder to hot end. TPU benefits from this the most. This does not apply to the S1, which features a direct extrusion setup.
- All-metal hot end: This is a must-have hot end upgrade if you plan on using some high-temperature filaments. Also, it’s already featured on the S1.
- Dual-gear extruders: These extruders come with double gears that provide a better grip on the filament. It’ll reduce many of your problems regarding extrusion and will ease printing with TPU. Again, already featured on the S1.
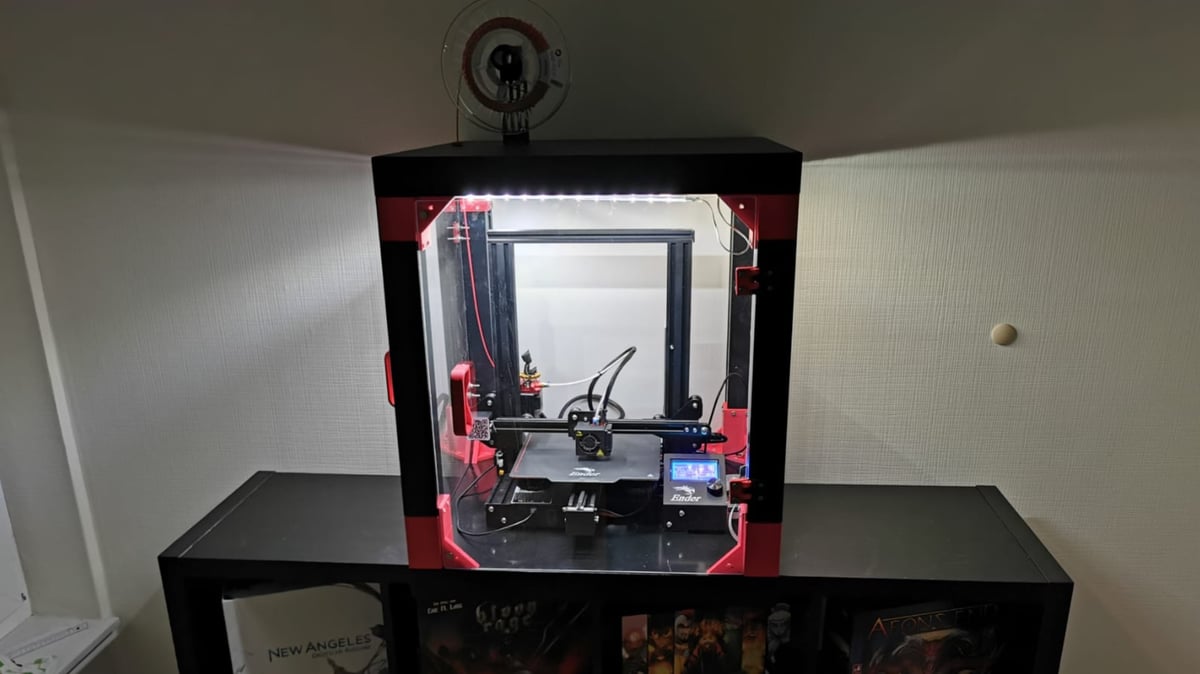
- Enclosure: It’s not essential, but enclosures will make it easier to print ABS and HIPS if you have one. An enclosure keeps the temperature around your print steady and shuts foreign materials out. It’s a nice upgrade to have and can be a fun project to DIY!
License: The text of "The Best Filaments for Ender 3 (V2/Pro/S1)" by All3DP is licensed under a Creative Commons Attribution 4.0 International License.