How to Clean Your 3D Printer Bed: 5 Easy Ways

Proper 3D printer bed cleaning is essential for successful prints. Learn five easy ways to clean your 3D printer bed!
3D prints can fail for a variety of reasons, and one of the most common ones is a part detaching from the build plate mid-print. Therefore, ensuring proper bed adhesion is crucial for successful printing.
While there are many ways to ensure that your parts stay stuck to the build plate, one of the easiest tips is keeping your print bed clean. Not only will regular bed cleaning improve part adhesion, but it may make your prints look better as well.
In this article, we’ll take a look at the best techniques for cleaning your print surface, including using a cloth, acetone, and more. Remember to exercise caution when applying these techniques, as spilled liquids can severely damage a printer. We also recommend removing your bed from the printer (if possible) before starting to clean.
With this in mind, let’s get started!
When to Clean the Print Bed?
How frequently you should clean your print bed is dependent on several factors, including what type of build plate you have, how often you’re using your machine, how much adhesive you use on your bed, and what kind of material you’re printing with. As such, there isn’t a one-size-fits-all frequency for cleaning your bed.
In general, though, it’s not a bad idea to give the bed a quick wipe down after each print and to clean it more thoroughly every five prints to ten prints or when it’s noticeably dirty (with adhesives or filament residue). Some people, depending on their situation, might have to clean more often, while others might be able to get away with rarely cleaning their build plate. In any case, regularly cleaning the bed will help ensure consistent, high-quality prints that don’t delaminate from the build plate.
If you’re having trouble with bed adhesion, cleaning your bed should be the first (and easiest) step to troubleshoot the issue. There are several different approaches to cleaning the bed, but the best one will depend on how contaminated your bed is and with what, as well as the bed material.
In the next sections, we’ll cover the most popular print bed cleaning techniques and how to execute them properly to prevent damaging your bed.
Scraper
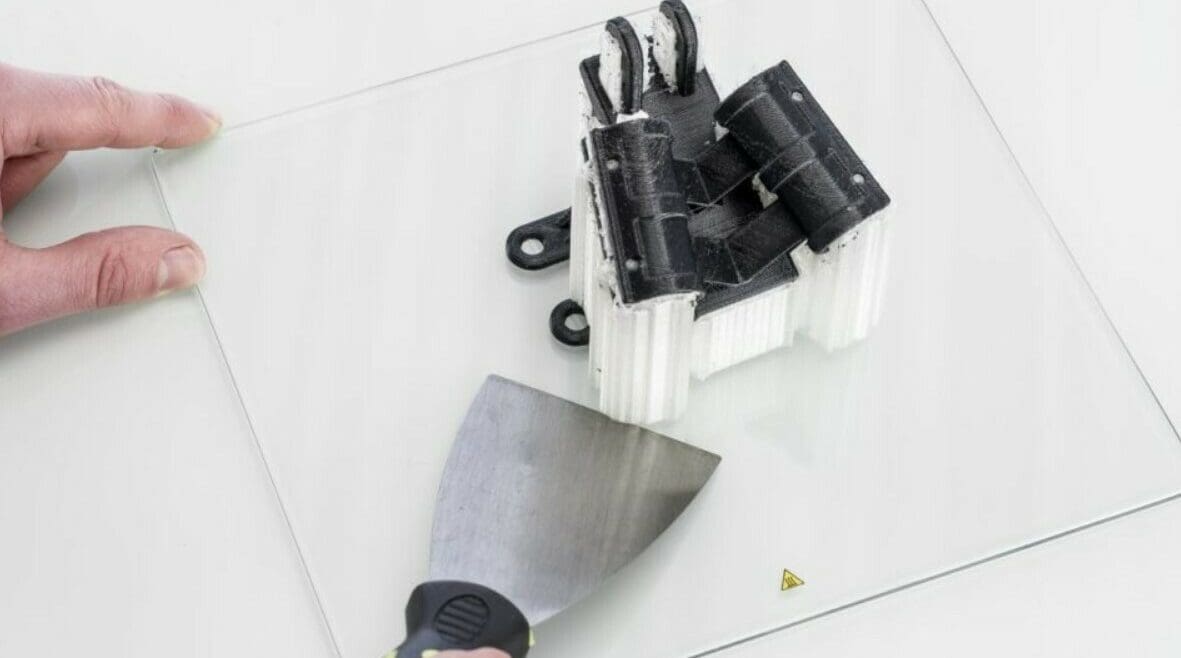
The first cleaning method you should reach for when you’ve got chunks of material on your bed is a scraper tool (sometimes called a spatula). One of these was probably included in your purchase of an FDM 3D printer. You can use a scraper to perform some very light cleaning of any type of print bed, whether it’s glass, polypropylene, or another material.
A scraper tool is very effective for popping off 3D prints from the print surface. You can do this by pressing and wedging the sharp side of the tool in between the first layer of the print and the build plate. After you’ve removed your 3D print, you can further clean the print bed with the scraper tool by running some warm water on the build plate and gently scraping the surface. This usually does the trick to remove excess adhesive or other filament residues from the print bed.
After you’ve done your best to clean the print bed with the scraper tool, it’s best to dry the plate with a cloth and let it sit until all the moisture is gone. Only then should you reattach it to your 3D printer.
It’s also worth noting that while the scraper cleaning method works for cleaning most types of print beds, it shouldn’t be used for beds covered with tape (e.g. painter’s tape). This is because tape usually degrades with water, and scraping the tape could cause it to peel off the build plate.
- Compatible beds: All except tape
- Best for: Removing prints and bulk material from the bed, removing glue and other adhesive residues
- Frequency: After every print
Microfiber Cloth
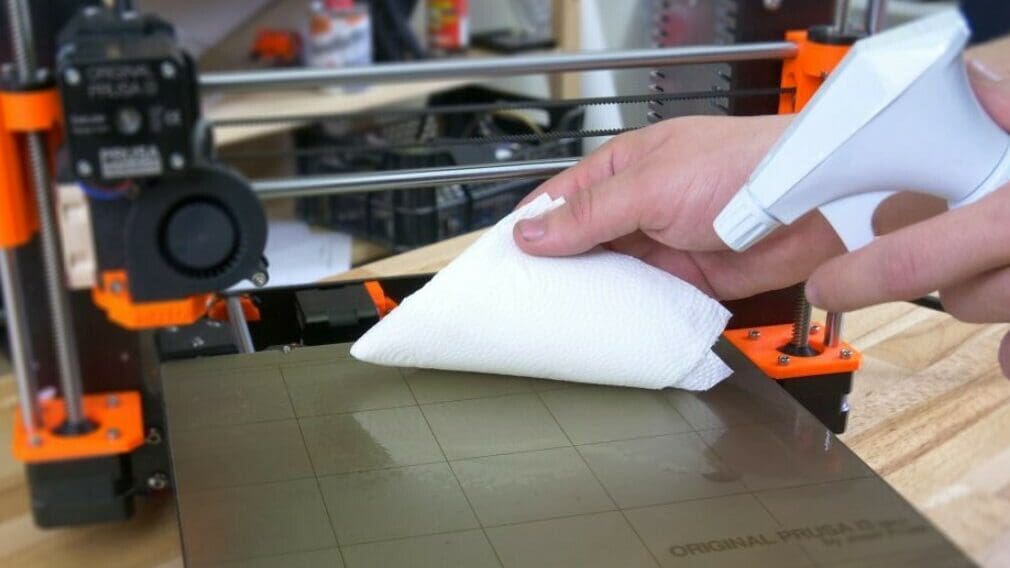
Another must-have tool for cleaning all types of print beds (including tape) is a microfiber cloth. These don’t leave paper or dust fibers behind like other types of towels, and they’re also quick-drying and super absorbent. You may already be using them to clean your glasses or computer screens, but you can also buy larger cloths for under $15 at many stores or online retailers.
Microfiber cloths are most effective for removing light amounts of adhesive residues, dust, and other small particle contaminants from the print bed. You can also use dry cleaning or wet cleaning approaches for different effects. Wiping with a dry cloth is perfect for quickly removing dust, while dampening the cloth with water or a cleaning solution is best for a more thorough clean.
Both the dry and wet cloth methods work for cleaning print beds, but if you have a bed with tape on the surface, a dry cloth will preserve the quality of the tape.
- Compatible beds: All
- Best for: Removing dust and small particles, applying cleaning solutions
- Frequency: Weekly
Acetone
Acetone is a solvent for many plastic materials, including ABS and ASA, meaning it can dissolve these plastics. This property makes acetone an excellent cleaning solution for a variety of print beds, including glass and spring steel. Small amounts can dissolve leftover plastic particles on the surface of the bed so that you don’t need to use much force.
For this cleaning method, we recommend lightly soaking a microfiber cloth or sponge (as long as it’s not plastic) in acetone. (Don’t apply acetone directly to the bed surface.) Then, gently scrub the surface of your build plate until it glistens, and you see no residue or other contaminants. After you clean with acetone, you should also run some water down the print bed to ensure no leftover residue.
While acetone is a very effective cleaning solution for build plates, there are a few things to watch out for. First off, make sure you’re starting with pure acetone rather than nail polish remover, as these can contain additional contaminants that can hinder first-layer bed adhesion. You can find bottles of 100% pure acetone at your local hardware store or online.
Another thing to note is that acetone should not be used with any plastic-based build plate. So, if your printer has a polypropylene or a PEI build plate, we strongly suggest picking a different cleaning solution because the acetone could potentially cause damage to the surface.
Finally, even if you’re using a non-plastic build plate like glass or metal, make sure not to use too much acetone. Doing so will likely leave white streaks on the print surface, which can, ironically, hurt bed adhesion. Diluting acetone with water (even as much as 50:50) can still be very effective for cleaning. If you’re unsure, try to do a small test patch before applying it across your whole bed.
- Compatible beds: Glass or metal
- Best for: Removing stuck-on plastic, removing glue and other adhesive residues
- Frequency: As needed
Isopropyl Alcohol
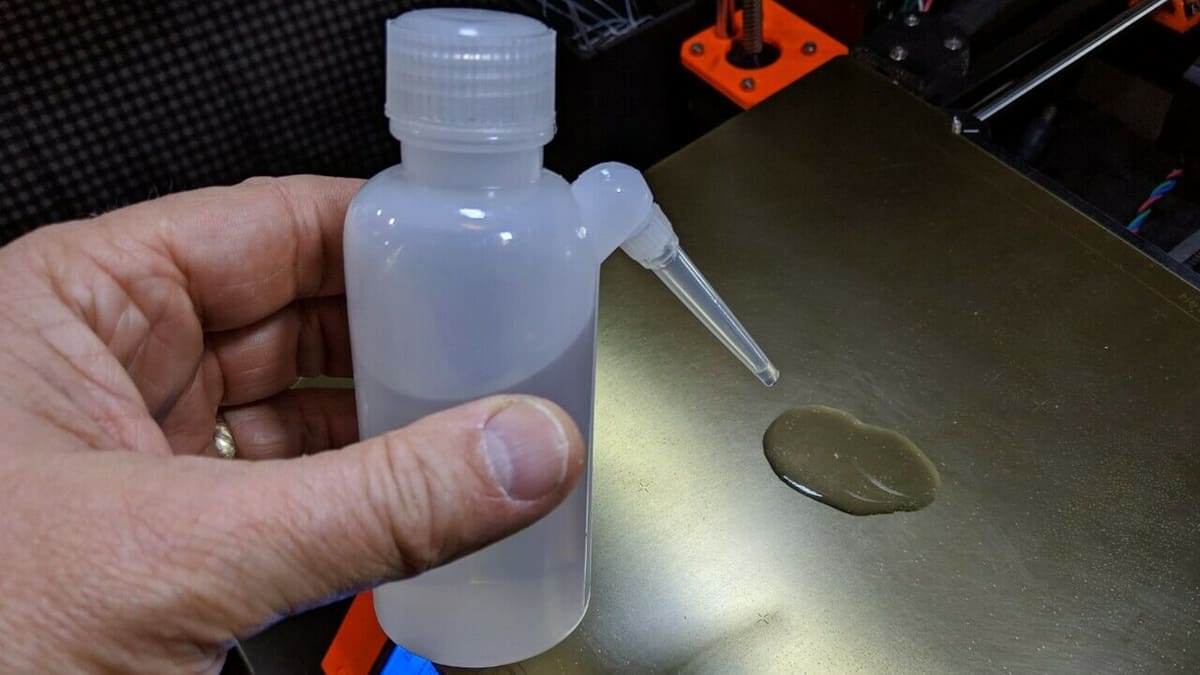
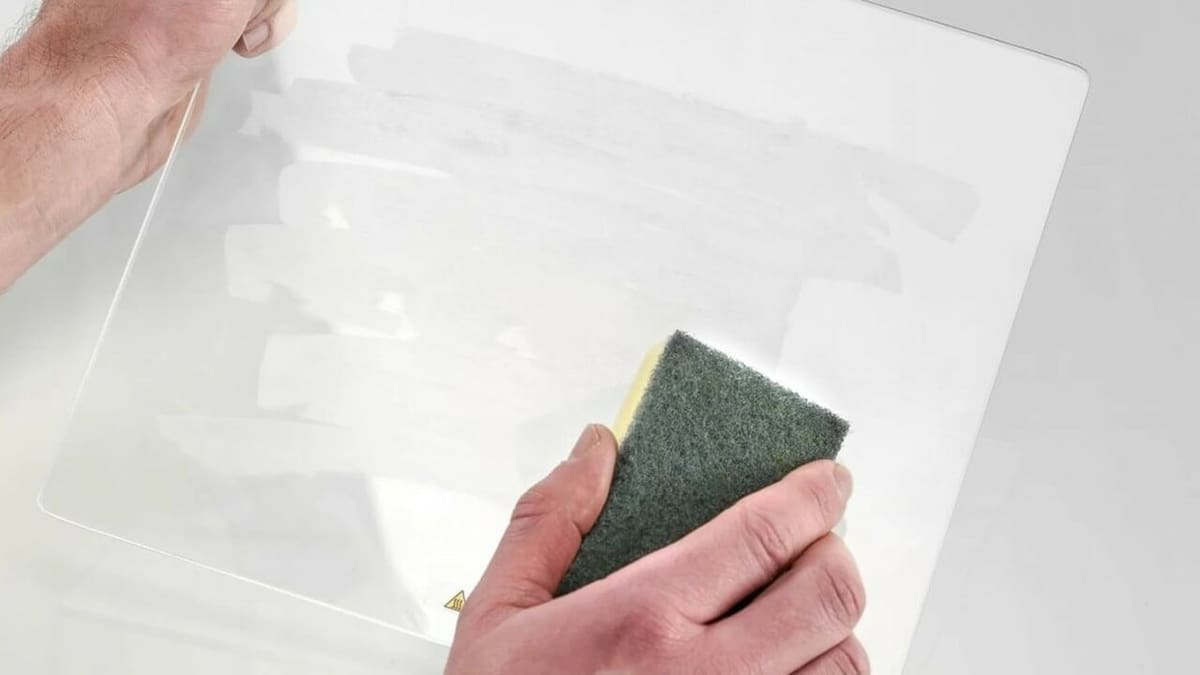
Similar to acetone, isopropyl alcohol (IPA) also can help soften and remove plastics, although it’s not as strong. IPA is most effective at cleaning PLA residue, making it a favorable cleaning option when printing with this filament material. Before a print, a quick wipe of most build plate materials with IPA can ensure good first-layer bed adhesion.
You can clean the bed with isopropyl alcohol the same way you would with acetone. Soak a cloth with IPA until it’s damp, then gently scrub the surface of your build plate. Just like with acetone, it’s important not to overapply the chemical to avoid permanent deformations to the print bed. Diluting IPA with some water can help you prevent this issue.
As long as you use a conservative amount of IPA, it’s safe to use on all bed surfaces except tape. Many manufacturers of PEI sheets recommend wiping with IPA every few prints for maximum adhesion. In general, try not to apply IPA directly to the bed surface (especially plastic ones). Instead, apply a small amount to a cloth and then wipe the bed.
- Compatible beds: All except tape
- Best for: Removing plastic and adhesive residue, improving print adhesion
- Frequency: Weekly to monthly
Window Cleaner
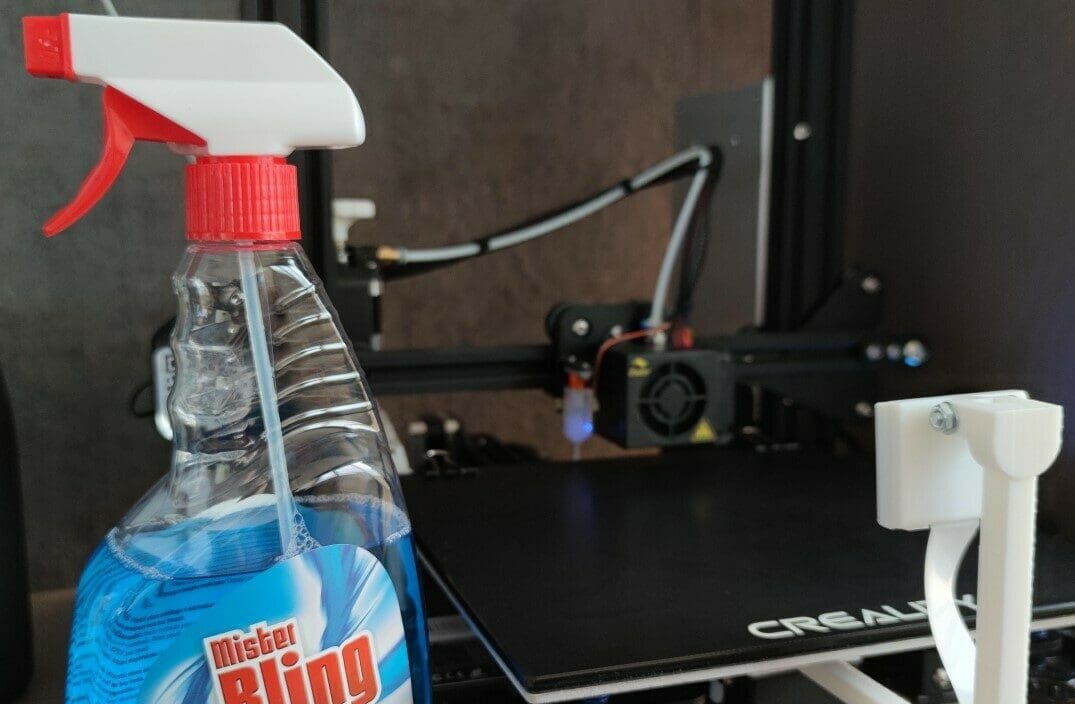
Next, window cleaner is an exceptional cleaning method for rigid build plates, especially glass and metal (e.g. spring steel). This method involves simply spraying window cleaner on your print surface, then wiping the bed with a cloth.
Window cleaner is very effective for removing glue, hair spray, dust, and other residues from your print surface as long as it’s not too heavily contaminated. Just about any window cleaner should work, so feel free to get a generic one from your local hardware store if you don’t already have one laying around at home.
As we’ve described in previous sections, since window cleaner is a liquid, we don’t recommend using this method for print beds with tape. However, it should work just fine for any other non-textured surface. That being said, if you’re having trouble with bed adhesion, window cleaners may leave a film that worsens this issue.
- Compatible beds: Non-textured beds
- Best for: Removing light residue
- Frequency: Monthly
Alternative: Use Adhesive Tape

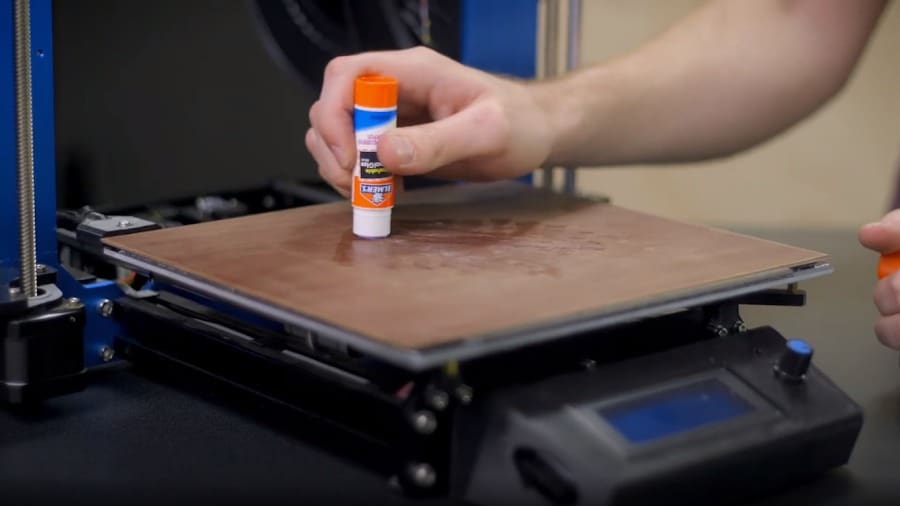
Lastly, though not technically a cleaning solution, you can use adhesive tape, like painter’s tape, to cover your build plate. Doing this will make it super easy to clean the bed and remove any built-up adhesive residues. All you’ll have to do is peel off the tape and stick some new tape right back on.
A handful of different tapes work for this, but getting a single sheet of tape that matches the dimensions of your printer’s physical build plate is probably the best. For a more DIY solution, you can use regular painter’s tape and line the bed with it. Just make sure you avoid overlapping the tape, as this can cause bed adhesion issues later on.
It’s worth noting that tape can be used on top of practically any print surface, as long as it sticks well. Even with the tape on the bed, you might find you still have to use glue or another adhesive substance on top of the tape to ensure proper bed adhesion.
- Compatible beds: All
- Best for: A temporary print surface
- Frequency: As needed
License: The text of "How to Clean Your 3D Printer Bed: 5 Easy Ways" by All3DP is licensed under a Creative Commons Attribution 4.0 International License.