Creality Hi Combo Review: A Multicolor High, with Some ‘Early-Release’ Lows
Rating

Creality’s family-friendly Hi wants you to print in color, and with the CFS filament switcher in tow does a pretty good job of it. Early adopters may be in for a ride, though.
I’ll just say it. The Creality Hi Combo is an odd duck. A capable multicolor printer of a duck, but a duck nevertheless.
While the Hi 3D printer has some desirable tech, including closed loop stepper servo motors for the axes’ movement, a fast-heating hot end and bed that see it go from cold to printing in no time at all, and a fresher design that closes off and hides the moving parts, we’re left feeling like the Hi 3D printer is, ultimately, just a conduit for the Creality Filament System (CFS) that it ships with. Yes indeedy, fully boxed and humidity-monitored four-filament multicolor printing out of the very tidily presented box is the only reason you should really look at the Hi Combo, and for many that might be enough.
The Tech
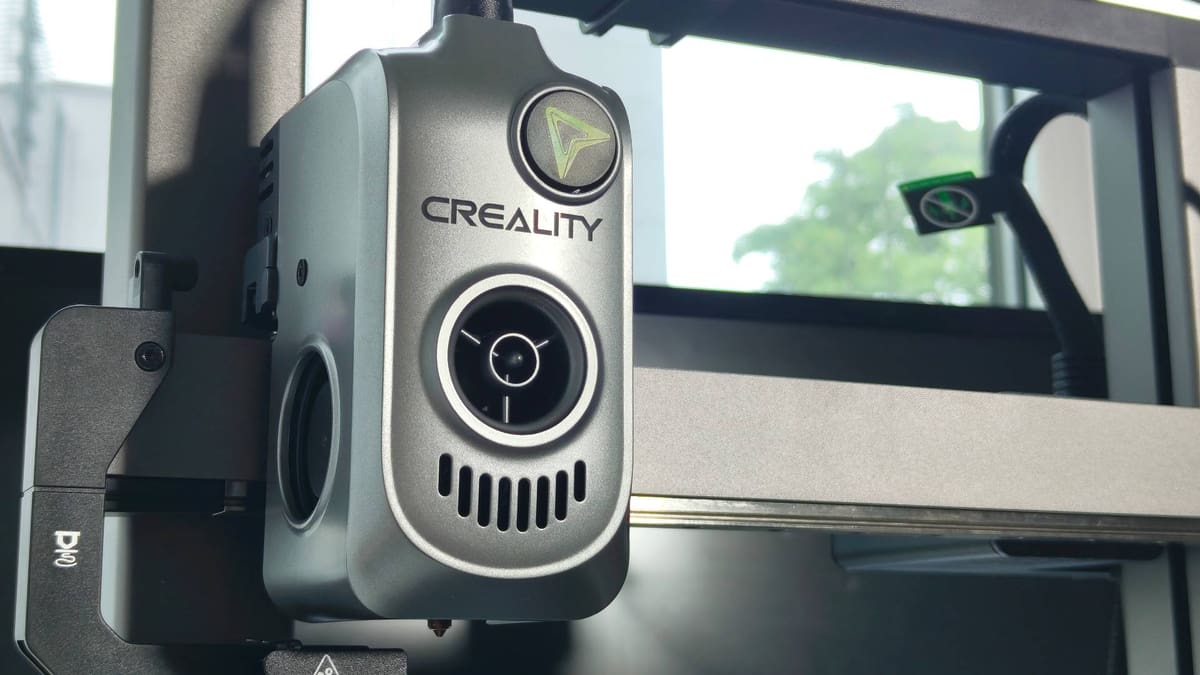
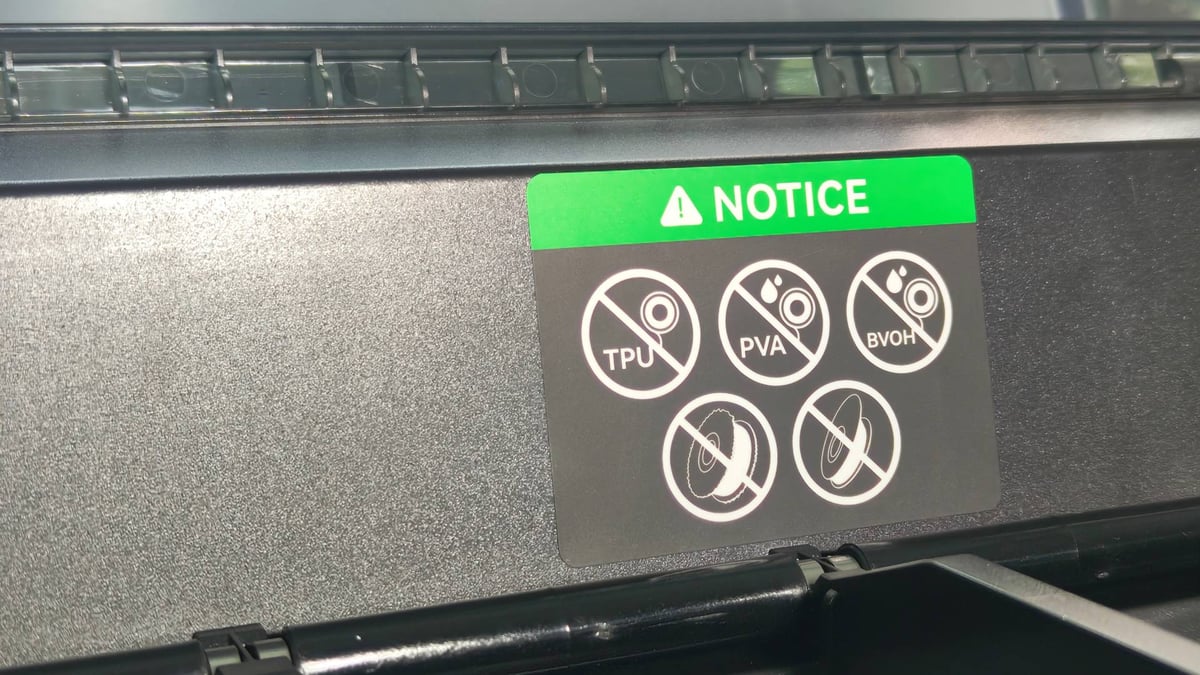
As a 3D printer the Creality Hi differentiates itself with a fast-heating hot end and bed, and a build volume that stretches to a roomy 300 mm in the Z-axis – taller than most in its class. Its fast-heating ceramic hot end hits 300 °C in under a minute, feasibly giving you room to play with the upper end of tougher materials, though it’s not recommended to stray much beyond PLA, PETG, and similar lower-end materials. Creality says it’s a “no clog” hot end, but the clog I had to painstakingly clear begs to differ.
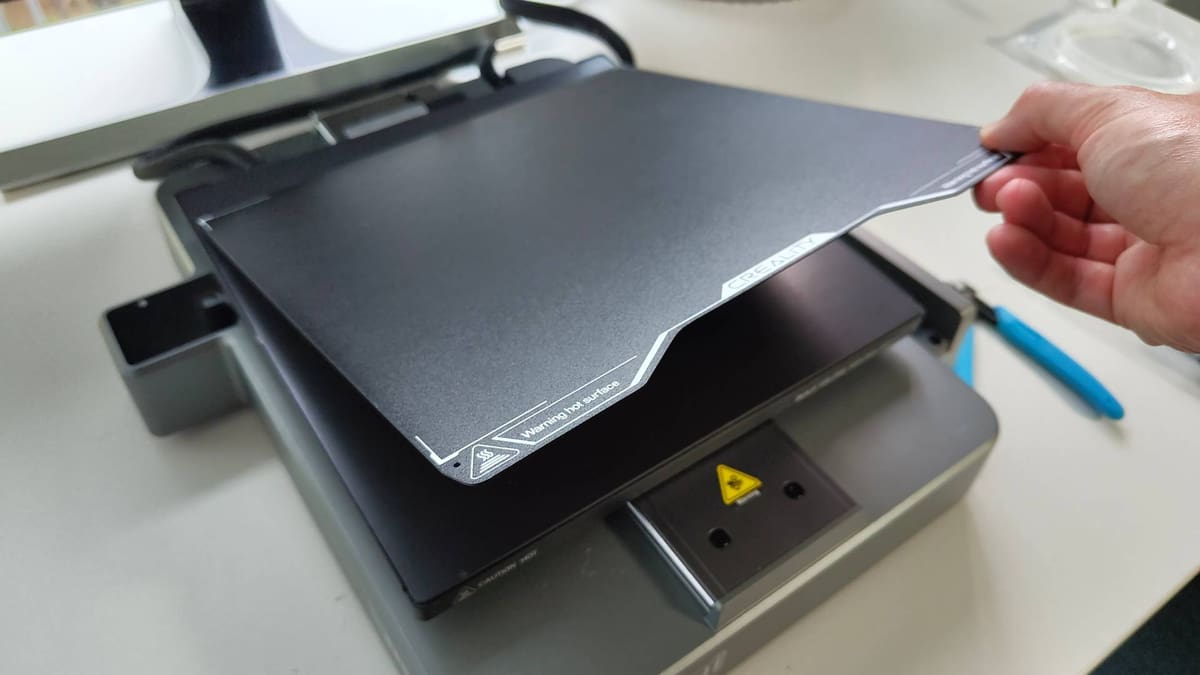
The Hi is outfitted with a 1000W heated bed, which positively skips up to temp about as quickly as the hot end – meaning you can go from cold to printing in around a minute or less. Certainly, it’s quicker than the tall grass-like competition we expect Creality is trying to steal lunch money from with the Hi Combo.
Print speed is rated at 500 mm/s, which of course means you should expect less than that. Expect closer to 300 mm/s in standard use where the geometry and material allows. It varies.
For the curious, despite the Hi’s similarities to the Ender 3 V3 these are two distinctly different 3D printers. They’re both bedslingers, sure, but while the Ender 3 has a quicker motion system (and differences in the frame to support this), the Hi, for virtually the same price, dips a little in potential speed but brings a tidier, more closed-off design, and, well… it can be used with the CFS.
Before we get to the positives – and there are positives – a gripe. Setting up the Creality Hi Combo strays from top-notch to frustrating and disjointed in such a quick whip pan action, it almost seems like it existing as a single SKU combo was an afterthought to Creality.
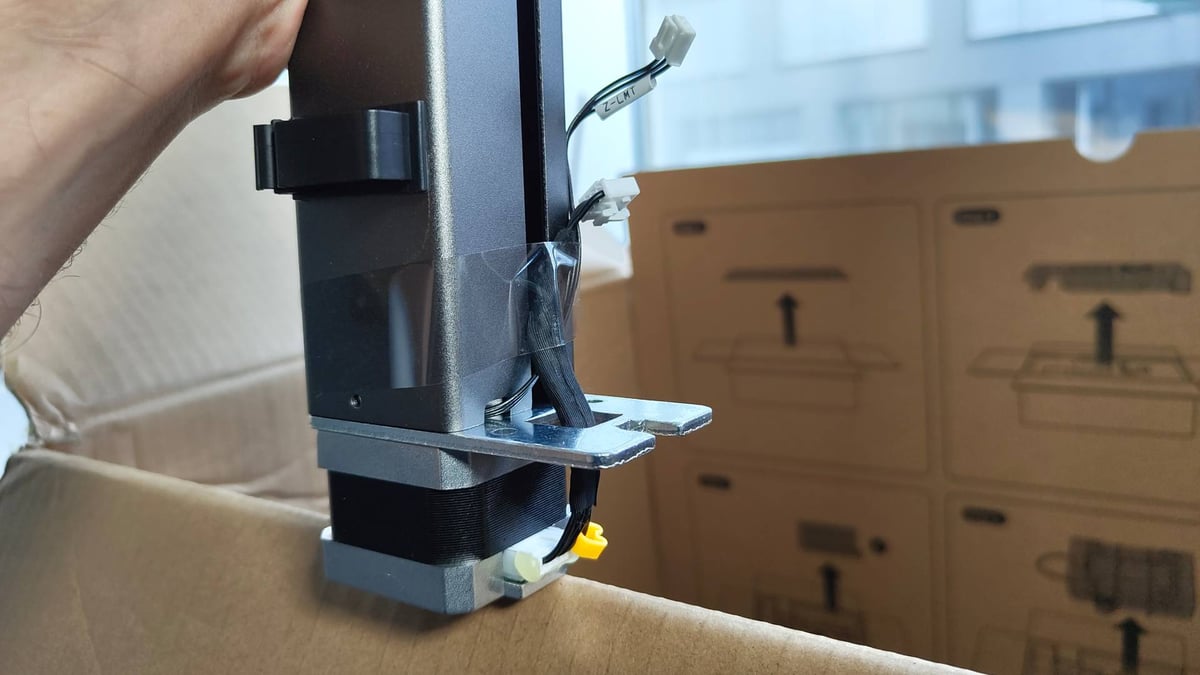
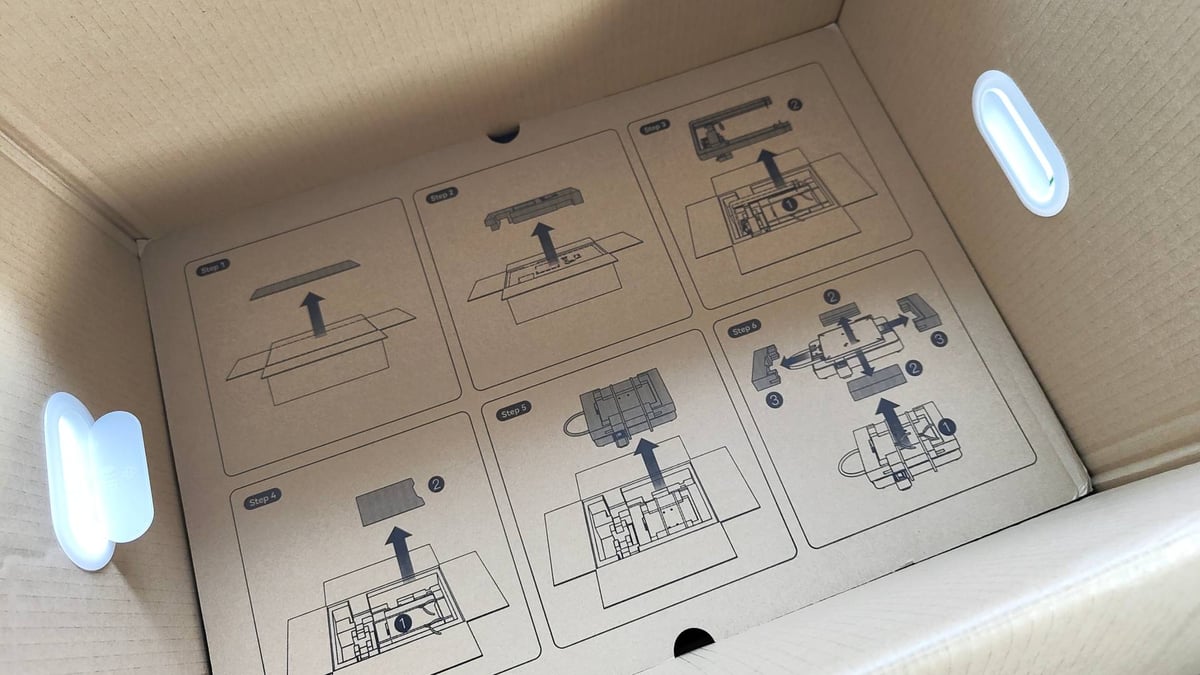
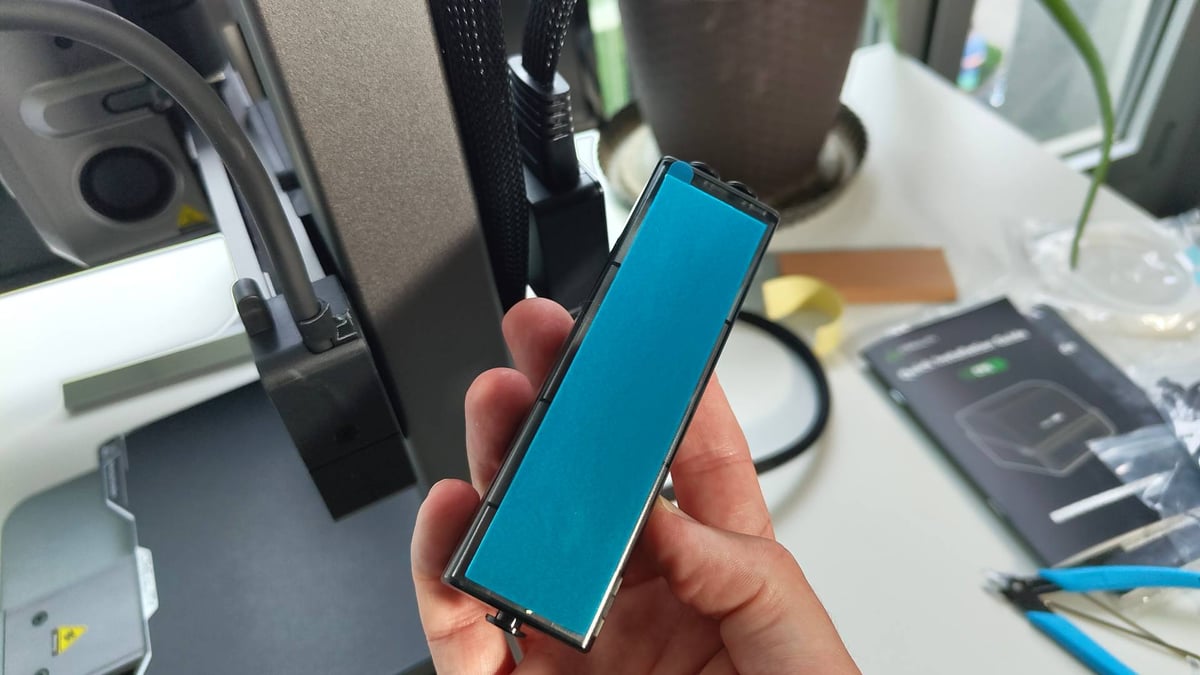
Setting the Hi 3D printer up is simple, with well-illustrated instructions and only a couple of screws and pre-routed cables to plug in. It’s a near-perfect 98% build. Adding the CFS, which comes in the same tidily presented box, however, is a bundle of guesswork guided by a single illustration in the similarly presented but utterly unequal CFS user manual. You have to stick the filament buffer to the printer with double-sided tape (don’t get it the wrong way around!) and generally, do not sense a cohesion in the offering at this point. I found it a little disappointing, and I’ve been setting up 3D printers for approaching a decade.
Creality assures me it’s working on this aspect of the Hi Combo, so future buyers may benefit from my whinging. You’re welcome.
Persist though (good life advice, right there) and you’ll be rewarded with a contemporary, competent, and connected multicolor 3D printer that pulls through on its promise of beginner-friendly multicolor 3D printing, even if it is the wasteful single-nozzle kind with a generous amount of purging between materials as default.
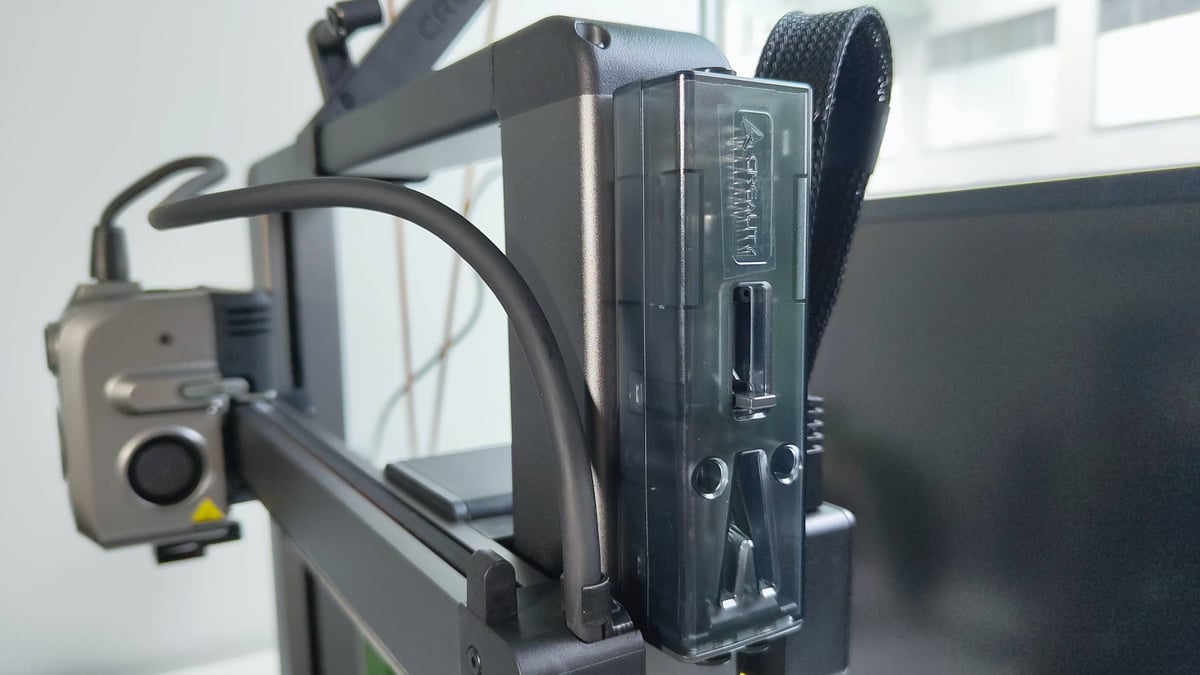
The CFS draws power from the printer, meaning you only need one outlet for both devices. I found the footprint of the setup spreads to some 700 mm+ wide when sticking with Creality’s recommended placement of the CFS to the printer’s right-hand side. That’s where the filament buffer sits, so you are somewhat limited in your options in how you place things, unless you forego the sticky tape and tinker with your own arrangement.
Using Creality’s filament with the Hi Combo unlocks the convenience of RFID tags and the CFS’s ability to automatically “read” the filament and input the corresponding details into the printer’s filament memory. It saves a little time when loading materials and setting up for prints. Between the software and printer knowing what filament is present, it can automatically match the right parts of the print to the desired filament. You have the option to manually “edit” the filament, too, though this is limited to “generic,” basic material profiles.
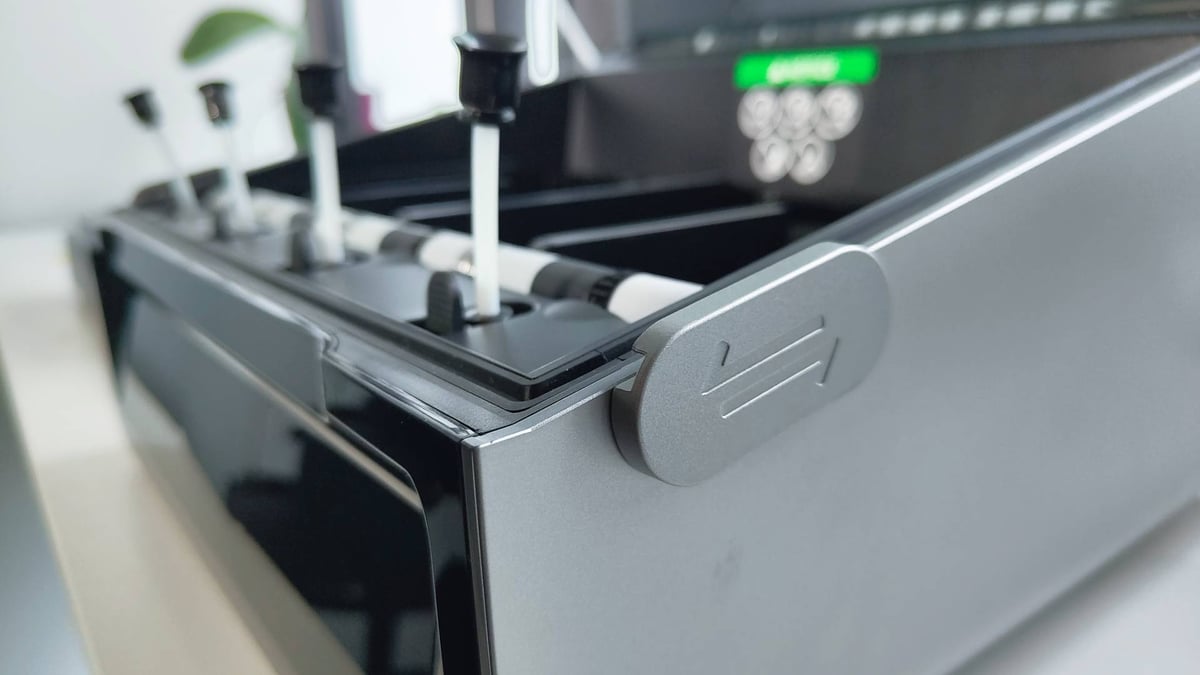
The CFS does appear to seal tight with two sliding latches keeping the lid down, and spring-loaded bumpers in the lid helping to keep spools firmly seated and things locked up tight when in use. There’s no active drying or anything like that, although there are recesses for absorption media like silica, and a humidity readout on the front letting you know how moist the air is. Such a thing requires you know what it means, and act on it to protect the integrity of your filament.
It being the “full” closed-box filament switcher is the leg-up the Hi Combo has over the likes of the Bambu Lab A1 Combo or Flashforge’s AD5X – your filament is, to a degree, more protected than open-air solutions, and we can appreciate how valuable that might be to some folks.
If you needed 16 filaments on call, you could chain four CFSs together. I haven’t tried it, so that aspect is purely theoretical to me.
As is typical of Creality’s releases nowadays, the Hi is rootable, meaning you could flash a “pure” version of Klipper if you so wished. To 3D printing veterans, this might be the appeal of the Hi, but hold your horses if your interest in the system lies in both rooting and Creality’s native multicolor solution. The Hi 3D printer is rootable, but the CFS doesn’t come along for the ride, making the “combo” of the Hi Combo functionally unusable when rooted. Community projects are working on fixing this, and if Creality were interested in a PR win, they’d help such a project along and establish an RFID standard ahead of other efforts, but that’s by the by.
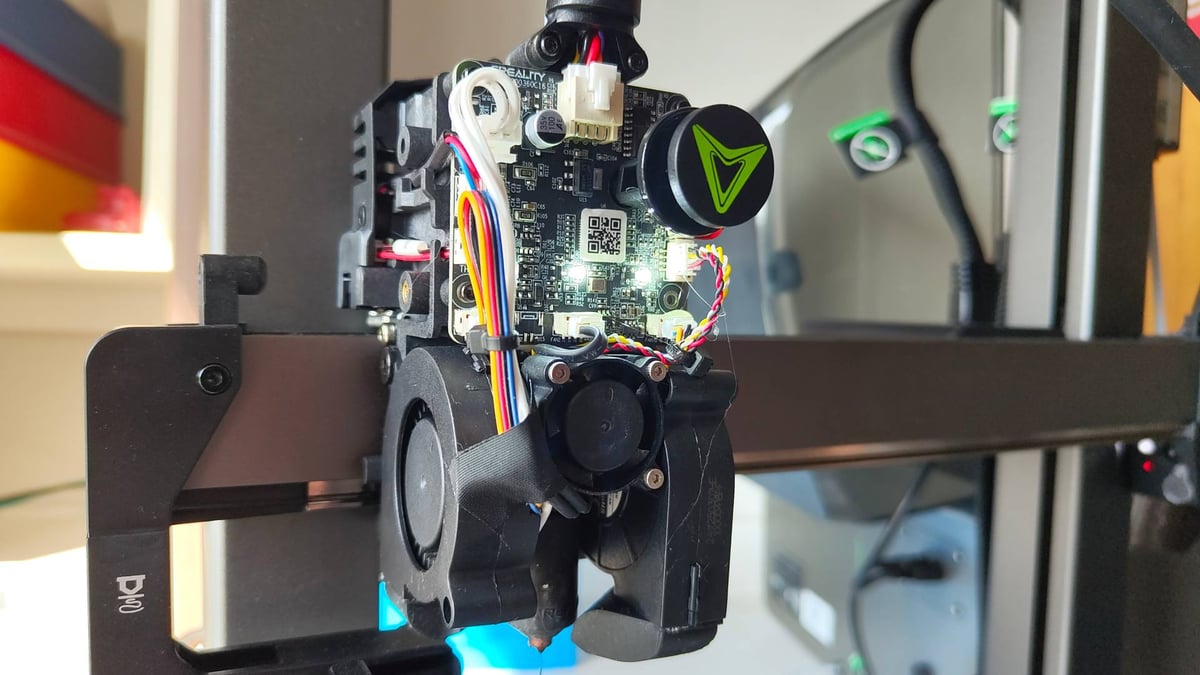
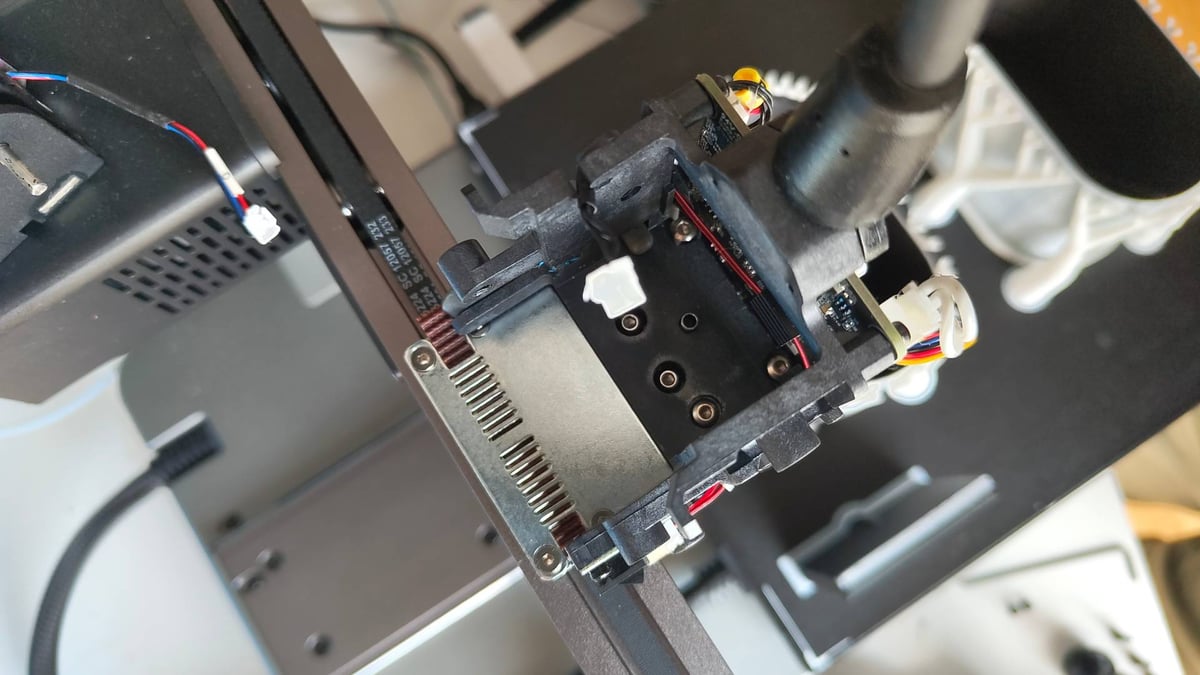
If you need to clear a blocked nozzle, as we did, expect to dismantle the printhead to get at things. Access to the top of the hot end is only possible once you’ve entirely removed the extruder. In the scheme of things, it’s not so bad, with only a small handful of screws involved, but it’s a far cry from the likes of Bambu Lab and Anycubic, which are increasingly embracing modularity and quick-swappable hot end units.
The Printing
Creality’s software ecosystem has come a long way in recent years, and I’d say you could comfortably exist within Creality’s walled garden with your phone and computer in 2025. Cloud slicing is convenient, letting you pull models from the Creality Cloud model repository and fling them, along with print settings tweaked to your liking, at the printer.
It takes a beat for the model to work its way through Creality’s machinations – there’s a queue system, but in the handful of times I tried it, I never had to wait longer than a minute or two for the slice to complete. You could theoretically get away without a computer, but you’ll want one for the deeper print control that Creality Print slicing software offers.
The printing itself has been a mixture of successes and frustrating failures that, throughout testing and Creality’s responsiveness in updating firmware, suggests the Hi Combo is still in the process of finding its footing and ironing out the kinks. Early adopters, be aware.
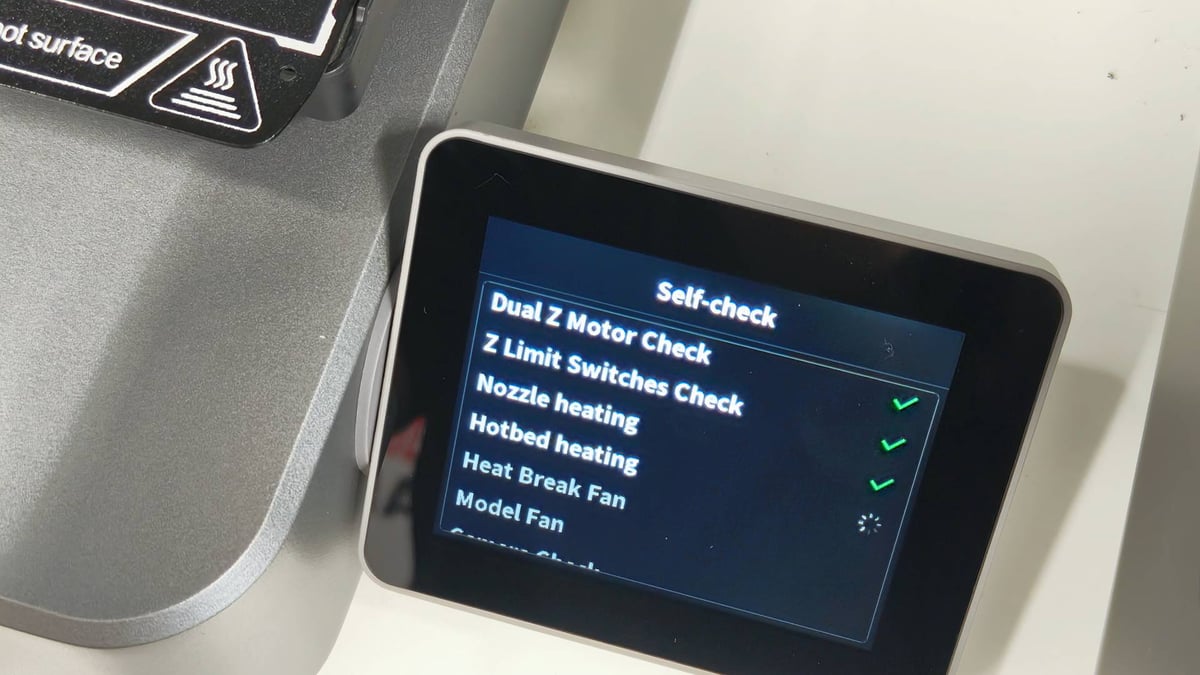
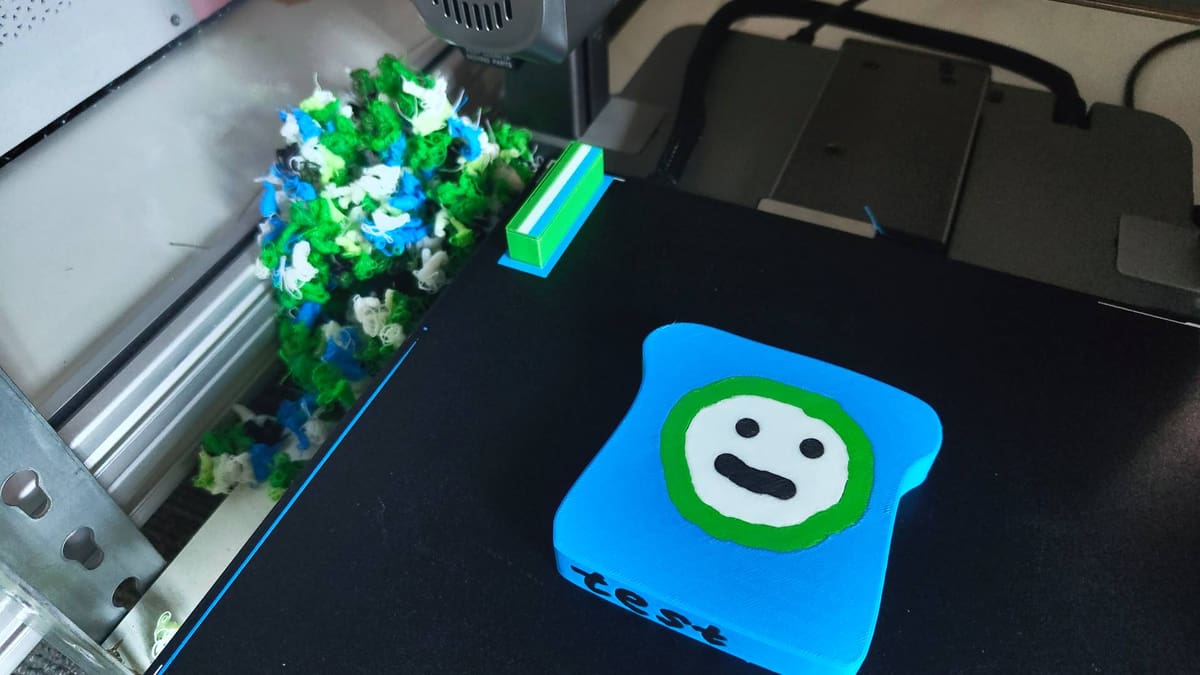
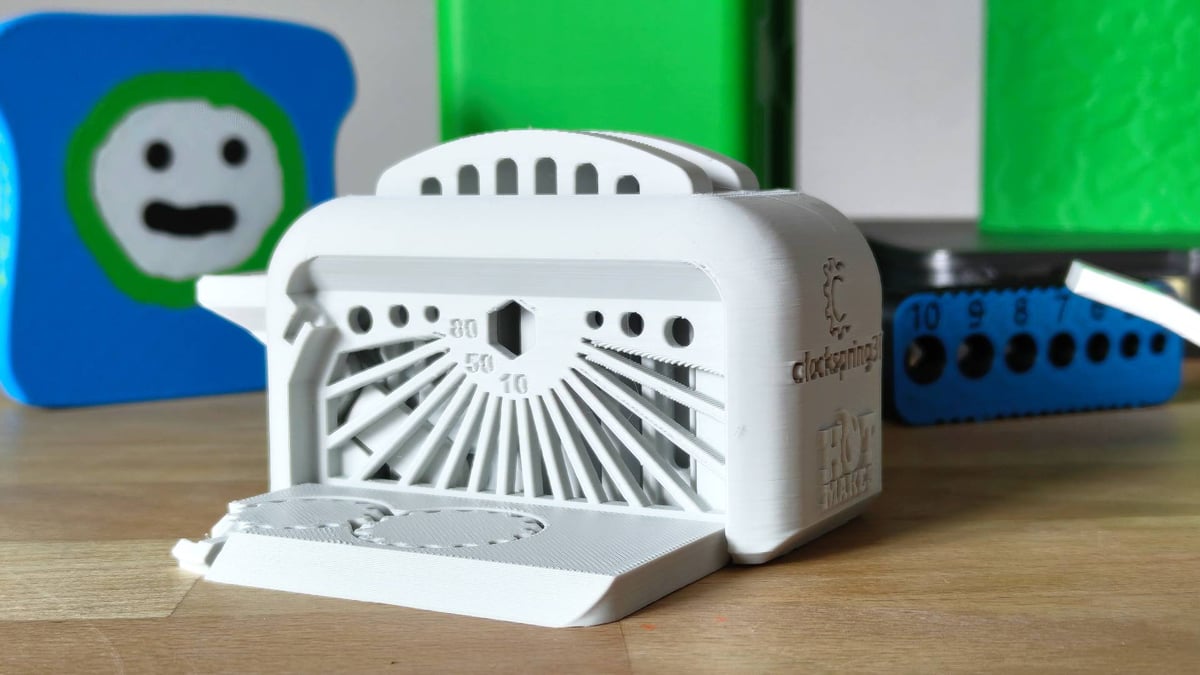
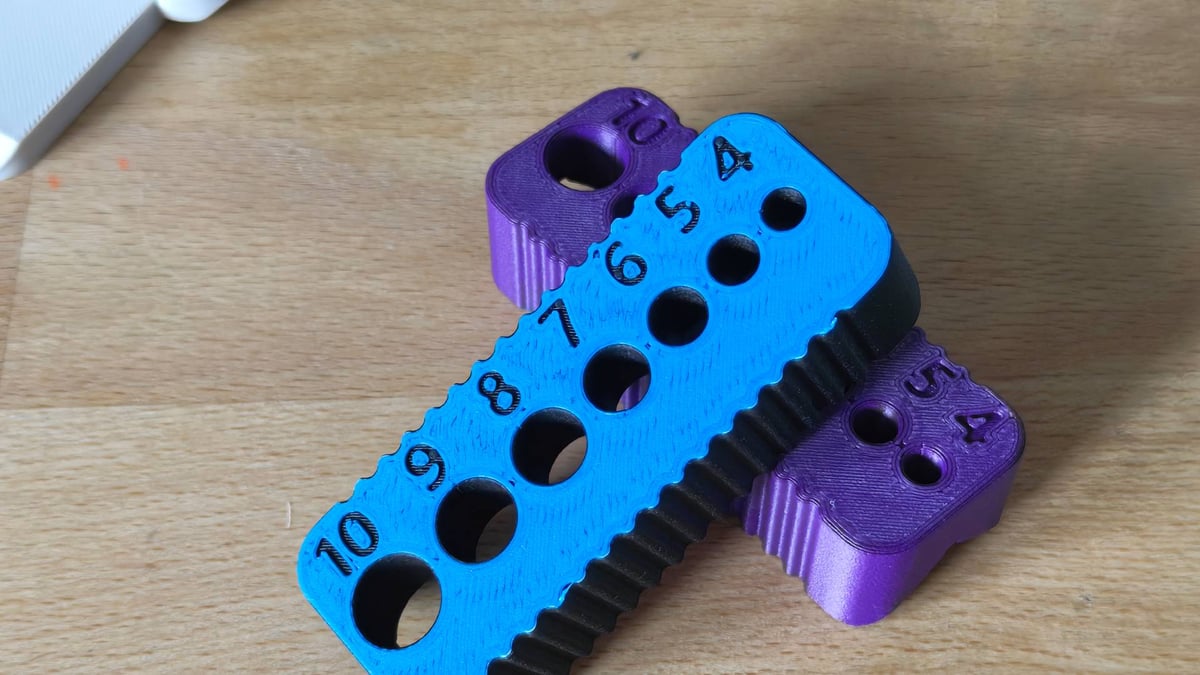
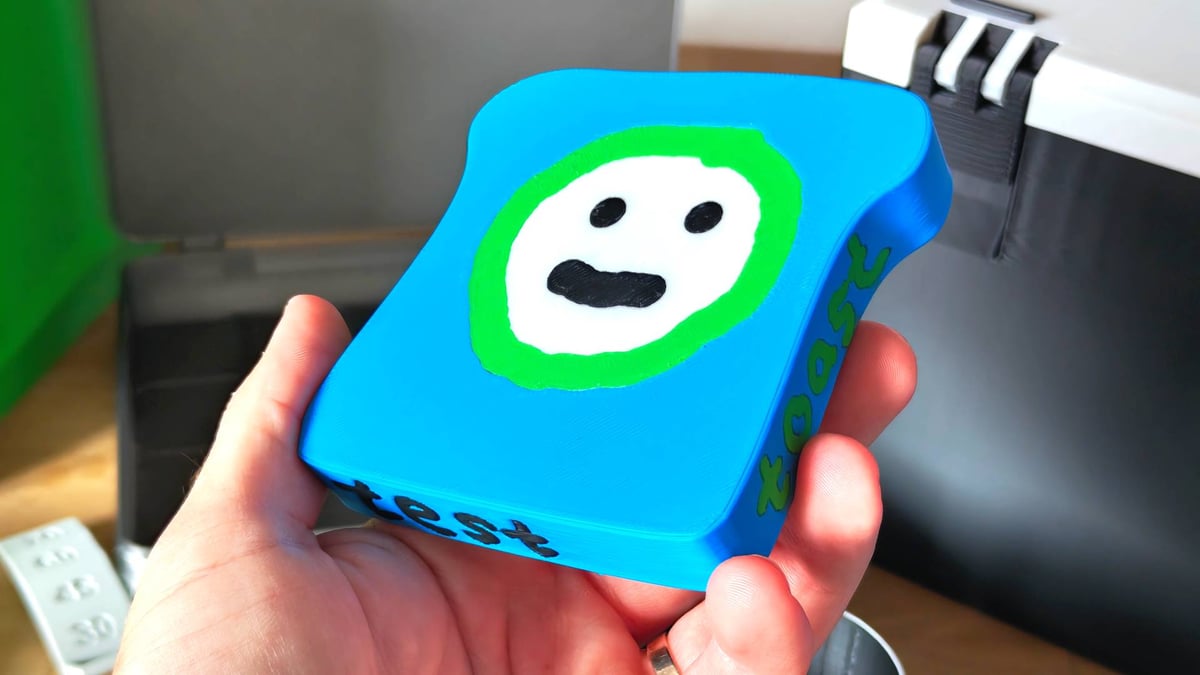
On the plus side, overhang performance has been pleasantly surprising with the Hi’s dual-blowers chucking a high volume of air at the nozzle from the 10- and 4-o’clock positions, seemingly giving good all-round coverage. This is further evidenced by a print of the Clockspring3D toaster, which usually gives printers trouble with thin overhanging elements. The Hi achieved this tricky part of the print well. Conversely, the tolerance pins 0.5 and 0.4 mm were the only two to spring free, suggesting the fully automatic first-layer calibration may give marginally more squish than desirable for high-tolerance first layers.
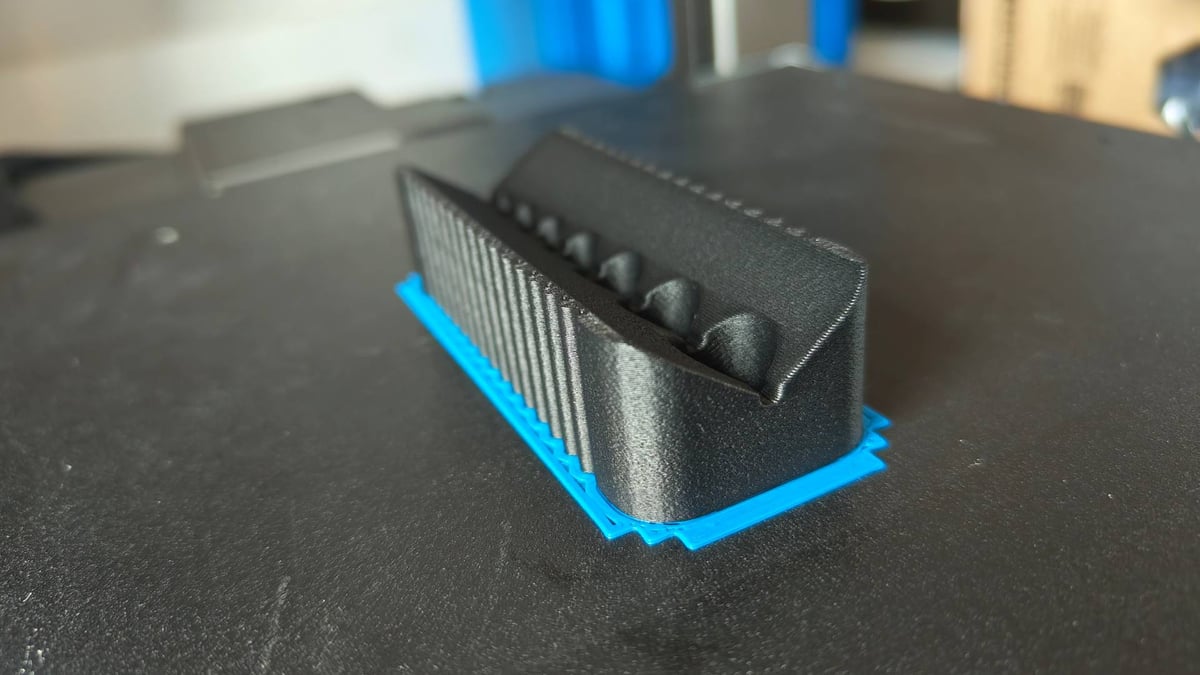
Prints generally achieve a clean, uniform layer consistency, although I did run into a persistent issue with shell quality around speed changes. Troubleshooting the issue with Creality, disabling the “Don’t slow down outer walls” setting appeared to help as a temporary fix, and Creality assured me that a permanent fix via firmware update is in development.
Perfectionists may find reason to tinker deeply with the settings but I wasn’t left with the feeling that any one particular thing warranted such a deep dive.
As a multicolor 3D printer, the Hi Combo is wasteful with materials and time consuming. So is Anycubic’s ACE Pro, and so is Bambu Lab’s variety of AMS devices when used with their single-nozzle machines. As are just about every other single-nozzle system we see coming to market soon, with the only outlier for this being either Prusa’s MMU or a toolchanger.
If the material waste and time savings are of paramount importance to you, no more efficient alternatives spring to mind at this price point. Scraping together the difference for a Prusa with an MMU3 is probably the way. Everyone else who can make their peace with the waste, keep reading.
At a color change, the Hi rams the printhead to the right to push in the magnetically fixed filament cutting blade. Then follows a lengthy retract for the filament all the way back into the CFS, before the next filament reels out, through the filament buffer, and into the printhead to push the remnants of the previous color out in a sequence of purges.
It’s no secret, of course, that such things can be fine-tuned – Creality Print gives you control over quite how much purging happens, and there’s a purge-to-infill option that can cut down on the waste. But by default, the Hi Combo is as wasteful as they come. You end up with a mountain of printer “poop,” and multicolor prints take a long time to complete. Despite being one of the last “big” desktop 3D printing brands to release such a system, and having the luxury of perspective on others’ efforts, Creality reverts disappointingly to type with the Hi Combo.
“Cheer up, Matt. You can print multicolor!” Yeah, yeah. I guess. I will say that for all the waste that comes with multicolor printing like this, Creality’s CFS has been a relatively fuss-free and frictionless device to use, which is more than I can say for select others.
The CFS autoloads filament when inserted, and if there’s a Creality RFID on the spool, the printer will automatically grab that information for the correct CFS slot. For everything else, there’s “Generic,” which you have the manually punch in on the printer’s display.
The Hi Combo is set up best for Creality’s own filaments. They fit nicely in the CFS and can, of course, be “read” by the printer and CFS. Going outside this ecosystem requires you to futz around with the print profiles in Creality Print, and even then, you’re limited to simply labelling these third-party materials as “generic” on the printer. Creality Print does match things up well based on color and material type, but there’s room for confusion if you use similar, but distinct, filaments.
Pay attention to the size of your preferred filament spools, too. The CFS can only fit spools of up to 68 mm width, which rules out options like Prusament.
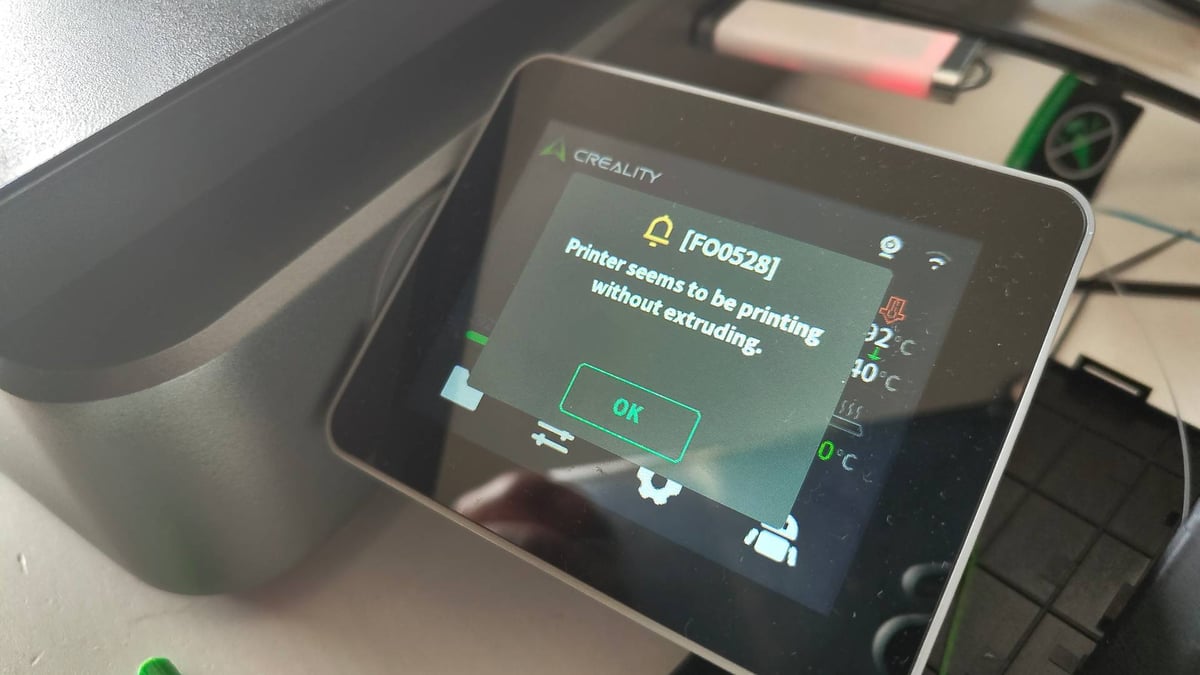
When something does go wrong, we’ve found it typically stems from a stray piece of filament getting stuck somewhere in the filament path. Between the Hi and CFS there’s a small handful of sensors that tell the system where filament is (or isn’t). Between them, they can trigger an array of sometimes confusing error messages, such as the on-printer spool being in use when it isn’t. Invariably, I’ve found the solution in checking every part of the filament path, including the handily reachable splitter underneath the CFS, which can be accessed from outside the device. Smart design.
In printing, I found the Hi Combo to fall on the “trust” side of the 3D printer anxiety dial. I could set a print going with reasonable confidence it would succeed and the results would be what I hoped for.
Is It Worth It?
We’re in an era where choosing a new 3D printer 2025 is largely a balancing act between your budget, the printer’s multicolor/multi-material capability, how tolerant you are of design “quirks” (read: irritants) and the printers’ availability in your area.
With select exceptions, we’ve seen the printers become easier to set up, with lower technical effort at the expense of user repairability. The eventual output is, largely, the same across the board. And so “a by-the-books color 3D printer for 2025” is the standout note I found scribbled in my scratchbook when reflecting on the Hi Combo for this review. I mostly stand by that statement, though in some minor ways the Creality Hi Combo does inch a toe in front of others, primarily through the CFS. In my time with it, it’s been a reliable multispool feeder with an accessible degree of self-serviceability. The RFID tag reading is genuinely useful, particularly if you stick with Creality’s filaments.
I wish it could dry the filament, which seems a crucial oversight considering Creality’s history with filament dryers, but if you’re mostly printing PLA, which isn’t so hygroscopic, we can overlook it.
You have to overlook oddball stuff like the X-axis gantry squaring itself at the top of the build volume yet homing at the build plate, and, for now, bear with Creality’s gradual march through bug fixes and UI tweaks, but on balance, the Hi Combo is worthwhile for the price. It’s not a revolution, but it is a by-the-books, smart, single-nozzle multicolor printer for 2025.
License: The text of "Creality Hi Combo Review: A Multicolor High, with Some ‘Early-Release’ Lows" by All3DP is licensed under a Creative Commons Attribution 4.0 International License.
CERTAIN CONTENT THAT APPEARS ON THIS SITE COMES FROM AMAZON. THIS CONTENT IS PROVIDED ‘AS IS’ AND IS SUBJECT TO CHANGE OR REMOVAL AT ANY TIME.