
Printing with ABS: 7 Tips for Perfect Prints

3D printing with ABS can be quite challenging at times. Let's look at seven tips that'll help you get the best ABS prints.
Acrylonitrile butadiene styrene (ABS) is one of the most commonly used 3D printing materials. It has great mechanical properties, it’s resistant to higher temperatures, and it’s easy to post-process.
One could even say that the material has superior mechanical properties compared to PLA and PETG, particularly when it comes to temperature, creep, and impact resistance. That’s why it’s more often used in prototypes and parts that have functional requirements.
Thanks to its low cost and versatility, ABS is popular in the 3D printing community. However, it can be a little demanding to 3D print with, often suffering from warping, poor layer adhesion, and even layer delamination. In this article, we’ll go over some tips and tricks that’ll make ABS printing not so much of a challenge.
The Right Setup
A good 3D printing setup is crucial to getting the best ABS prints because the environment heavily influences the printing results, due to ABS’ relatively high shrinkage. The right setup will ensure that the slicer settings will reflect correctly on the ABS 3D print, thus giving you nicely finished and structurally sound models.
So, let’s look at some tips on how to get a great setup.
Get an Enclosure
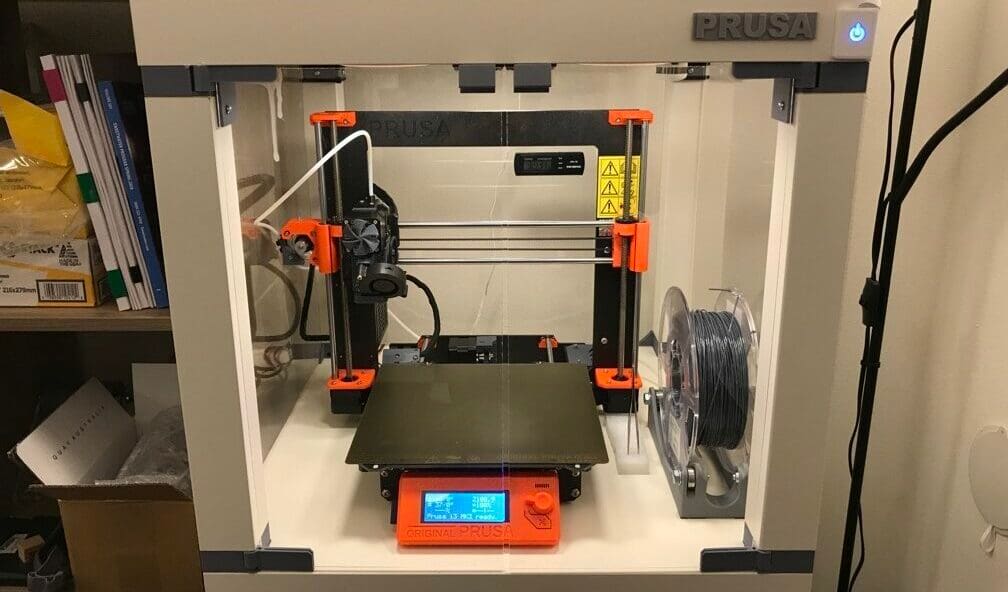
If you’re planning to print with ABS, you’ll definitely need an enclosure, not just for the filament, but also for you. An enclosure provides a closed space that keeps dust or debris away from the print, while also helping to keep the temperature inside at a constant level. Installing a 3D printer filter in your enclosure will help you get rid of ABS fumes, which can be noxious.
An enclosure also prevents air drafts – sudden temperature variations due to a gust of cooler air – that can cause warping, poor layer adhesion, or layer delamination issues. Maintaining a high surrounding temperature eases the internal stresses in ABS due to its shrinkage, reducing the likelihood of the aforementioned issues. It also increases layer adhesion and is crucial to achieving strong ABS prints.
There are two types of enclosures:
- Passive enclosure: Such enclosures are heated up mainly by the heated bed and other printer components – in other words, no dedicated enclosure heater. Passive enclosures are much more common, and a variety of options are available, from professional options that include insulating materials to budget DIY solutions using an Ikea lack table and some acrylic sheets. They tend to be cheaper and easier to set up, too. In terms of temperatures, passive enclosures will not be able to reach extremely high temperatures, but a good quality one with insulation can comfortably reach the enclosure temperatures needed for ABS.
- Active enclosure: This type of setup includes a heater inside the enclosure. This allows for a higher enclosure temperature, which is especially handy for printing engineering and high performance materials such as PC or PEEK. These temperatures, however, exceed those necessary for printing ABS, and of course, this option is expensive and requires more effort to create.
No matter which you choose, remember to heatsoak your enclosure – in other words, allow it to reach a sufficiently high chamber temperature – prior to printing. This will take anywhere from 15 minutes to an hour, depending on the size of the enclosure.
Post printing, allow your parts to cool down slowly to room temperature while still inside the enclosure. This prevents sudden temperature change and therefore shrinkage and layer splitting.
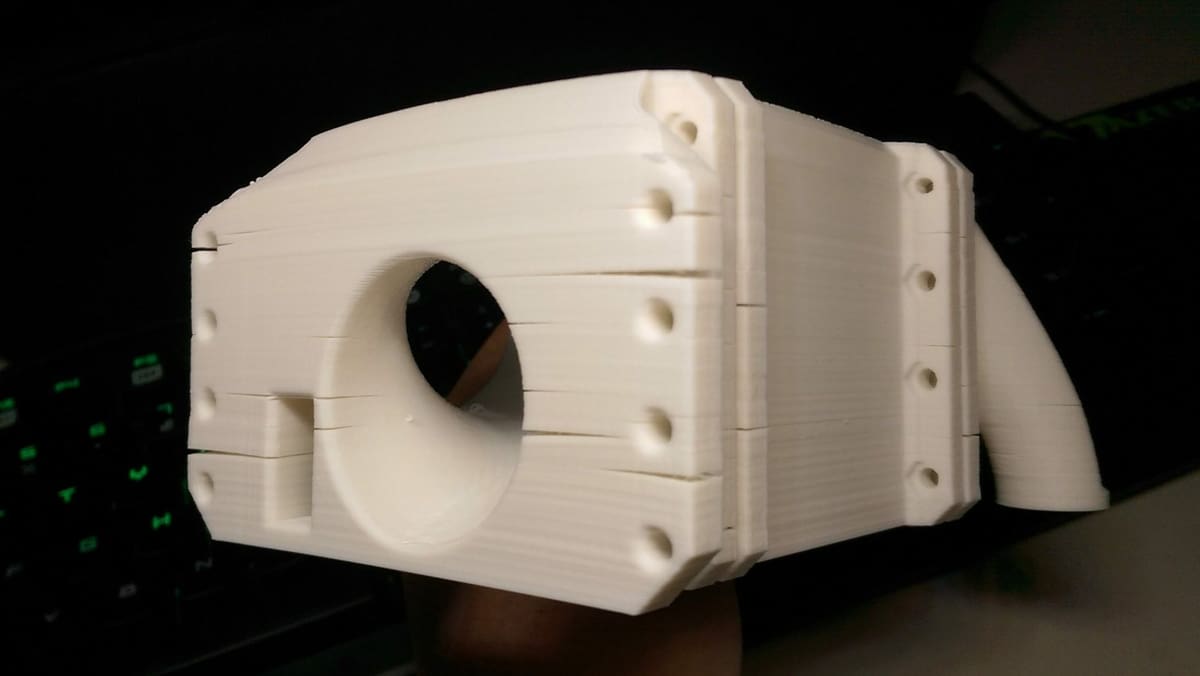
Stick It
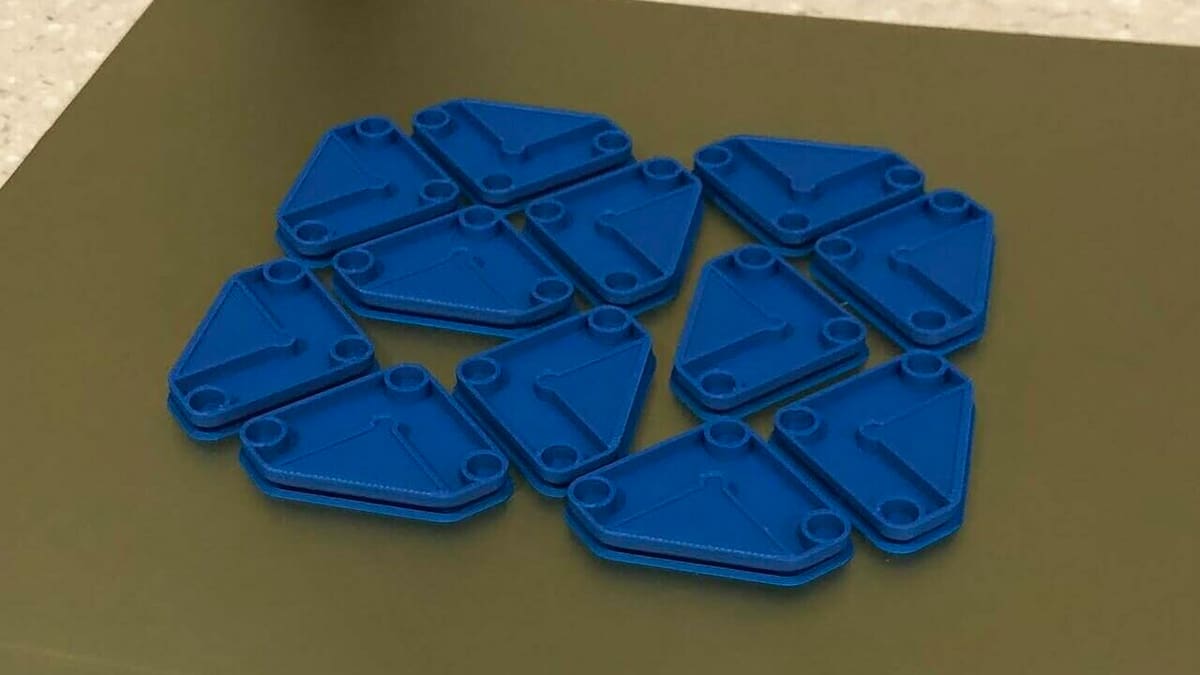
ABS often suffers from warping, not only due to uneven shrinkage of the parts but also due to poor adhesion with certain bed surfaces – for example, bare glass. For such surfaces, popular choices for additional bed adhesion include Magigoo, ABS slurry, a glue stick, or even hairspray. These form an interface between the bed and the first layer, causing it to adhere better.
Many recommend a smooth or textured PEI surface that sticks well not only to ABS, but also to most other materials such as PLA, PETG, and TPU. A PEI surface also releases prints easily after it cools down and has a long lifetime. It’s really a lifesaver for ABS, but remember that you’ll have to clean it with dish soap and water to get rid of possible oils and grease between prints to ensure the best adhesion every time.
If these options are still insufficient, consider using slicer options such as a raft, brim, or the Tab+ AntiWarping Cura plug-in to make sure that your 3D prints remain planted firmly in their place.
Keep It Dry
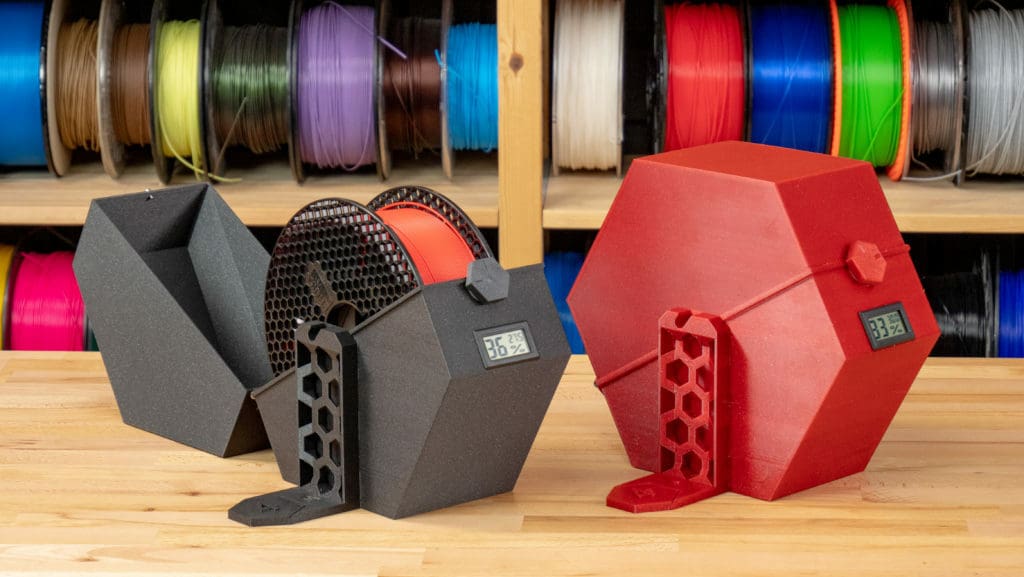
Like PLA and PETG, ABS is a hygroscopic material. This means that it’ll absorb moisture quickly. High moisture content in the filament leads to poor layer adhesion and brittleness.
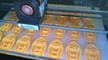
Moisture in ABS filament won’t show up immediately. In fact, if you’re a beginner, it may take you a while before you figure out what’s wrong with the filament. If it has absorbed moisture, you’ll notice some small bubbles and even hear them popping while it’s flowing out of the nozzle.
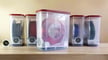
Proper storage for any 3D printing material is important, but this is especially true for ABS. If you live in a humid area, you need to keep the filament as dry as possible. Dry boxes offer a great way to store and print your materials simultaneously. Alternatively, you can even use plastic vacuum bags to store filament when you’re not using it.
Slicing
We’ve seen how a good setup can improve your ABS print. However, that’s only half of the story. With a good setup, you also need perfectly dialed slicer settings to get the best results.
Slicer settings dictate the manner in which the part is going to be 3D printed. So, as tricky as ABS is, with some neat tips you can get it to print the way you want it to.
Set the Temperature

ABS requires relatively high temperatures to print. For this material, a higher hot end temperature leads to a better flow of the filament and also helps with strong layer adhesion, as the filament is “melted better”. You can use temperature towers to find the exact temperature range in which you get the best quality, but sticking to the higher end of the manufacturer’s recommended temperature tends to lead to better print outcomes. A good starting point is a hot end temperature of 235 °C.
Along with a higher hot end temperature setting, ABS also needs a heated bed. A high bed temperature promotes good first layer adhesion, reducing the chances of warping or other problems. In passive enclosures, the heated bed warms up the enclosure and ensures that the area surrounding the part remains warm throughout the 3D printing process. This reduces the effects of shrinkage and allows the part to cool down gradually.
A bed temperature between 100-110 °C is great range for printing ABS.
Slow It Down
ABS benefits when it’s printed at a slow speed. The high printing temperature combined with slow speed lead to better layer adhesion. This also gives each layer sufficient time to cool down.
A print speed below 20 mm/s for the first few layers ensures that they stick to the build plate very well. This will prevent any lifting of edges or corners of the 3D print.
As the layers build up, you can gradually increase the printing speed. The printing speed for the rest of the part should be such that it allows the layers to cool down evenly. This will prevent any issues with layer splitting. A speed between 50-60 mm/s should give a nice balance between quality and time.
Adjust Part Cooling
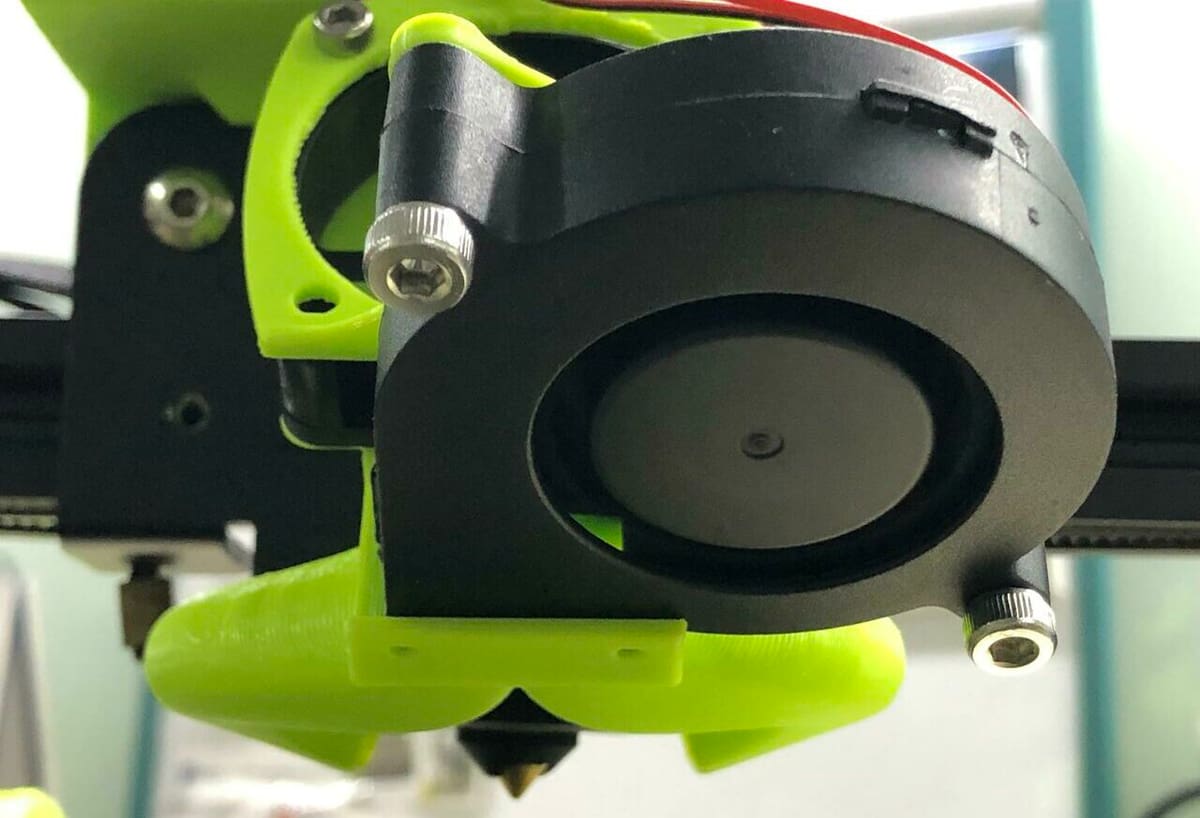
Too much cooling may result in poor layer adhesion, as it may lead to too steep of a temperature gradient and uneven shrinkage near the nozzle area. If part cooling amounts vary, it may introduce uneven air drafts, which further contribute to temperature differences. This is why we recommend a static part cooling value for the entire print.
At the same time, too little cooling may result in overheating of the printed part and poor overhang quality. Therefore, it’s best that part cooling is just enough to keep good quality of overhangs and prevent overheating.
Also keep in mind that part cooling should also be adjusted depending on your enclosure temperature. The higher the temperature within the enclosure, the more part cooling should be used. For an enclosure temperature of 40-45 °C, a low fan speed of 15% is a good start. For a nice, toasty enclosure temperature of 60-65 °C, try ~40%.
Remember to adjust this based on your specific setup. For more details, check out the cooling and layering times section of Ellis’ Print Tuning Guide.
Calibrate Flow Rates
With under-extrusion, layers and printed lines may not adhere to each other properly. This is especially prominent in ABS – which, as we mentioned above, easily suffers from very poor layer adhesion. Even slight under-extrusion – too low of a flow rate, also known as extrusion multiplier – will be detrimental to ABS’ strength, as layers and lines cannot bond well even if there are slight gaps in the part.
Therefore, it’s very important to carefully tune your extrusion multiplier / flow rate settings. Check out Ellis’ Print Tuning Guide for precise extrusion multiplier calibration.
License: The text of "Printing with ABS: 7 Tips for Perfect Prints" by All3DP is licensed under a Creative Commons Attribution 4.0 International License.