Are You Making This One Mistake That’s Ruining Your PETG Prints?

Printing at the wrong temperature is the top reason for warping and failed PETG prints. We'll show you how to fix it fast.
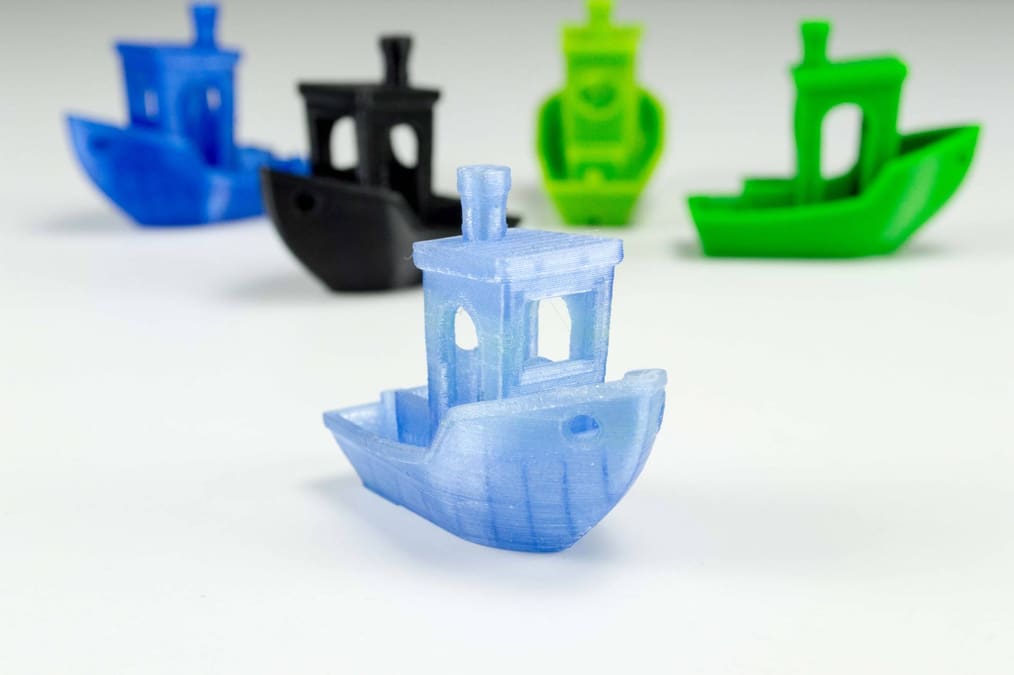
PETG is one of the most popular and versatile filaments out there. It’s compatible with almost any fused deposition modeling (FDM) printer, stronger and more durable than ABS but prints as easily as PLA, and is still reasonably priced. But let’s be honest: it can be incredibly frustrating.
If you’ve ever had prints that warp, refuse to stick, or even ripped chunks out of your build plate, you’re not alone. It’s a common experience that could cause many users to give up on the material entirely.
The good news? Most of this frustration comes down to one common mistake: failing to dial in the correct temperature.
PETG is far more sensitive to its setting than PLA. Getting the print bed or hot end temperature wrong by just a few degrees, can often lead to disappointment. Get it right, and you’ll unlock a material that’s both strong and easy to print.
In this guide, we’ll show you some simple tricks to avoid this mistake and find the perfect temperature for your printer and brand of PETG.
Finding the Perfect Temperature
Although there’s a general range of temperatures that work best for PETG, you still need to determine the precise temperature that works best for your particular spool of filament.
The easiest way to do this is through trial and error. Conduct a set of controlled test prints and compare the results. Print each print at a low speed, to ensure that the only factor affecting the output is the temperature.
Starting at the bottom of the given range, print tests at 5 °C intervals. Look out for the common effects of temperature of being too high or low, which we’ll discuss below. Once you have explored printing throughout the entire range, compare your prints and determine which temperature produces the best results with your filament.
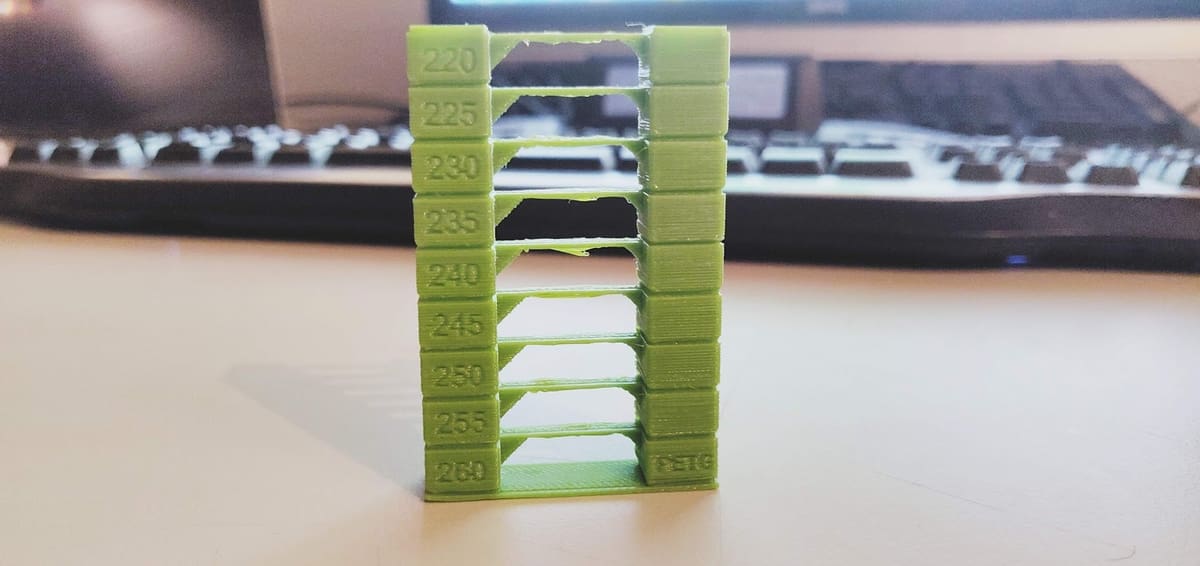
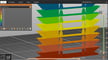
If you don’t mind playing around with G-code, an even faster method to determine the ideal temperature is to use a temperature tower. If all goes well, you’ll only need to run a single test.
Hot End Temperature
Similar to ABS, PETG requires much hotter temperatures than PLA. This means that generally, the hot end should be heated to between 220 and 250 °C.
If the layers of the print don’t adhere to each other, your temperature is too low. This is often a common problem, so ensure that the hot end temperature is high enough.
If you hear a knocking noise during printing, this means your extruder is skipping, and you should increase the nozzle temperature by 5 °C. Keep increasing by 5 °C increments until the extruder doesn’t skip anymore.
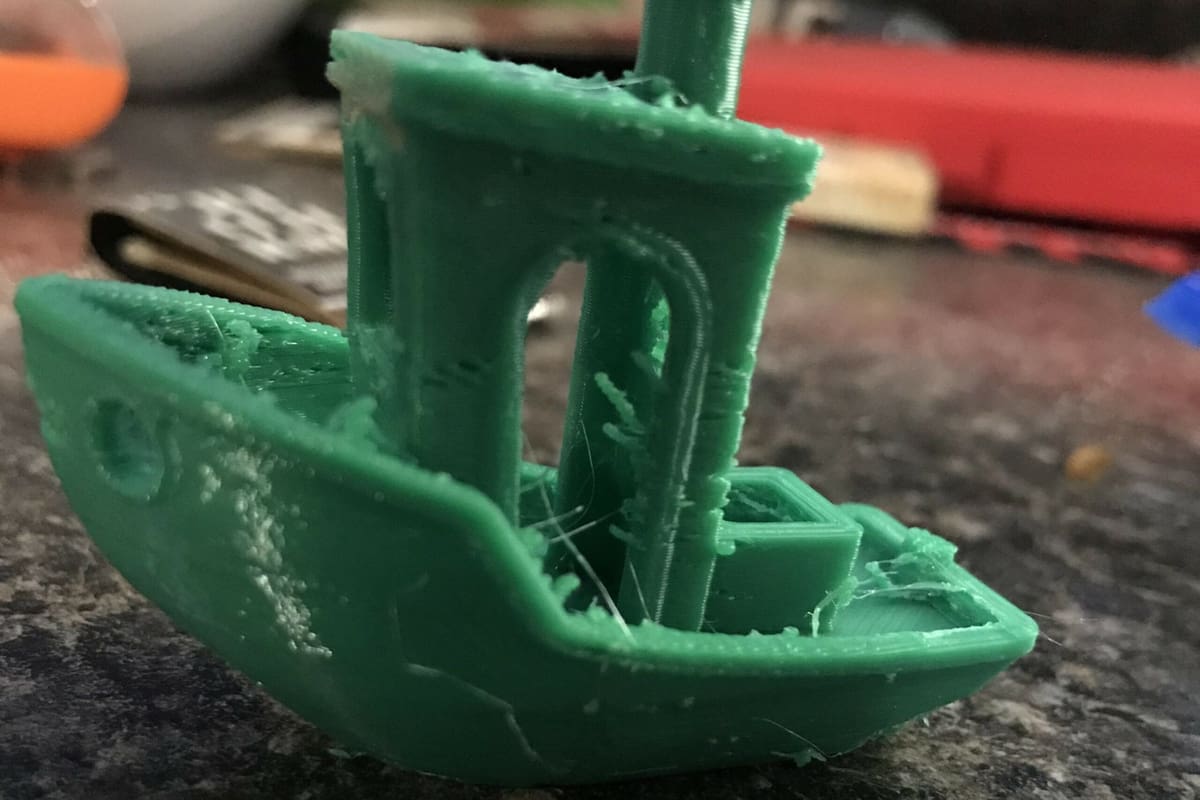
However, if you observe stringing on the print or clumping around the nozzle, then the temperature is probably too hot.
Despite this, PETG will normally print without defects within the given range.
Build Platform Temperature
Unlike ABS, PETG doesn’t require a heated bed, as it doesn’t undergo nearly as much warping. That being said, you may still experience bed adhesion issues depending on the quality and brand of PETG you’re using.
Therefore, it’s still very helpful to heat your print bed. Temperatures of between 50 and 80 °C will help ensure that the extruded filament sticks. (Some makers even claim to print at temperatures as high as 100 °C!)
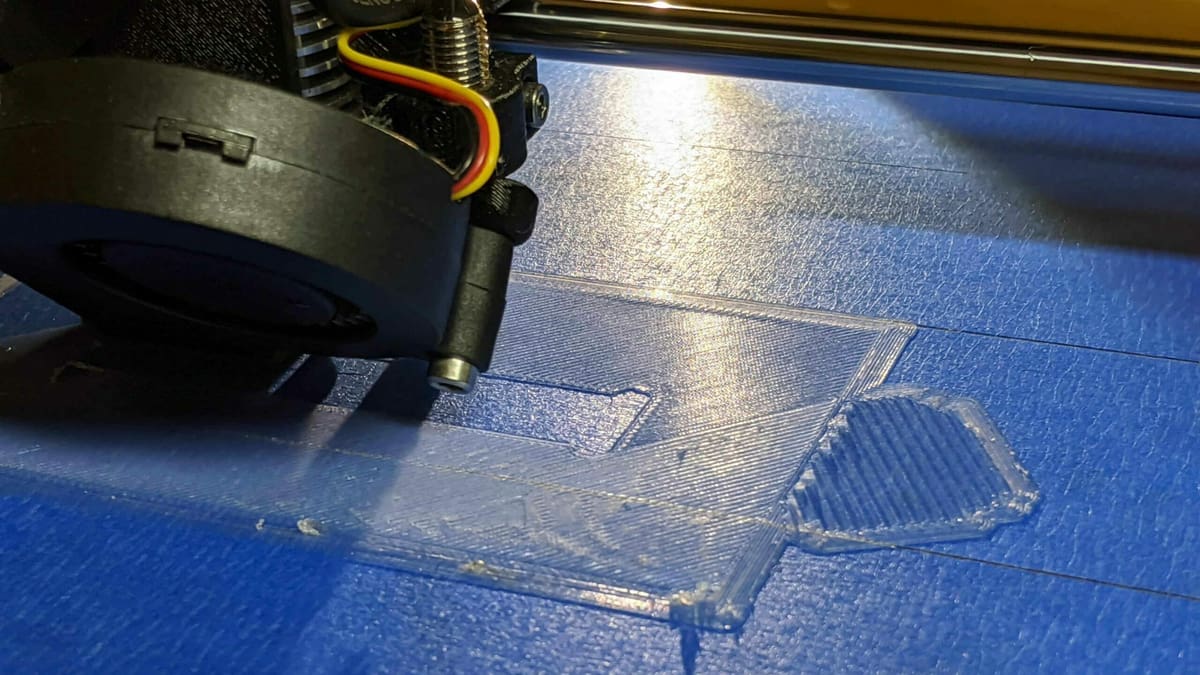
To start try a temperature in the middle of the range, 65 °C for example, and see how well your first layer adheres to the bed. If you don’t like the result you’re getting, adjust the temperature by 5 °C either up or down depending on what issues you’re coming across.
As with hot end temperatures, incorrect bed temperatures may result in certain defects. If the bed is too hot, it’s very common to experience a phenomenon known as elephant’s foot. This is when the first layer is slightly larger than subsequent layers.
Alternatively, if the filament isn’t properly sticking to the bed, it may be too cold. If this issue is still happening with a heated bed, try applying some sort of adhesive to the surface, such as a glue stick or blue painter’s tape.
Quick Troubleshooting Guide
Additional Printing Tips
In addition to temperature, there are a few other factors that can help you achieve great PETG prints.
- Use blue painter’s tape: If there are any problems with first layer adhesion, simply put down a layer on top of the build plate.
- Turn on your fans: Depending on the type of model you’re printing, it may be helpful to have cooling fans on. This is especially the case with models where the printer quickly applies successive layers, not giving the previous layer enough time to cool. Fans will help the layers to cool, increasing the overall quality of prints and improving overhangs. That said, it’s recommended to set them to somewhere between 20% and 50%.
- Keep your filament dry: Like many filaments, PETG is hygroscopic, meaning that it will readily absorb moisture from the air. This can negatively impact print quality, so it’s important to store your filament in a dry area. If necessary, you might even want to dry it before printing.
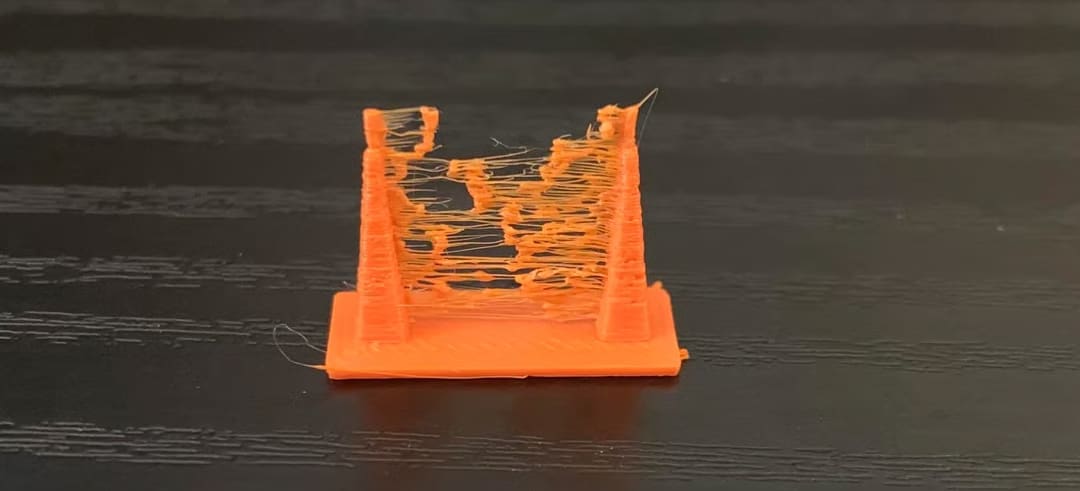
- Get your retraction settings right: PETG is notorious for stringing. Playing around with retraction settings will be most helpful in solving this issue, but lowering the print temperature can also help.
Overall, PETG is generally very easy to print with, as it requires neither an enclosure nor a heated bed, making it compatible with virtually all FDM printers. It combines ease of printing with great strength and durability, making it a great filament choice for any print.

License: The text of "Are You Making This One Mistake That’s Ruining Your PETG Prints?" by All3DP is licensed under a Creative Commons Attribution 4.0 International License.