Multi-material 3D Printer: Types & Printing Guide

You've heard of it, but what exactly are all the options? Find out all about multi-material 3D printers and 3D printing techniques!
As you might expect, multi-material 3D printing involves using more than one type of material within a single print. It’s one of the key capabilities of additive manufacturing that can leverage its potential well beyond that of other manufacturing methods. It can eliminate the need for assembly, reduce the need for post-processing, and promote the efficient design of multi-purpose parts.
At least for now, multi-material printing is only really possible using a fused deposition modeling (FDM) printer, as these machines already have the capacity to print a wide range of materials and easily change between them mid-process.
Naturally, the standard approach to 3D printing – using a single-nozzle, single-extruder setup – does introduce some challenges. Thankfully, 3D printing innovators have come through with some very ingenious solutions, which we’re happy to share with you now.
It’s worth mentioning that multi-material printing is different from multicolor printing. By definition, multicolor printing solutions only guarantee that several colors of a single type of material are being used; these techniques won’t always allow for multiple types of material.
This means that while a printer capable of multi-material printing will also be capable of multicolor prints, not all multicolor solutions can be used for multi-material printing.
With the distinction out of the way, let’s take a look at what the advantages and biggest challenges are.
The Advantages
So, why print in multiple materials? Well, imagine printing a prosthetic hand. You want the hand to be strong and washable, so perhaps you would use PETG. But you also want the fingers to have good grip, so maybe TPU would be better? And there are some areas that require very small details, so maybe PLA is the answer after all?
With multi-material printing, you don’t have to choose one material for the whole model, you can use all three! This also means that there’s no need for assembly after printing, which is great because assembly can be time-consuming, and models will often be prone to breakages at the points where two parts connect.
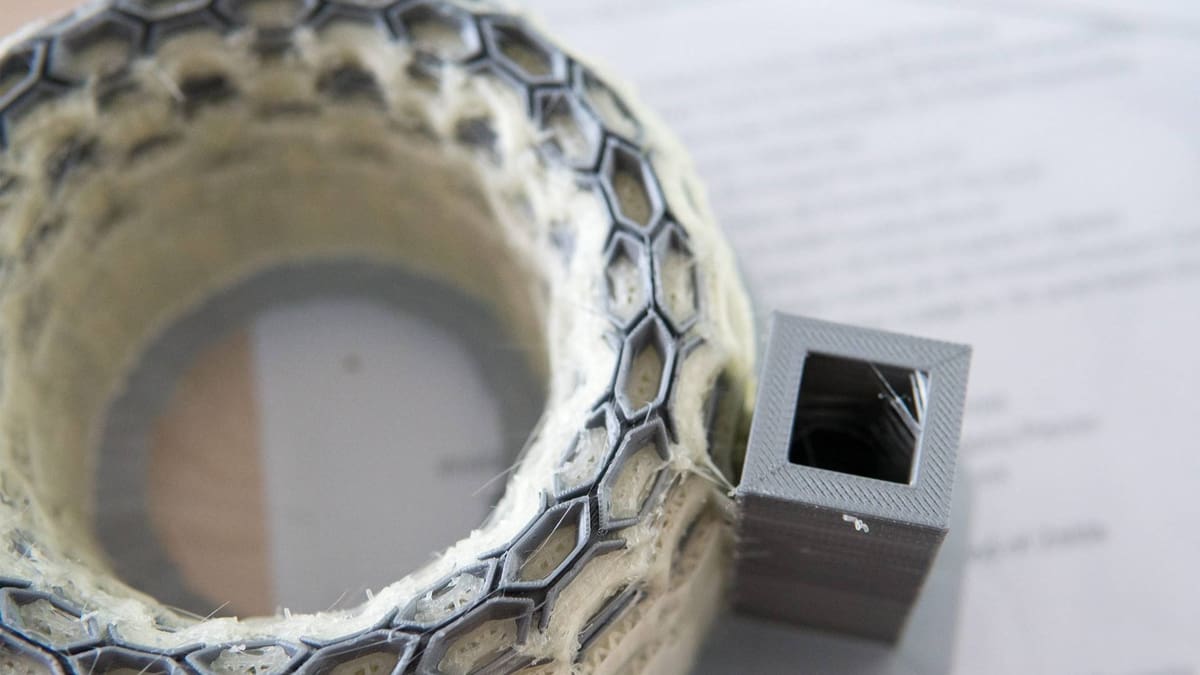
You can also use multi-material printing to print supports in a soluble material such as PVA. This enables the use of supports where they would otherwise be impossible to remove, such as on the surface of a model. By utilizing this multi-material approach, you can achieve a better surface finish.
The Challenges
Okay, you’re sold. But if multi-material printing is so great, why would you ever not use it? Unfortunately, like so many great things, multi-material printing has its challenges.
To start, if your design is complex, you may require material changes hundreds if not thousands of times within a single print, so multi-material printing can be dramatically slower than printing in a single material.
Then, switching materials isn’t as simple as swapping out the spool, either. Take for example, PLA and TPU. These materials require very different slicer settings to print well. To swap between them, you’d need to change the nozzle and bed temperatures, the print speed, the retraction settings, and so on.
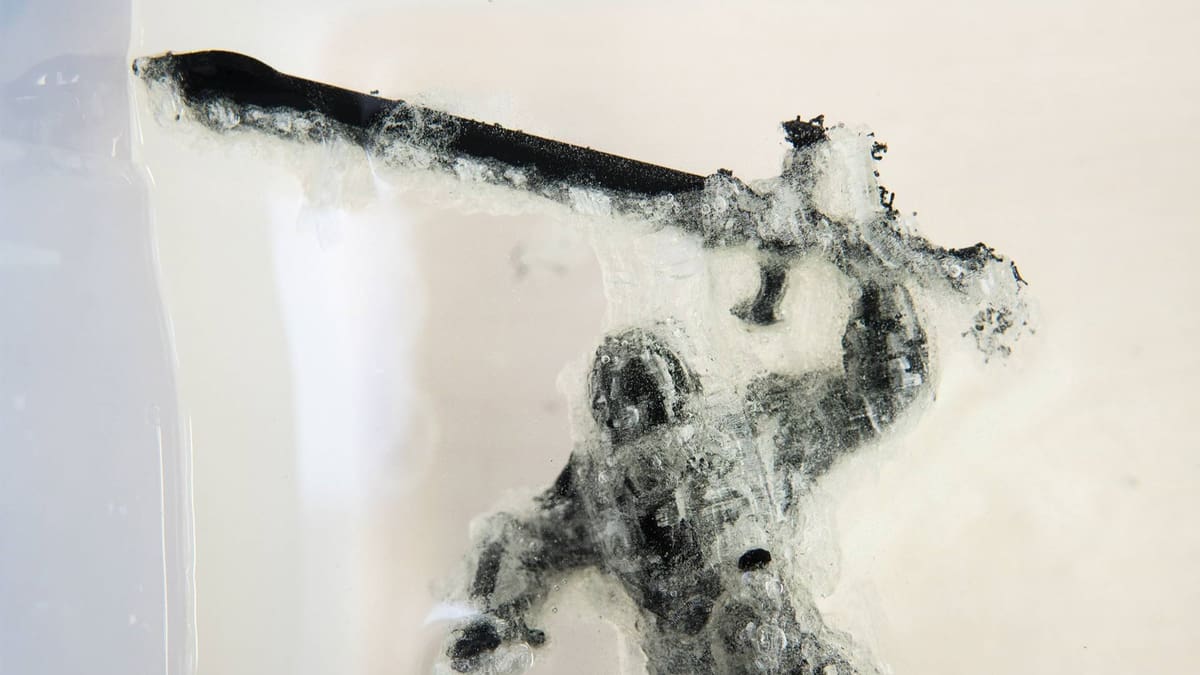
You also need to make sure you purge all of one material before printing in another; if you have a bit of ABS left in your nozzle and try to print PLA, the new and lower temperature will prevent the small pieces of ABS from getting out, likely causing blockages! For some materials, especially abrasive ones such as those containing exotic materials like wood or metal, you may even have to change to a different nozzle before using them.
Yet, there are ways…
Multi-material Printing Methods
There are several typical approaches to multi-material printing, all with their own pros and cons. Which is right for you will depend a lot on the project you’re working on as well as the amount of time and money you’re willing to spend.
Generally, methods can be split into two groups:
- Single hot end methods make use of a standard 3D printer. In fact, some of these methods are as simple as modifying a printer with accessories that enable multi-material printing.
- Multiple hot end methods are, generally speaking, going to be purpose-built machines.
Let’s take a closer look at how they work and a few examples of each.
Single Hot End Solutions
The key advantage to these approaches is that they don’t require that you buy a purpose-built multi-material printer! You can simply use a standard 3D printer and use one of these methods or upgrades.
As you might expect, these approaches are more budget friendly.
Filament Swapping
This method can be used with pretty much any printer. It involves inserting special commands at certain points in a print’s G-code script, telling your printer to pause at the end of a layer so that you can manually swap the materials before resuming.
This can be relatively simple or more difficult, depending on your slicer of choice, as some have better support for this than others. If you’d like to give it a try, see our guide on pausing at a particular layer in Cura.
Adding to potential complexity, this method is somewhat limited in its applications.
For starters, it requires that you only want to change materials when starting a new layer, so it’s not very helpful for anything that may require two or more materials to be used within a single layer, like printing soluble supports.
It’s also worth considering that even a relatively small print could easily require a lot of material changes. Each change requires the print to stop so that you can take off the current spool and swap in a new one, purge the material, and resume the print. This can result in what would otherwise be a quick print taking hours longer. Plus, if the color you want to switch to is a material with different temperature settings than the base filament, you’ll also need to tweak everything to ensure that the nozzle won’t run too hot or cold to properly melt it.
DIY Options
Of course, makers are known for getting creative and finding DIY ways of achieving their goals, and if manual filament swapping seems like too much, there are other alternatives.
For example, there’s the Enraged Rabbit Project, which, while mainly catering to Voron 3D printers (although it could be adapted to other machines running Klipper), looks to provide machines with a direct extrusion setup the possibility of multi-material printing. You can either purchase a kit of all the non-printed parts that make up the Carrot Feeder (a.k.a. the nine-spool holder), or you can go the full DIY way and source everything yourself by following the BOM included in GitHub. Note that, no matter what option you go for, you’ll still need to print some parts.
Another open-source option is the SMuFF multi-material extruder, although the creator himself warns that this is no easy project for beginners. It can also replace the Bowden extrusion setup of your machine, and is compatible not only with Klipper but also with Marlin and RepRap Firmware, and you can even add an OctoPrint plug-in. In spite of the challenge it may represent, there are plenty of recommendations from the creator on specific board models that may be most suitable, what to do after you’ve built it, and a lot more.
If either these options sound like a bit too much work and you want to skip straight to already assembled add-ons, there are purchasable options available.
Prusa Multi-Material Upgrade 3
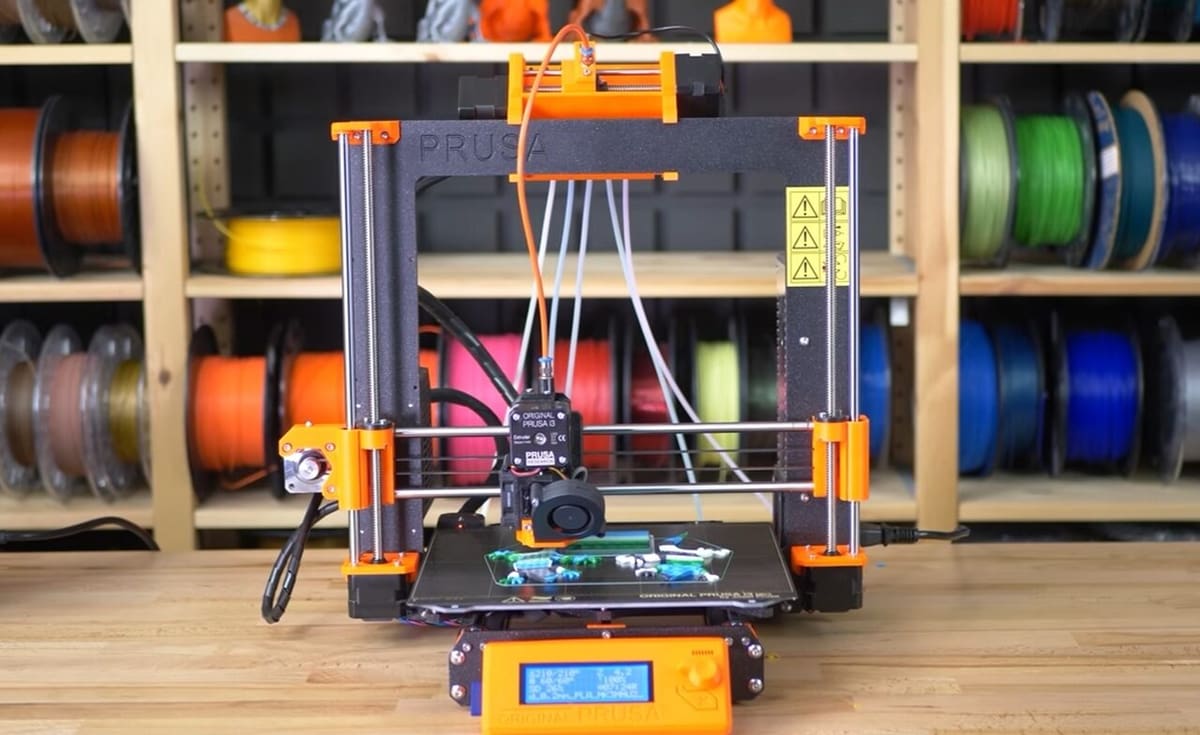
Another option is to turn your standard FDM printer into a multi-material machine using accessory equipment.
The Multi-Material Upgrade 3 (MMU3) follows the Multi-Material Upgrade 2S (MMU2S), Prusa Research’s second-generation multi-material add-on. While the 2S allows the users of the Prusa i3 MK2.5, MK2.5S, MK3, and MK3S printers to print in up to five different colors or materials, the MMU3, as listed on the official product page, is available as an upgrade kit for the MK3S+ and the MK4.
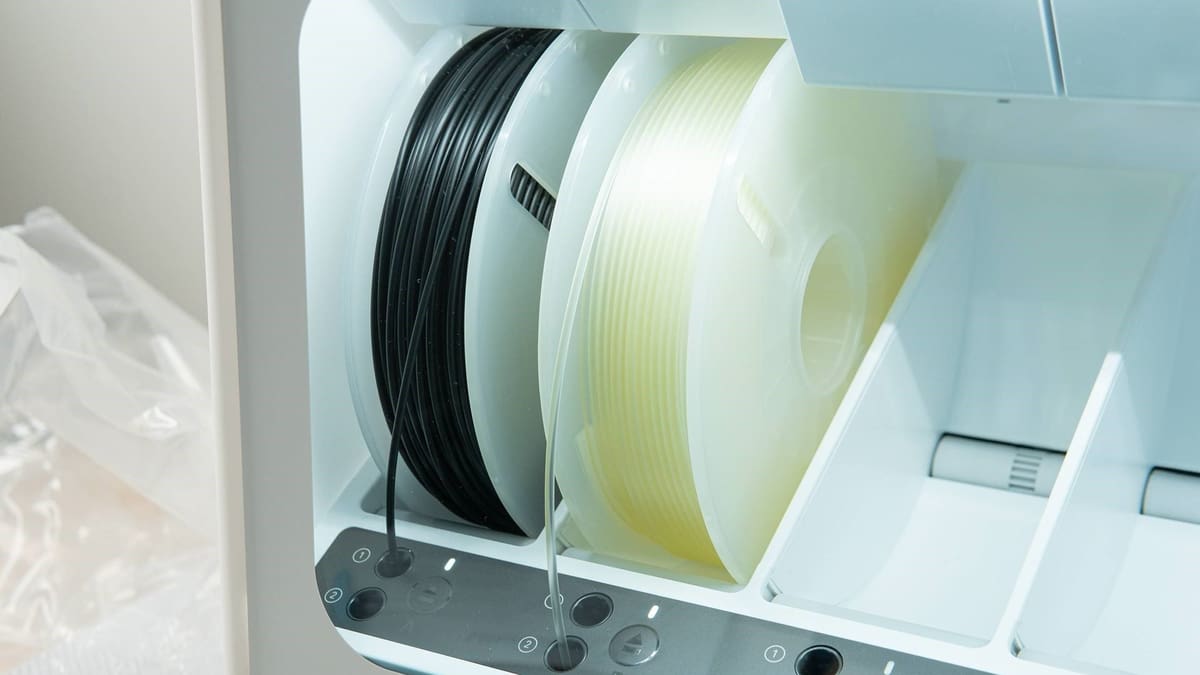
The MMU unit sits upstream from the printer’s extruder, collecting all five filaments simultaneously and using a single extruder to feed the correct filament, depending on the needs of the model. The material compatibility includes PLA, ABS, PETG, and soluble materials.
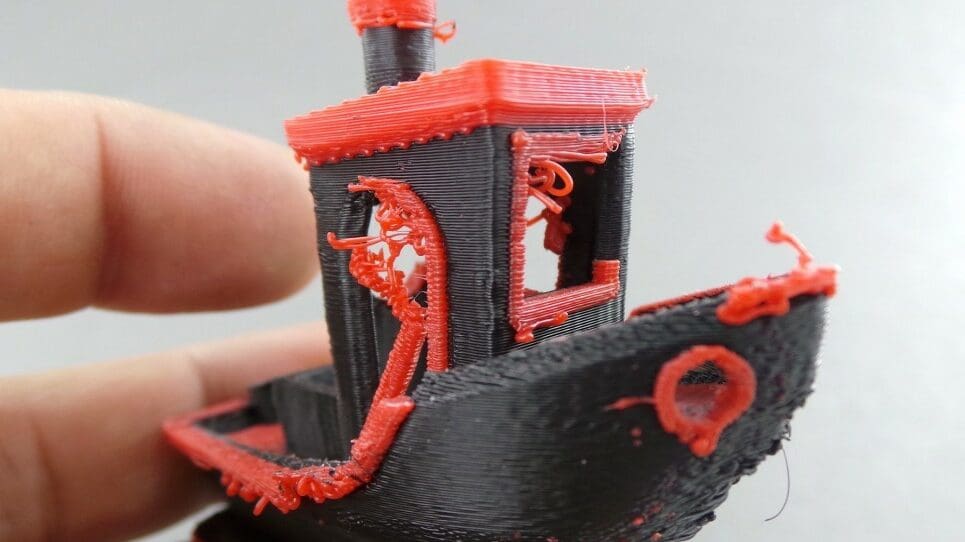
One downside is that it prints a purge block to ensure that the area where the materials were fused isn’t used in the print, as this would contain a contaminated mixture of both materials. When printing a small object, the purge block can even use more material than the print itself, which is quite wasteful.
Since the release of PrusaSlicer 2.4, many new features were added to make multi-material printing less wasteful and more accessible (at time of writing, the latest version is the 2.6). It’s now easier to select which areas of a model should be printed in which material and there are options to “wipe into infill” or “wipe into object”, which is that same idea of using the material that would’ve been part of the purge block either as infill or to print another model. Again, this doesn’t eliminate the need for a purge block and applications may be limited, but it’s a great step in the right direction.
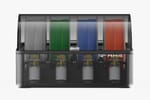
Mosaic Palette
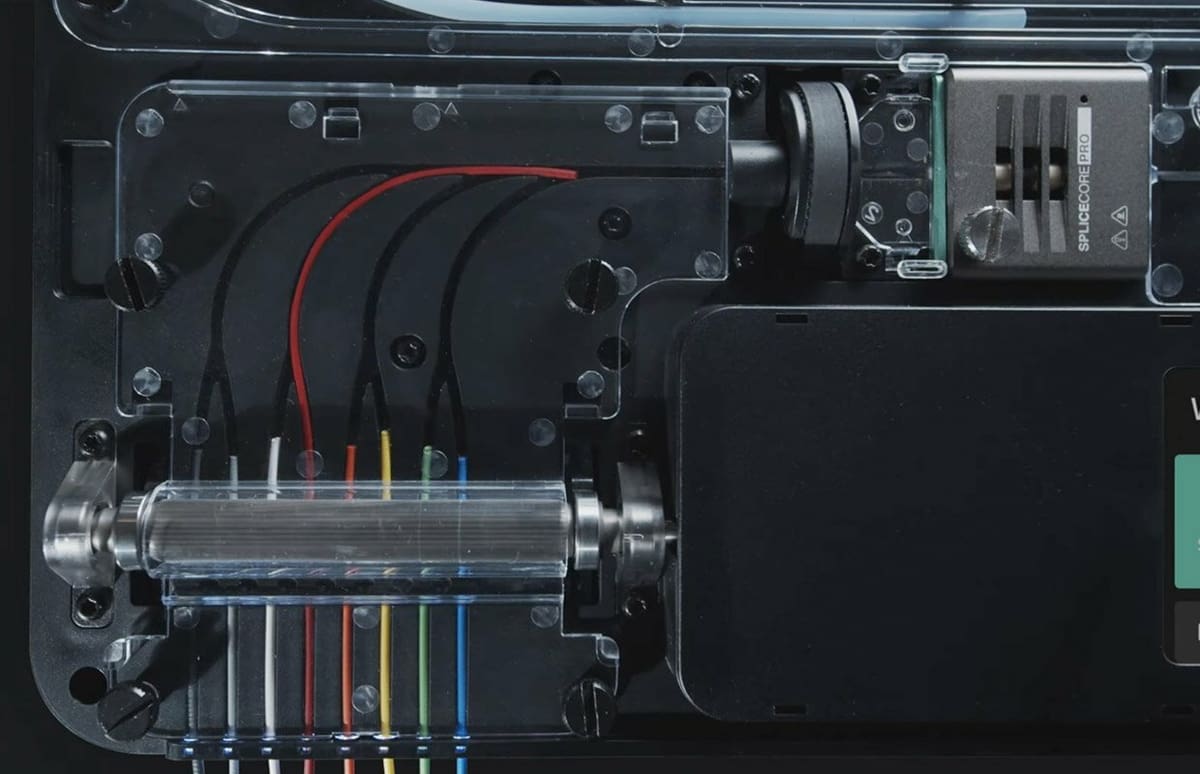
The Mosaic Palette is another accessory similar to Prusa’s MMU, working with most FDM printers. The current version is the Palette 3 Pro, which can enable printing in up to eight different materials.
The Palette works by precisely cutting and splicing various materials and feeding the printer a single, continuous length of filament, which can be printed in much the same way as you would print with a single material. With this latest iteration of the device, the company alleges faster printing times and uninterrupted printing – if a spool ends, the Palette will splice to another spool and keep things going.
That said, the Palette has the same issue as the MMU in that it does utilize a purge block and can be quite wasteful. However, it should be mentioned that Mosaic has made moves to reduce waste by improving its Canvas slicing software. For instance, they’ve made it possible for you to calibrate the amount of purge required between specific materials. You can also use some of the material that would be part of the purge block as infill.
This is a welcome step in the right direction when it comes to minimizing waste. Unfortunately, it doesn’t completely eliminate the need for a purge block, and you’ll need to be happy with mixed materials in the infill.
Bambu Lab AMS
If you happen to have a Bambu Lab printer, the Automated Material System (AMS) is an upgrade that enables printing with four spools. Should you have 4 AMS units and the AMS hub, you can use up to a whopping 16 different filaments on a print.
It’s worth noting that it’s only compatible with the same brand of printers. While this can be limiting if you don’t have a P1P or Carbon, because it’s made especially for them, the setup works seamlessly. Of course, if you don’t need such a big build size, the A1 Mini can be purchased with the AMS Lite, although it’s worth noting that neither unit is compatible with flexible materials.
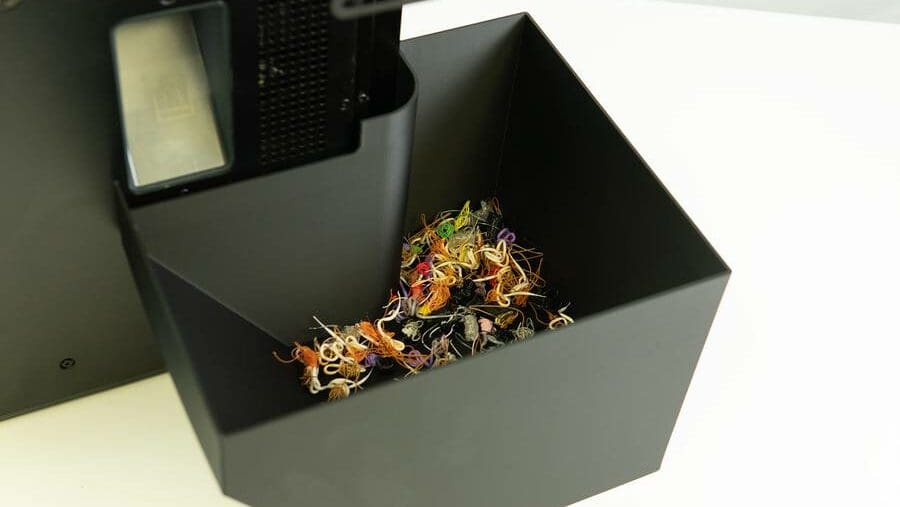
There’s also the expected purging of materials, if in a different way. Instead of the block, small threads of the “old” and “new” filament are expelled. Overall, the quality of the system can’t be denied.
Multiple Hot End Solutions
These options tend to cost a little more but also offer a higher level of control and (typically) give better results with less work on your part.
Dual Extrusion
There are several techniques that fall under “dual extrusion 3D printing”, as can be seen in our list of the best dual extrusion printers. One of the main distinctions lies in whether or not a multiple extrusion printer uses multiple nozzles.
While an option for multicolor printing, setups where two or more filaments are fed into a single-heat block aren’t great for multi-material printing, as they’re prone to issues related to materials mixing together. Therefore, it’s best to have two (or more) separate hot ends on a single machine. Then, each hot end can be calibrated and set for its own material. This avoids contamination issues and eliminates the need for a purge block.
Dual extrusion printers are limited in that they can only use two materials at a time, and so are often used for printing with soluble supports. However, you can print with more than two materials by combining dual extrusion with one of the previously mentioned techniques.
It’s also worth considering that the two hot ends limit each other’s movement to a degree, so you can’t always use all of the print area, and print times can be longer.
Tool Changers
Tool changers are machines that can be fitted with several hot ends (or even other tools, hence the name), which can be automatically swapped during a print.
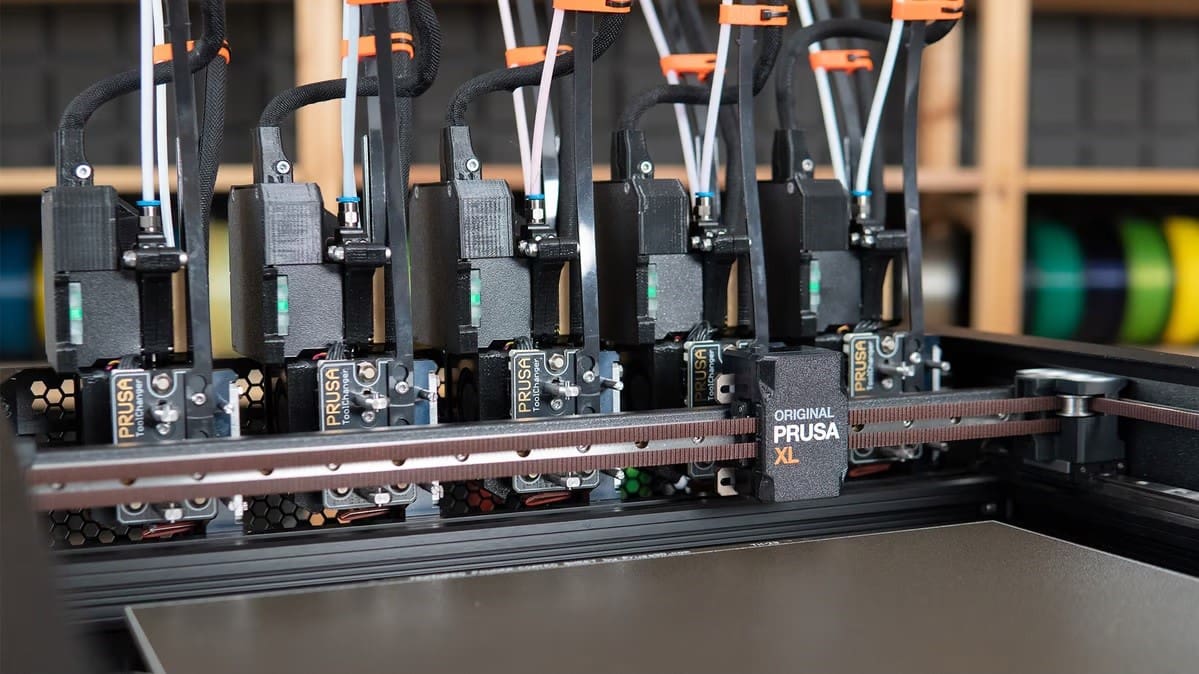
These types of machines are typically considered to be somewhat advanced and are usually purpose-built by experienced hobbyists. However, there’s a notable 3D printer with a tool changer currently available for purchase: the Prusa XL. This can be bought semi- or fully-assembled.
Using a tool changer offers all the benefits of dual extrusion but without the limit on the number of materials that can be printed. They also offer much more freedom, as they’re typically large-format machines that are able to facilitate other tools, such as lasers and engraving toolheads. It’s worth noting that the Prusa XL only offers the use of up to five hot ends.
Of course, you can always go the DIY way if it’s a challenge you want to take on.
Industrial Solutions
If none of the above options are ticking all of your boxes, there are a couple of other possibilities to consider. Maybe you’re thinking more on a larger scale, and the previous options aren’t really meeting your requirements.
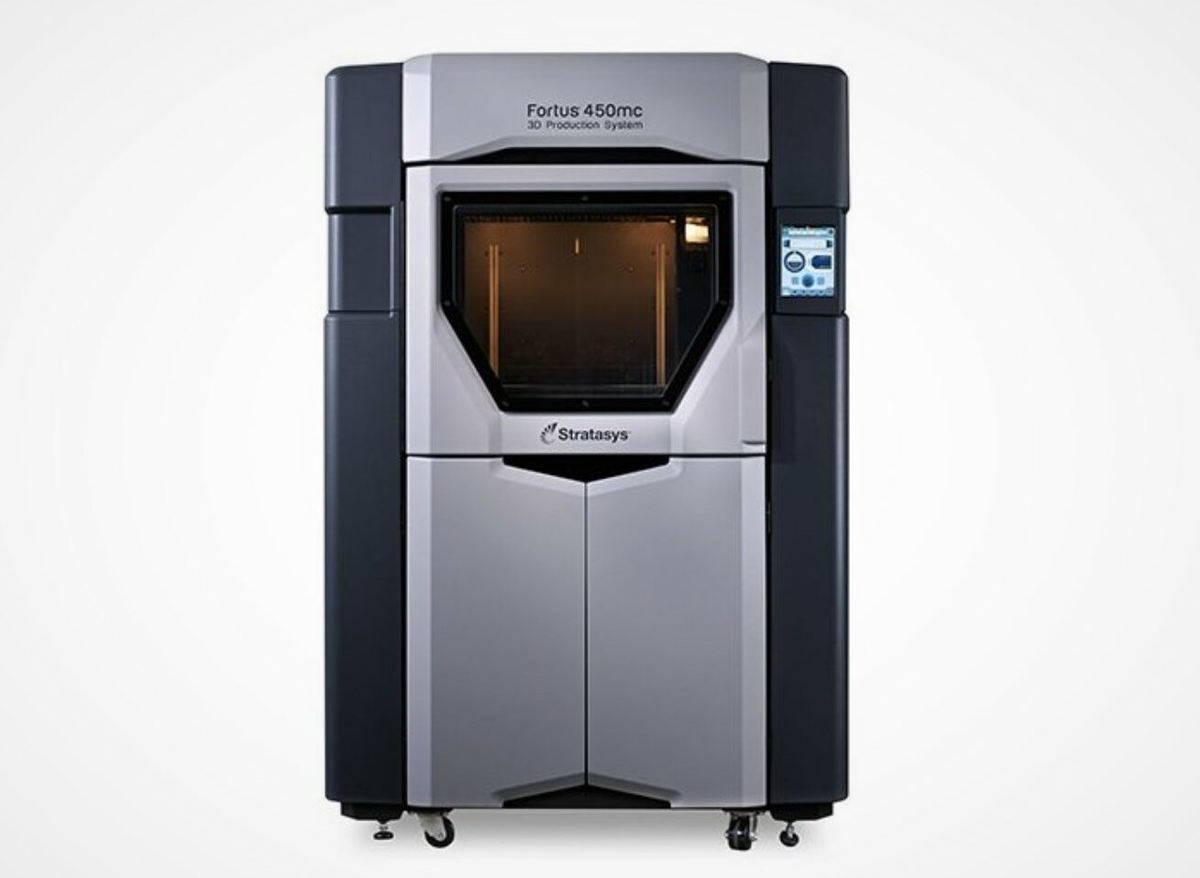
Outside of the world of hobby printing, for more industrial applications, companies such as Aconity3D, Meltio, Lithoz, or Stratasys may be of interest to you for your larger scale or more complex multi-material printing needs. Their solutions allow the use of a huge variety of different materials to create highly intricate and advanced prints for different applications, including automotive and healthcare.
The Modix Big-120Z is aptly named with its build volume of 600 x 600 x 1,200 mm. The dual E3D Super Volcano hot ends make multi-material printing a possibility.
The Delta WASP 2040 Industrial X may have a smaller build volume (400 x 200 x 200 mm), yet it can be set up with either the WASP Zen X Extruder, which features a dual extruder for multicolor or multi-material 3D printing, or with the Flex Extruder, designed for flexible plastics.
Whatever your multi-material needs, you can find industrial, professional, and large-format 3D printers that cater to you.
License: The text of "Multi-material 3D Printer: Types & Printing Guide" by All3DP is licensed under a Creative Commons Attribution 4.0 International License.
CERTAIN CONTENT THAT APPEARS ON THIS SITE COMES FROM AMAZON. THIS CONTENT IS PROVIDED ‘AS IS’ AND IS SUBJECT TO CHANGE OR REMOVAL AT ANY TIME.