
3D Printer Layer Shifting: 6 Simple Solutions

Wondering what causes layer shifting in 3D printing? Check out six easy tips and tricks to prevent a 3D print layer shift!
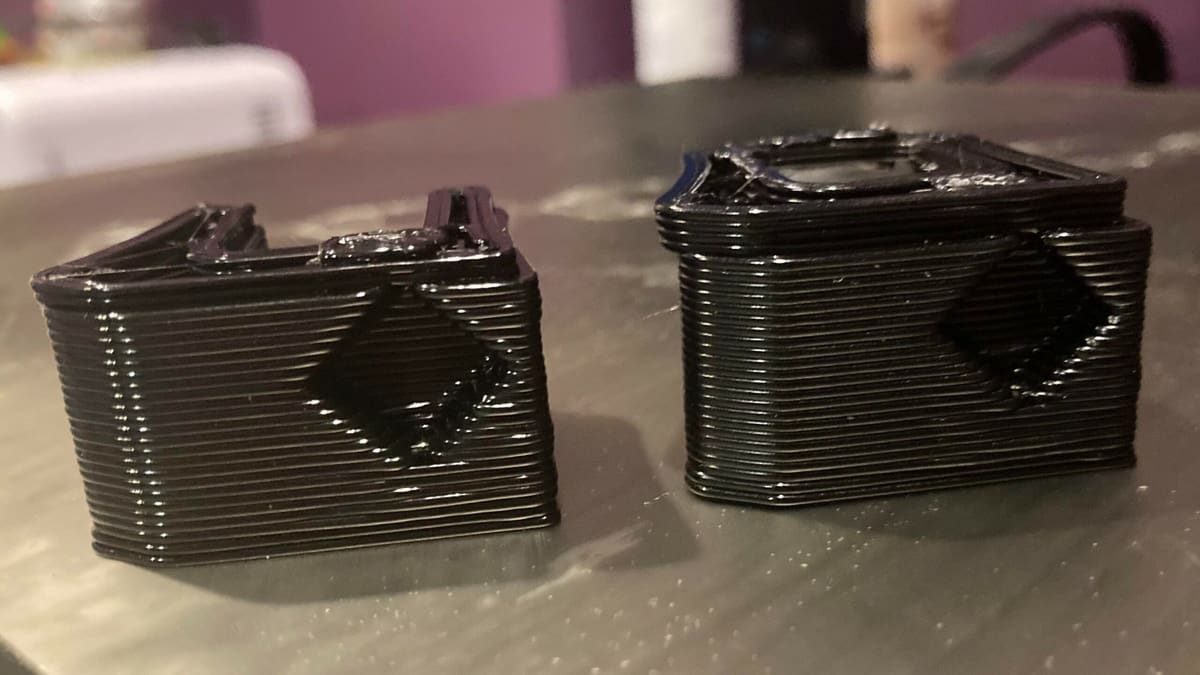
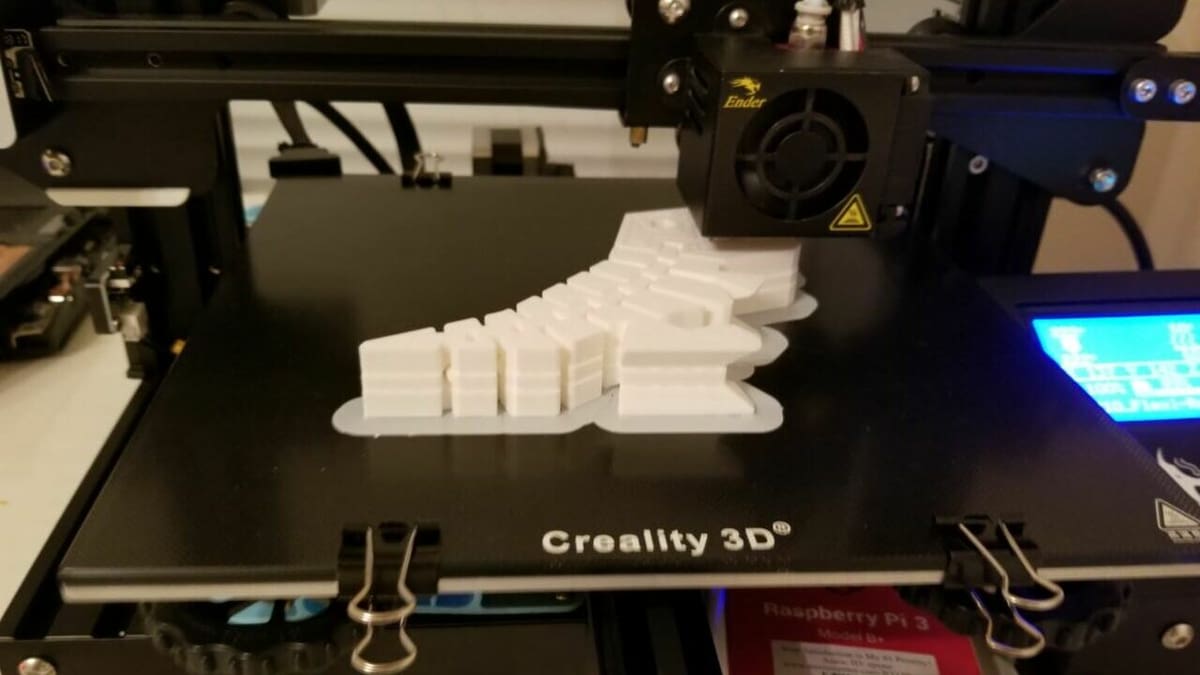
While there’s a host of possible 3D printing problems, layer shifting is one of the most obvious because it affects both the dimensional accuracy and the visual appearance of a print. Simply put, layer shifting occurs any time a layer is printed with a horizontal offset from where it should have been printed.
Often, multiple layers of the same print will move in one direction, leaving you with an erroneously slanted print that looks bad and won’t function as expected. Other times, layer shifting will appear as a single large displacement at a specific layer.
Layer shifting ruins prints irreversibly, as there’s really no way to fix an affected model. However, you can prevent this problem from happening in future prints by addressing the root causes. In this article, we’ll be going over a few easy and effective tips to prevent layer shifting. Let’s get started!
Tip #0: Proper Printer Calibration
Our first tip is considered “#0” because this is advice for virtually all printing issues. When faced with any print-quality mishap, including layer shifting, the first thing you should do is ensure that your printer is properly calibrated, specifically tuning and checking that all aspects of your 3D printer are functioning.
Examples of proper printer calibration include tuning your slicer profile (e.g. nozzle temperature), adjusting your E-steps, ensuring the motors are receiving the proper voltage, and tightening all relevant screws and bolts. Further, you should level your print bed, change or clean your nozzle, PID tune your hot end, and whatever else to get your printer nailing some test prints.
Sometimes, a printer can pass every calibration test, but you’ll still notice print errors like layer shifting. In this case, it’s a good idea to check that your files are not corrupted. You can try re-uploading the G-code to your SD card if you notice that your prints keep failing at the same point.
If you’ve properly calibrated and tuned your printer and the layer shifting persists, you can move on to tip #1.
Tip #1: Minimizing Bumps & Vibrations
Our first real tip is to minimize all bumps and vibrations that your printer absorbs or produces while printing an object. These can rattle the printhead and print bed along their paths, potentially causing layer shifting to occur.
Bumps and vibrations can come from many sources. First, make sure that your printer isn’t absorbing any vibrations from the surface it rests on. This means placing your 3D printer somewhere stable and possibly adding rubber vibration dampers (3D printed or purchased) to the bottom of your machine.
Second, check that the motors on your machine are running smoothly and aren’t jolting when changing directions. Third, make sure no contaminants or debris lie in the path of the printhead or print bed. Sometimes, scraps of plastic can get in the frame of the printer, potentially affecting motion.
There are also other ways vibrations or bumps can occur that are more specific to your setup. Basically, you want to locate the source of your printer’s extra movement and eliminate or reduce it as much as possible.
Tip #2: Tighten the Belts & Pulleys
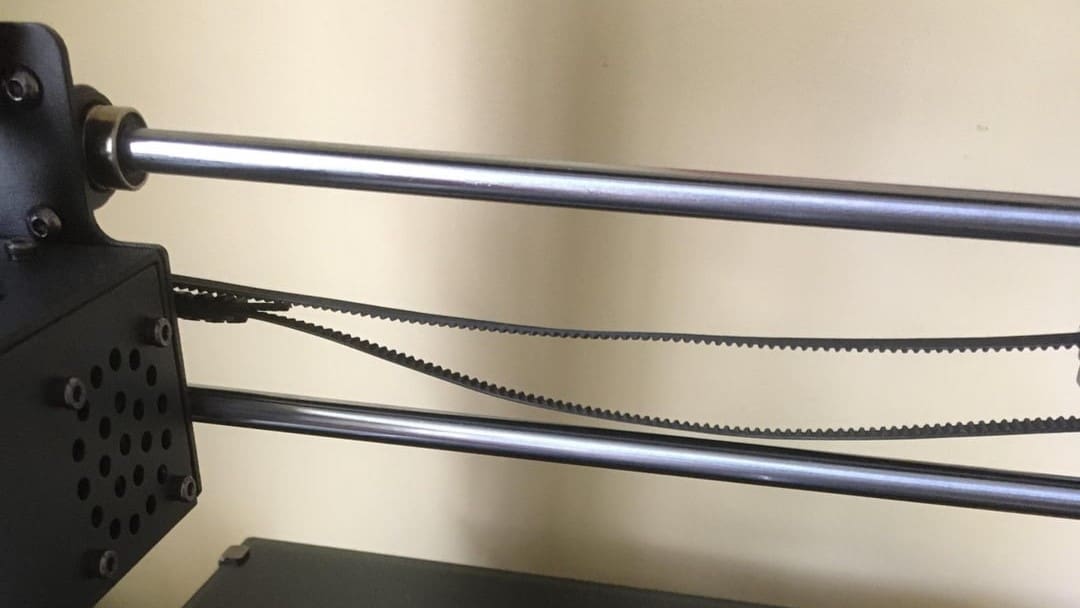
Our second tip is solving perhaps the most common way layer shifting occurs: loose belts. Most FDM 3D printers use belts and pulleys to move the printhead and print bed along their respective axes, but layer shifting can easily happen when the belts are loose. That’s because the more slack belts have, the more room the printhead and print bed have to move freely.
So, you want to tighten the belts on your machine by extending the pulley on one side of the belt loop. Some machines have easily adjustable belt pulleys with knobs that you can twist to tighten the belt. You can check out our article all about tightening the belts on your machine to learn more about this process.
Tip #3: Reduce the Print Speed
Third, you should try reducing your print speed to see if this is the culprit. Print speed can cause layer shifting because, if set higher than your stepper motors can handle, the motors may move less than instructed.
Still, you want to have the highest possible speed without compromising print quality. For this reason, we recommend reducing your print speed by around 20 to 60% while trying to fix layer shifting.
Also, you should make sure that your stepper motors are performing as expected and keeping up with the demand for motion (they often make a clicking noise when failing). If you find that print speed isn’t the culprit in your case of layer shifting, you can always increase it back to what you were originally using.
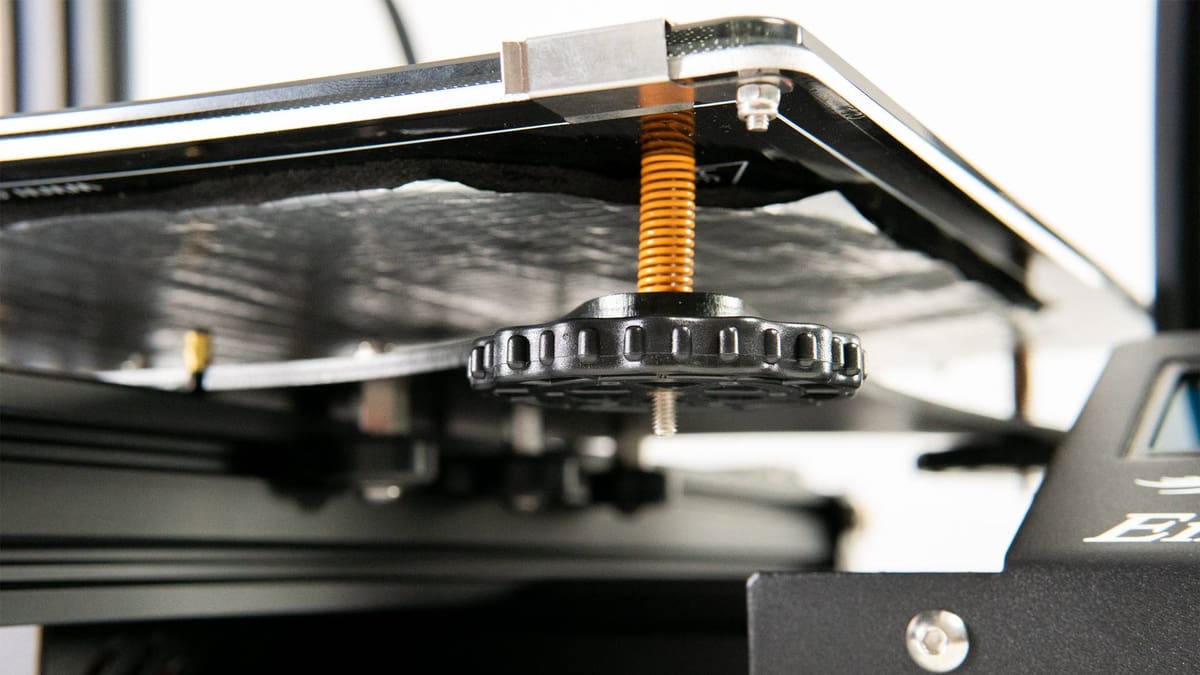
Tip #4: Secure the Printing Surface
Sometimes, the cause of layer shifting is a little more obvious than you might think, and adding one more binder clip can make all the difference. Our fourth tip is to secure the build plate or printing surface down to the print bed underframe, which is the frame component moved by the bed stepper motor. If the build plate is too loose, it could shift while the print bed underframe moves back and forth.
To better fasten the build plate to the print bed underframe, you can use binder clips or clips meant for 3D printers. It’s common to have at least four of these clips holding your build plate to the underframe (one on each corner), but you may want to use even more for greater stability.
Tip #5: Cool the Electronics
Our fifth tip is to cool the electronic components on your 3D printer. When too hot, the electronics can malfunction, possibly leading to layer shifting. Specifically, we’re referring to the stepper motor drivers on your 3D printer, which are the components built into the mainboard that control the motion of the stepper motors.
To solve this issue, you can cool your printer’s electronics by providing more airflow to your machine’s mainboard. You can either open up your printer’s mainboard casing to allow more air to reach and cool the drivers or add a fan directly over the mainboard.
Tip #6: Avoid Collisions
Our last tip is to avoid printhead or nozzle collisions with the part they’re printing. If the nozzle collides with the part being printed, the part could move, causing layer shifting later on.
Collisions tend to occur when the shape of a print makes it easy for them to happen. For instance, small features of a print coming loose or a warped first layer can easily get in the way of the nozzle. To avoid this, make sure your bed is level, and your first layer sticks down well so features don’t unintentionally hit the nozzle.
If you determine that collisions are causing your printer’s layer shifting, on top of doing whatever is necessary to prevent parts of your print from getting in the nozzle’s path, try lowering your travel speed, too. This won’t keep the nozzle from hitting anything, but it will lower the impact of filament getting in the way of the nozzle.
Another solution to put an end to collisions and layer shifting is to activate Z Hop in your slicer. This will instruct your printhead to move up on the Z-axis when it makes a travel move, stopping the nozzle from colliding with the print.
License: The text of "3D Printer Layer Shifting: 6 Simple Solutions" by All3DP is licensed under a Creative Commons Attribution 4.0 International License.