Why Do It Yourself
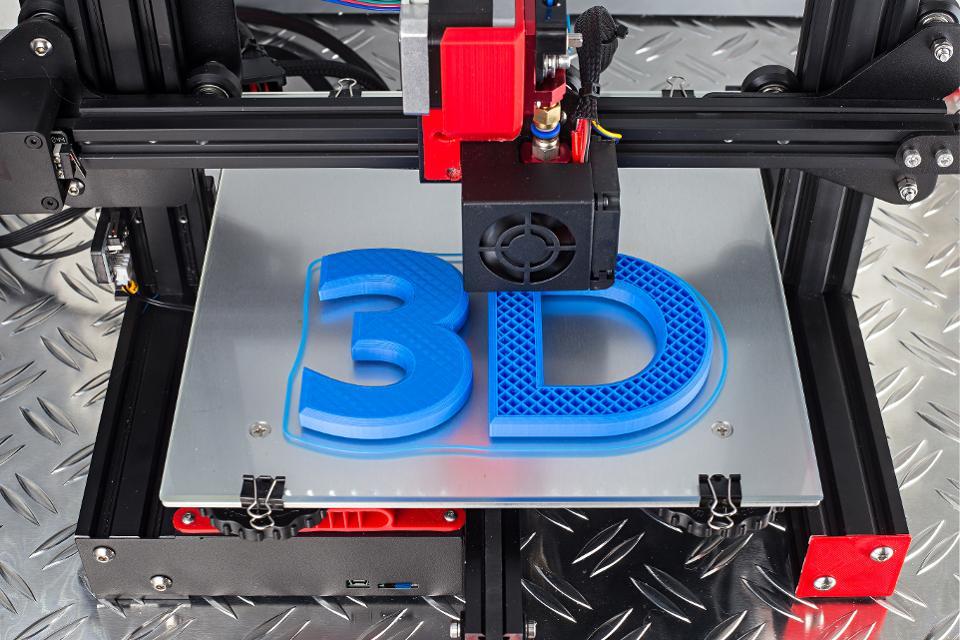
Since the first 3D printer was built by Charles W. Hull in the 1980s, 3D printers have become much more available and affordable. And though there are several different types of 3D printers, in this article, we’ll focus on fused deposition modeling (FDM), the dominant desktop machine due to its low price and ease of use.
The options are many, from a quality, basic FDM 3D printer, which costs anywhere from $150, to a professional-grade printer, for over $5,000. That said, if you want to start printing high-quality prototypes right away, we suggest you invest in a fully assembled 3D printer that’s been calibrated and quality controlled.
On the other hand, if you’re a 3D printer enthusiast and up for a bit of a challenge, you might want to consider building your own 3D printer. You’ll need time and some patience, but it can be much cheaper than buying a fully assembled machine. More importantly, when you build a 3D printer, you’ll learn more about the machine’s inner functions and the endless possibilities for customization.
There are two main ways to build a 3D printer: from a kit or from scratch. In this article, we’ll give you an overview of both methods and some tips to make the process as easy and smooth as possible. Let’s get started!
From a Kit
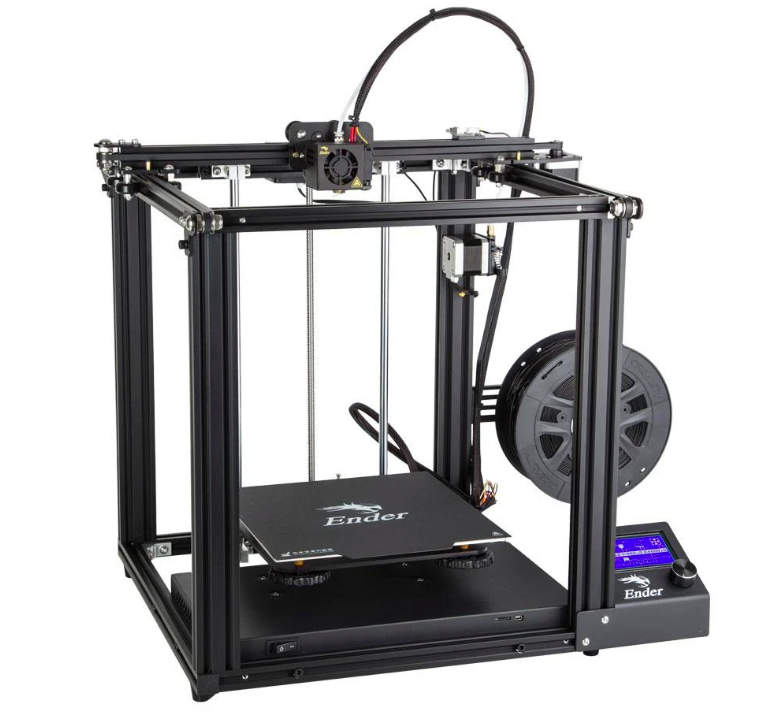
3D printing kits are the more convenient option of the two, as they contain all the parts you need. Kits also often come with essential tools and a step-by-step instruction manual. The print qualities of the fully-assembled machine and the 3D printer kit are similar, but the latter can be much cheaper.
Order Your Kit
There are several 3D printer kits that are widely recommended and easily purchased online. Some of the most popular options are Creality’s Ender series, like the Ender 5 Pro, the Prusa i3 MK3S, and several Tronxy printers, like the X5SA.
As the name suggests, a 3D printer kit contains all the parts you’ll need, so you don’t have to do any collecting, drilling, or soldering of parts. What’s more, you don’t have to worry about matching the voltage requirement of each component, since all the parts are matched by the manufacturer. Your job is to simply put them together, as instructed.
Assembly Tips
- Follow the instructions: Although it may seem obvious, it’s important to make sure you understand and follow the included instructions. Normally 3D printer kits provide detailed instruction and troubleshooting guides, and it’s a good idea to read through them before you start working. Additionally, some kit manufacturers upload detailed videos of the assembly process. In most cases, you can also find solutions to specific problems with a simple Google search.
- Be patient: Most likely you won’t get everything right the first time, so remember to be patient with yourself and the process. The good news is that you’ll get a great 3D printer after all your hard work!
- Level the bed: Bed leveling is critical in order to get a successful print. If you have any doubts about how to properly do this, take a look at our step-by-step tutorial on bed leveling.
- Find the best software: 3D printers kits usually come with default programs, but you’ll likely want additional software and firmware. There are many great free options to download, all of which can improve your printer’s performance and increase its capabilities. To get started, check out our list of the best free 3D printing software.
Helpful Resources
- This blog contains a step-by-step assembly process of a Prusa i3 printer.
- This video covers the whole assembly process of a Prusa i3, which takes about 5 hours.
- This video of a Geetech printer assembly shows all the steps, from unpacking to printing.
From Scratch
Building a 3D printer from scratch, though challenging, can be even more fun than building one from a kit. Naturally, it requires some knowledge about how 3D printers work. In particular, you’ll need to know what parts to get and how to assemble them.
Getting Ready
- Printer size: You’ll need to decide the size of the printer you want, which will determine what type of frame you’ll need to buy or make. Have a look at our article on frame choices if you’re not sure what’s out there.
- Type of printer: This will determine the movement of the bed and print head. For instance, Cartesian printers have print heads that move on both the X- and Y-axes but a bed that moves on the Z-axis. For more information, check out our article all about axes on 3D printers.
- Type of nozzle: You’ll need to decide how high you want your print resolution to be. Since 3D printer nozzles directly relate to print resolution, you can always reference our article on which nozzle size and material to buy. The standard nozzle size is 0.4 mm, but you can buy a nozzle with a diameter as small as 0.1 mm or as big as 1 mm.
- Number of extruders: Most printers have just one extruder, but if you want two, make sure the control board supports two extruders and you configure your printer to support them. If you’re unsure, you can look over our article on dual extrusion.
3D Printer Parts
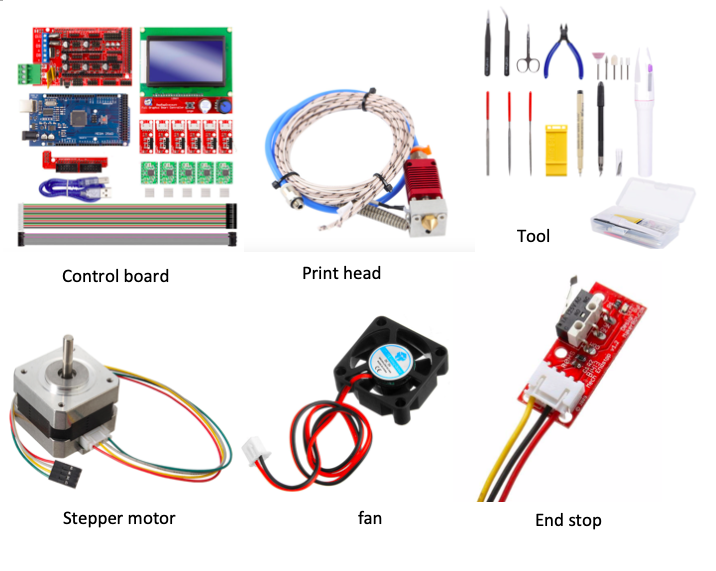
Once you decide on all the 3D printer specifications you want, you can start looking for the parts. The basic parts you’ll need to build a functioning 3D printer include the following:
- Controller: SKR and RAMPS boards are commonly used, but check out our article on the best control boards for more options.
- Stepper motors: You’ll need at least four motors for your printer: one for each of the X- and Y-axes, two for the Z-axis, and at least one motor per extruder. You’ll be very lucky if you can get all your motors working on your first try. You’ll usually need to adjust the potentiometer on the top of the motor driver to match the motor current. It’s also important to pair the wires for the motors. This video on identifying and pairing wires can help.
- Print head (extruder, element, sensor, fan): You can choose either a direct extruder (motor on the extruder) or Bowden extruder (motor on the frame). Have a look at our article comparing these two types of extruders to decide which one you want. We also recommend including a fan.
- End stops: The origin (0, 0, 0) or home position is the starting point for print head movement, and end stops are placed at the zero position of each axis so that the print head knows when the zero position is reached.
- Print bed: The print bed provides a flat surface and adhesion for your print. Popular options include glass plates or adding a flexible sheet on top, like BuildTek’s FlexPlate. You can check out our article on how to choose the right build plate for more guidance.
- Power supply: You can calculate what level of power you’ll need for your 3D printer, but normally the minimal power supply is 12V/20A. Usually 12 and 24 volts are standard for 3D printers, as 12 V is adequate for printing 1.75-mm PLA filament and 24 V for 3-mm ABS filament. You’ll need to make sure other 3D printer parts, including your extruder, fan, and bed, are designed for the same voltage. For more information, you can always refer to our article on picking the right power supply for your printer.
- Printer frame: You can order a standard frame or be creative and design and make a custom frame yourself. Our article on frame choices can be a good place to start.
Helpful Resources
- An All3DP writer, Mika Yeap, describes his experience building a 3D printer from scratch.
- Here’s a similar article from Instructables user bram2202.
- This article details a big Arduino 3D printer that was built from scratch, including all materials used, assembly steps, and a video of the whole process.
Safety Tips
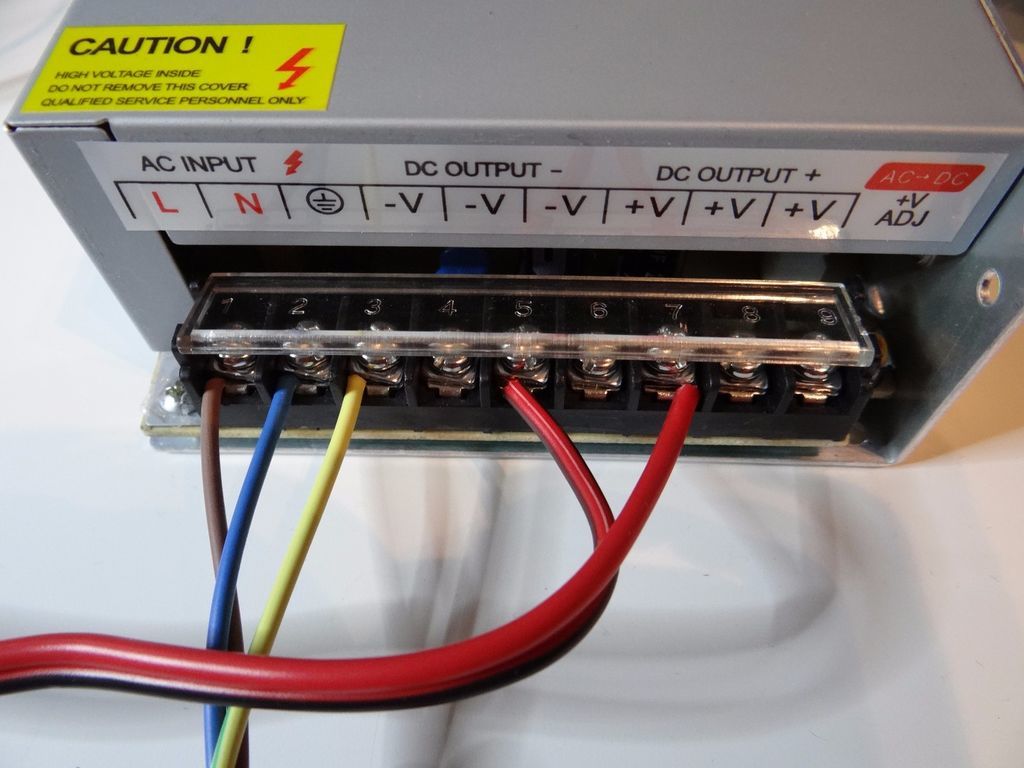
Safety is extremely important when you work on your 3D printer and we’ve highlighted a few potential risks that you should keep in mind:
- Electric shock: High voltage power from 3D printers, if used improperly, can cause serious injury. It’s recommended to choose a power supply unit with a guard, as pictured in the image above. Make sure you switch it to the correct voltage, either 110 or 220 V, and check the multimeter often. Turn the power off or unplug the machine before you connect parts, such as motors and sensors.
- Burn: Most likely you’ll be heating the nozzle up to 200 °C, depending on what type of filament you’re using. Be careful not to get burned when you’re working with the print head.
- Fire safety: An unattended 3D printer is a fire hazard, so don’t leave your printer unattended for too long. To get around the issue entirely, we recommend a remote monitoring system like OctoPrint.
Useful Software & Firmware
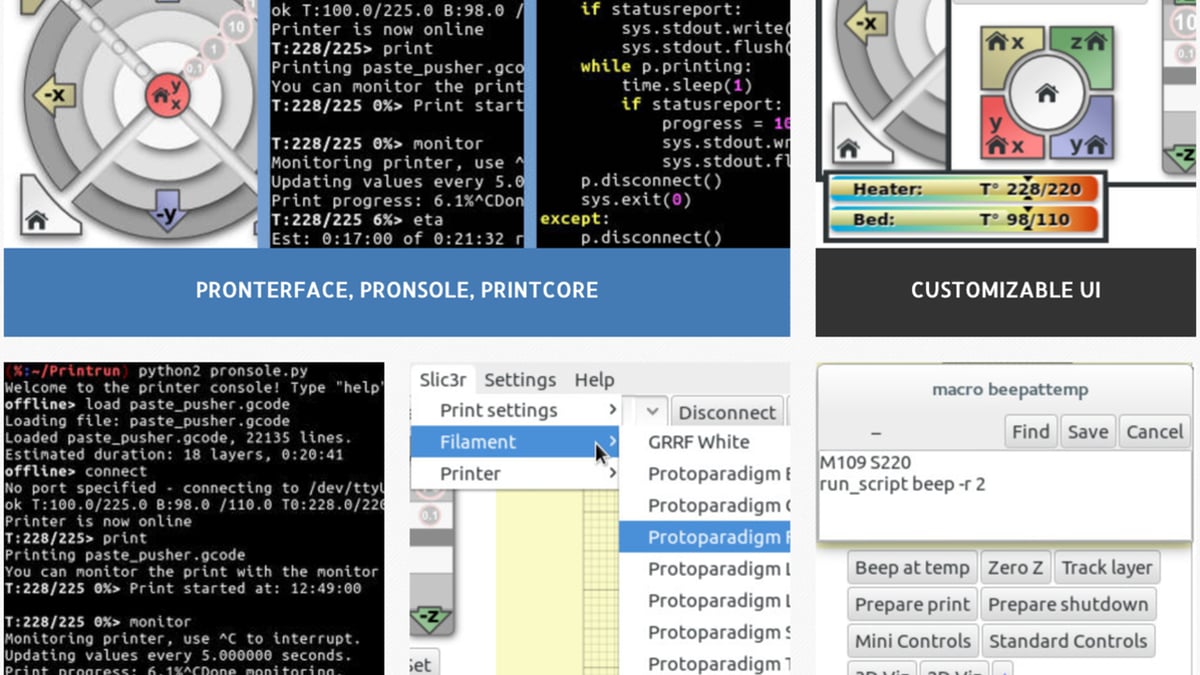
Once you have your 3D printer assembled, you’ll need software to control it. Essentials for creating and printing models include computer-aided design (CAD), a slicer, and firmware.
CAD
CAD software is used for designing models. If you’re new to CAD, you’ll need some training and practice to be able to draw and design what you want. There are ample resources for you to learn from, including tutorial articles (you’ll need to search by the name of the software) and countless training videos on YouTube.
CAD tools aren’t always cheap, but many companies offer free student versions, including Autodesk. Be sure to check out our article on the best free CAD software for 3D printing.
Apart from designing models yourself, you can download designs from Thingiverse, MyMiniFactory, and GrabCAD, just to name a few.
Slicer
Once you have your CAD design (saved as an STL file), a slicer will prepare it to be printed by generating G-code. These are the controls that the 3D printer reads to generate motion paths and extruder commands.
Here are a few popular options:
- Cura is one of the most popular slicers and is free to download. For more information, have a look at our tutorial on optimizing Cura’s settings.
- PrusaSlicer: Another great option of free 3D printer slicing software. Check out our overview of PrusaSlicer or its advanced options if you’d like to know more about PrusaSlicer’s capabilities.
- Simplify3D: This is a paid program that stands out in its preview capability, which allows you to check every step of your printing process. You can read our Simplify3D review to better inform your decision about whether or not to purchase this software.
Firmware
Firmware determines how your 3D printer reacts to the G-code you send to it. It’s installed to control motors, heating elements, sensors, and end stops, essentially serving as a bridge between the software and hardware of your 3D printer.
Here are a couple of popular firmware options:
- Marlin is arguably the most popular 3D printer firmware. If you’re unfamiliar with it, have a look at our guide on getting started with Marlin. Keep in mind you’ll need to configure it with an Arduino and change some settings to suit your printer, such as defining the baud rate, motherboard, extruder, filament diameter, and temperature sensor. If you need more guidance, take a look at these step-by-step configuration instructions or this video on how to configure Marlin.
- Repetier is similar to Marlin and requires that you edit the Arduino files to set the configuration. The software and firmware work extremely well together, and there are also many community resources if you get stuck.
Once you’ve installed and configured your printer, you’re finally ready to do your first test print!
Join the Community
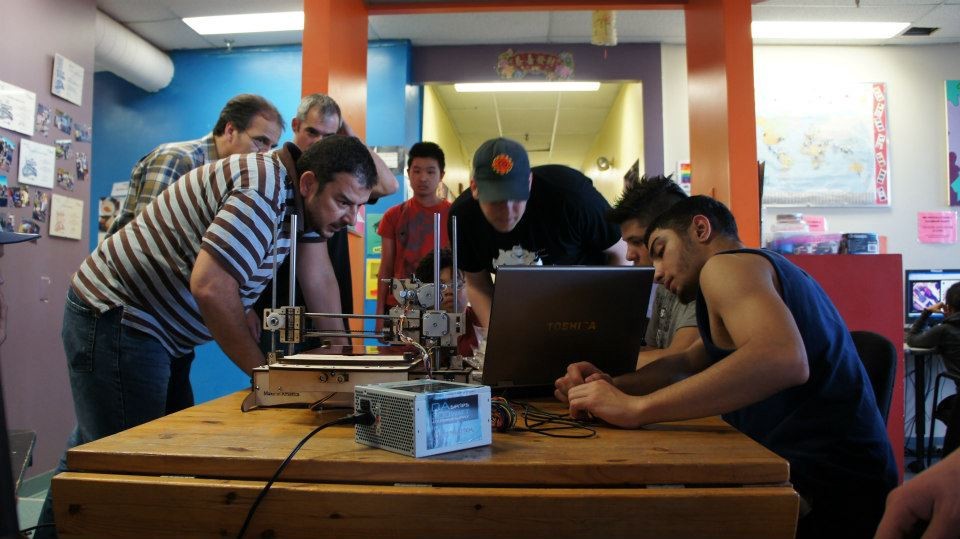
Building a 3D printer can help you to learn more about 3D printing technology, and it’s worthwhile to join some 3D printing communities to meet 3D printing enthusiasts just like you.
- RepRap: RepRap is a very popular and well-established 3D printing community. You can buy 3D printing parts, meet other makers, and get lots of helpful information.
- Instructables: There are loads of articles on this website teaching you about DIY 3D printers and other projects.
- Hackster: This site has many free training courses, webinars, and online conferences. Apart from 3D printing, you can also find many other interesting electronic projects.
- 3D Print Forums: A great place to ask questions about 3D printers and find explanations from the experts.
- Reddit: This massive platform is organized around communities with shared interests. You can share and discuss 3D printers with others in one of the thousands of forums.
Lead image source: RZtronics via YouTube
License: The text of "DIY 3D Printer: How to Build Your Own 3D Printer" by All3DP is licensed under a Creative Commons Attribution 4.0 International License.


