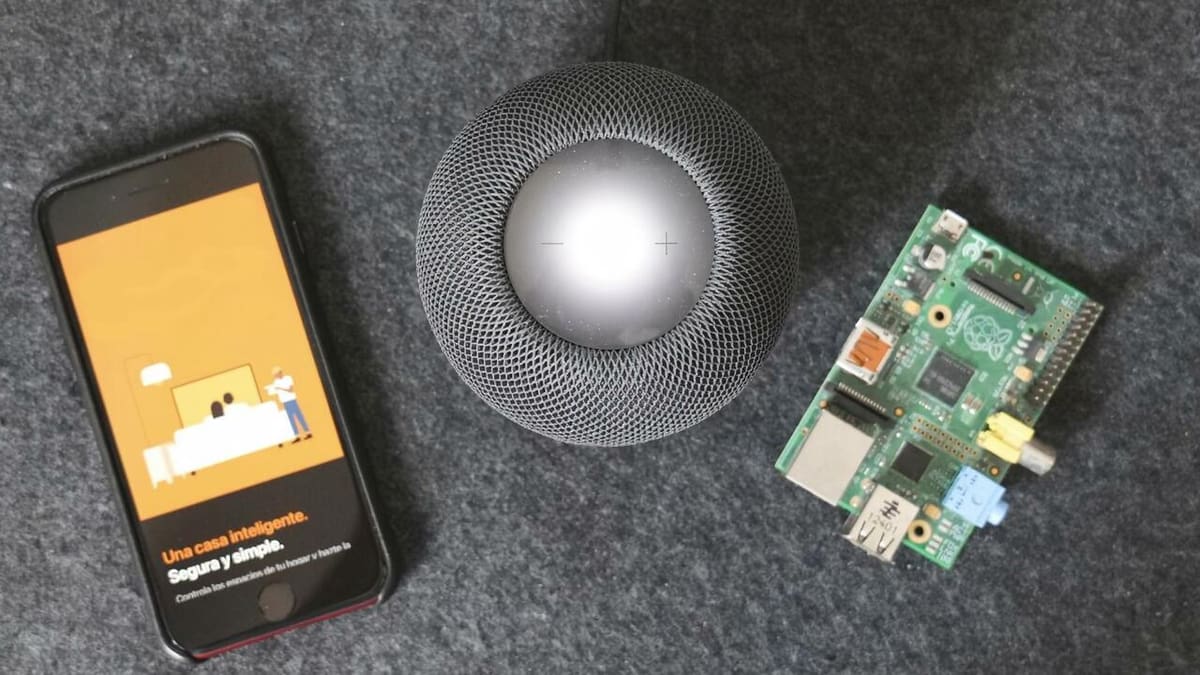
Homebridge on Raspberry Pi: How to Run It

Homebridge enables non-HomeKit devices to work with Apple home automation. Read on to learn more about Homebridge Raspberry Pi setups.
Raspberry Pi Smart Home?
As many will know, the Raspberry Pi is a popular, low-cost single-board computer (SBC), with many practical applications in our daily lives. From 3D print execution to DIY mini-servers, the Pi is a shoe-in for home automation projects. That’s because hobbyists can take advantage of its small space and electrical footprint to integrate it into their custom projects.
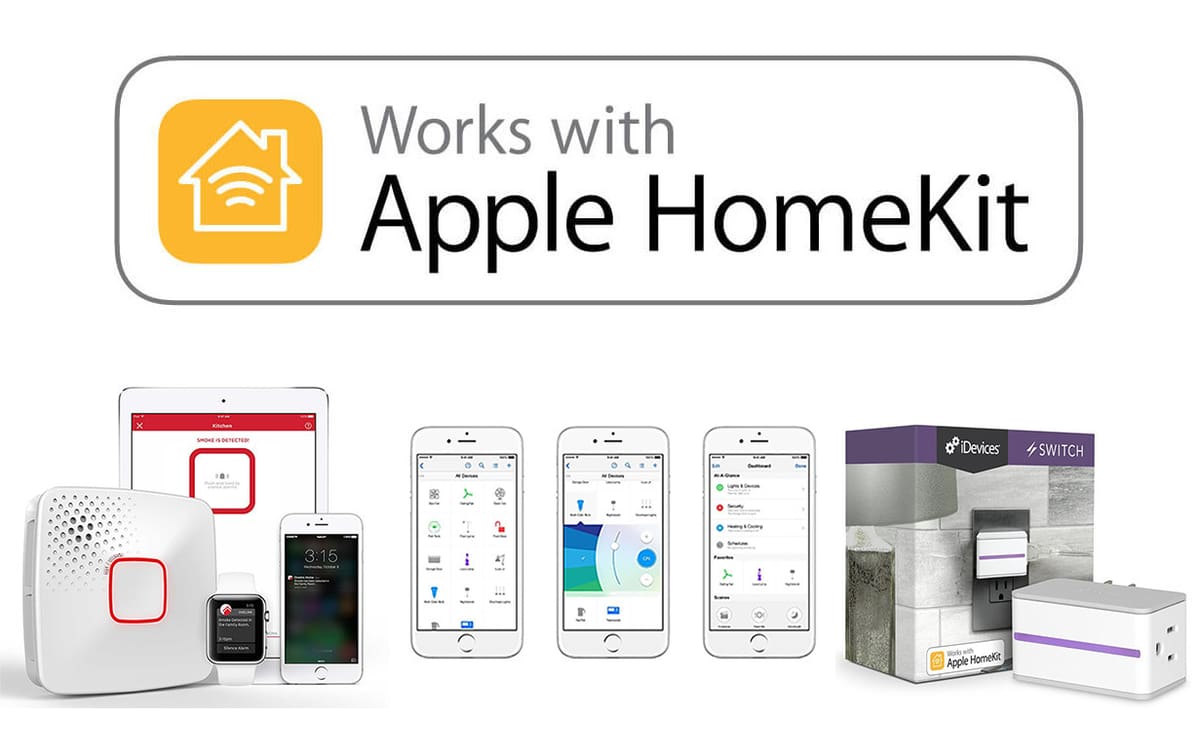
The practical applications of the Pi lead to many use cases in the Internet of things (IoT) realm, including creating one’s own DIY sensors and acting as the command and control center of a HomeKit smart sensor grid. While many enthusiasts integrate with Amazon Alexa or the Google Home ecosystem, Apple users are best suited to using HomeKit, which is a web- and app-based platform that iOS and Apple users can use to control their smart devices.
From Home to Homey
Yet, HomeKit has a narrow band of accessories for users to choose from, a challenge for those with existing IoT sensors or those want to use an IoT device that isn’t compatible with Apple’s HomeKit. That’s where Homebridge steps in.
In short, Homebridge is a platform that you can run on a Raspberry Pi in order to integrate non-HomeKit sensors with Apple’s IoT HomeKit ecosystem.
Here, we’ll review some of Homebridge’s most important aspects, including what you need to set it up on a Pi and the basic installation steps. Let’s dive in!
What Is Homebridge?

Homebridge is a software platform that enables existing IoT appliances to communicate with Apple’s HomeKit service. As mentioned above, this is useful for many home enthusiasts who might want to make use of existing IoT sensors or take advantage of alternative sensors that don’t integrate natively with Apple’s IoT ecosystem.
A typical Homebridge user is someone who prefers to use MacOS or iOS devices but also wants to access the large catalog of devices that are incompatible with HomeKit. For example, you may already have a HomeKit-compatible smart lock but want to install a security camera that’s not one of the four officially supported by Apple. Homebridge enables you to use such a device, whether it’s a Google Nest doorbell camera, a set of Xiaomi Aqara security sensors, or even your Samsung Smart TV.
Requirements

Homebridge is designed to be installed on a diverse set of devices, ranging from a common X86 PC to any of the Raspberry Pi models ever made. That said, if you have an older Raspberry Pi, keep in mind that you’ll need to use Ethernet or find a compatible Wi-Fi adapter. You’ll likely also have better performance if you use the newer Pi 3 or Pi 4, as they have faster processors and more RAM.
If you plan on running your Pi through Wi-Fi, make sure you have a mobile phone handy, you’ll need one to connect your Pi to your home network.
Apart from the Pi, you’ll need a minimum 4-GB microSD card and admin rights on a separate Windows, Mac, or Linux PC in order to flash Homebridge onto the microSD card.
Lastly, it should go without saying that you’ll need an Apple product running iOS or MacOS. This is because HomeKit is only officially supported by Apple to be run through their own products.
Parts
- Raspberry Pi (the newer, the better)
- Micro SD card (min. 4 GB)
Tools
- Mobile phone (if connecting via Wi-Fi)
- Windows, Mac, or Linux PC or laptop
- iOS or MacOS device (Mojave or later)
Installation Process
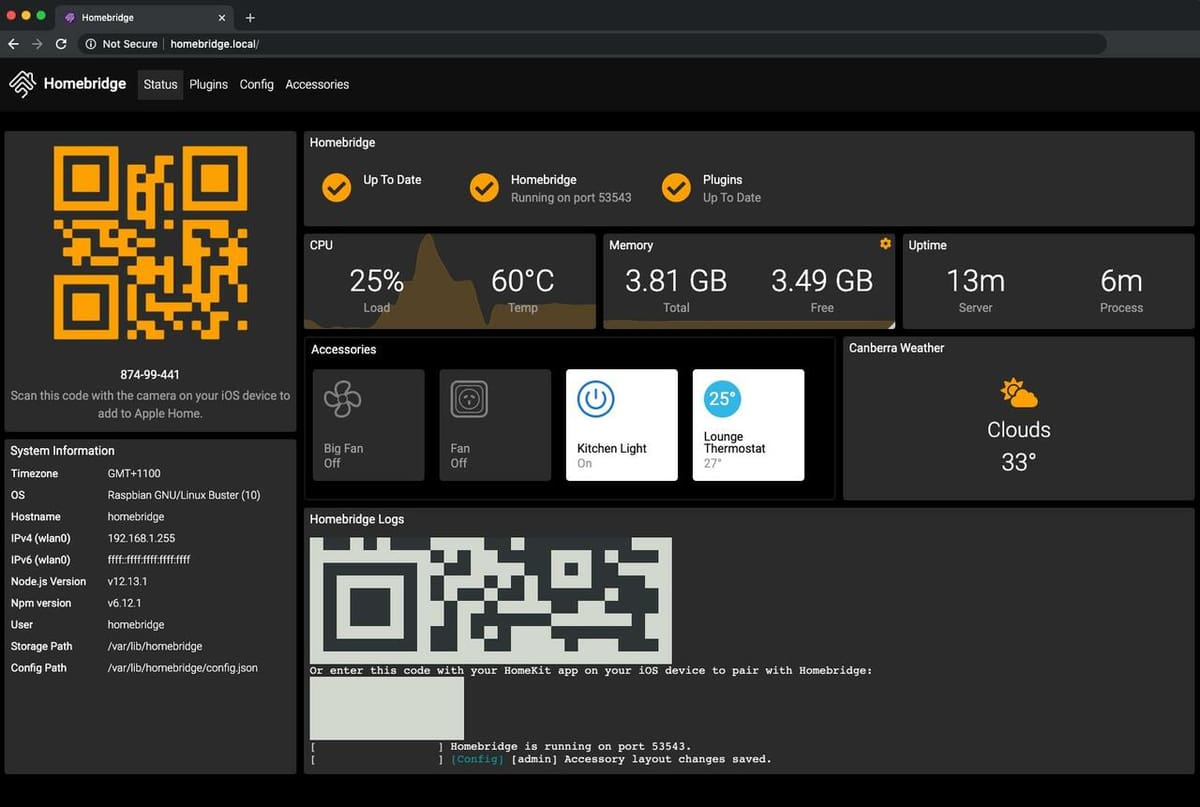
Installing Homebridge on the Raspberry Pi should feel very familiar to those who have prior experience with other Pi home automation projects. Overall, the standard setup is a fairly straightforward process:
- Download and install the Raspberry Pi Imager on a separate computer.
- With the Imager open, navigate to “Other specific purpose OS” and select “Homebridge”. This will download the latest Homebridge image and flash it to your SD card.
- Power up your Pi and connect it to your home network either via Ethernet or Wi-Fi. For a Wi-Fi setup, follow the second step of the official guide in order to connect the Pi to your home network. Importantly, you’ll need the use of a mobile phone.
- Once connected, log into Homebridge using the default credentials: The username and password are both “admin”. Then, add Homebridge as an “Accessory” to your HomeKit system using the QR code in the Homebridge “Status” page.
- Install whatever plug-ins you need in order to enable Homebridge to communicate with your IoT device and your HomeKit smart home. These plug-ins can be found on Homebridge’s “Plugins” screen.
For more detailed information, check out the official Homebridge installation instructions.
Running Homebridge
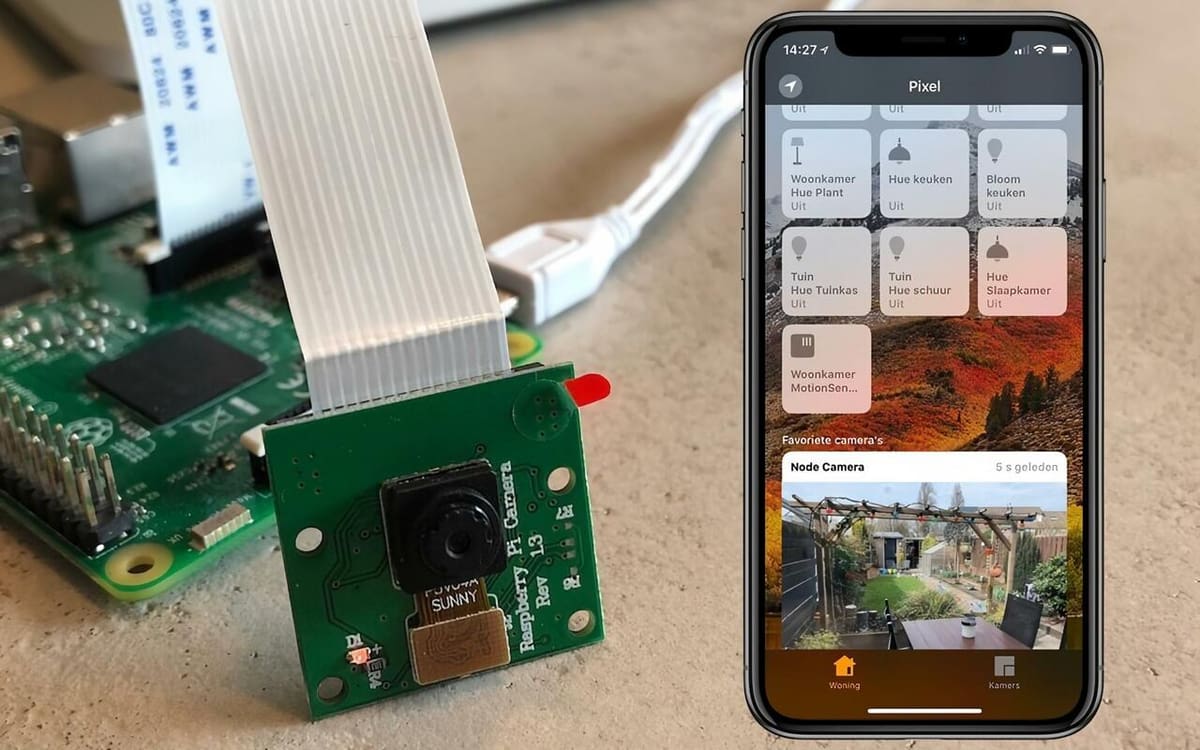
The Homebridge user interface is broken up into four different sub-pages, which are meant to help you configure and monitor your system.
Status
The main screen is the “Status” page, which lets you monitor your IoT accessories, see the resource usage of your Raspberry Pi, and use a QR code to connect your Homebridge server to your HomeKit ecosystem.
Plugins
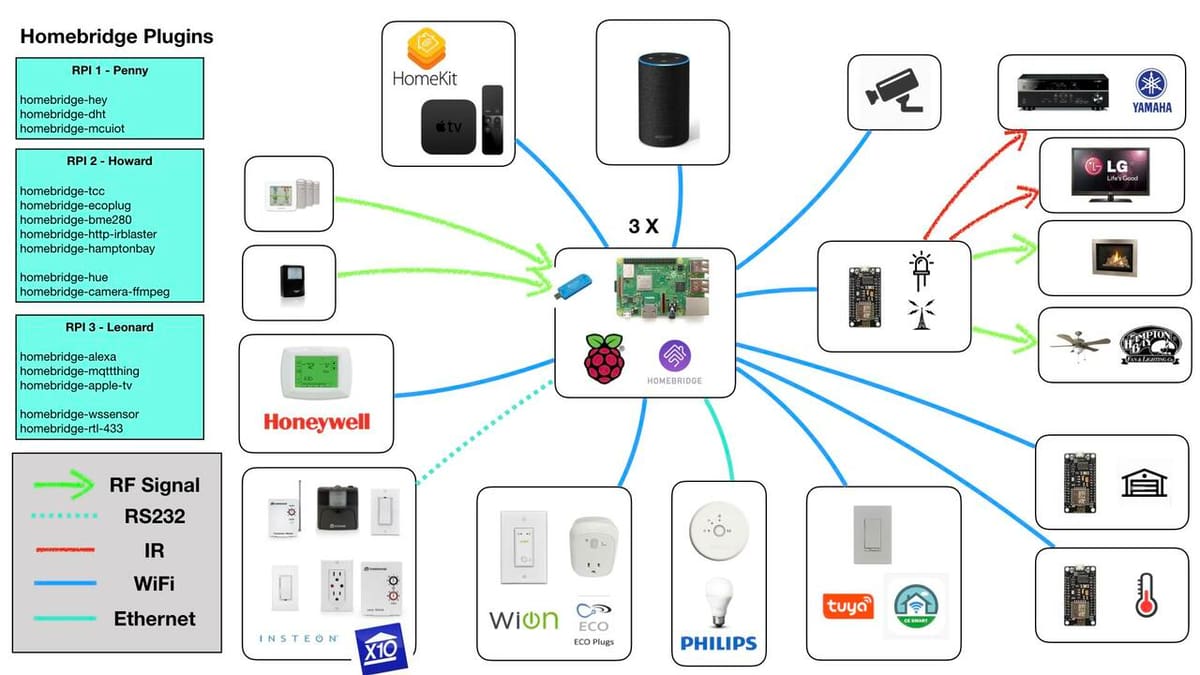
Next up is the “Plugins” screen, where you can find, install, upgrade, or remove plug-ins. Most plug-in settings have a graphical wizard or menu that allows you to configure how they work. Popular plug-ins include ones for Ring doorbells and cameras, Hue lighting kits, WEMO light switches, and the Nest ecosystem of thermostats and cameras.
Config
The third screen is labeled “Config”. Here, you can edit the JSON configuration file that Homebridge reads its settings from. Through your browser, you can change the nicknames of your connected accessories, enter in passwords, specify port information, and more.
Accessories
Last is the “Accessories” screen, which is where you can control any IoT device you’ve connected to Homebridge. The biggest difference between this menu in Homebridge and the one in HomeKit is that the Homebridge screen won’t be able to control any of your native HomeKit IoT devices. This means that, if you have many native HomeKit sensors, for example, you’d likely want to control things through the HomeKit app rather then through the Homebridge interface.
Support & Extra Resources
Homebridge is a complex application with a fair amount of configuration options and setup types. To help deal with this is a variety of online reference information that you should check out before or during setup.
A good place to start is the very thorough Homebridge Raspberry Pi Wiki, which has detailed setup instructions, a configuration guide, as well as some basic network configuration guidelines you may need to refer to. For a more informal approaches, you can check out the WikiHow setup guide or Rey G’s YouTube tutorial, the latter of which is a great 20-minute crash course.
In case you’ve already started your project and are stuck at a particular installation step, you can always reach out to the more than 8,000-member Discord group. Alternatively, if you need some inspiration along with your help, the Homebridge subreddit is a great place to dive into.
Community Feedback & Alternatives
Overall, the community response to Homebridge has been positive, with multiple user reviews on YouTube and Reddit praising the platform for being able to integrate a much larger range of devices than what Apple supports natively. Additionally, many Redditors appreciate the official Raspberry Pi support and the easy-to-use image that can be quickly flashed with an SD card.
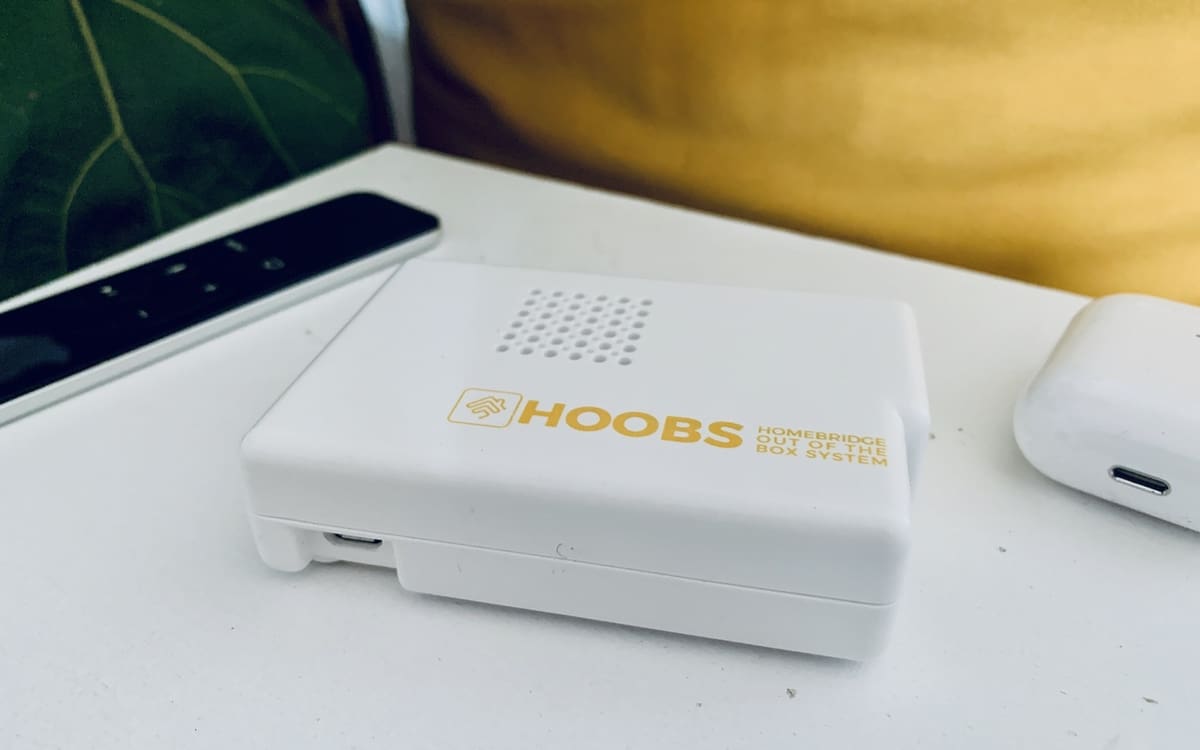
All of that said, a common critique is that the open-source nature of Homebridge ultimately results in less popular sensors with buggy performance. This has lead to some people suggesting the purchase of a pre-set HOOBS device, which should come with a greater level of support and a more general, hands-off approach to setting up one’s home IoT devices with Homebridge.
Lead image source: Entertainment Box
License: The text of "Homebridge on Raspberry Pi: How to Run It" by All3DP is licensed under a Creative Commons Attribution 4.0 International License.
CERTAIN CONTENT THAT APPEARS ON THIS SITE COMES FROM AMAZON. THIS CONTENT IS PROVIDED ‘AS IS’ AND IS SUBJECT TO CHANGE OR REMOVAL AT ANY TIME.