Ender 3 (V2/Pro/S1) Under-Extrusion: 7 Easy Tips

Under-extrusion is a common problem in 3D printing. Learn seven easy tips to fix Ender 3 (V2/Pro/S1) under-extrusion.
Arguably some of the best budget printers out there, the Ender 3, Ender 3 Pro, Ender 3 V2, and Ender 3 S1, are popular choices for many 3D printing hobbyists. Despite the undeniable positive traits of these printers, they’re still infamous for what seems to be an Achilles heel: under-extrusion.
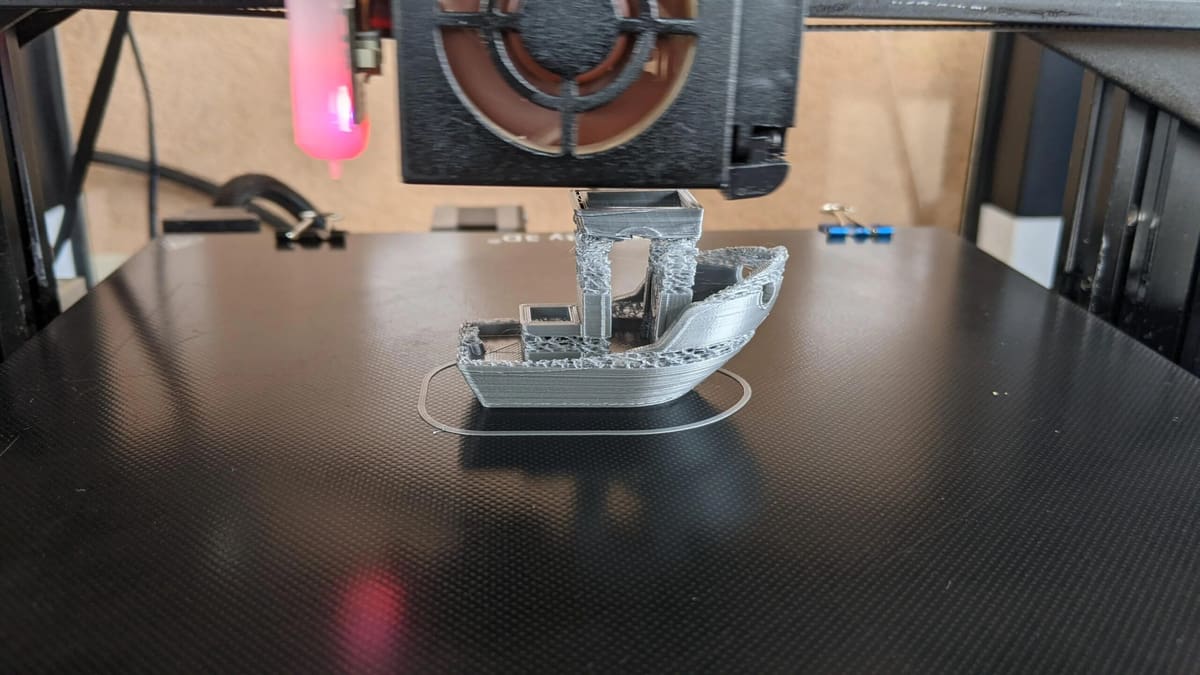
Under-extrusion is one of the most prevalent 3D printing issues and one of the most dangerous. It can cause gaps in the layers of your 3D prints, which makes your parts very brittle and hurts the visual appearance of your model.
Many Ender 3 users have reported under-extrusion issues, so if you’re seeing these tiny gaps or errors in your prints, don’t worry. We’ve compiled a list of some tips and tricks that are Ender 3-specific to combat this. By the end of the article, you’ll hopefully know how to deal with under-extrusion issues.
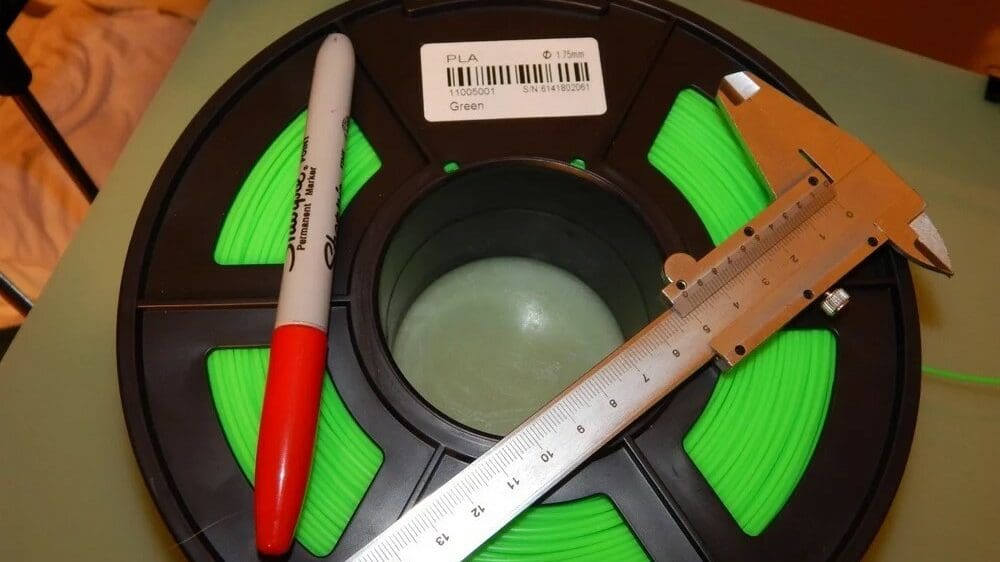
Before you get started adjusting your machine, make sure your Ender 3 is properly assembled and calibrated, and make sure that the extrusion multiplier and filament diameter are set correctly in your slicer, as the fixes we’ve provided require this. Enjoy!

Tip #1: Increase Temperature, Decrease Speed
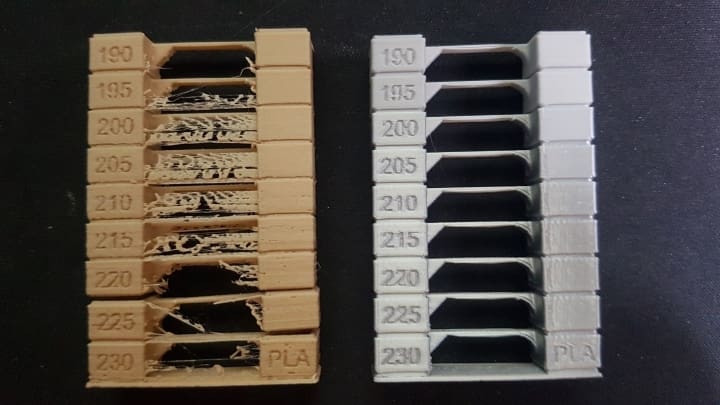
It’s easy to overlook flow rate and printing temperature. Generally, a higher flow rate means more material will come out of the nozzle, while a higher temperature can also increase filament flow.
However, excessively high temperatures can cause oozing and stringing. To start, try increasing the flow rate by 5% and increasing the temperature by 3 °C until you get desirable results. That said, keep your printing temperature no hotter than 10 °C over your usual temperature.
In addition, if your print speed is too high, your printer may have difficulty extruding enough filament to keep up. Try decreasing your print speed by 20 mm/s and observe the result.
Tip #2: Clean & Adjust the Nozzle
Clogs
The more common instance of this issue is a partially-clogged nozzle. The easiest way to catch this is to extrude some filament and see if it comes out straight or curled. Curling indicates a partially blocked nozzle, usually caused by foreign particles in the filament that cannot be melted and get stuck in the nozzle.
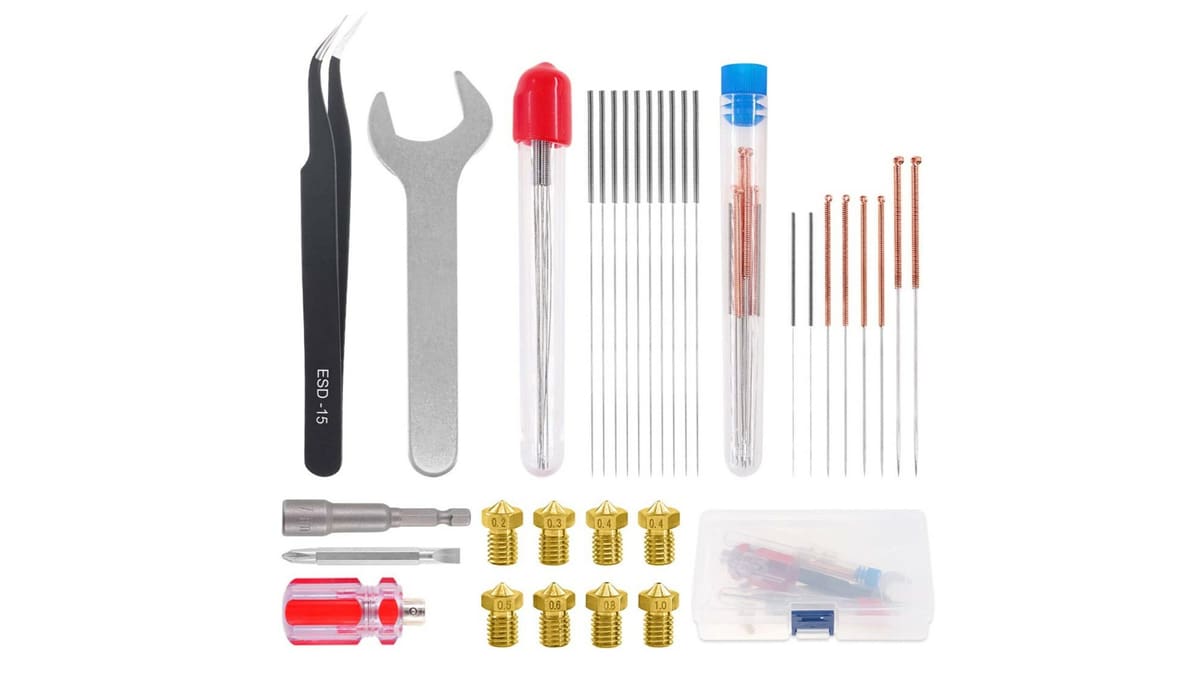
When encountering a clog, the most common first solution is to do a few “atomic pulls“. With any luck, you’ll remove the offending material. If that doesn’t work, try pushing the material through with a needle. (Just be careful not to damage your machine!)
Another thing you can try is a cleaning filament. However, this presents less of an immediate solution and more of a preventative measure, as you may not have cleaning filament on hand.
Z Distance
Another issue that’s related to the nozzle and extrusion is the Z distance, which defines the distance between the nozzle and the print bed. If the nozzle is too close to the bed, the flow of filament will be restricted, causing under-extrusion. Skipping noises coming from the extruder and a thin first layer are indicators of this issue.
To ensure your Z distance is set properly and under-extrusion doesn’t occur, you must both level the print bed on your Ender 3 as well as adjust the Z offset setting in your slicer (or through the LCD). You can check out our guides for leveling the bed on an Ender 3 and adjusting the Z offset to learn everything you need to know.
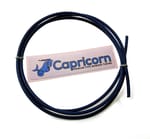
Tip #3: Replace the PTFE Tube
This is easily overlooked and hard to recognize. Users usually wouldn’t even guess that the cause of their extrusion issues could be the PTFE tube.
For reference, the PTFE tube (also known as the Bowden tube) is the Teflon tube on your 3D printer, through which filament travels from the extruder to the hot end. This tube is very long on Bowden extrusion printers, like the original Ender 3 and the 3 Pro and V2. And, though it’s a lot smaller, direct extrusion 3D printers, like the Ender 3 S1, also have a PTFE tube in between the extruder assembly and the top of the hot end.
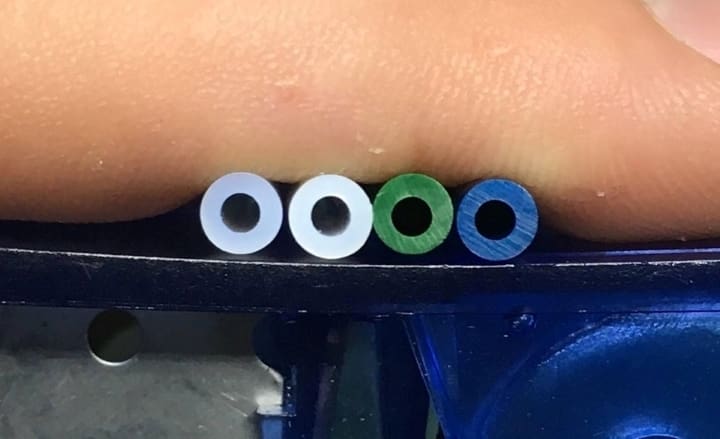
Not all filaments are manufactured the same. Also, if they claim to have a ±0.05-mm tolerance, chances are it may not be consistent. If the PTFE tube has very tight tolerances, it creates a higher resistance to the filament path. Ultimately, this results in a disturbed flow to the hot end, and thus you can have under-extrusion.
The easiest way to check for PTFE tube resistance is to try to extrude the filament manually. There should be no resistance; you should be able to push the filament through the tube with ease. If you have to put in some effort to push the filament through the tube, it’s time to replace it.
Tip #4: Fix the Hot End
If you’ve tried everything else and are still facing under-extrusion, chances are you need to fix your hot end. The PTFE tube goes all the way to the nozzle in the heater block on the stock hot end of the Ender 3s. The tube should, at all times, sit flush with the nozzle surface. But sometimes, due to faulty couplings or poor QC, there might be a gap between the tube and the nozzle.
The filament can ooze out into this gap and accumulate instead of going directly into the nozzle. This can result in a reduced flow of filament, and over time, the PTFE tube might become blocked.
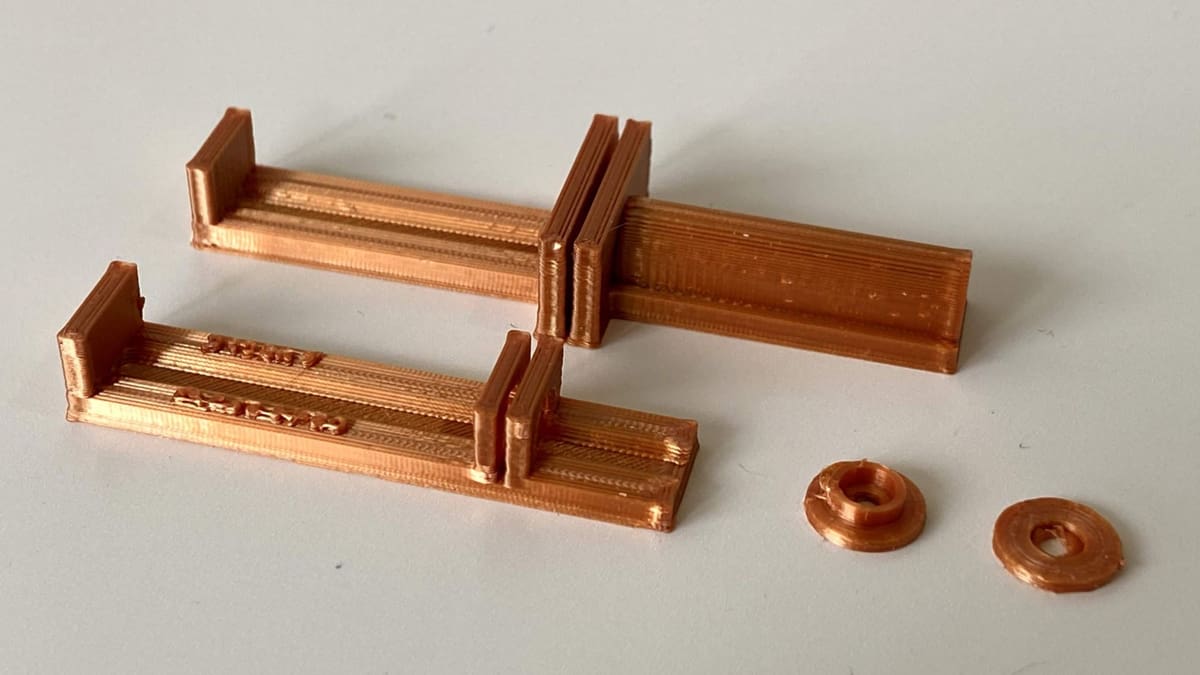
The most trusted and reliable solution is L3D_Help_Guide’s hot end fix. It uses a washer to ensure that the tube sits flush with the nozzle. Another option is to get better couplings and properly reassemble the hot end.
It’s important to note that these solutions are primarily meant for the original, Pro, and V2 iterations of the Creality Ender 3, as the hot end assemblies across these printers are all the same. If you’re working with an Ender 3 S1, however, you might have to make your own washer (or alternative solution) as the hot end assembly is different (built into the extruder assembly).
Tip #5: Replace the Stock Extruder
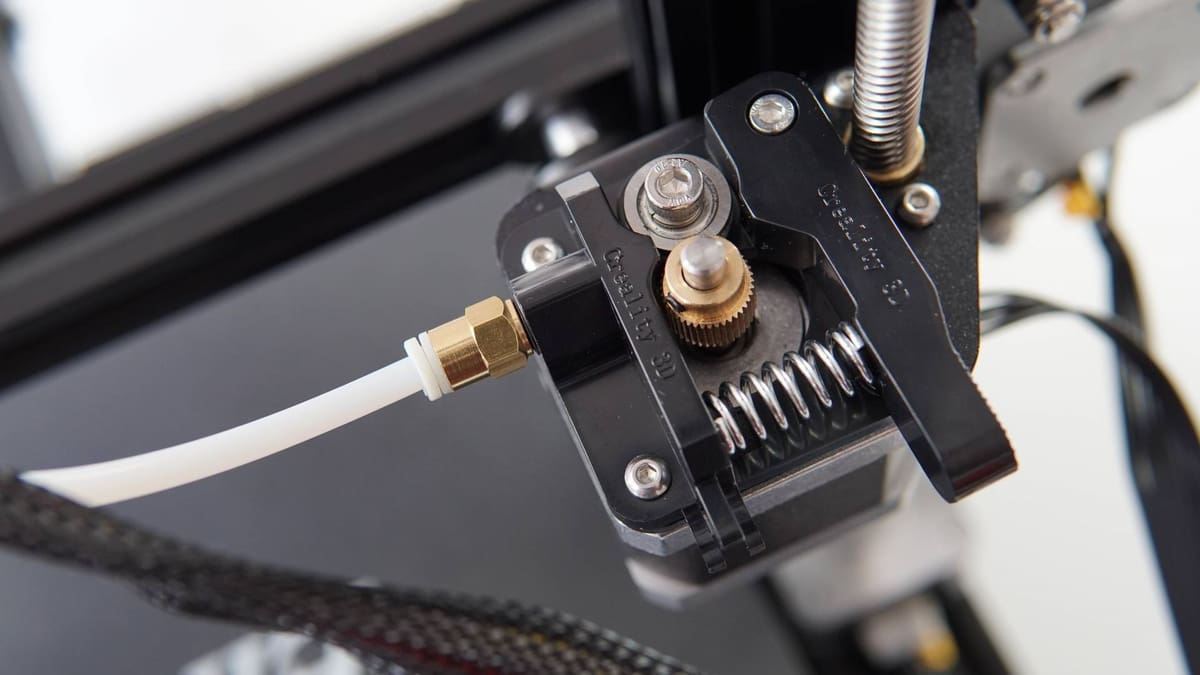
This is among the most recommended upgrades for the Ender 3s. The stock extruder setup that comes with the Ender 3 (original, Pro, V2) consists of a plastic extruder, which wears out quickly and is inherently inferior to a metal assembly, such as the direct extrusion option on the Ender 3 S1 (known as the Creality Spider).
A commonly reported issue is filament being ground by the extruder. Users have also experienced the extruder cracking over time, resulting in a loss of spring tension. As a result, the gear can’t grip the filament properly, which leads to extrusion issues.
Installing a new metal extruder will hopefully resolve your extruder-related issues, at least. A metal extruder is more rigid and less susceptible to wear and tear.
Again, it’s worth pointing out that the Ender 3 S1 already has an all-metal extruder assembly, so changing it shouldn’t be necessary; this solution is meant for the older versions of the Ender 3 (e.g. original, Pro, V2).
An alternative solution to fully replacing your Ender 3’s extruder is to add washers to the stock extruder’s spring. Doing so is a great (and inexpensive) way to increase the grip the extruder has on the inserted filament without having to buy and reinstall the full extruder. You can use regular screw washers or 3D print your own, and all you have to do is stick them at the base of the spring on the extruder assembly.
Tip #6: Calibrate the Extruder
Due to differences between machines, it could be the case that your printer’s extruder settings aren’t doing the job. If the extruder’s stepper motor is rotating too much (for a given slicer profile), you’ll end up with over-extrusion issues. Likewise, too little rotation will result in under-extrusion.
To eliminate these problems, refer to our extruder calibration guide where each step is given in full detail. Essentially you’ll be doing a bit of measuring in order to determine whether or not your printer is pushing as much filament as it thinks it’s pushing.
A special note: Some Ender 3 Pro users have experienced issues with one of the machine’s default firmware settings. If you have a Pro and are experiencing heavy under-extrusion, navigate to “Control > Filament > E in mm3” and ensure that it’s turned off.
Tip #7: Increase the Hot End Fan Speed
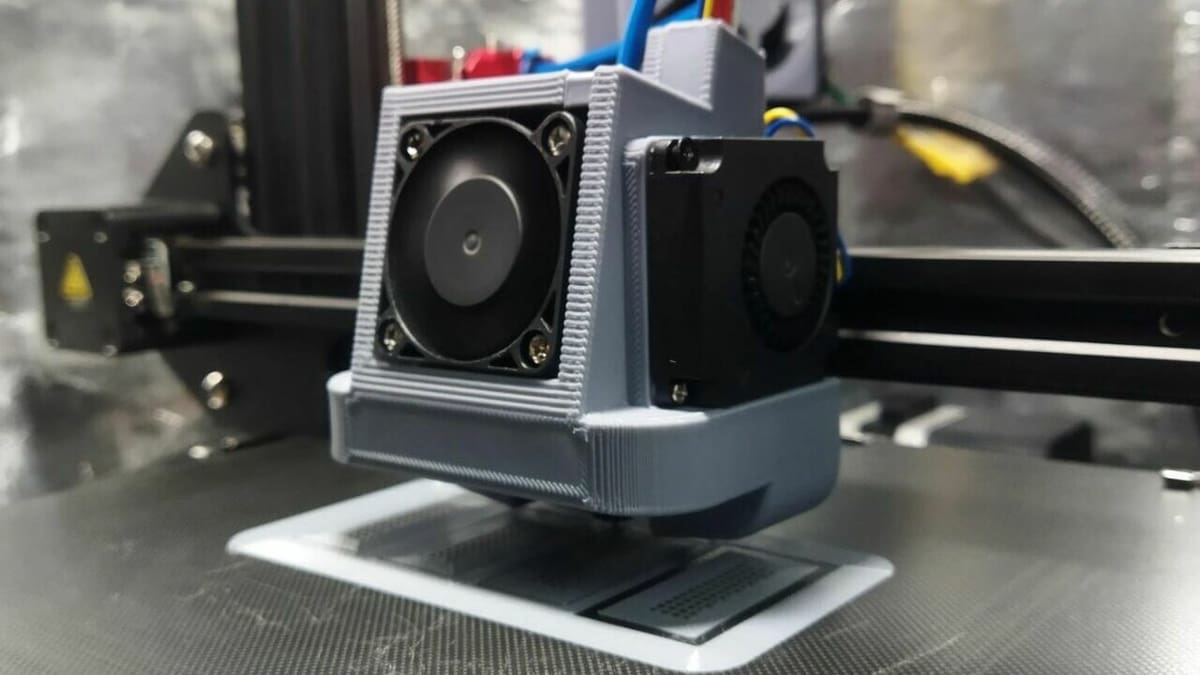
Lastly, if certain parts of your 3D printer’s hot end aren’t properly cooled, you might experience under-extrusion. The hot end fan, not to be confused with the part cooling fan, is responsible for cooling down the upper part of the hot end assembly so the filament doesn’t melt too early.
If the hot end fan isn’t running fast enough, the filament will start to melt before it should inside the hot end, causing a partial clog, leading to under-extrusion in parts. This phenomenon is known as “heat creep“, and one way to prevent it is by increasing the hot end fan speed.
It’s worth noting that the hot end, different from the part cooling fan, is usually controlled in the firmware rather than in the slicer. However, if you’re experienced in altering the firmware of a 3D printer, then changing this setting will be a breeze! Whether it’s set as a percentage of an integer (usually out of 255), consider increasing it if you’re experiencing under-extrusion.
And, if at 100% speed, the hot end fan is still not adequately cooling down the upper part of the hot end, then you might want to swap hot end fans. There are many options out there that are compatible with the Ender 3, plenty of which offer more powerful cooling than the stock fan on the Ender 3 (Pro/V2/S1).
License: The text of "Ender 3 (V2/Pro/S1) Under-Extrusion: 7 Easy Tips" by All3DP is licensed under a Creative Commons Attribution 4.0 International License.
CERTAIN CONTENT THAT APPEARS ON THIS SITE COMES FROM AMAZON. THIS CONTENT IS PROVIDED ‘AS IS’ AND IS SUBJECT TO CHANGE OR REMOVAL AT ANY TIME.