The Centauri Carbon Is Great, But These DIY Mods Make It Better

Mods for Elegoo's Centauri Carbon are starting to accumulate on 3D model repositories. Check out three really useful ones!
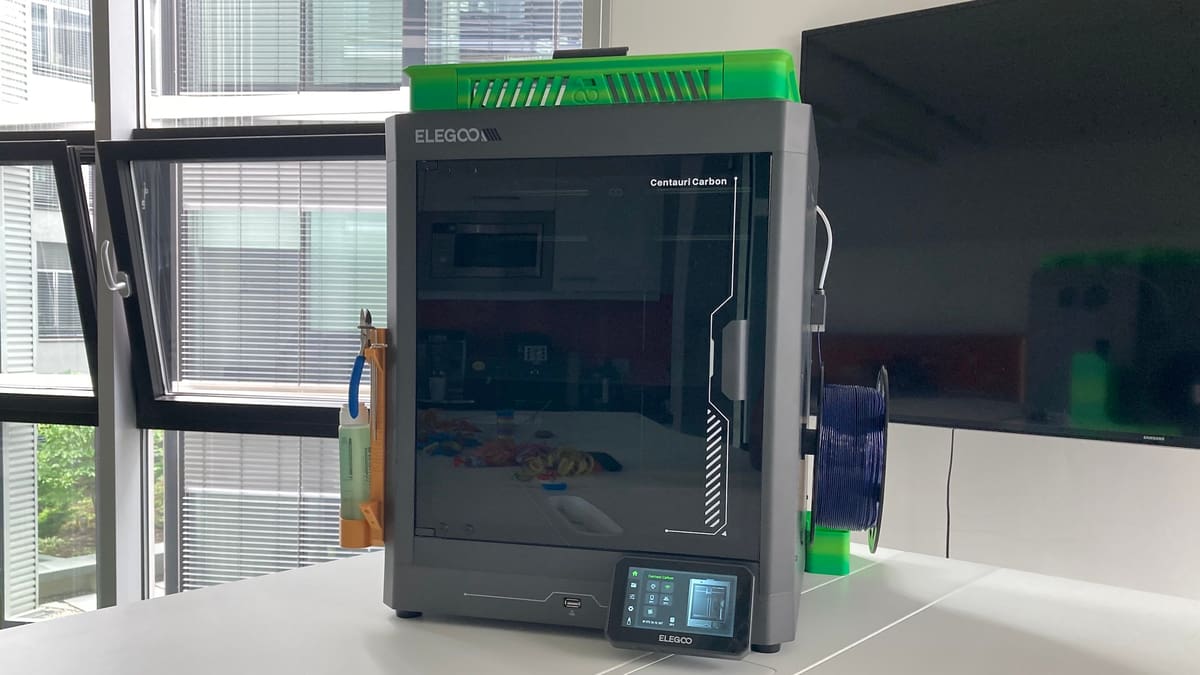
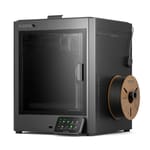
Released a little over three months ago, Elegoo’s Centauri Carbon impressed us with its fast-heating hot end and print bed, the range of materials that can be printed with it, as well as its solid build. We liked it so much that we’ve included it among our top 3D printer picks of 2025.
No printer is perfect, though. After printing with it over the past couple of weeks, a few things have started to annoy me. Thankfully, the first wave of Centauri Carbon mods are arriving on 3D model repositories, so I decided to print some quality-of-life improvements. What follows is an account of my petty grievances and the mods I found to resolve them.
Complaint One: Where To Put the Lid?

Elegoo’s sticker on the printer’s lid reads, “When printing low-temperature filaments such as PLA and flexible filaments, please remove the top cover.” If you forget to do that, the chamber temperature warms up quite a bit and messages cautioning about the danger of soft filament clogging the nozzle will pop up on the printer’s display.
Now, if you’ve got a well-organized 3D printing setup, no problem – just pop that glass lid off and set it down somewhere safe.
Thanks to a recent office move, however, our print room is a mess: an unassembled table propped against the wall; unopened and partially open boxes everywhere; each printer competing with tools, filament spools, and old test prints for space. Add in rambunctious office dogs and occasional visits from coworkers kids, and it’s a recipe for disaster.
How long before that glass lid is cracked, or worse, shattered?
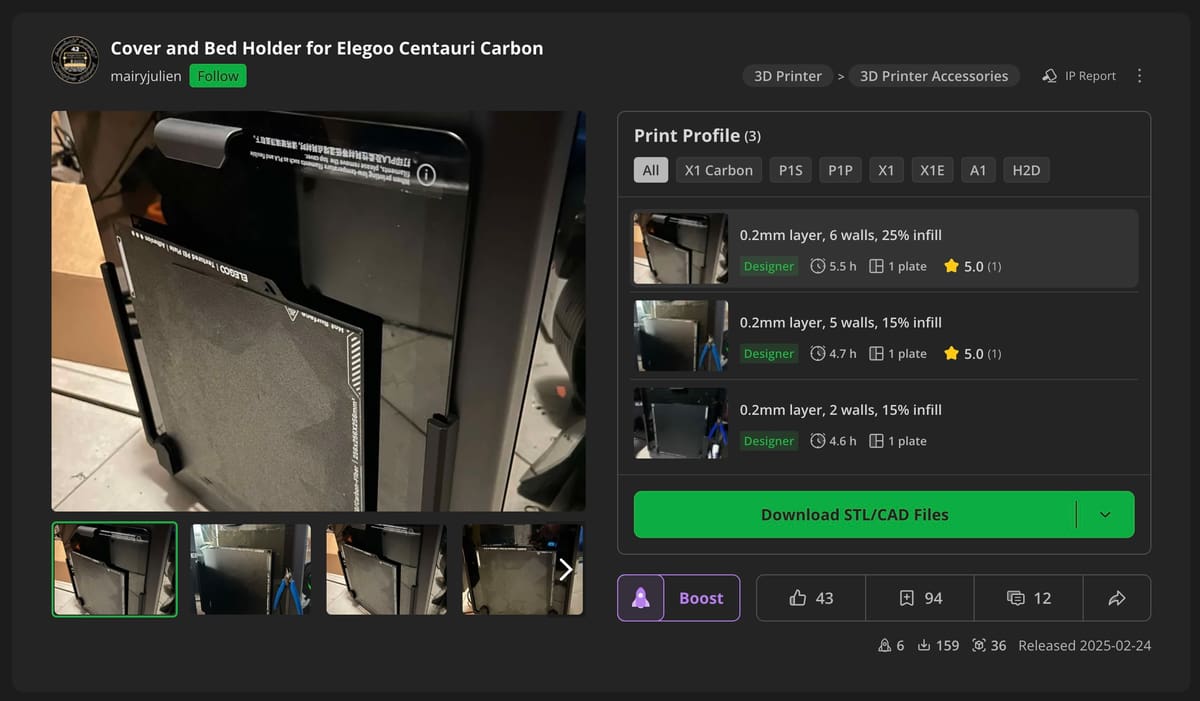
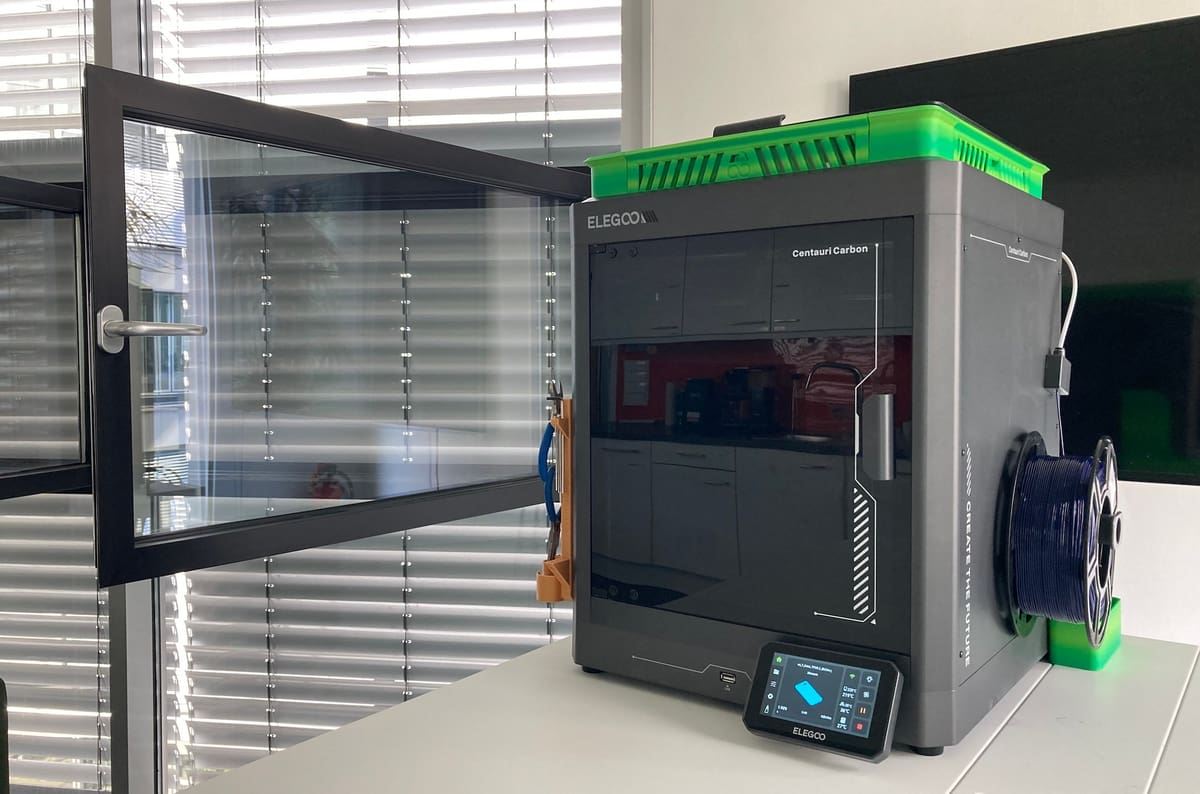
One of the test models on Elegoo’s website is a cover holder, which aligns beautifully with the design of the printer. I opted instead for a design by MakerWorld user Mairyjulien, as it offers a bit more functionality.
The design consists of two pieces that have slots to hold the printer’s lid as well as three build plates. The pieces are mounted on the left side of the printer; the screws used to assemble the printer are sufficient to hold the pieces in place.
The designer also included two alternative right holder pieces, one of which doubles as a tool holder. That’s the one I went for. The print went smoothly. Mounting the holders with the existing screws worked as well, but I concur with the designer that slightly longer screws would be preferable.
The printer lid slid right into place with no trouble, but the build plates were a little bit snug. Fortunately, they bend, so I was able to slide them into the appropriate slots as well.
Complaint Two: We've Got To Do Something About the Purge Poop!
We have a few multi-materials printers set up for testing, and purge turds accumulate quickly. The Centauri Carbon’s gaping backside purge chute doesn’t help. These pesky little blobbers slide down, go “wee”, and land wherever they want – crunch crunch under our feet.
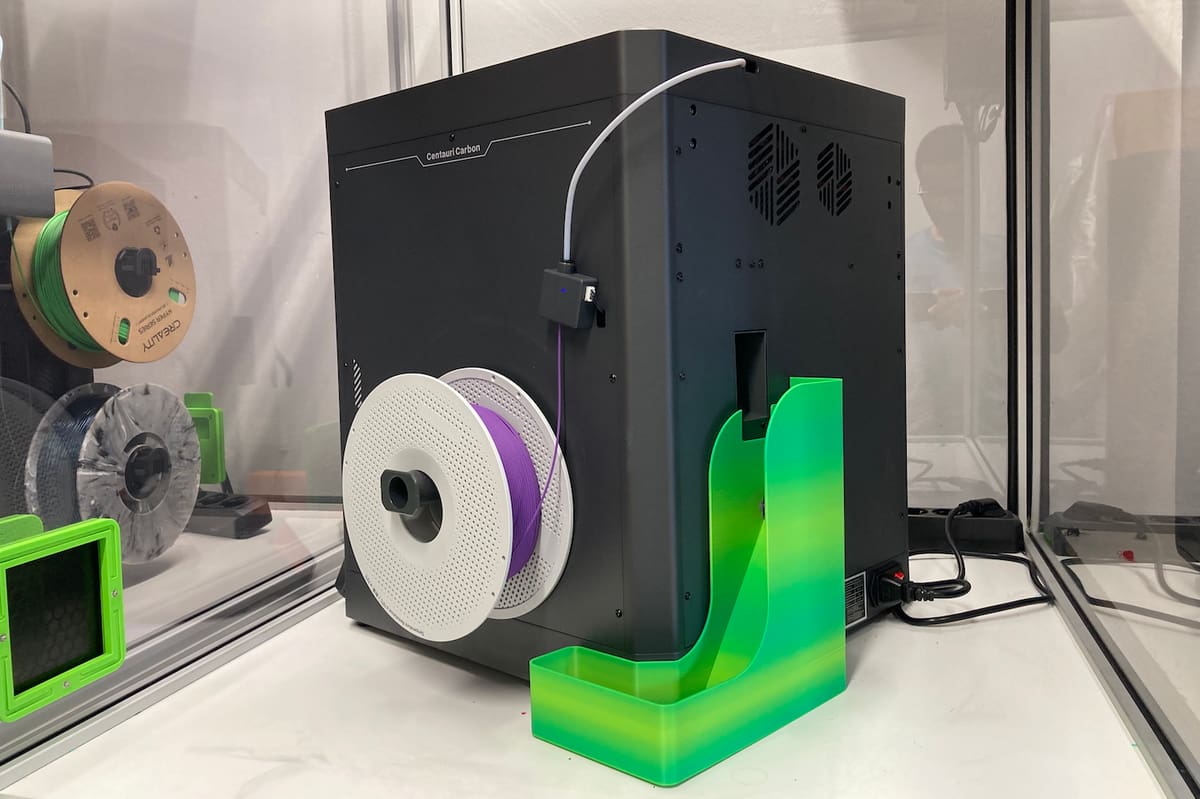
I found a few purge chute solutions on the repositories, but I liked Made by Niks’ whimsical design – it resembles a playground slide. No screwing-unscrewing is needed to dispose of waste because the chute isn’t mounted to the printer.
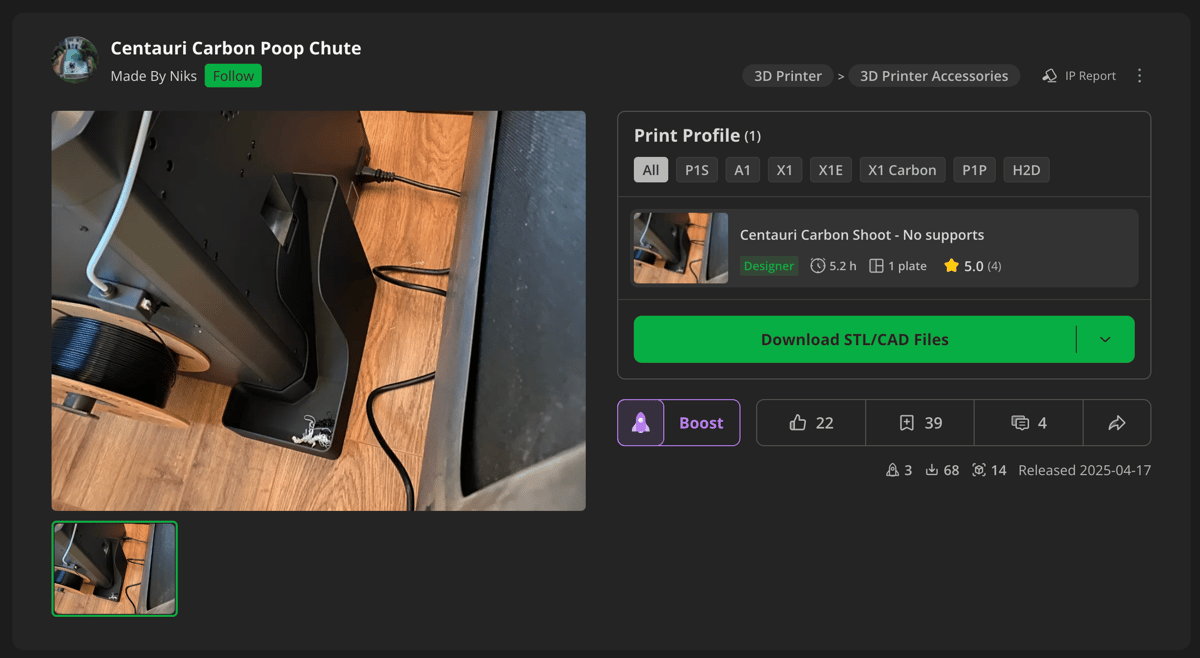
Instead, the contours of the design match the back right corner of the Centauri Carbon. Once it’s properly in place, the height of the slide perfectly aligns with the printer’s purge chute. This is especially helpful for tight spaces, as it’s not necessary to turn the printer around to ensure everything is properly aligned.
Complaint Three: Do I Really Need To Remove the Lid?

Even though I’m very happy with Mairyjulien’s cover holder design, I stumbled across a number of riser designs that vent the chamber without removing the lid completely. This would be especially handy for those with space constraints.
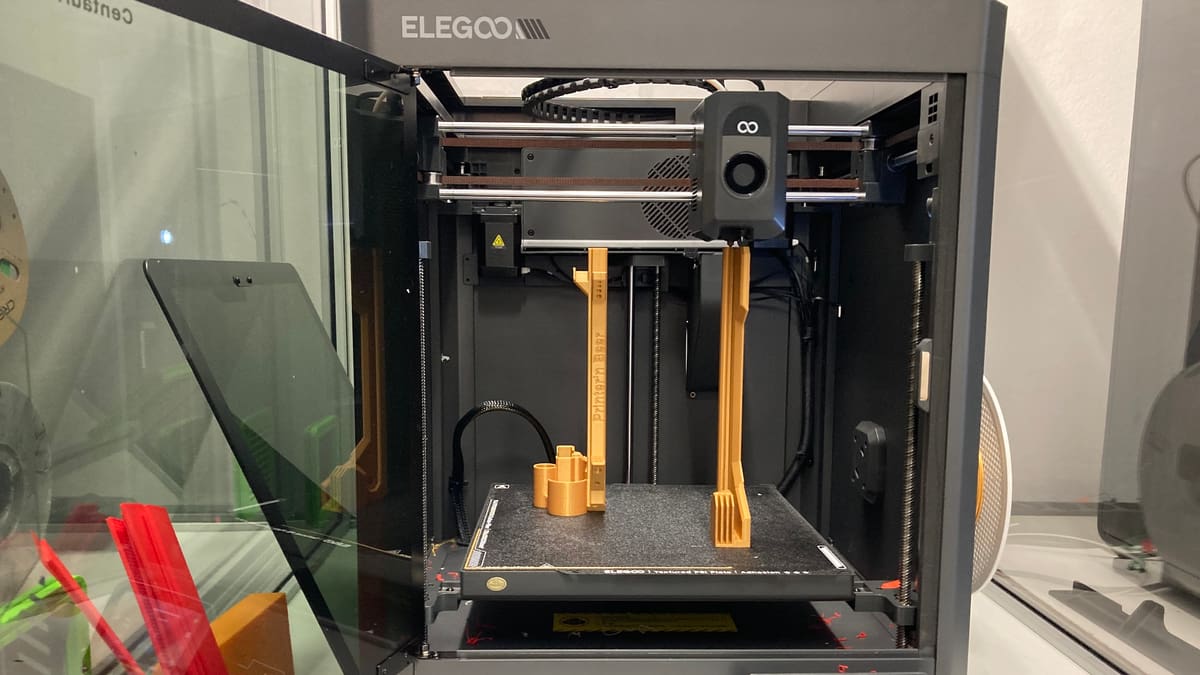
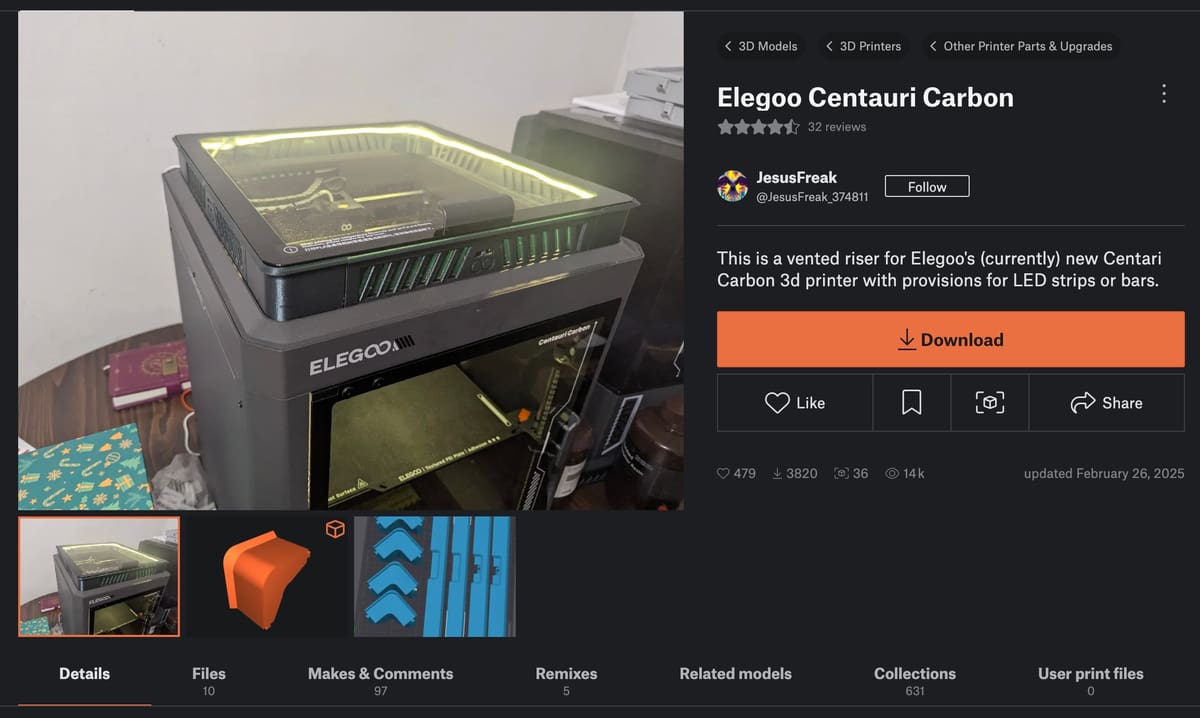
Printables user JesusFreak developed a fantastic print-in-place riser design that features vents that open and close. The basic version of the design consists of eight pieces: four distinct corners and four copies of the vented riser. There’s also an optional version that allows for the installation of an LED strip.
With 40 shared makes at the time of writing, it’s a popular design and the photos on the model’s page look great. This print, however, was a nightmarish experience, and it was primarily my fault.
I’ll spare you all the gory details. It suffices to say, don’t hesitate to print the risers separately and to space them out a bit more on the build plate. Doing that – and switching to our P1P, more out of frustration than a testament to the Centauri Carbon’s capabilities – resulted in flawless prints.
To free the vent’s sliders, I followed the designer’s and makers’ recommendations and gently pressed against the bottom of the slider with a screwdriver at each vent hole.
I tested the setup by printing a cell phone case in TPU with the settings recommendations in our guide on printing TPU. For comparison, the same model was printed again without the lid per Elegoo’s recommendation. Both prints were preceded by the heated bed leveling procedure.
It took just shy of two and a half hours to print the case. With the lid on and the riser’s vents fully open, the internal chamber temperature rose from 27 °C to 32 °C over the duration of the print. Printing without the lid and riser mod, the internal chamber temperature was around 25 °C at the start of the print job, then rose to about 30 °C. The case printed perfectly both times.
Printing without the lid definitely keeps the inner chamber a bit cooler, which is especially important for longer print jobs with low temperature filaments. However, for shorter print times, the lid on with the vented riser didn’t cause any problems.
License: The text of "The Centauri Carbon Is Great, But These DIY Mods Make It Better" by All3DP is licensed under a Creative Commons Attribution 4.0 International License.
CERTAIN CONTENT THAT APPEARS ON THIS SITE COMES FROM AMAZON. THIS CONTENT IS PROVIDED ‘AS IS’ AND IS SUBJECT TO CHANGE OR REMOVAL AT ANY TIME.