UltiMaker’s Cura software is arguably the most popular 3D slicer software around, used by hobbyists and professionals alike. As Cura is an open-source slicer, it’s continually adding new features with each update. Many of these features are first experimental settings, which are later absorbed into the list of standard settings.
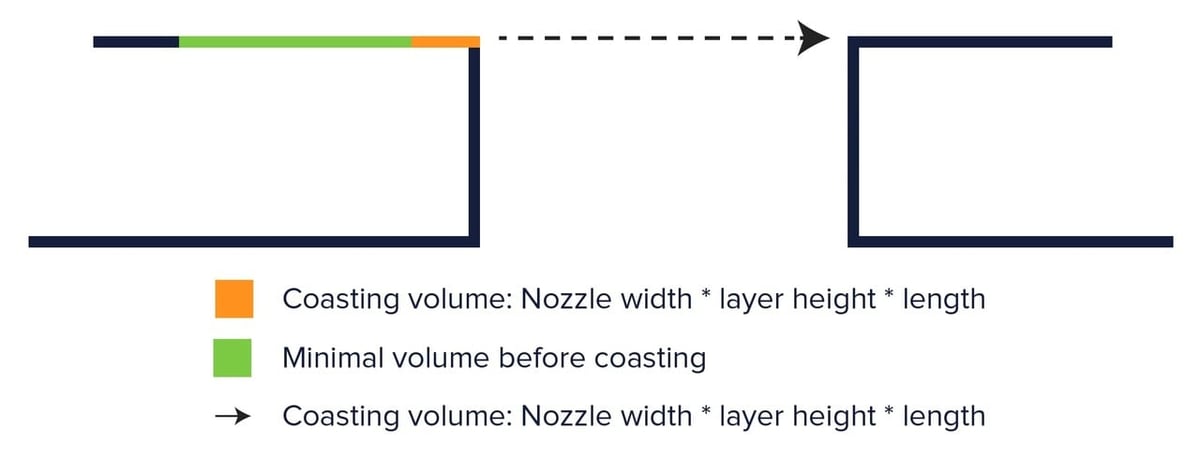
One such feature in Cura is coasting. When you’ve enabled coasting in Cura, the nozzle stops extruding material towards the end of its extrusion path. Instead, the material that’s oozing from the nozzle is used to complete the layer. True to its name, the material is given no feed and the nozzle just coasts freely along the end of the perimeter. It’s similar to coasting in your car: when you don’t accelerate but the car is moving in neutral due to inertia.
It’s one of those rare features that’s available in very few slicers. Currently, the coasting feature is available only in two slicers: Cura and Simplify3D. PrusaSlicer does have a similar setting, called “Wipe before retracting.”
In this article, we’ll be looking at the coasting settings in Cura. We’ll see why coasting is useful, when should you use it, and which settings to adjust. Lastly, we’ll also look over how it relates to the linear advance feature.

Why Use It
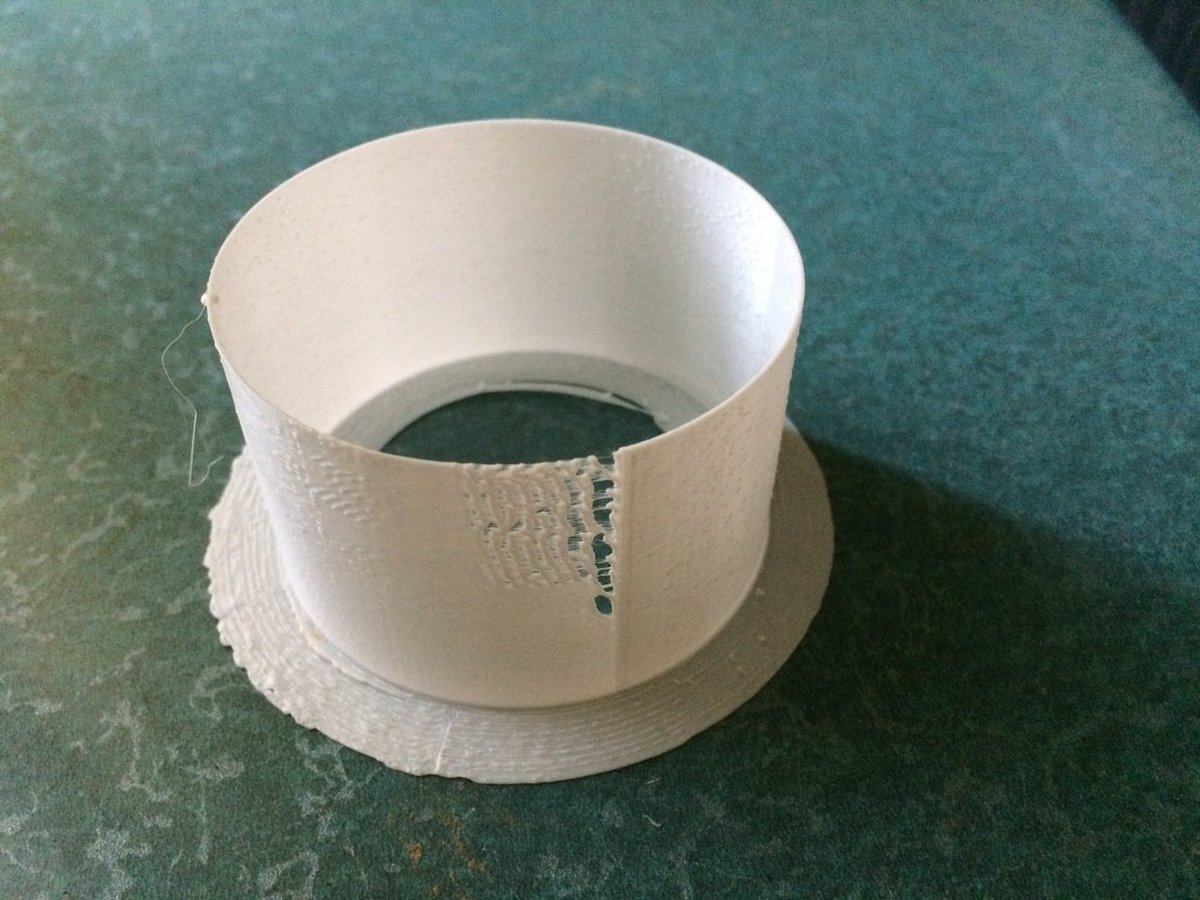
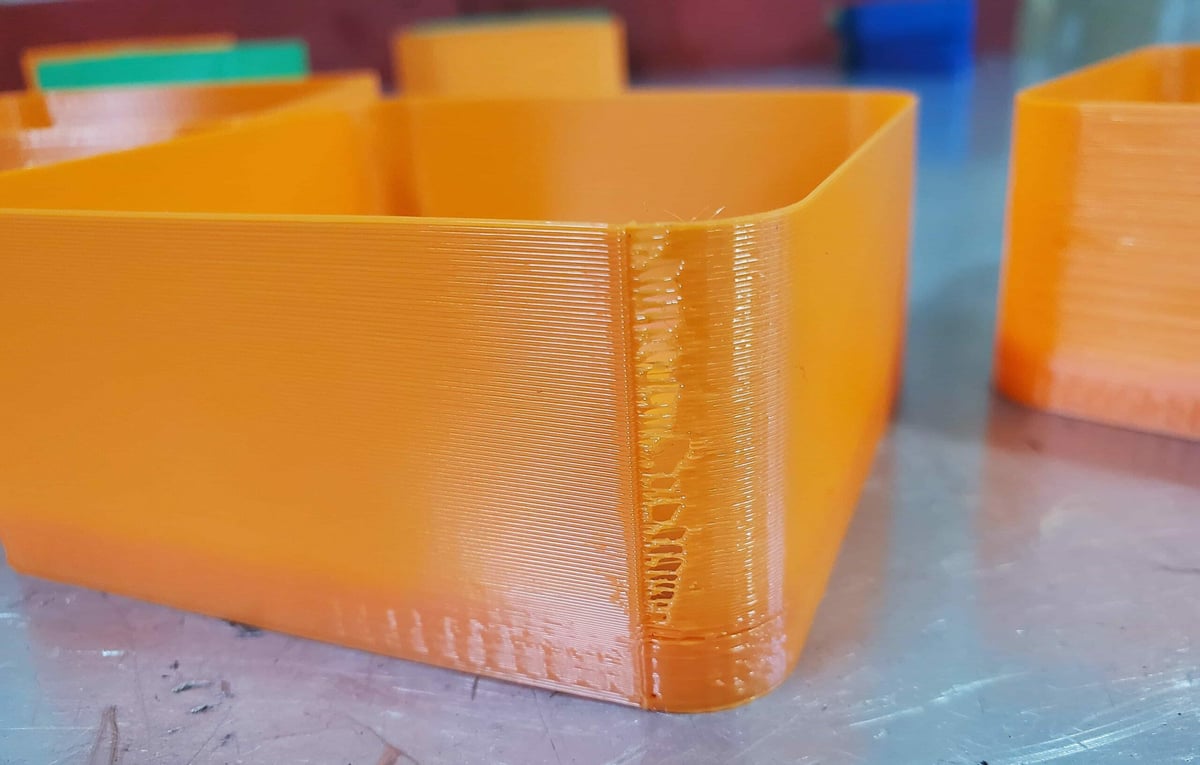
Coasting in Cura mainly aims to solve stringing issues in a 3D print. This phenomenon typically occurs because the material isn’t retracted completely back into the nozzle. Thus, the material that oozes out of the nozzle forms zits or blobs on the 3D print. Sometimes, even fine hair-like stringing also occurs because of insufficient retraction.
To eliminate this, coasting turns off the extruder feed slightly before the end of a perimeter. This alleviates some pressure that’s built up in the nozzle. Some of the material that’s still oozing is then used to close the end gap. Thus, when the actual retraction occurs, there’s no more material, and the filament is retracted completely back inside the nozzle.
By doing this, coasting helps to resolve any issues that might occur at the end of a perimeter. So, bulging corners, zits, any blobs, and of course stringing shouldn’t happen when using coasting.
How to Use It
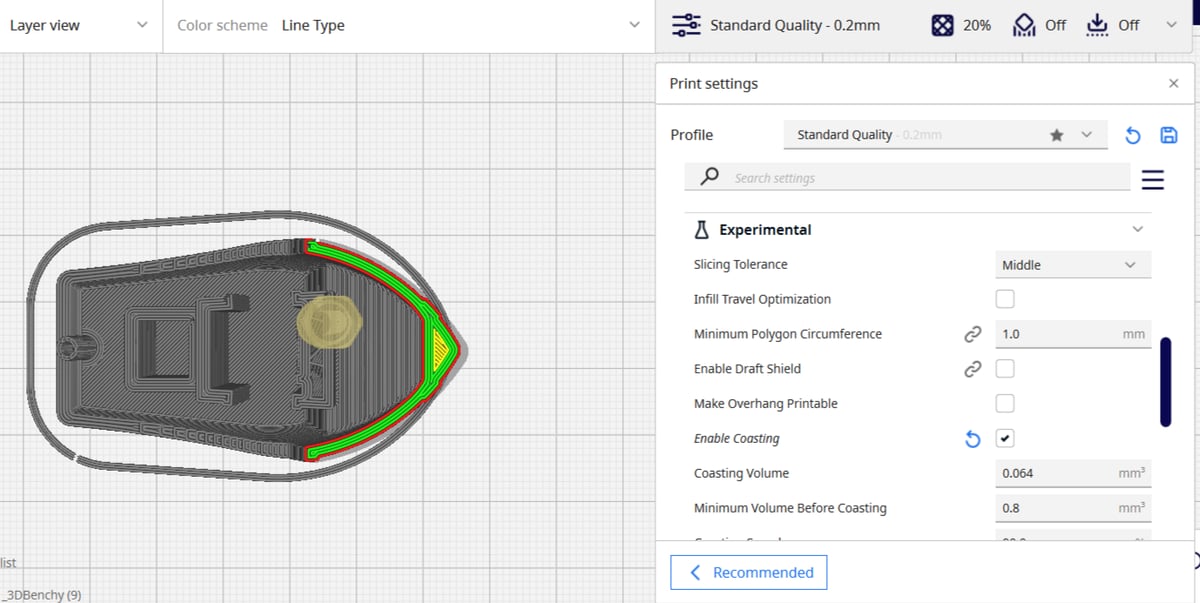
So, now that we’ve looked at when and why to use coasting in Cura, let’s understand the available coasting settings. To access them, you’ll need to activate coasting. To do so, go to the experimental section in Cura and tick the box next to “Enable Coasting”. (You’ll need the Expert settings profile activated to see it as default.) Understanding these options within coasting will help fine-tune your prints.
Coasting Volume
This is the volume of the material that would’ve otherwise oozed out of the nozzle if you weren’t using coasting. Cura recommends keeping this value equal to the nozzle diameter’s cubed value. However, if you find that filament is still oozing out, you can experiment with this value in increments of 0.01 mm3.
Remember, the higher the number, the earlier the extruder feed will be stopped. So, if you set too high of a value, you might face some under-extrusion. Often, this is a setting that can lead to gaps in 3D prints. You can preview the effect in the slicer itself, which should show any gaps at the end of a layer or perimeter.
Minimum Volume Before Coasting
This value indicates the minimum volume of material in an extrusion path to allow coasting to occur. No coasting will occur in any extrusion path with a volume lower than this set value.
If you set this value too low, the printer will coast unnecessarily, and in smaller extrusion paths this may lead to under-extrusion. The set value of 0.064 mm3 is an ideal setting, and generally, there’s no need to tamper with it.
Coasting Speed
The coasting speed sets the speed at which the nozzle moves when the extruder isn’t pushing material out.
Setting a slightly slower speed ensures that the oozing material is laid down properly. A faster speed might carry away the material leading to under-extrusion or stringing, while too slow a speed might deposit too much material in one spot, leading to blobs or zits on the print.
In Cura, by default, the coasting speed is slightly lower than the value of your normal extrusion speed. So, 90% coasting speed indicates the nozzle’s movement is 90% the speed of regular extrusion. (If the regular printing speed is 60 mm/s, the coasting speed would be 54 mm/s.)
Alternative: Linear Advance
Coasting is essentially a workaround in 3D slicer software that aims to reduce stringing. However, what if you could resolve the issue directly by implementing some changes in the printer firmware itself? This is where linear advance comes in.
Linear advance is a high-level feature available in Marlin and Prusa firmware. It manages the pressure differences in the nozzle during the extrusion and retraction of a filament at high speeds. If you’re interested in learning more, there’s a detailed video guide that explains in detail about linear advance.
Just as coasting stops the extruder movement before the end of the perimeter, linear advance does this by regulating the pressure differences in the nozzle. As such, it can eliminate any printing defects caused by the “end” of the extruder’s path. It’s so effective that the retraction distance can theoretically be brought down to zero if you’ve calibrated linear advance correctly.
As linear advance is at the firmware level, it works on every print, irrespective of the 3D slicer you choose to use. This is not true for coasting, which began as an experimental setting in Cura. Also, when linear advance is enabled, you need to disable coasting. Otherwise, these two settings will interfere with each other, and you may end up getting poor results.
Final Thoughts
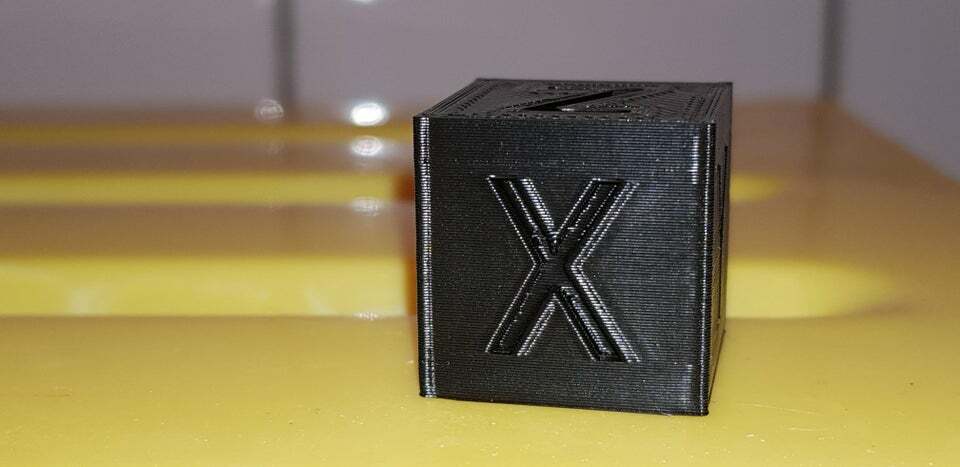
When you have your coasting settings dialed in, you can expect to see sharper corners, less blobs, and no flying strands of material.
On the other hand, linear advance might also ease some issues. However, it requires a lot of calibration and can be tiresome to achieve the perfect settings; coasting is the easier way to go.
Just remember that coasting and proper retraction settings go hand-in-hand to get string-free 3D prints. It’s a good idea to utilize test prints to perfect your retraction and other settings.

License: The text of "Cura Coasting Settings: Simply Explained" by All3DP is licensed under a Creative Commons Attribution 4.0 International License.