It’s Relatively Easy to Convert Your 3D Printer to a Laser Cutter/Engraver

It's easier than you think to convert a 3D printer to a laser cutter! Check out this quick guide to learn more.
Whether you’re looking to create more than 3D printed parts or just expand the materials you work with, laser cutting and engraving is an excellent choice. It lets you work with other materials besides plastic and doesn’t require much experience.
The best part is that you can retrofit a 3D printer to become a laser cutter/engraver with little to no hassle. The motion system of 3D printers far exceeds the requirements for laser cutting, and laser diode modules can be as small as hot end assemblies.
There are, however, some key things to know before converting your 3D printer into a laser cutter/engraver. In this article, we’ll talk about laser technology in general, go over the necessary safety precautions, then discuss the main steps for transforming your 3D printer.

Lasers 101
Laser cutting is a process where a laser beam selectively removes material along a pre-determined path by vaporizing it. Laser engraving, on the other hand, doesn’t cut through the material but instead partially removes the material to leave a visible mark. This differs from laser marking, which alters the material’s color or structure without removing any material, often through chemical reactions.
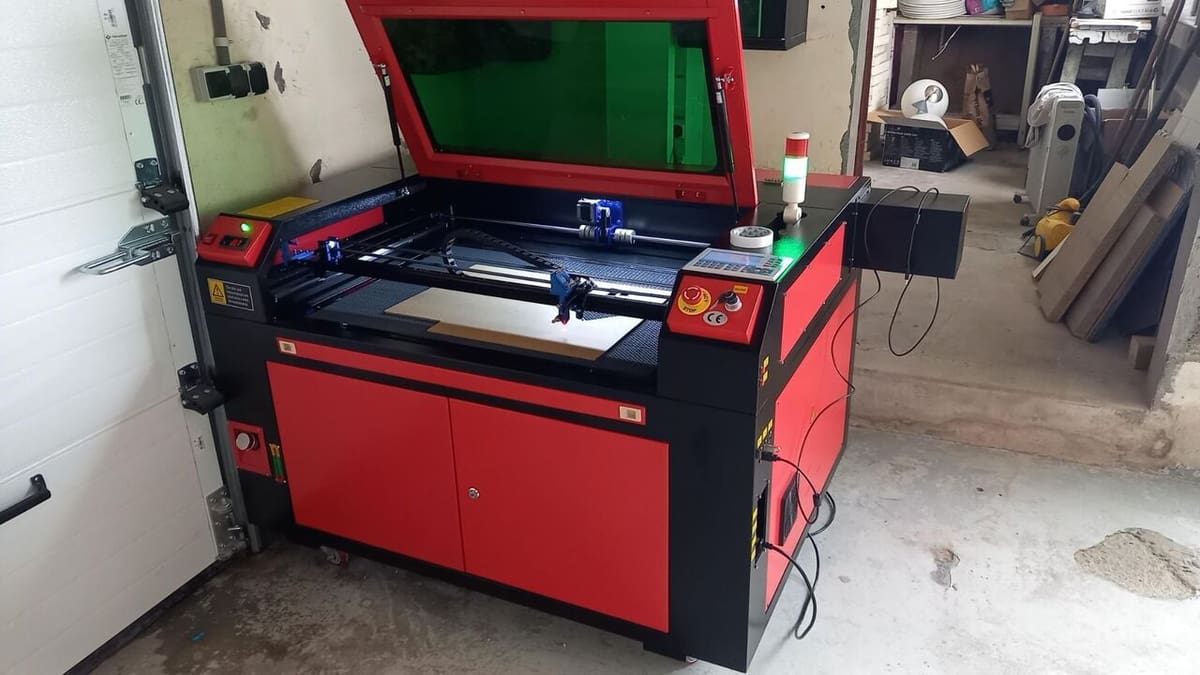
Two laser technologies are primarily used for desktop fabrication: CO2 and diode lasers. CO2 lasers are powerful enough to cut through a wide range of materials, including acrylics, wood, and even some metals. In contrast, diode lasers are significantly less powerful; they’re typically suited for engraving and cutting thin sheets of balsa, plywood, and some plastics.
The primary difference between a laser cutter and an engraver lies in laser power, material thickness, and the type of material that can be processed. High-powered CO2 lasers are designed for heavy-duty cutting tasks and are therefore well-suited for thicker materials. Diode lasers – with typically a lower power rating – are mainly used for engraving and light cutting applications, so it’s best to stick with thinner ones when working with a diode laser.
For converting a printer into a laser engraver, we’ll focus on diode lasers, as they’re lightweight, affordable, and perfect for our use-case scenario.
Safety Requirements
Laser machines are perfectly safe for home use if they’re properly maintained, operated, and meet all safety requirements. If you’re considering converting your 3D printer into a laser engraver, you must inform yourself about the hazards of such equipment.
General safety practices include keeping children and pets away from the machine during the operation and ensuring maintenance is always up to date. Using a proper work surface for the laser machine is also highly recommended (see the Getting Started section).
The primary safety concerns, however, are fire hazards, toxic fumes and vapors released during the engraving process, as well as any exposure to the laser beam itself. Below are some tips on how to minimize these safety risks.
Fire Prevention
To avoid fire hazards, never leave the system unattended during an engraving job and always keep the interior of the machine and surrounding areas free of debris and flammable materials. Having a fire extinguisher nearby is also a good practice.
Ventilation
Laser machines can be operated indoors as long as they’re in a well-ventilated room and have a proper exhaust system in place. An enclosure is essential to avoid exposure to these vapors, and you also have to ensure that you can safely work on the materials you’re engraving.
For enclosures, commercially available 3D printer enclosures, such as tent-style ones with reflective inner linings, may offer some level of containment but aren’t designed to handle laser fumes and heat dissipation effectively. Moreover, the reflective nature of the inner lining can be hazardous as well. A better option is a rigid, fire-resistant enclosure with an integrated exhaust system, which ensures controlled airflow and prevents hazardous fumes from lingering in the workspace.

To further improve safety, adding an air filtration system is highly recommended. Inline fume extractors or DIY carbon and HEPA filter setups can help remove toxic particles before venting air outdoors. Some commercially available fume extractors designed for laser cutters can also be adapted to smaller diode laser setups.
Eye Protection
Last but not least, Class 4 lasers can cause serious eye injury, so proper goggles are mandatory at all times. The laser beams generated by diode modules are the most hazardous and require specific goggles for particular wavelengths. Check with the manufacturer to determine exactly which goggles are required and get yourself a pair of high-quality ones.
Emergency Stop Button
For additional safety, installing a kill switch (interlock switch) is a good practice. Implementing one typically requires basic electrical knowledge, as it involves wiring a physical switch to automatically cut power to the laser when the enclosure is opened. This detailed guide from Awesome Tech walks users through adding a safety switch and can be adapted to their specific wiring situation.
How to Do it
The process of converting a 3D printer into a laser machine varies but generally covers the same steps.
First off, we need to choose the laser module that best fulfills our requirements – functionality and price, for example. Then, we have to figure out how to adapt it to the printer’s electronics and physical interface.
Getting Started
Before setting up a laser cutter or engraver, it’s essential to understand the core components that go into them. While each setup may vary depending on the laser type and application, the following components are fundamental:
- Laser Module is the primary component responsible for cutting or engraving. Diode laser modules typically range from 1 W to 10 W and come in different wavelengths suited for specific materials.
- Driver electronics control the laser module’s power and modulation. This can be integrated into an existing 3D printer’s control board for low-power modules or require an external laser driver if you’re using a higher power module (we’ll go into more details later in the article).
- Work surface refers to a sturdy, fire-resistant base to support materials during cutting or engraving. Honeycomb beds or aluminum plates help dissipate heat and prevent damage to underlying surfaces.
- Cooling and Air Assist systems improve cutting efficiency and reduce material scorching. These are optional, and you might even be able to utilize your printer’s existing part cooling setup for this purpose. Since this is an optional step, we won’t be covering this in the article.
- Enclosure and ventilation are essential and highly recommended for safety. An enclosure helps contain fumes, and an exhaust system or fume extractor ensures proper ventilation.
- Proper power supply unit (PSU) ensures stable power delivery to both the laser module and driver electronics. Some modules require dedicated power sources beyond what a typical 3D printer PSU can provide, in which case you would have to use a separate PSU along with the stock one.
Now that we know what we need for the conversion, let’s take a closer look!
Laser Module
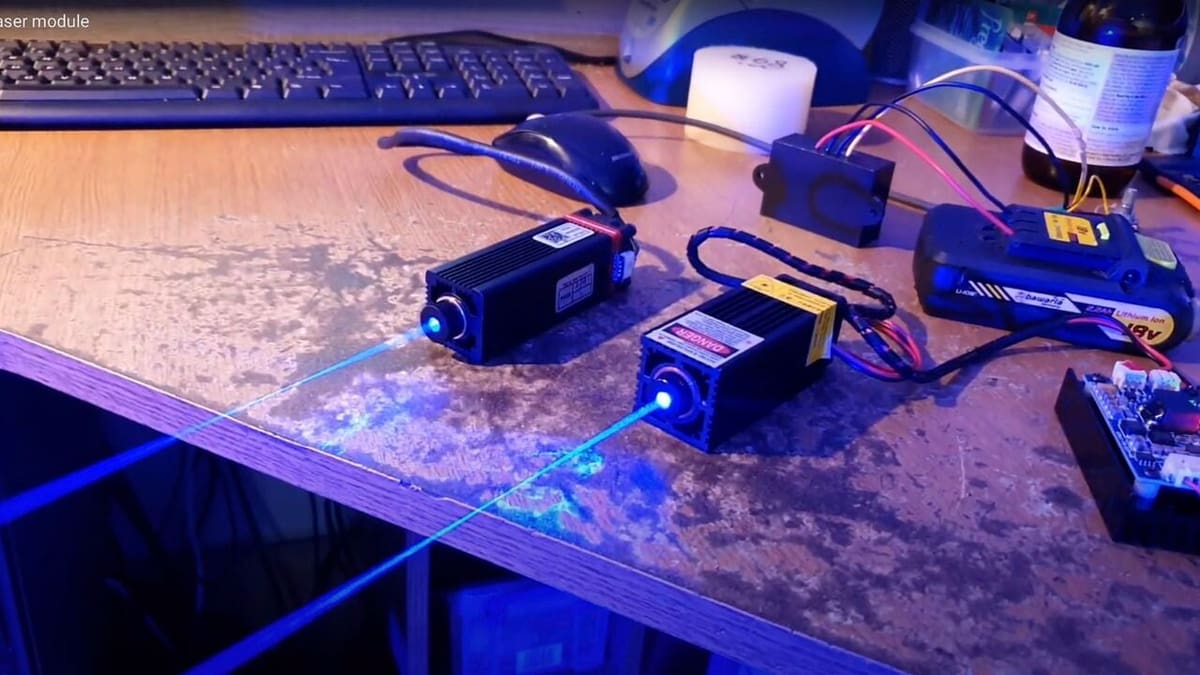
Powerful solid-state lasers are a relatively recent development, but the market quickly caught up with the demand for diode laser modules. They use solid materials like crystals or special glass to create laser light, making them compact and reliable. Compared to other kinds of lasers such as CO2, they require very little maintenance – making them perfect for hobby-grade laser cutting and engraving projects.
Laser power invariably ranges between 1 W to 10 W. Some white-label lasers – generic, often rebranded modules with exaggerated specs – you may see online are listed as 30 or even 40 watts, but that’s definitely not their actual optical output power.
The power will define which materials can be cut or engraved and at what thickness. Laser manufacturers usually provide a list of materials that can be cut and engraved, so be sure to check that.
An adjustable focal length, which you’ll sometimes see as an advertised feature, is not truly important here since the 3D printer’s Z-axis can raise or lower the module to match the fixed distance.
Air assist is an interesting feature, as it blows air directly onto the surface to dispel particles interfering with the laser, providing much cleaner cuts. Some lasers have this feature built-in. As we have mentioned before, you might be able to utilize the existing part cooling setup of your printer’s toolhead for this.
Work Surface
A proper work surface is vital, as it provides stability, prevents unwanted reflections (extremely risky), and protects the underlying printer bed from damage. On top of that, since lasers can cut through or scorch materials, an additional protective layer beneath the workpiece is necessary as well. Common options for work surface include the following:
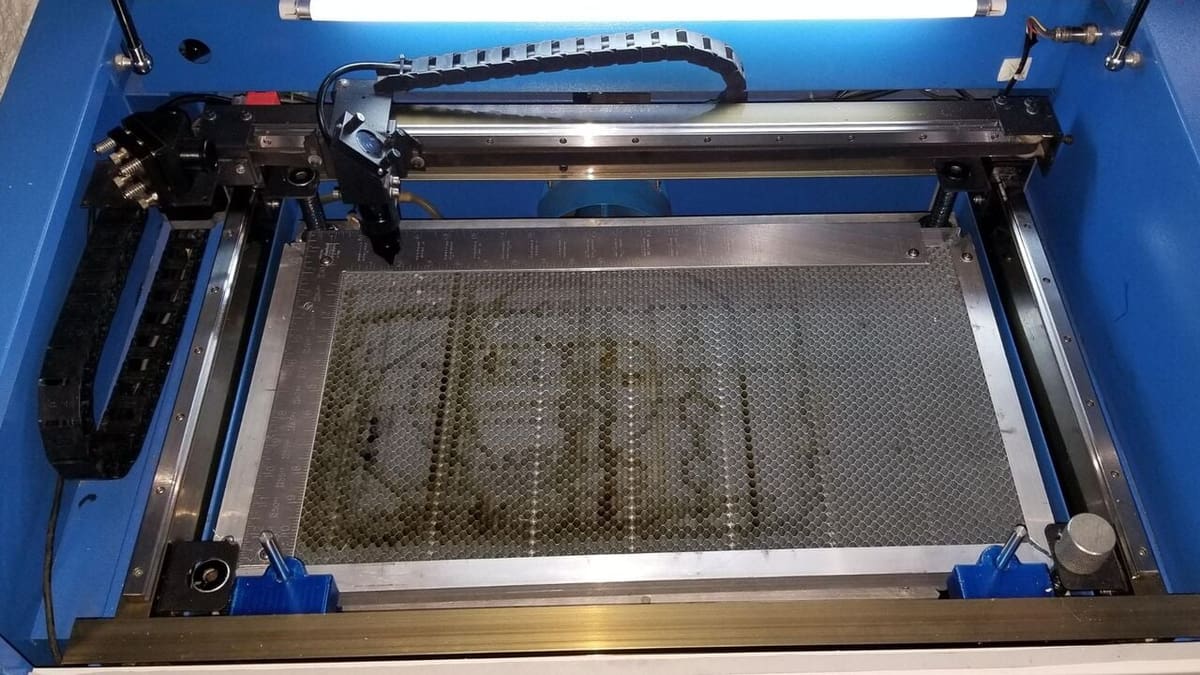
- Honeycomb workbeds: Typically made of aluminum, these provide excellent airflow and reduce heat buildup while supporting the material. They are commonly used in laser cutting setups. Additionally, the honeycomb pattern scatters and absorbs laser lights, which prevents accidental concentrated reflection and makes it even safer for laser cutting operations.
- Non-flammable boards: Fire-resistant boards, such as ceramic fiber boards or high-density MDF, can act as a disposable surface for engraving or light cutting.
If the work surface you are using is reflective (especially if it’s metal), you should paint it in a matte black color so it doesn’t reflect the laser.
Additionally, if your 3D printer uses an inductive bed leveling probe, it may need to be replaced or modified when converting to a laser cutter. Inductive probes rely on metal detection, meaning they won’t detect non-metallic workpieces like wood or acrylic. This could result in the laser module ramming into the material. A BLTouch or other physical pin-based probe is a more versatile alternative, as it doesn’t require the work surface to be metallic.
Compatibility & Wiring
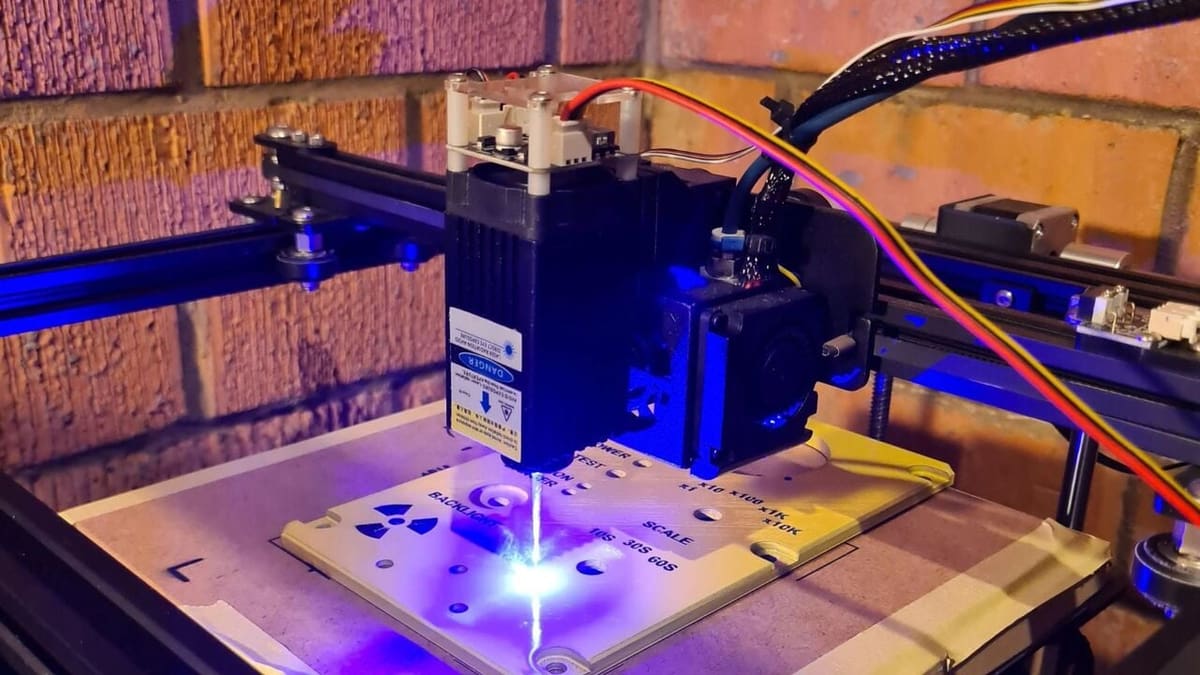
Most laser modules can be controlled via the part cooling fan port, as it provides Pulse Width Modulation (PWM) control that allows us to control the power of the laser module as well. This works well for low-power lasers (less than or equal to 5 W). High-power lasers (greater than 5 W) may exceed the printer’s controller board‘s current limit and require an external MOSFET driver.
Power Requirements
Check the laser’s voltage and current draw to determine if your controller board can handle it. Also, keep in mind that the laser module’s voltage rating needs to be the same as the voltage rating of the 3D printer, which is 24 V in most modern printers.
To be sure, you can check the label on the power supply unit to see whether it’s 12 V or 24 V. A 24-V laser module will run poorly or not work at all on a 12-V printer, and a 12-V laser module will burn out if connected to a 24-V power supply.
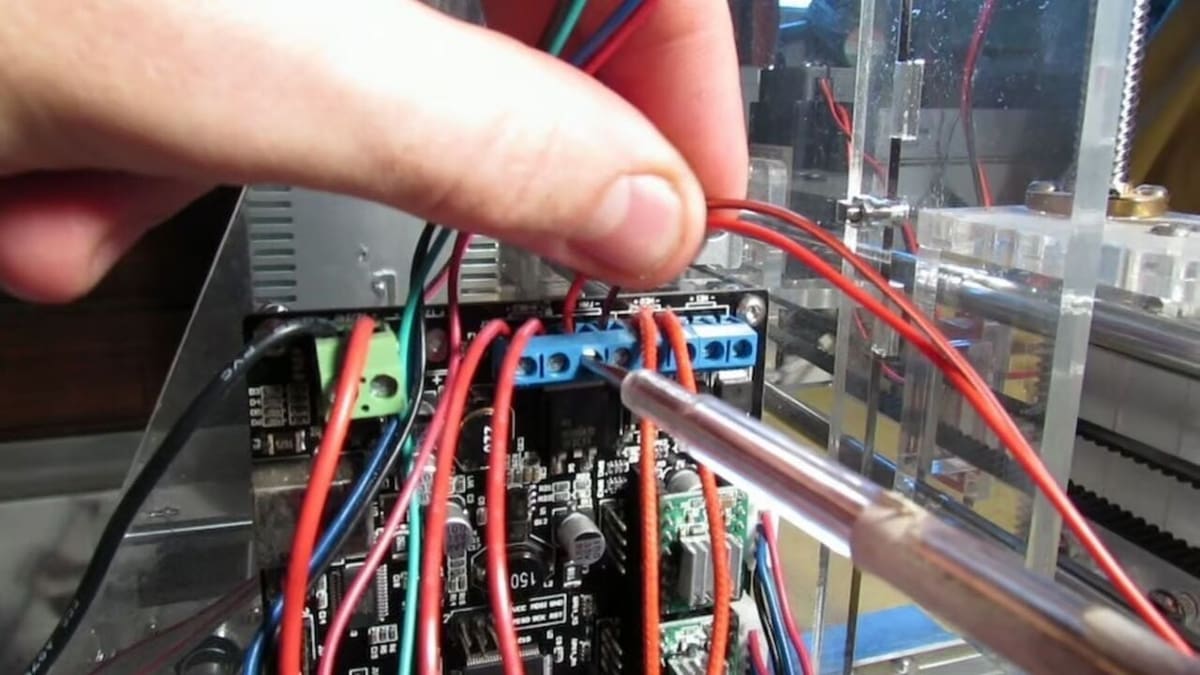
Wiring Options
Direct Connection (less than or equal to 5-W lasers)
- Connect power (VCC/GND) to the printer’s PSU.
- Connect PWM control wire to the fan port PWM pin.
External MOSFET setup (greater than 5-W lasers)
- Connect power (VCC/GND) to an external 12-V or 24-V PSU depending on your printer.
- Use a MOSFET driver (e.g., IRF520-based) or solid-state relay (SSR) to switch power.
- Connect PWM control from the fan port to the MOSFET’s signal input.
As for how to determine the wattage of your laser module, the manual should state it – and possibly have a wiring guide as well. But if the manual doesn’t state it in wattage and only tells you the voltage and ampere, you can calculate it using the following formula:
- P = V x I, where P is the power in watts, V is voltage, and I is current in ampere.
For example, a laser module that draws 0.125 ampere at 24 volts has a wattage of 24 x 0.125 = 3 watts.
Installation
Installing and mounting the laser module is perhaps the only major hardware change in this entire conversion process. While many lasers come with custom brackets, some sort of adaptation will always be required.
Luckily, you already have a 3D printer, so nearly anything is possible. You might be able to find designs for attachments on popular model repositories that match your module and 3D printer.
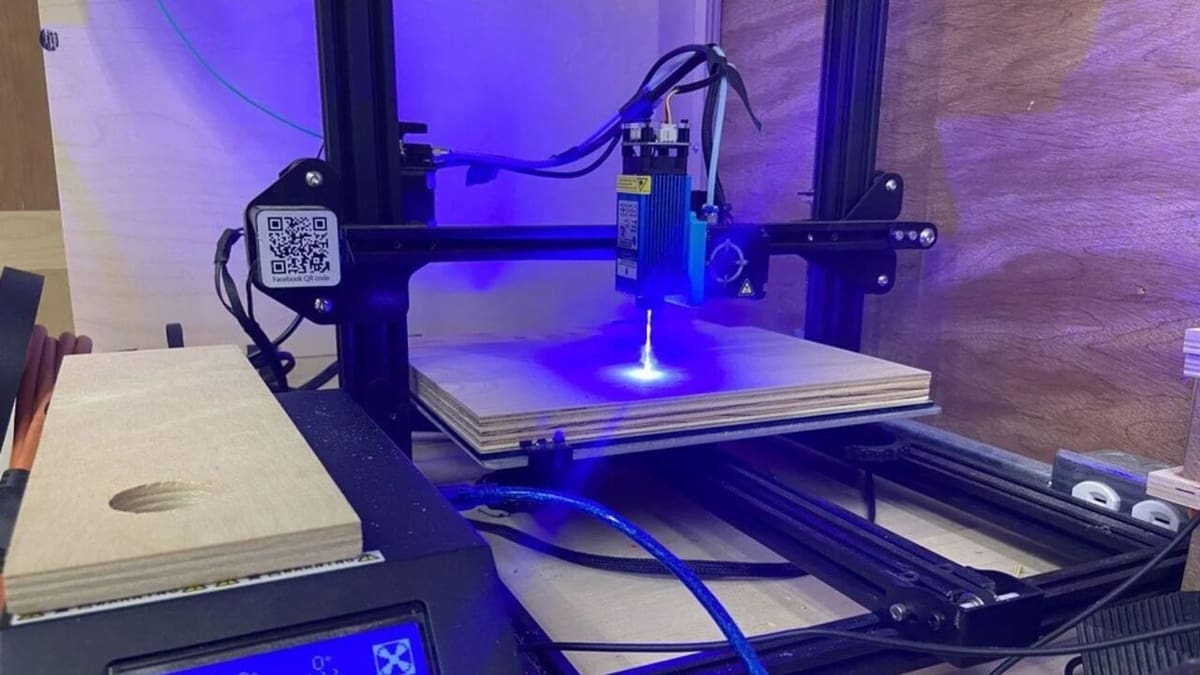
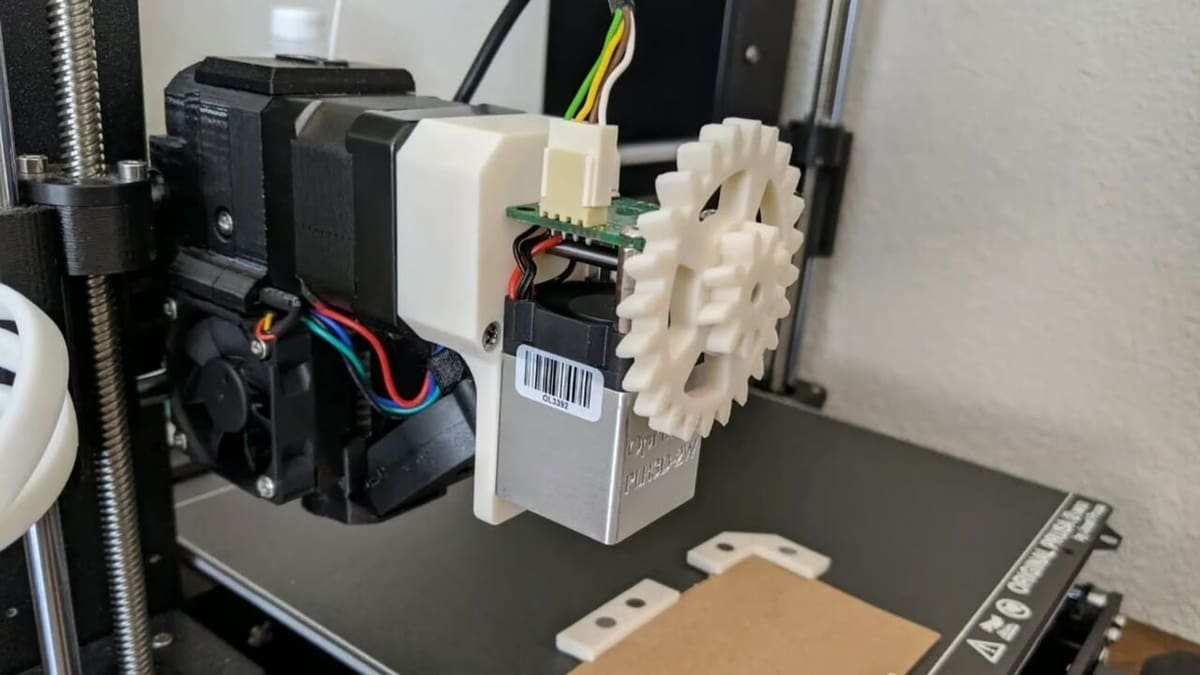
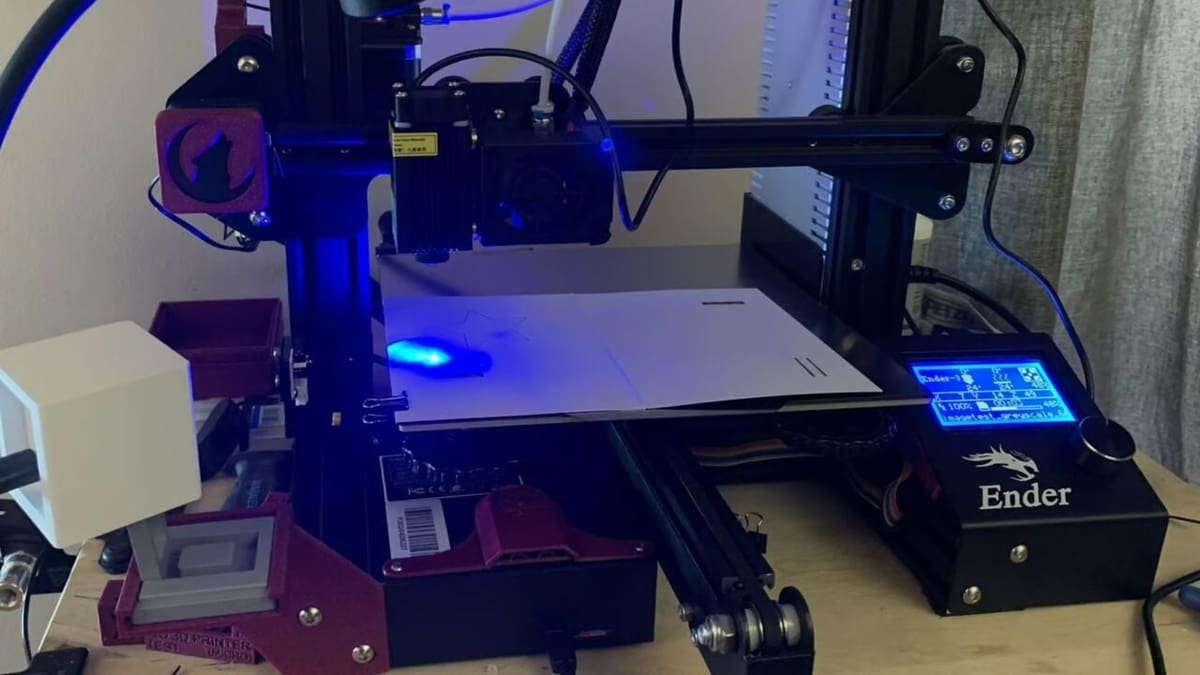
If not, maybe it’s time to try some 3D modeling software like Tinkercad. The model doesn’t need to be fancy, just an interface between the holes and screws that will hold the hot end. If you don’t want to convert your 3D printer to a laser engraver permanently, you can also try to create a mount that will secure the laser module onto the print head without requiring you to remove the extruder and hot end – as shown in the picture.
Once you’ve attached the laser module to your 3D printer, that’s basically it! However, you might need to consider some new firmware to start cutting and engraving. For example, the Creality Laser Module comes with a firmware compiled for Ender 3 S1, which can be found on Creality’s website.
But if you have a different printer, you may have to compile your own firmware. Make sure to check compatibility with your printer beforehand.
Preparing Files for Laser Engraving
Since traditional 3D printing slicers cannot generate G-code for laser cutting or engraving, specialized software is needed to convert vector graphics into compatible G-code. The workflow generally involves designing or importing a vector file, setting cutting or engraving parameters, and generating the required toolpath as a G-code file that then needs be modified to be adapted to your 3D printer before you can run it.
Software Options
Several programs can be used to prepare G-code for laser engraving and cutting:
- LightBurn is a popular paid option offering advanced features, material libraries, and direct machine control.
- LaserGRBL is a free, Windows-based software for engraving with simple G-code generation.
- Inkscape is an open-source vector design software that, with plug-ins like J-Tech Photonics Laser Tool, can export G-code for lasers.
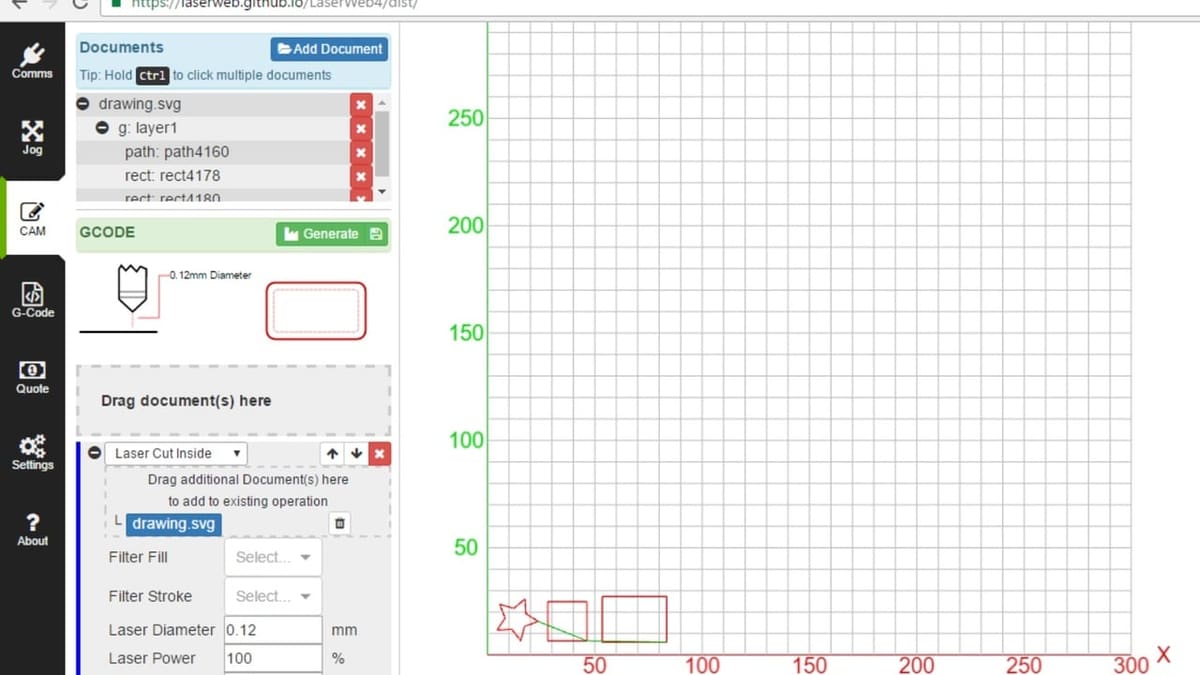
- LaserWeb is a browser-based solution for generating laser cutting and engraving G-code. It’s useful for custom setups.
How It Works
- Create and/or import a vector file. Most software supports SVG, DXF, or AI files.
- Define cutting and engraving paths. For cutting, the laser follows the path at full power to cut through the material. When engraving, the laser lowers the power to engrave designs into the material without cutting through it.
- Set power and speed parameters. These settings depend on material type and thickness.
- Generate and export G-code. Once configured, the software outputs G-code, which can be sent to the printer.
- Modify the G-code to make it work for your 3D printer. The exact G-code format depends on the printer’s firmware (e.g, Marlin, Klipper) and your hardware setup, so you’ll need to do some research and trial and error by yourself. For more details, check out the G-code section in this Instructables.
Although the process is a tad bit trickier than what you would have to do for a standalone desktop laser engraver, it should be a walk in the park once you’ve figured out what to do for your setup. That being said, never get too confident with your work and always preview the G-code in a G-code viewer (like PrusaSlicer’s built-in one) to verify the paths before running a job!

Next Steps
A laser cutter/engraver is one of the coolest machines you can have in your home, as it lets you make stuff with a wider range of materials than extruded plastic filament.
If you’re interested doing it, there are a number of products available from printer manufacturers and third parties. For example, Creality has special laser kits for adding laser modules to some of their Ender 3 printers.
Be sure to check some step-by-step tutorials, too. Instructables user Gosse Adema has documented their Anet A8 conversion into a laser cutter and engraver, while the YouTube channel Teaching Tech shows how to do it on any 3D printer. Additionally, Prusa MK3 users can follow this Instructables guide on laser engraving with an Prusa MK3.
The instructions for conversion are generally similar across different 3D printer models, but always refer to your specific printer’s firmware and hardware requirements before proceeding.
License: The text of "It’s Relatively Easy to Convert Your 3D Printer to a Laser Cutter/Engraver" by All3DP is licensed under a Creative Commons Attribution 4.0 International License.