Cura: Combing Mode – Simply Explained

In Cura, combing is an important setting that reduces retractions and can prevent stringing. Learn how you can use combing mode in Cura!
Retraction is an important setting on your 3D printer that helps prevent quality issues like stringing and reduces the effects of over-extrusion. While it’s usually recommended to use retraction in prints, too much can cause other issues, such as inconsistent extrusion and nozzle jams. When retractions occur, filament is sucked back through the hot end and then quickly extruded again, causing a pounding effect on the nozzle.
Combing is another 3D slicer setting that can combat over-retractions by regulating where the nozzle can move. Combing isn’t a one-size-fits-all type of setting, though, and can be set to different modes depending on the slicer you’re using.
UltiMaker Cura is a popular open-source 3D slicer that offers a few different combing modes to choose from. In this article, we’ll go over how combing works, when to use it, and the different modes available in Cura.

How Does It Work?
Combing reduces retractions so that other issues, like hot end clogs and tiny gaps in layers, don’t occur. In addition to reducing retractions, combing also helps reduce stringing.
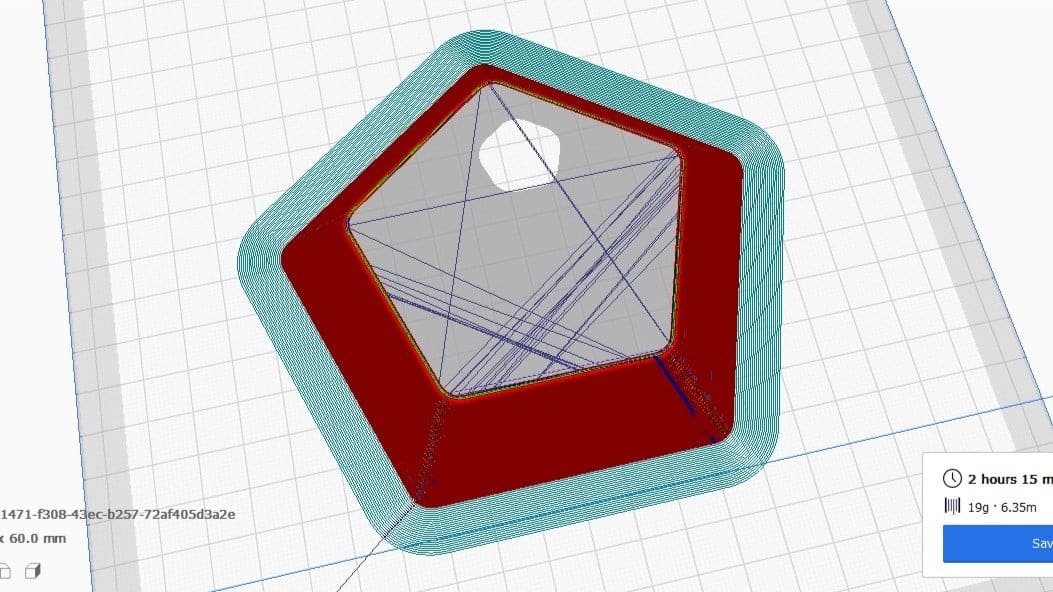
Without combing activated, once a machine finishes a layer, the printhead lifts up and moves in a straight path to the starting point of the next one, which is often different from the ending point of the previous layer. Hot end pressure causes filament to ooze from the nozzle, which is why retraction is necessary to prevent stringing during the printhead’s path from its ending point to its starting point. Unfortunately, retractions aren’t always ideal because they can cause their own issues, and it’s also hard to perfectly fine-tune your retraction settings.
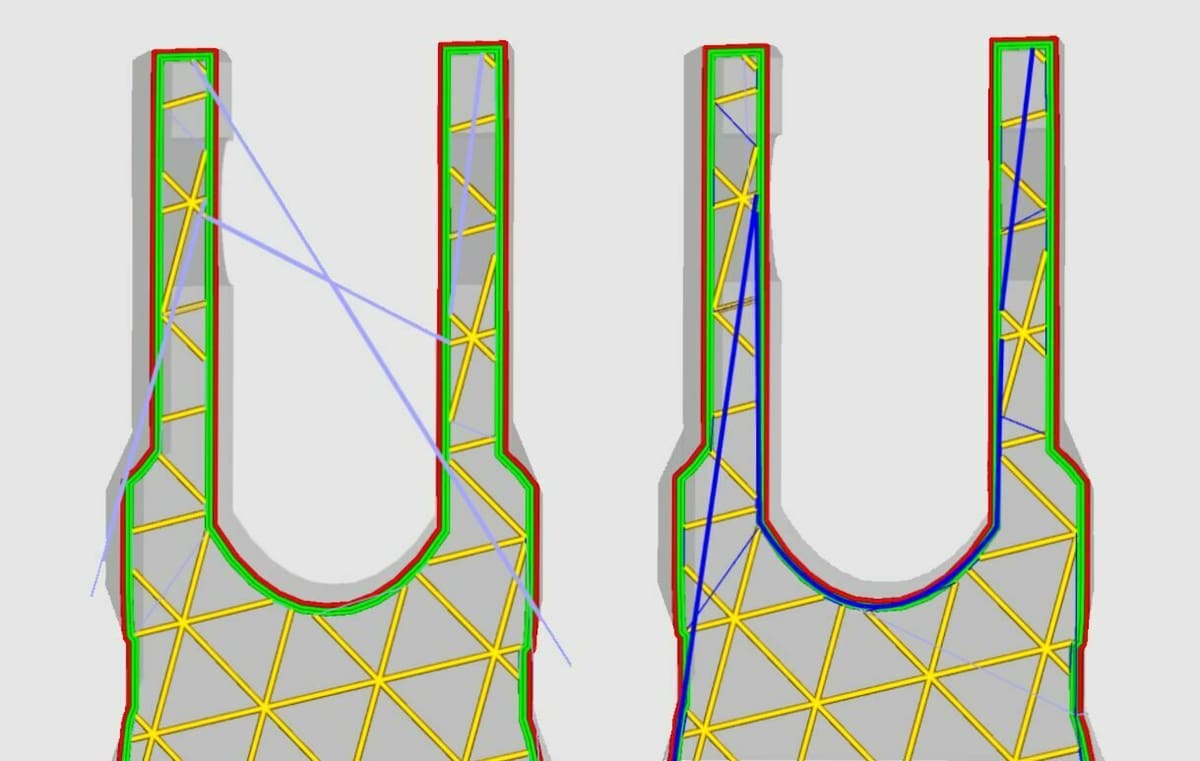
This is where combing can come in handy. Combing controls how your nozzle moves from the ending point of one layer to the starting point of the next to help reduce the need for retractions. Instead of trying to prevent hot end pressure by retracting filament all of the time, combing allows the filament to ooze on the inside of the print, where it’s less visible. This usually means following the infill patterns or the wall layers on the interior of the print.
Of course, there are some scenarios where moving around a print to the starting point of the next layer is not possible, so some retraction is still necessary. Cura will automatically choose not to retract when possible. Depending on what mode you set in your slicer, combing can significantly reduce retractions. However, if significantly longer travel moves are needed, print time will increase.

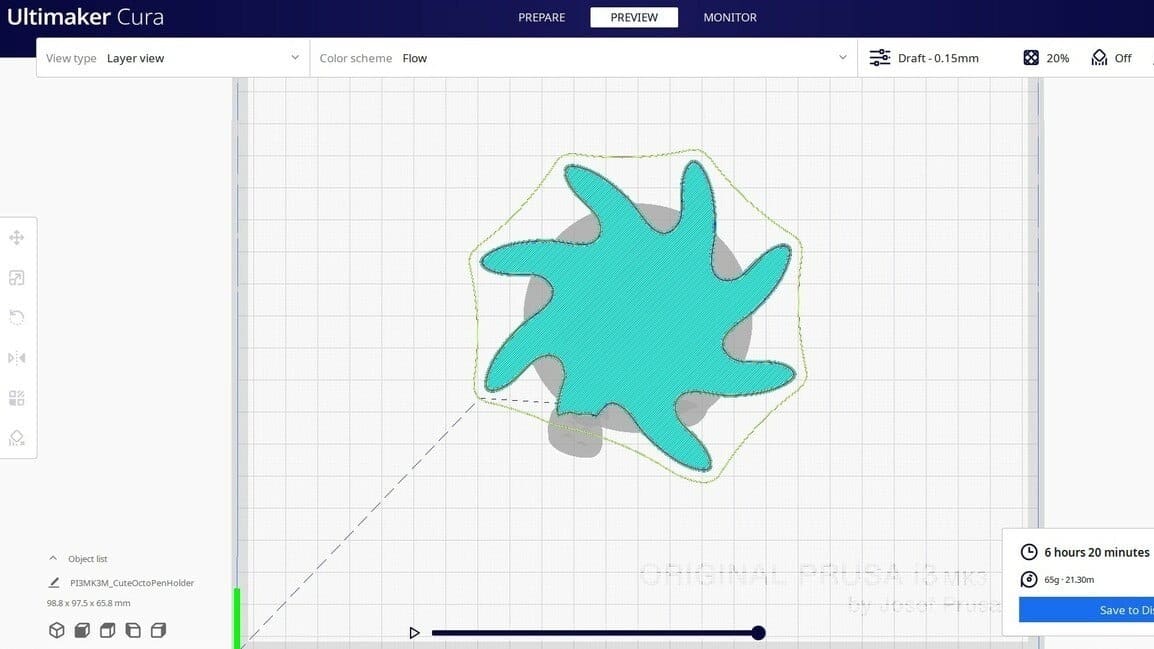
It’s best to use combing when you have a print like a bowl, where the object is a single connected body but has a lot of visible space where stringing could hurt the part’s visual aesthetic (through stringing). Or, if you have gaps on a single connected body (e.g. screw holes on a board) or you’re printing a part that needs to maintain a smooth surface, it’s also best to activate combing to avoid affecting the functionality or appearance of a piece.
With most prints, combing is used alongside retraction, but, technically, it can be used with retraction turned off. It’s also good to keep in mind that in some cases, it may be best to set your combing mode on certain internal layers and retraction on surface ones, like the top and bottom layers, to reduce scarring (see below). Combing doesn’t always work though, depending on the model, and some users have reported issues with PETG, so if you choose to turn off retraction completely to avoid any such problems, then you will most likely see stringing.
Now that you understand how combing works and when to use it, let’s get to the different modes available in Cura!
Combing Modes
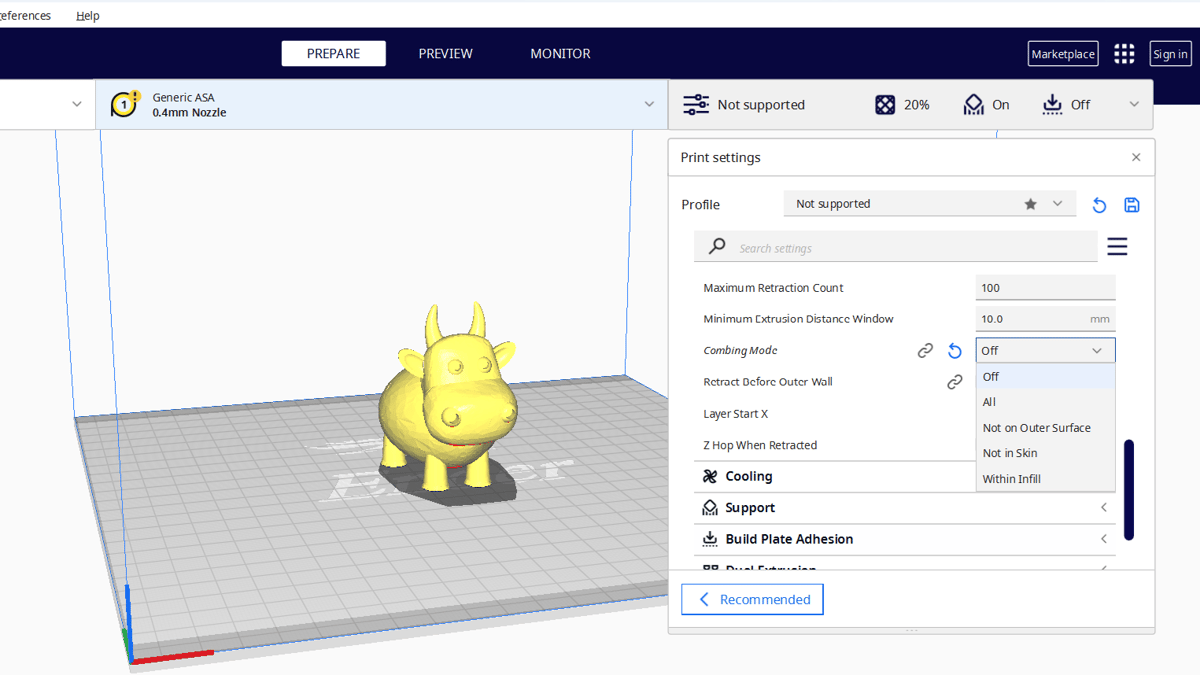
The combing settings are located just beneath the retraction settings in Cura’s “Travel” settings category. There are several combing modes available in Cura, so let’s look at what each one means and how it affects the combing process.
Off
As you probably guessed, the “Off” mode means combing isn’t activated. As such, retractions will take place at every layer, and you can expect to see some faint stringing or bumps if your retraction and extrusion settings aren’t well-tuned.
The “Off” mode means your printer can take the shortest route for all travel moves, so depending on your model, you’ll most likely have a faster print time compared to when combing’s turned on. For this reason, we suggest using this combing mode for prototype parts that don’t need to look very nice but need to be printed quickly.
All
A polar opposite of the previous option, the “All” combing mode will use combing as much as possible on any layer. As long as there is a path to follow along a print to the starting point of the next layer, this mode will tell the nozzle to follow it.
While this may reduce retractions and therefore reduce printing time, combing on the outer-most layers of a model can yield “scars” or lines of slight over-extrusion that negatively affect a part’s visual appearance. It’s best to use this mode for prints where you don’t want strings but don’t care too much about their appearance, especially on the top and bottom, where scarring can occur.
Not on Outer Surface
The “Not on Outer Surface” combing mode enforces that the nozzle never combs on any exterior layer. With this mode, the nozzle can still ooze excess filament over all other parts of a print, including parts of the skin, but it shouldn’t affect how the visible surfaces appear. We suggest using this combing mode for printing models that need a smooth top and bottom, but for which some stringing on the walls is acceptable.
Not in Skin
The “Not in Skin” mode will prevent the combing process from occurring over the top and bottom layers of the print. Combing can leave visible lines (scars) in these areas because this is where the nozzle oozes extra material.
“Not in Skin” will still allow combing along the walls, which you might be able to see, but only retractions will be used for the top and bottom layers. It’s probably best to use this combing mode for models with a large flat top surface, where any blemishes will be hard to hide.
Within Infill
The “Within Infill” combing mode tells your printer to only move the printhead along the top layer of the infill pattern when it’s combing. This prevents combing from allowing the nozzle to ooze the extra material along the walls of the print, where it might be visible.
The “Within Infill” option is great for making models that are visually attractive from all angles, not just the top and bottom. However, you will probably see a slight increase in print time compared to other combing modes. This is because the nozzle is restricted in the routes it can take to get to the starting point of the next layer.
Other Settings
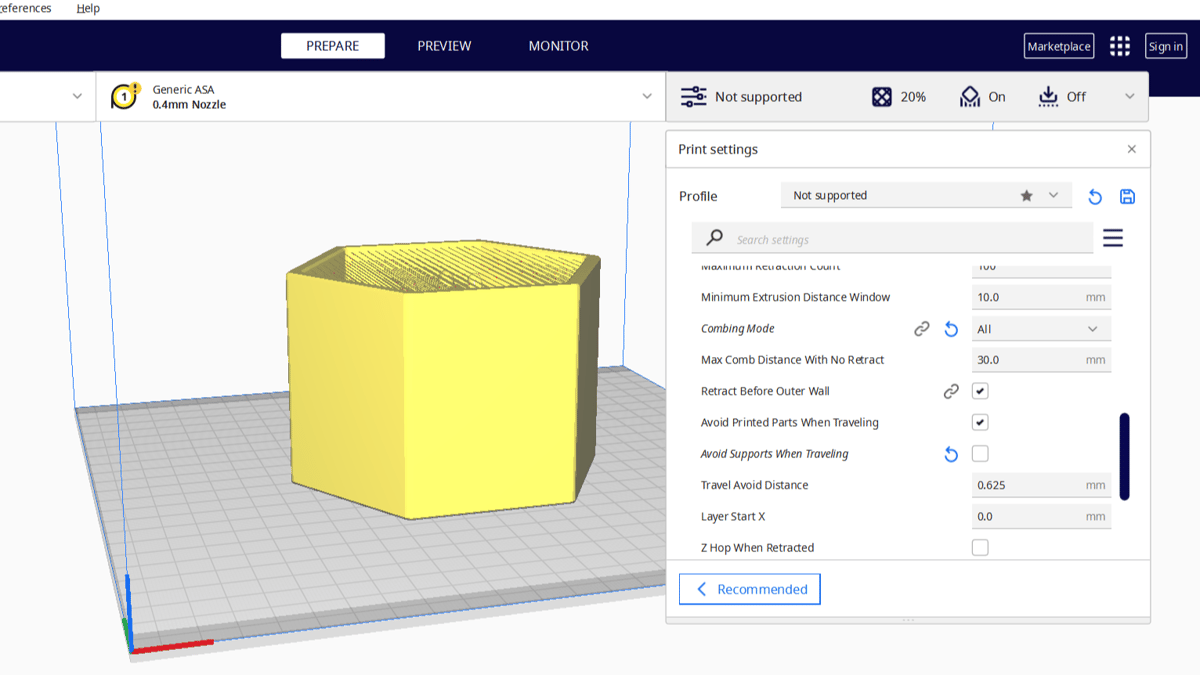
Once combing is activated (any mode other than “Off”), a few other settings will appear under “Combing Mode”. These can be used alongside your combing mode of choice to perfect your combing and retraction settings.
Maximum Comb Distance With No Retract
This number sets the maximum combing distance before retraction is required, with a value of 0 meaning there’s no limit on the length of combing moves. Depending on your other retraction settings and the geometry of your print, this can lead to messy prints, so it can be worth setting a maximum to force a retraction after a certain distance.
Avoid Printed Parts When Traveling
This setting does pretty much exactly what you’d expect, based on the name. It means that any travel moves will go around any already printed parts. It’s usually a good idea to turn this setting on, especially if the Z-hop feature, which lifts the nozzle during travel, is turned off.
Avoid Supports When Traveling
This setting prevents an issue that typically occurs with taller prints, where supports break off after colliding with the nozzle. This is because support structures aren’t (usually) securely attached to the rest of the print in order to make them easier to remove later.
This setting tells the nozzle not to cross the print area of any support structures to reduce the chance of the supports breaking or falling over and causing the overhang to fail. This setting is only available when “Avoid Printed Parts When Traveling” is selected.
License: The text of "Cura: Combing Mode – Simply Explained" by All3DP is licensed under a Creative Commons Attribution 4.0 International License.