Best Creality Ender 3 V3 SE Upgrades & Mods

The Ender 3 V3 SE is a great beginner-friendly 3D printer. Elevate your printing experience with these Creality Ender 3 V3 SE upgrades!
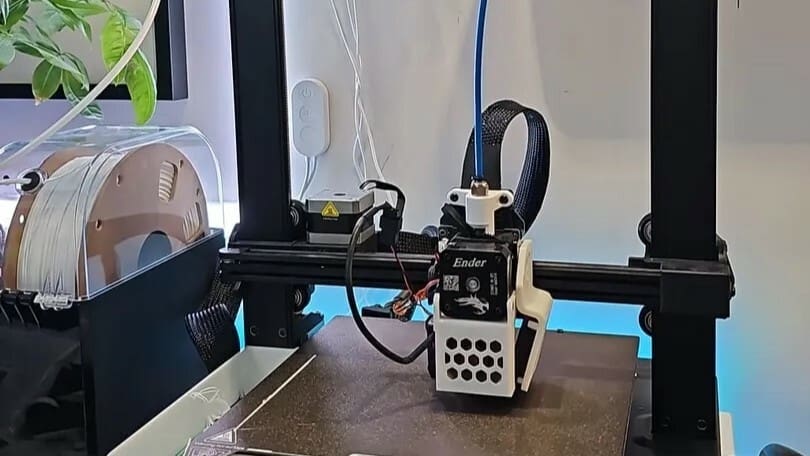
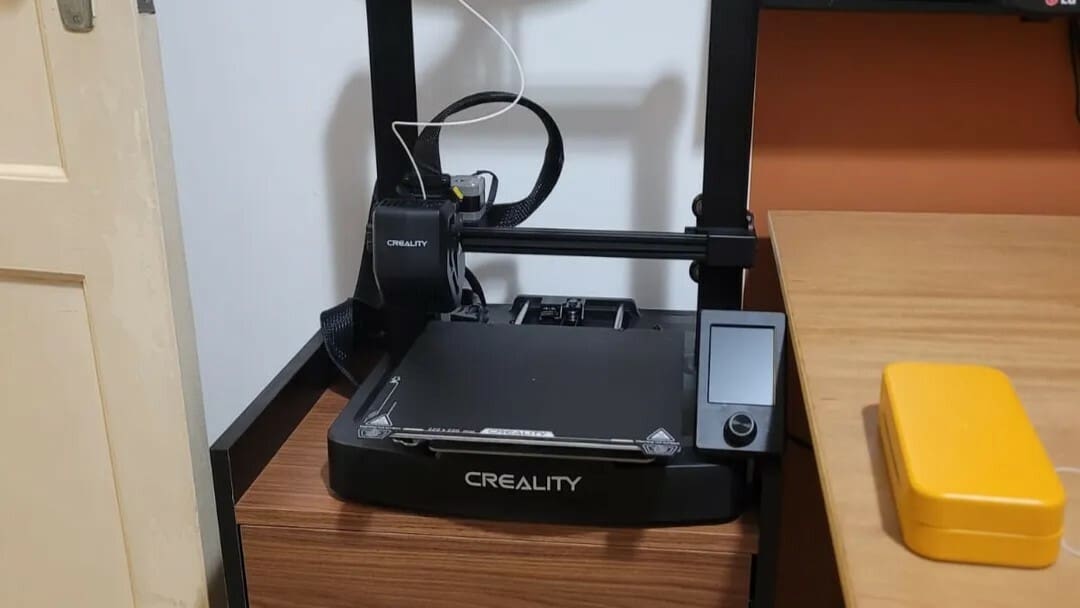
Our choice for the best sub-$200 FDM printer to buy in 2024, the Ender 3 V3 SE, one of Creality’s latest iterations of a Marlin-based printer, undoubtedly offers great value for its price.
This printer comes stock with auto-bed levelling and auto-Z offset capabilities, as well as dual belt synchronized Z-axis motors, features not common on printers within the same price bracket. Inheriting the decent print quality of the storied Ender line, the Ender 3 V3 SE is a tidy little workhorse that users can expect to churn out quality prints most of the time.
However, no one should expect a sub-$200 printer to be flawless. Common issues reported by users of the SE include a wobbly Z gantry, a print surface that prints can adhere to excessively, and high fan noise levels. Modding or upgrading your printer offers an avenue to resolve these issues, resulting not just in better print quality but also in a better printing experience, as well as improving the durability of your printer.
In this article, we’ll cover the top mods and upgrades we recommend to elevate your Ender 3 V3 SE. These will get you on your way to printing a greater range of materials, printing faster, and obtaining the best print quality possible!
To Buy
First, we’ll look at some options that can be bought and, with a little bit of tinkering, should be improving your 3D printing experience. Some may have a DIY alternative, but if you’re short on time and skills, want to avoid having to source various components, or just want an easy upgrade, the purchasable option can be the better choice.
PEI or G10 Print Surface
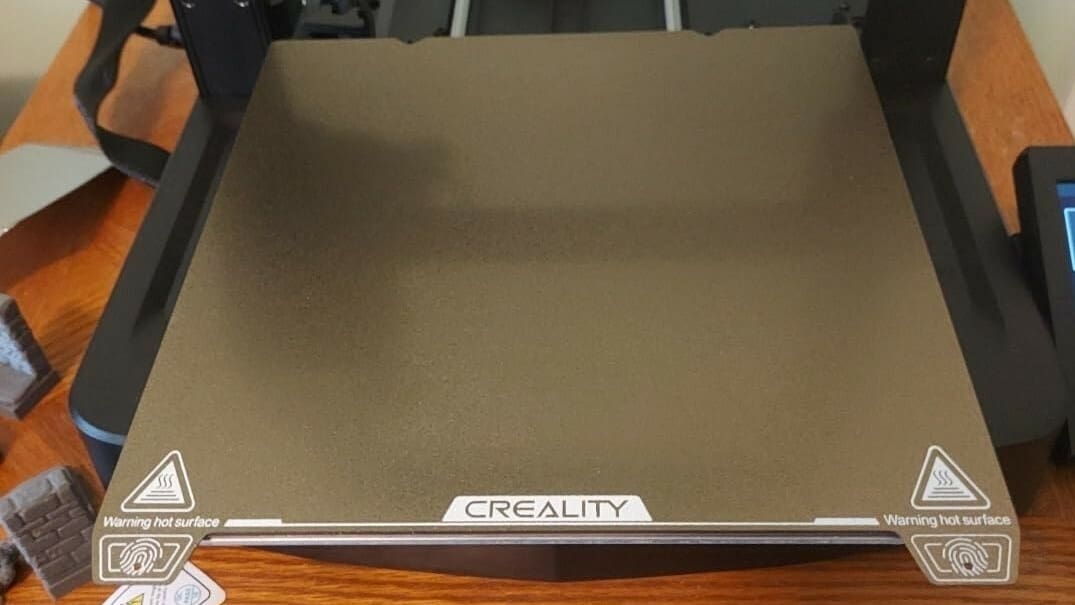
The SE comes stock with a polycarbonate build surface that provides excellent first-layer adhesion. However, this might sometimes lead to too good adhesion, making print removal a greater hassle than it needs to be.
If this is an issue for you, one of the easiest upgrade paths for the SE is changing to a spring steel PEI or garolite build surface. With PEI build surfaces, users can select between smooth or textured finishes – but it should be noted that textured surfaces are a bit more forgiving with less-than-ideal Z offsets.
Both PEI and garolite surfaces offer excellent print adhesion with different print materials (garolite particularly excels in nylon printing) and greater durability than the stock build surface of the SE. If you begin to experience decreased adhesion with either type of build surface, a quick wipe with isopropyl alcohol should have your prints sticking to your print surface again.
Note that, while the print volume of the SE is 220 mm x 200 mm, the actual bed size is 235 mm x 235 mm, so go for a garolite or PEI sheet of that size. With a garolite sheet, you’ll need clips to anchor the sheet to the printer’s baseplate as well as unscrew the alignment screws that aid proper alignment of the stock print bed.
- Difficulty: Easy (PEI), intermediate (garolite)
- Additional hardware: Clips (for the garolite sheet)
- Cost: ~$46 (smooth PEI), ~$40 (textured PEI); garolite: ~$15
- Buy: Smooth PEI sheet, textured PEI sheet, garolite sheet
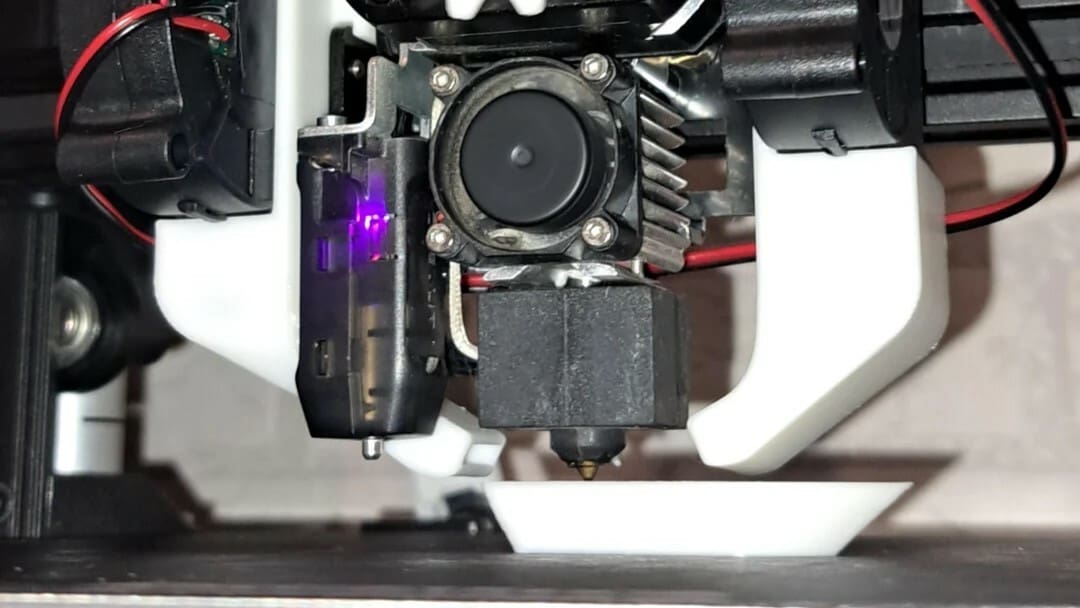
All-Metal Hot End with Ceramic Heating Kit
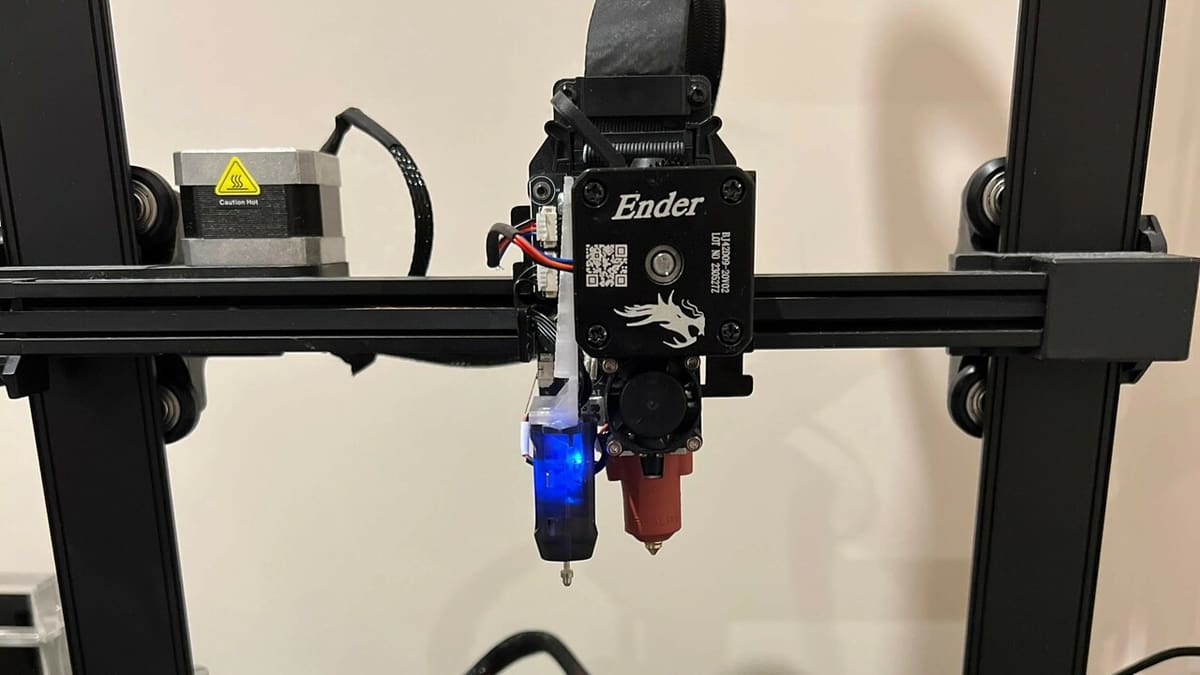
The stock hot end on the SE is PTFE-lined and has a maximum print temperature of 260 °C. This maximum temperature restricts users to printing ABS, PLA, and PETG, while printing TPU can be challenging due to the printer’s PTFE-lined hot end. So, upgrading to an all-metal hot end can enable you to print a larger range of materials.
The all-metal hot end with the 60-W ceramic heating kit (also found on the Ender 3 V3 KE and the K1) can reach 300 °C and adds the ability to print nylon and polycarbonate (PC) on your Ender 3 V3 SE. Moving away from the PTFE-lined hot end also protects users from the health risks associated with the deterioration of PTFE at high temperatures.
To apply this mod, you’ll have to print a replacement bracket for the CR Touch probe or use two M4 nuts (5-6 mm spacer alternatively) and an M3 x 12 screw as shown in this video, because the hot end is longer than the stock hot end that comes with the printer.
- Difficulty: Intermediate
- Additional hardware: CR Touch replacement bracket or 2x M4 nuts and 1x M3 x 12 screw
- Cost: ~$30
- Buy: Creality kit
Lights
Adding lights to your SE illuminates your printer’s work area, allowing better print monitoring even at greater distances, as well as improving the quality of your 3D printing time-lapses.
The mainboard of the Ender 3 V3 SE supports the addition of lights to the printer (it supports Creality’s official light bar, which connects directly to the main board). However, this requires you to disassemble your printer to run wires through one of the Z-axis extrusions to the mainboard, which can be pretty frustrating considering you’ll have to re-level your printer afterwards.
If you’d like to avoid all that, you can opt for a DIY mod that uses a separate 12-V power source and provides local illumination to your printer’s print bed.
- Difficulty: Intermediate
- Additional hardware: 2x M3- x 20-mm screws
- Cost: ~$25 (light bar kit); ~$10 (DIY)
- Buy: Creality LED light bar kit; LED module, power supply
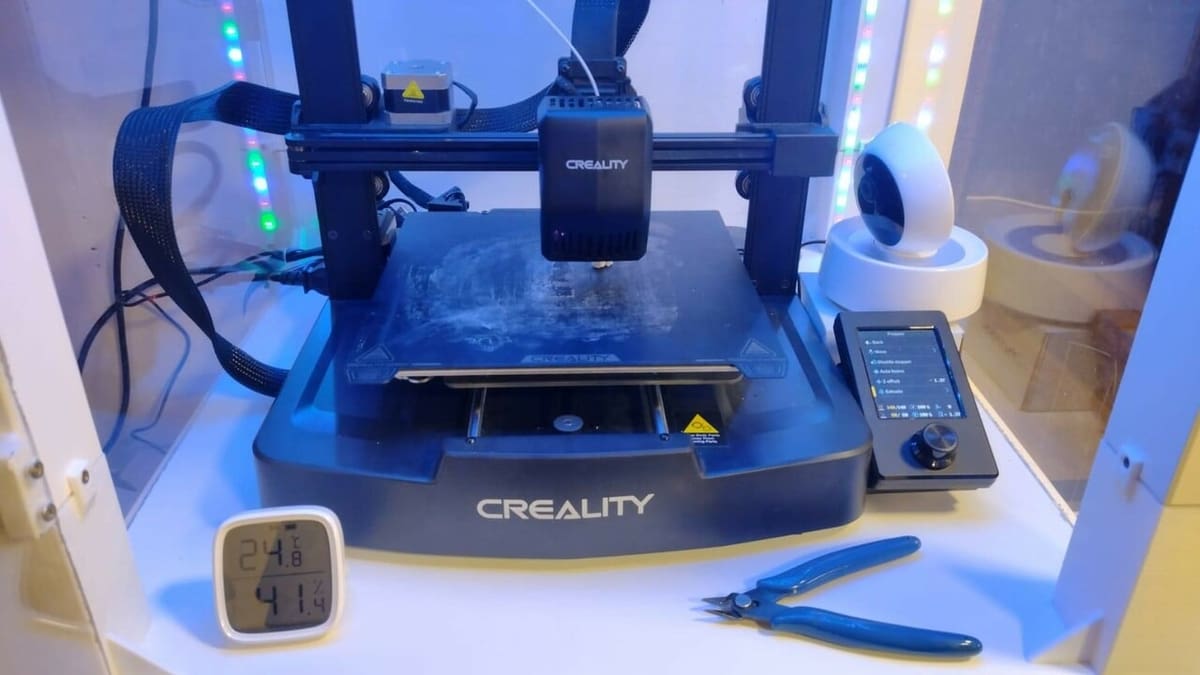
Enclosure
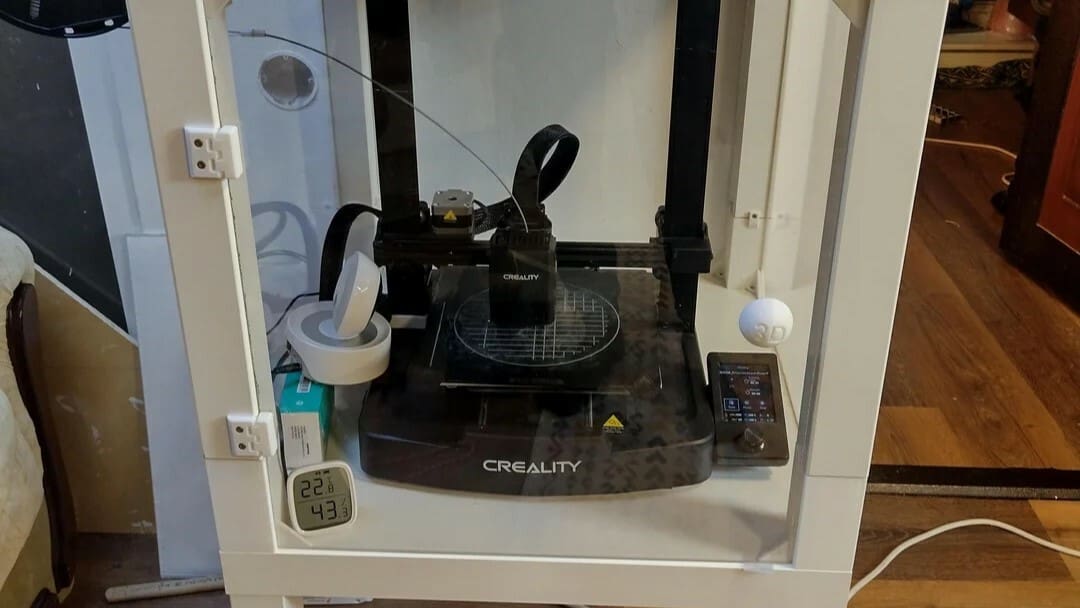
While you can get away with printing small items with ABS on the Ender 3 V3 SE without an enclosure, you’ll benefit from having one if you want to print larger models or more demanding materials like nylon or polycarbonate (PC). As these materials are temperature-sensitive, they are prone to shrinkage, warping, and delamination when subject to temperature variations during printing.
Creality’s official enclosure is a ready-made option available to users starting at about $90 (small size), while DIY options such as Ikea’s lack enclosures will vary by price based on features like active heating and carbon filters users decide to integrate. If you’d like specific instructions on building a lack enclosure, you can check out this excellent enclosure for the SE by ioanargatu8 found on Instructables.
Whatever option you decide to go for, enclosing the printer also adds a layer of protection from the noxious gases released when printing ABS and nylon.
- Difficulty: Easy (Creality enclosure); intermediate or expert (DIY)
- Additional hardware: Depends on option chosen
- Cost: ~$50 (to buy); DIY: depends on size and features
- Buy: Creality enclosure
Klipper (& Board)
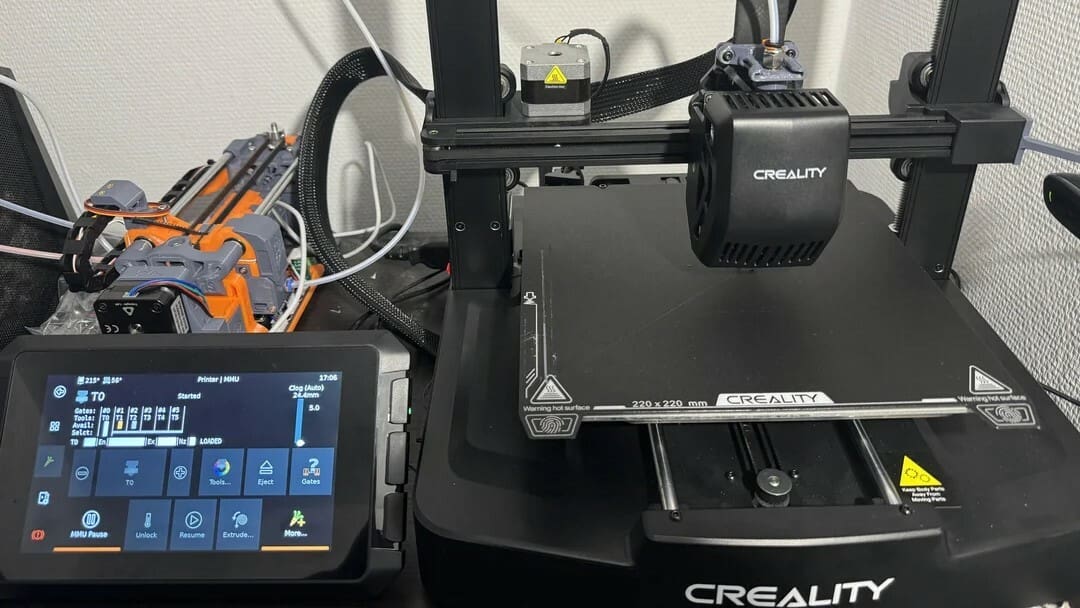
The V3 SE runs with Marlin, which can be great. However, enabling Klipper on the SE unlocks a host of benefits to users. Klipper offers input shaping and pressure advance capabilities, higher print speeds, remote control, and remote monitoring, if a camera is included.
The Sonic and Nebula pads are Creality’s options for bringing Klipper to the SE, while third-party options such as BigTreeTech’s Pad 7 are also available; these are pretty much ready out of the box. With a Raspberry Pi, users who prefer a more DIY approach to mods can also enable Klipper on the SE.
To take advantage of high-speed printing unlocked by Klipper, we recommend also getting Creality’s high speed nozzles designed to handle high volumetric flow. It should be noted that the DIY approach will be a bit more challenging, and beginners to the 3D printing world might benefit from going for a ready-made device. Of course, there’s nothing like learning as you tinker, so it comes down to how comfortable you’d feel with the process.
- Difficulty: Easy (Sonic, Nebula, BigTreeTech pads); advanced (DIY)
- Additional hardware: SD card, accelerometers (for input shaping calibration)
- Cost: ~$140 (Sonic Pad); ~$100 (Nebula kit); ~$140 (BigTreeTech Pad 7); $40-$100 (depends on Raspberry Pi model)
- Buy: Sonic Pad; Nebula kit; BigTreeTech Pad 7; Raspberry Pi 2B; Raspberry Pi 3B; Raspberry Pi 4
To DIY
Next up, these upgrades might need some small purchases, but the most important part will be your skills. And for 3D printed parts, if your SE won’t be at work until it’s been fully modded, you can always check Craftcloud.
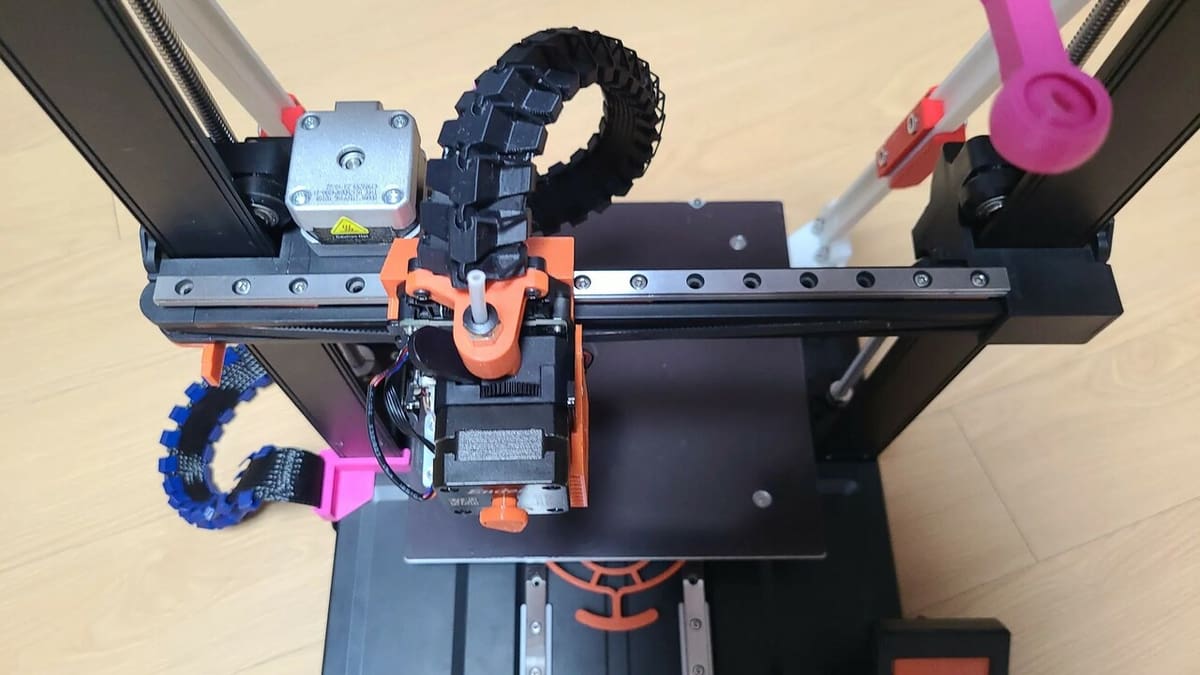
Reverse Bowden Tube
The reverse Bowden tube mod takes the spool off the printer frame and offers two advantages. First, taking the weight of the filament spool off the Z-axis lightens it, which reduces the inertia of the Z-axis and limits vibrations induced by the printer’s motion. As a result, ringing in prints should be reduced, especially at higher speeds.
Secondly, it permits the use of a filament dryer with the SE. As a result, print quality with hygroscopic filaments such as PETG and TPU should be significantly improved.
- Difficulty: Easy
- Additional hardware: 1x M10 Racor connector, PTFE tube
- Designer: rootDsigns
- Download: Printables
Screen Mounting Options
For makers with limited space, a printer’s footprint can be the deciding factor when purchasing a machine.
With its refined build, the SE has minimal space requirements. However, users can further reduce its footprint by applying one of the screen mounting options made available by members of the 3D printing community.
Mounting the SE’s screen on the printer’s body doesn’t require drilling new holes into the chassis, as this mod utilizes the original screen mounting holes. You do, however, need to print the risers that come with this mod to obtain the tightest fit (the maker cautions that a bit of sanding might be required) when you place your screen onto the new stand.
- Difficulty: Easy
- Additional hardware: Sandpaper (for risers)
- Designer: rootDsigns
- Download: Printables
Z-Axis Gantry Support
The V3 SE is capable of decent print speeds, with Creality marketing it as capable of a maximum print of 250 mm/s (180 mm/s typical) – in contrast, most Marlin-based printers have an average speed of 60 mm/s.
If you intend to push the SE to the upper limits of its speed range, supporting the Z-axis gantry can stiffen the frame of the printer. Doing this reduces pronounced ringing at higher speeds due to the vibrations induced by the printer’s motion (printhead and bed).
Applying this mod (or a similar one, as seen above) to your printer will require you to 3D print adapters (the maker advises using PETG), which connect the support rods to your printer frame, and drilling some holes into your printer frame. While it may sound like a bit of a challenge, this should be easily accomplished with a little caution. Fortunately, the project page for this mod comes with well-detailed instructions to follow.
- Difficulty: Intermediate
- Additional hardware: 2x 50-cm M10 shafts, M4 bolts and nuts, hand drill
- Designer: AlexeykH
- Download: Printables
Linear Rails (X- & Y-Axes)
Linear rails allow for higher precision movement and smoother motion, which is why they have been used on more expensive industrial printers for years.
Fitting the SE with linear rails allows users to take advantage of more precise motion for improved dimensional accuracy in prints. Linear rails also offer more durability over the V-groove wheels used on the printer’s X-axis, thereby reducing the printer’s maintenance needs. However, as the quality of linear rails varies across brands and price ranges, users may experience differences in the effectiveness of this mod.
While fitting linear rails of the X-axis of the SE is pretty straightforward if you follow the instructions that come with the mod, the Y-axis requires more attention. Fortunately, this also comes with files for the printed parts and we’ve found this great visual guide to aid you in the process.
- Difficulty: Intermediate
- Additional hardware: Linear rails, screws, and more (depends on axis)
- Designers: iambengraham (X-axis); DerrickDarrell (Y-axis)
- Download: X-axis: Printables; Y-axis: Printables
Cooling Mods
If one of your goals in modding your printer is to achieve faster printing speeds, you’ll find the single-part cooling fan that comes stock on the SE inadequate.
Fortunately, thanks to the 3D printing community, there are several upgrades available on a variety of repositories that you can implement to improve your printer’s part cooling. Among our top picks for part cooling are those that use dual 5015 fans.
For materials like PLA, which benefit from cooling, such a mod can boost the general visual quality of the prints (bridges and overhangs especially). This is an invaluable upgrade if you mostly print aesthetic parts, but it’s worth noting that it comes at a slight cost to the mechanical strength of your prints.
And for an added benefit, with the bigger 5015 fans, expect the noise levels of your Ender 3 V3 SE to be lower, as you’ll be able to run the fans at lower levels while obtaining even greater airflow. Note, however, that if the weight of your printed shroud exceeds the weight of the stock cooling setup, you’ll have to re-tune your printer’s input shaping parameters to retain the benefits of Marlin’s input shaping.
- Difficulty: Advanced
- Additional hardware: 2x 5015 blower fans
- Designer: T3Kmaker
- Download: Thingiverse
License: The text of "Best Creality Ender 3 V3 SE Upgrades & Mods" by All3DP is licensed under a Creative Commons Attribution 4.0 International License.