3D printing, like everything else on Earth, is limited by gravity. Despite its amazing ability to turn spools of plastic into action figures, epic swords, and other fun models, 3D printers don’t print well over thin air.
To combat this problem, slicer software can add all sorts of 3D printed supports to hold up your model as it prints. Once the whole thing is printed, the supports can be removed, though they can leave their mark on the surface of your part.
In this article, we’ll go over the three main steps to follow when deciding whether and how to add supports to your model. We’ll look at the options, using Cura slicer settings as an example, though similar settings will be available in most slicers. Let’s get to it!

Step 1: Decide Whether to Use Supports
Not every 3D print requires supports, which is something to keep in mind when preparing a model. A major aspect of supports is knowing how to avoid them, as they contribute to waste and can affect the surface of your printed part.
Deciding on Supports
Here’s how to know whether your model needs supports:
- Wide angle on overhangs or bridges: Overhangs are elements of a print that the printer would have to print partially or completely over air. Bridges, on the other hand, are overhangs connected to the model on both ends. Overhangs and bridges are typically measured by the angle between the Z-axis and the overhang. For example, the letter ‘T’ contains a 90-degree overhang, while the letter ‘Y’ has a 45-degree overhang. If you spot severe overhangs in your model (above 60°), you probably need supports. For overhangs of over 90° (e.g. the arch of a lowercase ‘r’), supports will always be necessary.
- Printer performance: Not all 3D printers are created equal. Try printing an overhang test to see how well your printer performs. If a 60-degree overhang doesn’t look so good, you should activate supports for models with similar overhangs.
- Slow print speed: Generally, slower print speeds lead to higher quality prints. But when it comes to 3D printing supports, that’s not always the case. The faster the print speed, the better overhangs and especially bridges turn out. If you’re printing something slowly, you may need to turn on supports for a lower overhang angle than if printing at higher speeds.
Avoiding Supports
As they say, prevention is better than cure. Here are some general guidelines to avoid having to print with supports:
- Orient the print correctly: As an example, let’s say we wanted to print the letter ‘T’. If we try to print it standing upright, we’re forced to 3D print supports as well. But if we simply rotate the model so that the top bar is lying flat on the print bed, we don’t need supports at all, saving both material and time. Make sure your model is in the best orientation to minimize 3D printed supports.
- Reduce overhang angles: If you created the model yourself, consider editing it so that overhang angles are reduced. Fillets and chamfers can smoothen sharp angles, greatly increasing the quality of the 3D printed overhang.
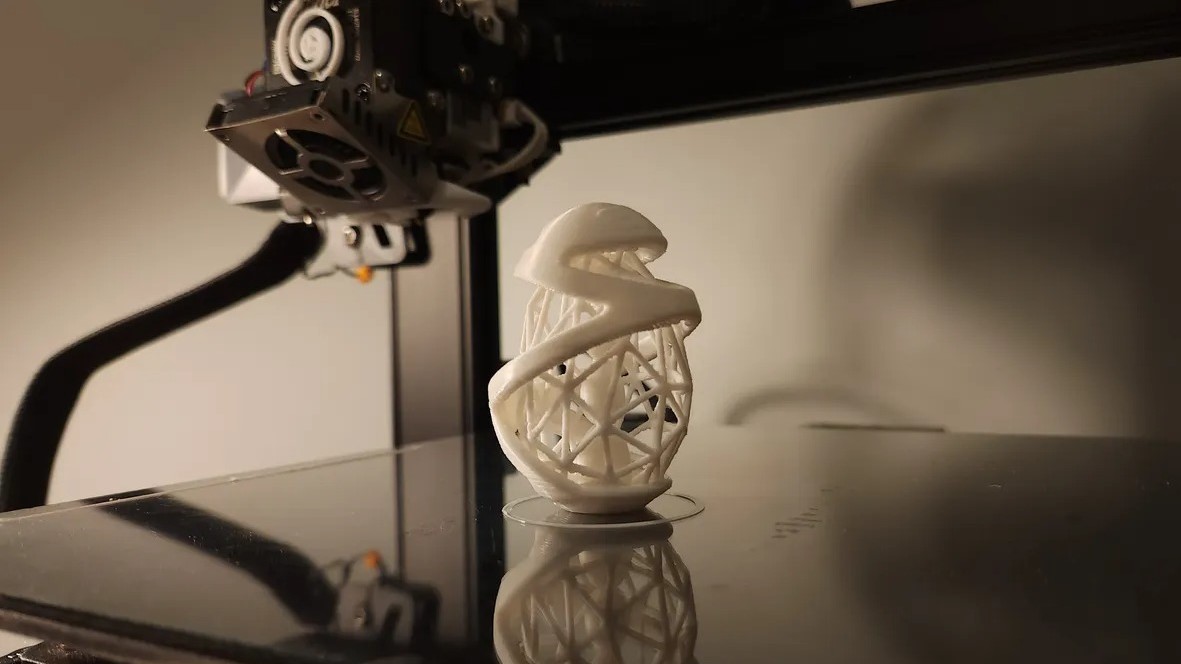
- Consider splitting the model into two parts: Spheres are one of the trickiest shapes to 3D print, as the huge overhangs near the bottom tend to come out pretty ugly, even with supports. In such a case, it’s much easier to print two halves of the sphere separately and glue them together for a beautiful, support-free finish.
- Design for 3D printing: If you’re able to work with a model in a CAD or 3D modeling tool, it can be worthwhile to adjust its design to accommodate the 3D printing process.

Step 2: Pick a Support Type
If you’re sure supports are necessary, you can simply check the “Generate Support” box in Cura (or your preferred slicer) and call it a day. Yet, since there are so many ways to 3D print supports, it could be worth digging deeper into the settings.
Lattice Supports
Lattice supports are the most common type. They’re popular because they’re easy to customize, quick to generate, and work well for most 3D models. The downside is, if not printed properly, the supports can leave marks on the finished model and be a pain to remove. In general, you should use lattice supports for flat, angular, or very steep overhangs.
In Cura, if you can’t see the “Support Pattern” option under the Support menu, adjust your settings visibility to “Advanced” or higher. Then, use the dropdown to select your preferred support pattern. You can toggle between X-Ray and Layer view in the preview to see what it looks like.
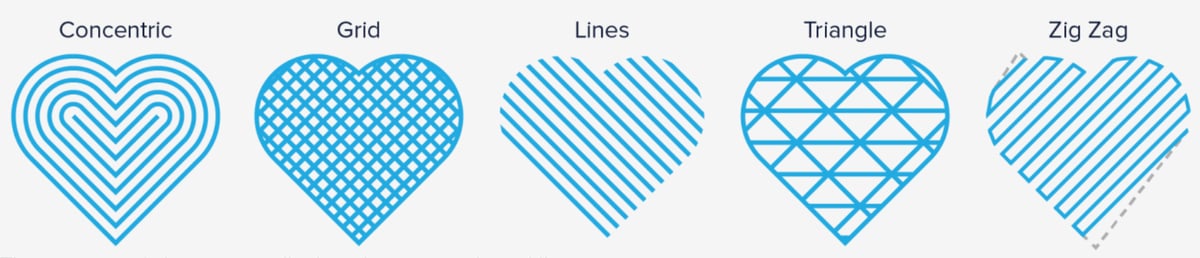
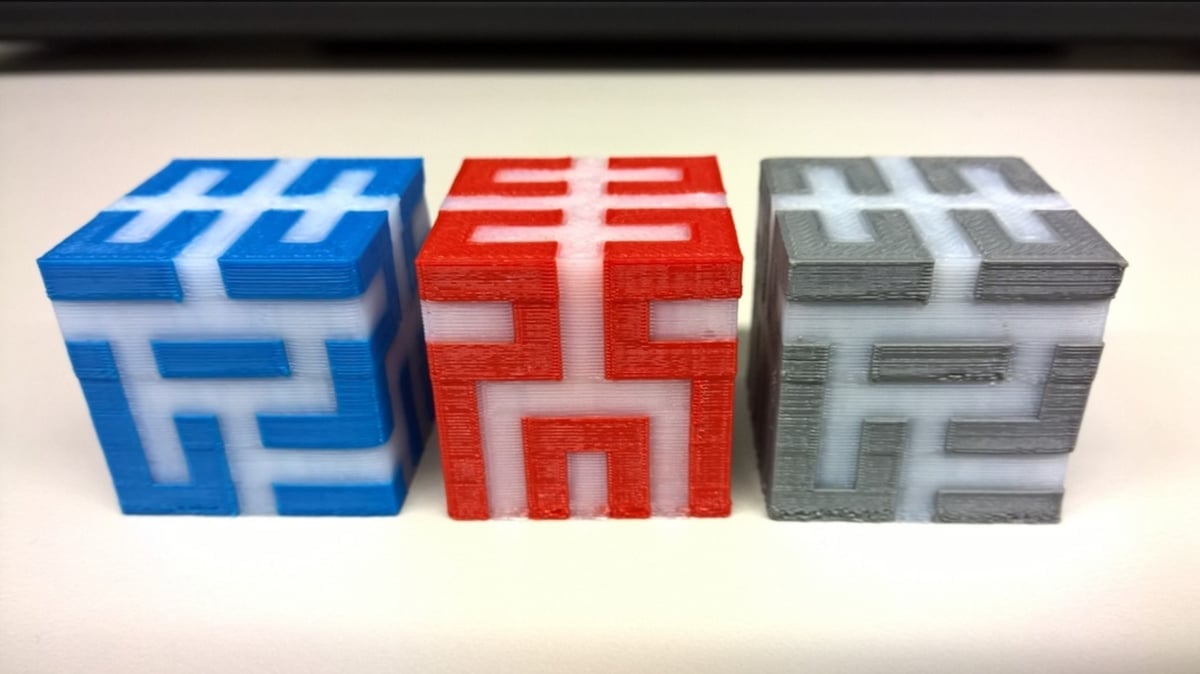
The default support type in Cura is Zig Zag, which is reasonable because it’s easy to print and remove. However, there are actually seven support patterns under the hood to choose from (some of which are pictured above). Make sure to pick a support pattern that fits your model’s shape. Concentric, for example, is useful for parts with circular overhangs (like a sphere), which aren’t supported evenly by a grid.
Tree Supports
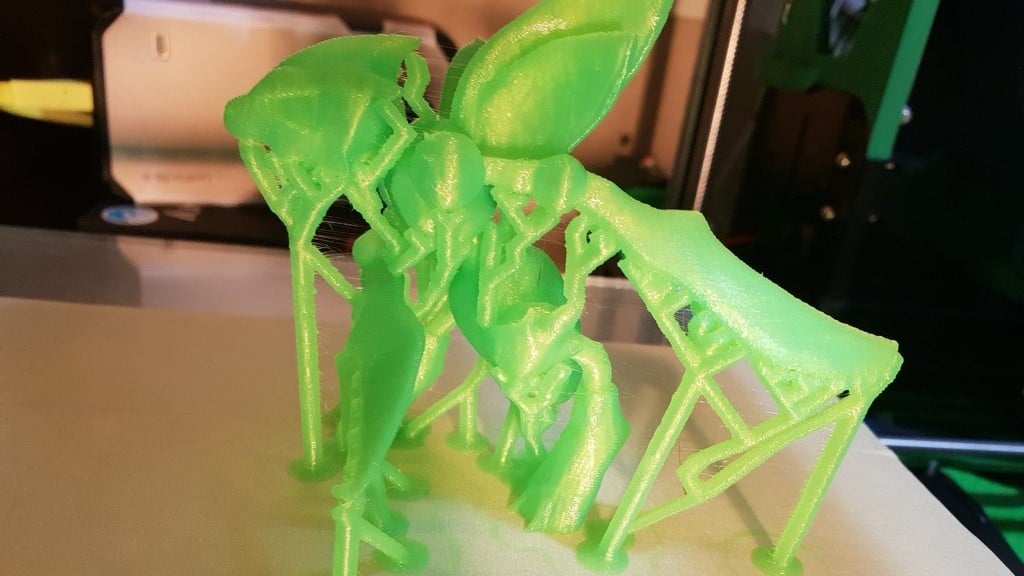
Tree-type supports are almost exactly what they sound like. They start from “trunks” near the base of a print and branch out to support overhangs in the model as height increases. Tree supports are typically most effective for organic shapes, like humans and animals.
3D printing these supports can save on material and print time. In Cura, select tree support using the “Support Structure” dropdown. Make sure your model is properly positioned and oriented before you hit “Slice”, as they can take a long time to generate!
Since tree-type supports don’t touch the model as much, they generally offer a cleaner surface finish. However, they can take a long time to slice, since the trees are generated dynamically. Pick these supports if your model has lots of organic shapes or overhangs that are small or not very steep (less than 60°). These supports are less effective for wide, flat overhangs, such as a roof, since they’re designed to touch the model at fewer points.

Dissolvable Supports
This is a niche but high-quality alternative to supports printed in the same material as the model. For example, with a dual extruder printer, one nozzle can print a model in PLA while another prints all the support material in a water-soluble filament (commonly PVA). When the 3D print finishes, simply soak the print in some water. The supports will dissolve, leaving a clean model behind. How cool is that?
If you’re lucky enough to own a dual extruder printer and don’t mind paying for some slightly pricey filament, we definitely recommend this option.
Step 3: Set the Support Density
The next step is to decide the best density at which to 3D print supports. We recommend starting at a density of about 10% and then adjusting to your liking. To see your sliced supports in Cura, select “Layer view” in the Preview tab and ensure “Helpers” are checked in the color scheme. Here are some factors that affect support density:
- Print speed: The faster you print, the less dense your supports need to be to get a good-quality finish.
- Desired print quality: For higher-quality overhangs, you can increase density (at the cost of print time). However, support removal can sometimes damage the print if it’s too high.
- Size of overhang: The bigger the angle of the overhang, the denser supports you need. Especially for 90-degree overhangs, a support density of at least 15% is recommended.
- Support removal: The denser the supports are, the harder it is to remove them (and the more material you waste).
Above & Beyond: Advanced Support Settings
Cura has plenty of other settings to fiddle with so you can perfect your print. You might never need to touch these settings, but it’s always good to know they’re there.
- Support Placement: You can pick where Cura will generate supports, whether it’s everywhere (including on the model) or from the build plate (i.e. only those supports that touch the bed).
- Support Overhang Angle: This controls the minimum overhang angle at which Cura will generate supports. (By default, this is 45°.) If your printer can handle up to 70° pretty well, changing this setting occasionally helps to save filament and make removal work more efficient.
- Support Z Distance: This is the gap between the top layer of the support and the first layer of the model. A little space is needed so that the supports can be broken off easily and don’t actually melt into the model. A good value to start with is the height of one layer. If you find that your supports are a little too glued to the model, consider increasing this value a little bit.
- Gradual Support Infill Steps: Cura has a neat little option to help you save on print time and material. For those really tall and dense supports, Cura will print them at a lower density on the bottom and higher density up near the model, where you actually need it. This setting controls the number of times the slicer will cut support density in half from the top down.

License: The text of "3D Printing Supports: 3 Simple Steps to Success" by All3DP is licensed under a Creative Commons Attribution 4.0 International License.