3D Printing a Mask: Tips & Tricks to Get It Right

Whether for a costume party or cosplay, a mask can make or break your look. Read on to learn everything about 3D printing a mask.
One of the initial things that may come to mind when first owning a 3D printer is cosplay – and maybe, more specifically, making a mask. While buying the different props and accessories is always a good option, there are quite a few reasons why 3D printing one can be better than purchasing it.
For starters, there’s customization. When 3D printing your own mask, the sky’s the limit. It’s much easier to change the STL file of the mask per your requirements rather than trying to convey them to an artist or altering already made models. For example, you can customize the shape and size of the nose and eyes, you can go for add-ons if you’re merging different fandoms, you can implement different ways of dealing with your hair, and more.
Next, cost is also a good reason to 3D print a mask. Compared to current prices, making a mask can be much cheaper than buying it when you factor in filament and paint versus (depending on where the manufacturer and you are located) shipping costs – especially if you’re in a rush.
The ease of 3D printing can’t be downplayed when compared to, for example, carving a mask. Printing requires a lot less experience, and solutions to most problems can be found online. Besides, if your first version fails, you can always make the necessary tweaks and 3D print the revised design.
Last but not least, 3D printing is a great hobby to get into. Making a project is a fun and good learning experience, and you’ll gain knowledge not just on 3D printing, but also on designing and painting, among other post-processing techniques.
If you’re convinced, read on to find the most important aspects you’ll need to keep in mind to 3D print a mask, including additional tips and tricks to make it as best as possible.

Sizing
To start, if you’ve found a design online (whether free or paid), something you must do is scale the mask to fit your face. Otherwise, the costume’s overall look can be ruined if your mask is too big or too small to complete the effect you were going for.
While sizing your mask, a good thing to keep in mind is that you’re modeling it to fit the overall size of your face, and not to perfectly fit onto your face. (We’ll cover how to make a comfortable fit later.) Fortunately, there are a few good ways to do this.
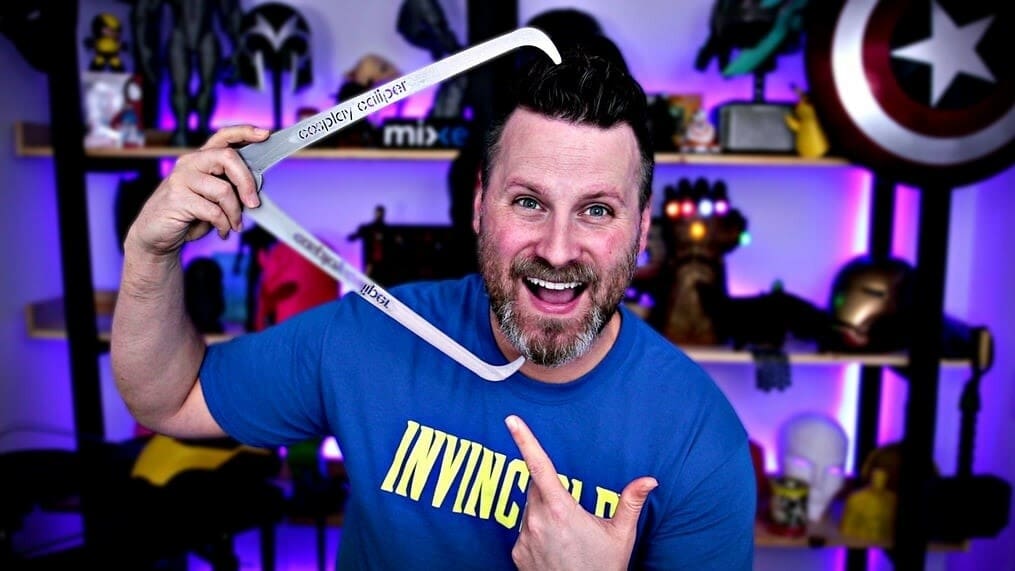
One way to do this is by using cosplay calipers. These are specially designed to measure body parts and in this case, your head. Compared to regular calipers they are very cost-efficient. Simply use them like in the image above, and the end will tell you the length of the measured part of your head. Then, you can use the measurements in modeling or slicing software to make the mask the right size.
Another way you can take on this challenge is by creating a 3D scan of your head, and then using modeling software to directly scale it. There are a few good apps to do this with. For example, on your phone, you can opt for the free app EM3D. While the model that results from the scan may not have the highest resolution, it should work well enough to get the job done. Another good program is Meshroom. While older, it’s still free and receives donations to keep going. If neither of these software work for you, you can look into other scanning software.
The last thing to consider is any special cases or considerations that may affect the shape or size of the mask. You might need to make a special adjustment to fit your glasses inside. Or you might want to make the chin and mouth area more roomy if you intend to have a cloth mask underneath. It’s very important to make these extra considerations for your design – think about your full costume, any changes you may want to make, and how you’ll be able to apply them while you’re tweaking or adapting the design.
Printing & Assembly
At the printing stage, one of the main things that you should consider is what filament you use to make your mask. In most cases, the most common and safest filament, PLA, can do the trick. It’s worth keeping in mind that post-processing may be involved, but even if this is the case, it’s always best to play it safe.
There are a lot of pros with this filament. It’s easy to get, it has a hard structure that’s perfect for making masks that last, and it’s easy to 3D print with. While PLA starts deforming at around 60 °C, because you’re unlikely to be in such an environment, that shouldn’t be an issue. That said, PLA is generally more brittle than PETG or ABS, so these latter materials might better suit your needs depending on the intended use.
If you need a more flexible mask, you can go for TPU. Its more flexible qualities will result in an easier fit and comfort. If you’re opting for this material, when 3D printing try to avoid rafts, as they don’t always work well.
For 3D printing your mask, it’s recommended that you try to minimize supports because they can be hard to remove, may break off small details on your model, and can add a lot of extra time and filament to the process. That said, supports are sometimes a must. If this is the case, tree ones might just be the most suitable answer.
Additionally, it’s good to use rafts, as masks are big and have a chance to shift around on the bed or warp – especially if you’re printing the model in ABS.
The resolution (e.g. layer height) will depend on your mask. If it is not very detailed or you don’t need it to have a smooth surface, you can use a bigger nozzle, around 0.8 mm. But, if you need your mask to be more detailed and smooth, use a smaller nozzle, ranging from 0.4 to 0.2 mm.
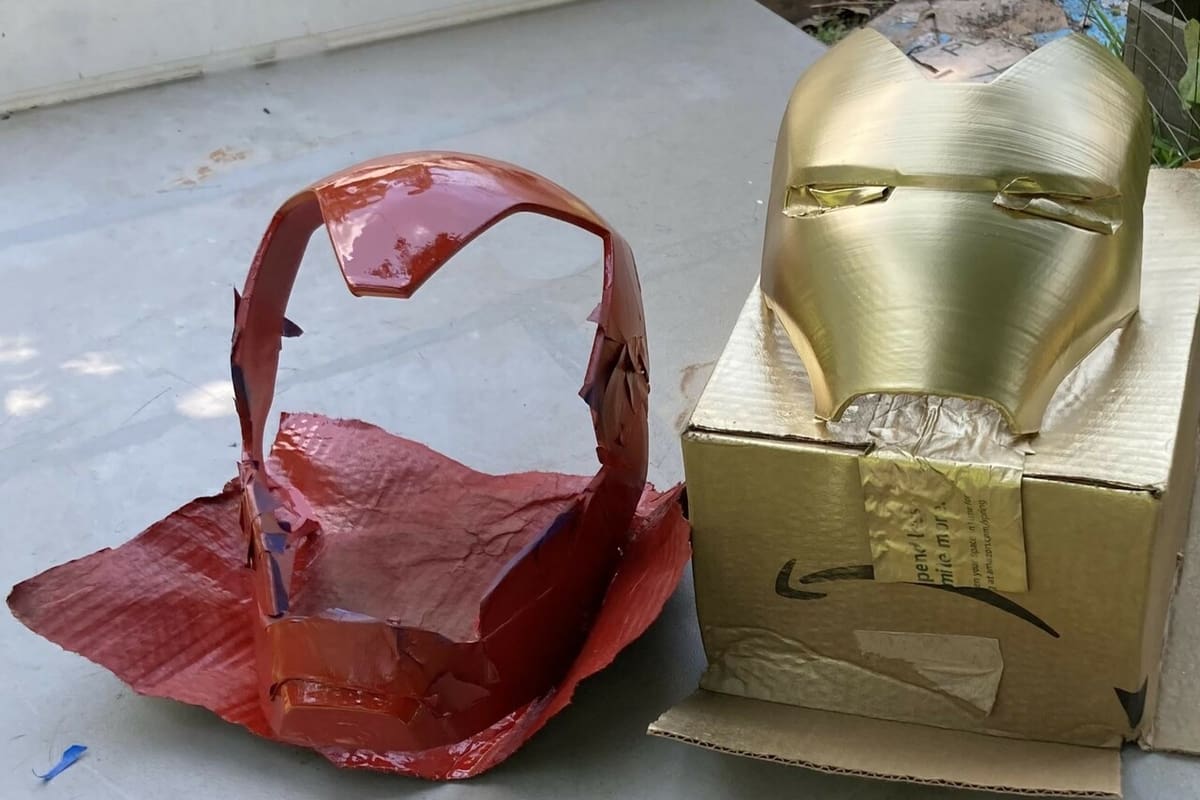
Also, printing your mask in multiple pieces might sound like a good option if you don’t have a big machine, but it can be an uphill battle afterward (unless the design is already split). This is because of the difficulty of making everything fit and look good once it’s put together (especially if your printer can’t cope with tight tolerances). If you must due to the size of the mask and the print bed, avoid gluing them together with hot glue, given that it can show or break, and opt for non-toxic epoxy glue instead.
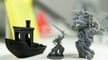
Finally, instead of an FDM printer, you can use a resin-based setup. The biggest overarching benefit to using resin to make your mask is the significant detail you will get. Of course, this comes with some considerable drawbacks. To start with, resin printing is generally more involved, includes more steps, and can be more expensive. But, the other main drawback refers to the properties of the resin itself. This is because resin is a toxic material, so the part should be fully cured before you bring it into contact with your face.
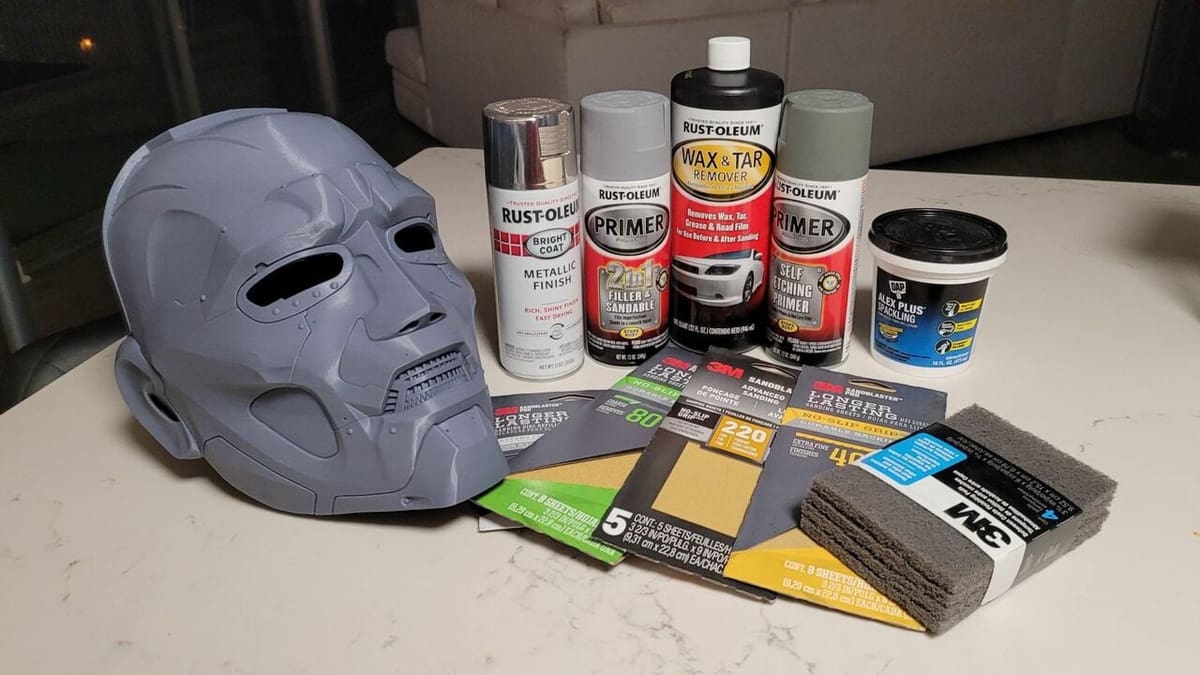
Sanding & Painting
Once your mask has been 3D printed and you’ve removed the supports, one of the next key steps is painting it to add detail.
Sanding
To start with, it must be sanded to remove the print lines for a smoother finish. To do this, get sandpaper, ranging from a grit of 100-400 (you can purchase an assortment), and start with the lower grit ones. Go over your mask with it 1-2 times, then, wipe down the mask, and start with a higher grit until you get to the last level of grit or you’ve sanded the mask smooth enough to your liking. Then, wipe it down one last time before painting.
An additional step is wrapping your sandpaper around a sponge to get it into more nooks and crannies and have an overall easier-to-make finish.
Painting
For painting your mask, there are a few options.
The first is spray painting, which you can use for the base color of your mask (it’s hard to spray paint fine details, especially if you’re just getting started). Before you begin, wear gloves and a mask to avoid inhaling fumes, and cover up the area with things you don’t mind getting paint on, like newspapers or painter’s plastic. Alternatively, you can work outside if you don’t have the protective gear and a good air filtration system.
To apply the paint, hold the mask at least 0.3-0.6 yards away. Don’t spray continuously, instead coat it in multiple short bursts of paint. Make sure not to let the paint pool up on one spot, as it will cause discoloration when it is dry, and after it dries, spray paint another layer. And another. Until the whole thing is evenly covered. Finally, leave it to dry.
Then, with a brush you can add the details, using painter’s tape to avoid unwanted errors. That said, depending on the paint you’re opting for, you’ll want to choose the type of tape that won’t chip or react to it negatively.
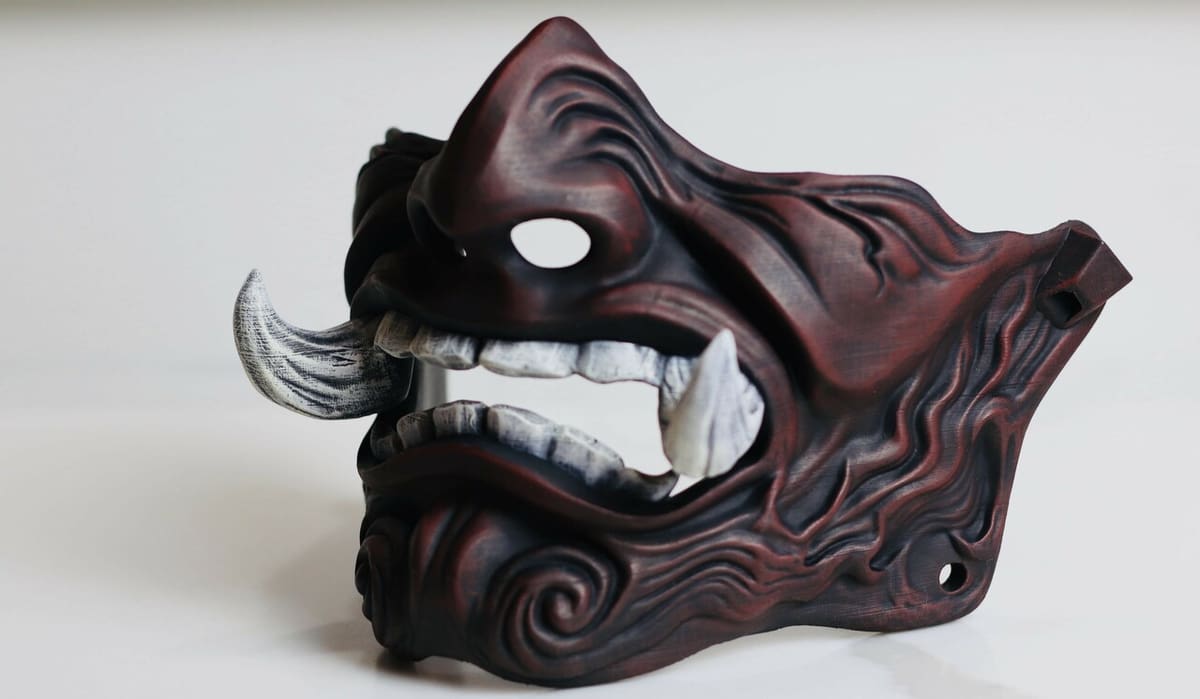
Optionally, you can weather the mask by making a base that’s the same color as what the mask would be made out of (brown for wood, steel for metal) and then paint over it. Sand it down in some spots lightly to give it a worn effect. To give it a glossy finish, you can use a glossy spray to make your print shiny. For a matte effect, just make sure you paint it with paint labeled as matte.
To achieve a lot of detail, you can use the slap chop method, commonly used with miniatures. Start with priming your print with black paint. Then, drybrush it with a light gray color, and then in white. Finish it by painting it with watercolors or not thick paint, and letting it dry.
One of the most important things of this step is to avoid painting the inside, as the paint can smell – and no one will see it when you wear it, not even yourself.
Tips & Tricks
Once your mask is done, you may notice it requires something more to make it perfect. This is usually in relation to how it fits you and the eye holes.
To achieve a comfortable fit, you can use cosplay padding or foam, such as EVA foam. This makes it so if you use resin or PLA, the hard plastic is more comfortable. To get softer foam, look for a version of it with less density or a greater thickness.
Another key feature of getting a good fit on a mask is how you secure it to your head. This can be done with specialized straps, just like the ones used on ski goggles, which can be bought easily. For a more secure fit, you can use a 3-point harness strap that goes fully around your head. Both the foam and the strap can be secured with a strong adhesive to ensure your mask does not fall apart when you’re wearing it. If you prefer not to use glue, you can use a simple 3D modeling program such as Tinkercad to make two holes in your mask for the band to go through.
Something else that you can do, depending on the original model, is adding detail to the eye holes. This is because plenty of popular masks don’t show the eyes of the wearer (think Squid Game‘s Front Man or Moon Knight‘s titular character). You can cover up the eyes using mirrored or reflective lenses, which you can glue on from the inside of the mask. If you are worried about the lenses hitting your eyes, you can put a small piece of padding where the bridge of your nose is, which should take care of it.
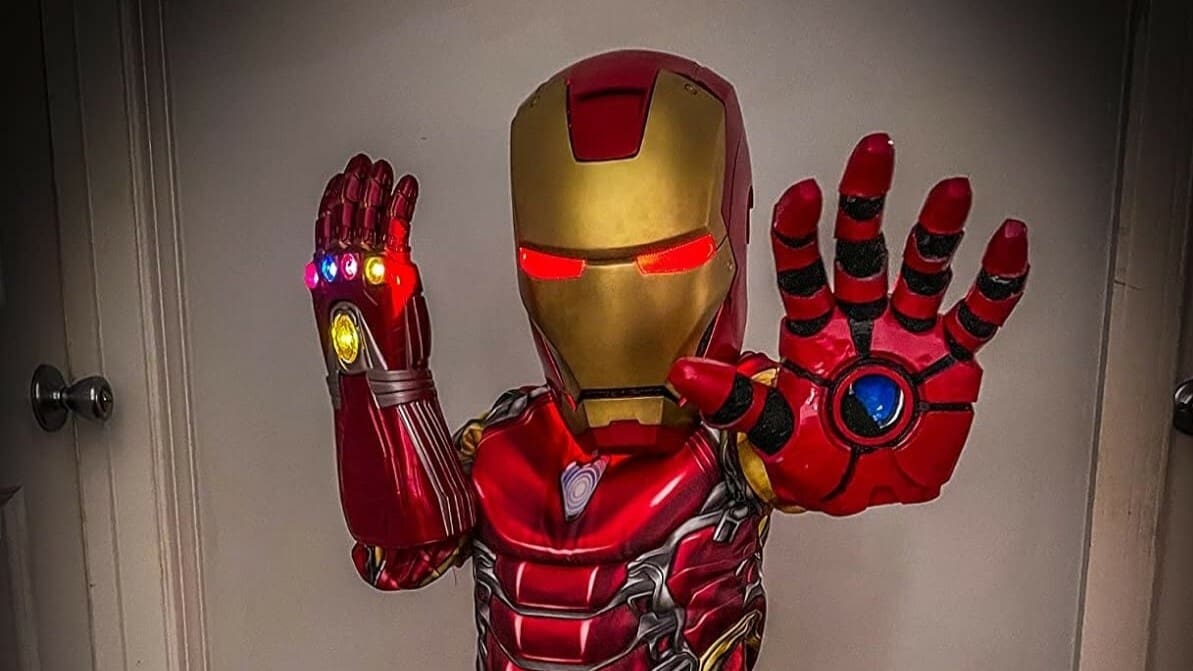
Another way to make the eyes of your mask more interesting is with flexible lights in the eyes, as seen in the photo. If you use ones such as these, there are a few things to consider. The main thing is that the battery for the LED can be bulky, so you may want to consider a way to either make it smaller by soldering it to another power source or having the battery pack secured to the strap of the mask on the back of your head.
Additionally, make sure to wear either eye protection such as sunglasses underneath, or dim the lights, as they can damage your eyes if you have them on that close for too long. And just like previously mentioned, use adhesive to secure either of these items to your mask to create the final product.
License: The text of "3D Printing a Mask: Tips & Tricks to Get It Right" by All3DP is licensed under a Creative Commons Attribution 4.0 International License.