Image to 3D Model: How to Create a 3D Model from Photos

Learn about converting images to 3D models, and give an extra dimension to your favorite photos. No professional experience required!
For almost 100 years, photographs have been the way we record and share what’s important: occasions with friends and family, beautiful landscapes, mechanical designs, and so on. Over the last decade or so, people have begun to realize the potential for 3D printing to immortalize our memories – why have a picture of your dream car, when you can have a scale model?
This is great for those printing new models of things they care about, but you can also use the photos you already have and turn them into 3D prints. There are many ways to do this, in fact, and we’ve listed the best options for your time, budget, and experience level below.
Whether you’re working from multiple drone shots or vintage photos of your parents’ wedding, it’s very much possible to render two-dimensional images into three-dimensional art, bringing out the details of the subject in a whole new way.
Once you have the digital file in 3D, if you’re not set up to print it yourself, you can check out Craftcloud. One of our professional 3D printing partners will be sending you your new model in no time!
Now, let’s learn how to get the renders!
Specialized Applications
Taking photos is only the first step of the process. Luckily, the rest aren’t too difficult. Converter programs take an existing photo and create a 3D render from it. This is the easiest and most straightforward method of making an image 3D, though the least customizable.
Smoothie3D
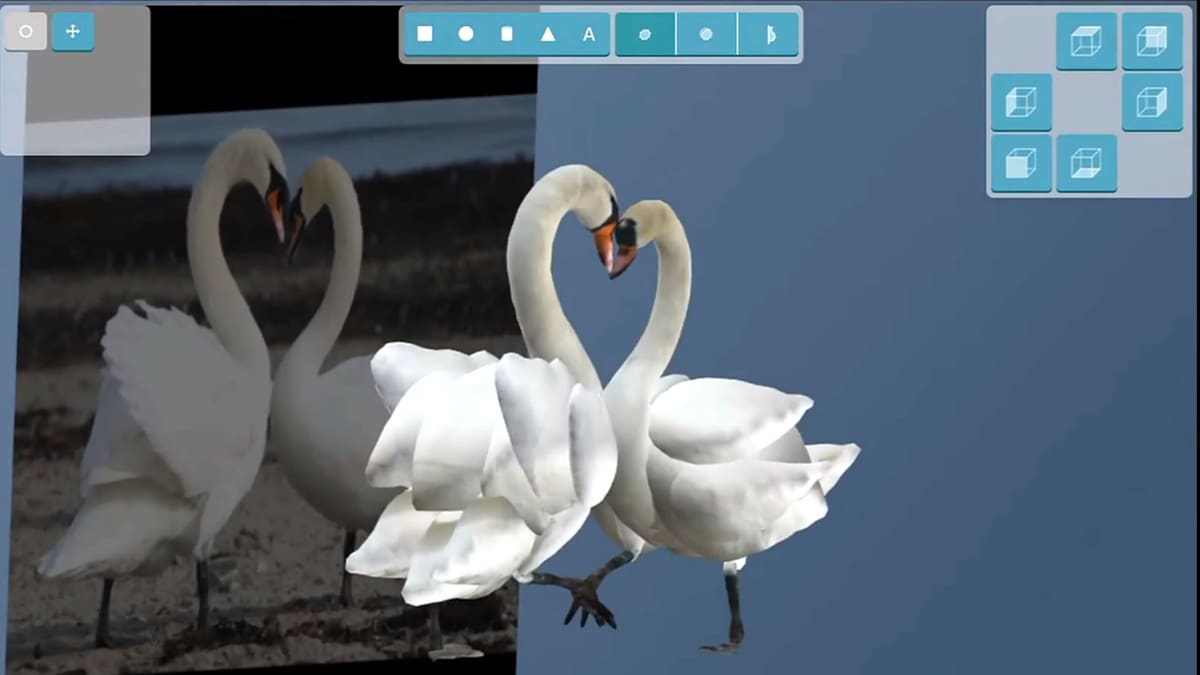
Smoothie3D was one of the first image converter tools widely available. Recently it’s moved from being 100% free to a donation model, where you will need to pay a small fee of ~$3 to get started. You can upload an image and use the provided tools to draw an outline around it. The program then generates a 3D render based on the outlined image, which can be exported as a slicer-compatible file type, such as OBJ or STL. Symmetrical images are recommended, as details on asymmetrical ones might be lost from the tracing.
Aside from tracing an outline to create a 3D image, Smoothie3D also allows you to morph the image into predetermined shapes like cones, cylinders, and more. You can even change the camera orientation to see what the image looks like from multiple angles.
If you want to learn more about how to use Smoothie3D, check out our handy tutorial.
- Difficulty: Medium
- Output formats: OBJ, STL, VRML 2, USDZ
- Cost: By donation of at least $3 (desktop version); ~$3 (iPad version)
- Supported platforms: Any (online)
Archipelis
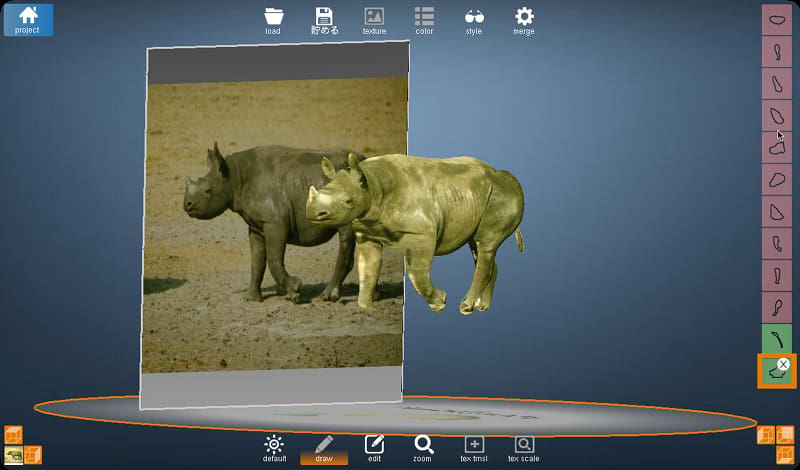
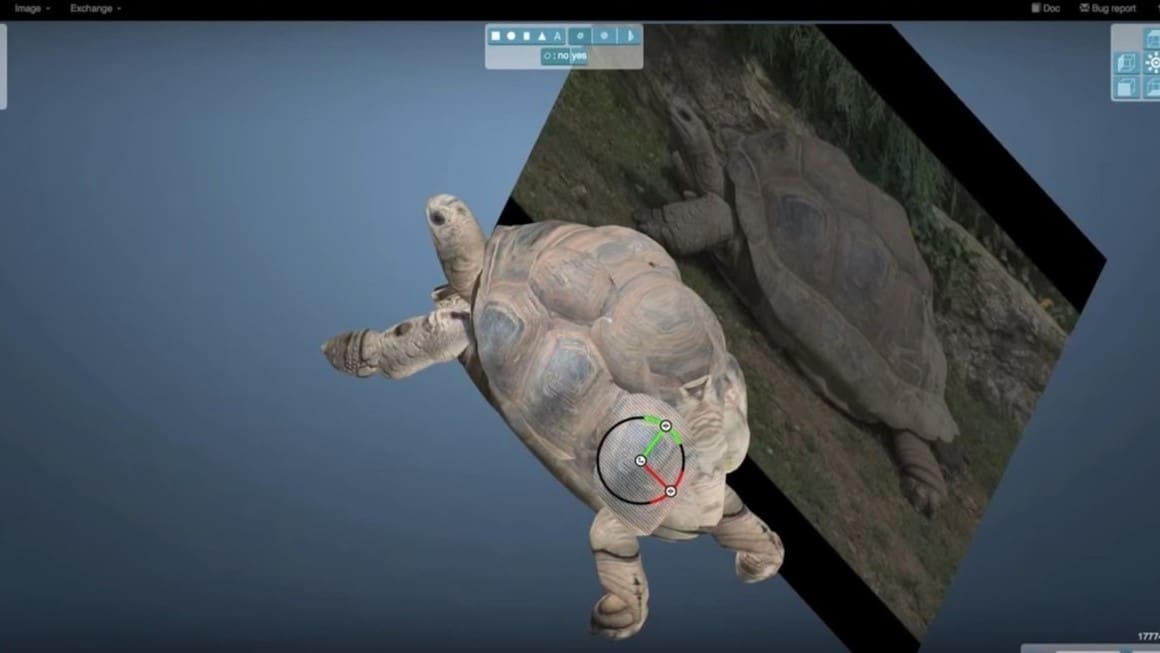
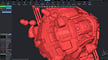
Archipelis takes an intuitive approach to the model making process, allowing users to either upload existing images to convert to a 3D model or use specialized tools to draw a three-dimensional picture that is then converted to a 3D model. The unique three-dimensional drawing aspect of Archipelis makes it easy to transfer ideas to 3D models using simple geometric shapes that, once drawn, can be moved around the scene to create an actual 3D figure. This approach makes it much easier for those with little 3D modeling experience to create useable objects that they can 3D print or use in an animation.
Models can be detailed and textured using brushes. Pictures converted to 3D models can extract some of their details directly from the uploaded image, seamlessly transferring realistic detail to your models. A demo version is available for download, allowing you to try out the program for free without the option of exporting models. If you like the demo, purchasing the full version will give you access to plenty of export options.
- Difficulty: Medium
- Output formats: OBJ, STL, WebGL, etc.
- Cost: ~$31, free demo available
- Supported platforms: Windows, MacOS X
Embossify
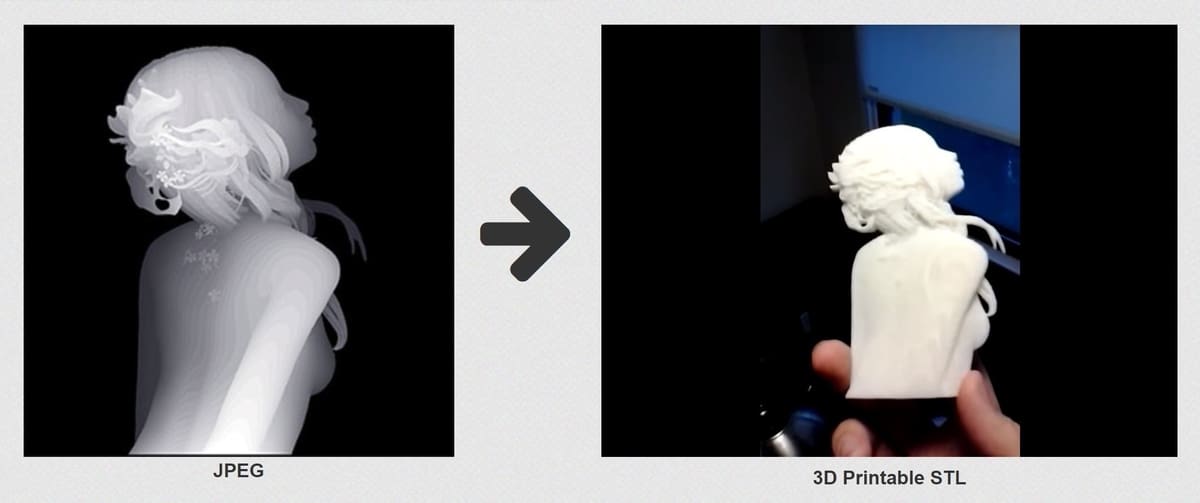
Embossify allows you to take any 2D image and create 3D lithophanes, reliefs, and models that are suited for both 3D printing as well as CNC routing. You can customize your model by setting a target width and depth, and there’s also a setting to generate your model from the lighter or darker sections of the image.
You can generate unlimited images for free, although they cap the resolution of models to about 108k facets. You can generate higher-resolution models for a cost of about $5 per rendering.
While not the most powerful software by any means, Embossify fills a specific niche on this list. The models it can generate are excellent tools for use in other 3D design software. You can take your Embossify model, load it into a 3D modeling program like 3D Builder or Blender, and use your model as a stamp or bool to subtract from another existing model. This is a great way to personalize your models.
- Difficulty: Low
- Output format: STL
- Cost: Free for low-resolution renders, ~$5 for high-resolution renders
- Supported platform: Any (online)
3D Modeling
3D modeling software is a great way to bring your photos to three-dimensional life. It’s the most involved option on this list, but the results can be stunning.
Blender
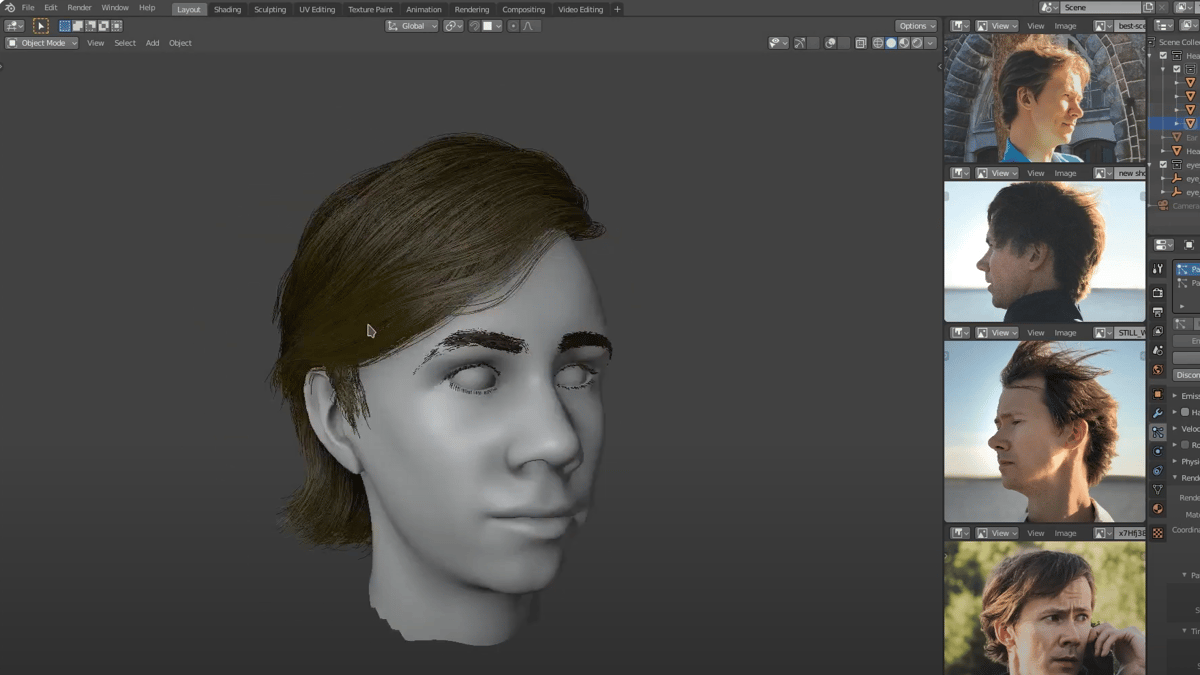
Blender is a free, open-source 3D modeling program that’s increasingly used by professional animators, engineers, and designers, as it’s robust, customizable, and complex, with hundreds of settings and options. If you’re not already familiar with Blender, there are more than a handful of tutorials to help you get acquainted.
Once you’re ready to tackle something more advanced, the FaceBuilder add-on will allow you to import photos into the program. Create a mesh outline around the head, place pins where you want to anchor it (nose, cheeks, lips, etc.), and shape the mesh to the head. Textures from the photograph can be added to create a close likeness to the subject.
One thing to note: While Blender itself is free, FaceBuilder has a free trial. 15 days after first installing, it will cost ~$180 for a freelancer license or ~$500 for a commercial license to continue using it.
- Difficulty: High
- Output format: STL
- Cost: Free 15-day trial, ~$20 (monthly) or ~$180 (annual) freelancer plan, ~$500 annual commercial plan
- Supported platforms: Windows, MacOS, Linux
Microsoft 3D Builder
You may already be familiar with 3D Builder, as it comes preinstalled on most devices running on Windows 10 and above, including tablets. It’s great 3D design software in its own right, and it sports a powerful built-in 2D-to-3D image conversion system that creates a usable model from your image. This method works best with images that have a solid color background, such as logos or characters with defined outlines. More realistic images can be too complicated for the program and produce undesirable results, as it won’t be able to distinguish between the foreground and background.
3D Builder boasts a simple process that gives you a fair bit of control, making it a great option for many use cases. Just drag your image into the program and it will give you a variety of settings to fine-tune your results.
- Difficulty: Low
- Output format: 3MF, PLY, STL
- Cost: Free (pre-installed on most Windows devices)
- Supported platform: Windows

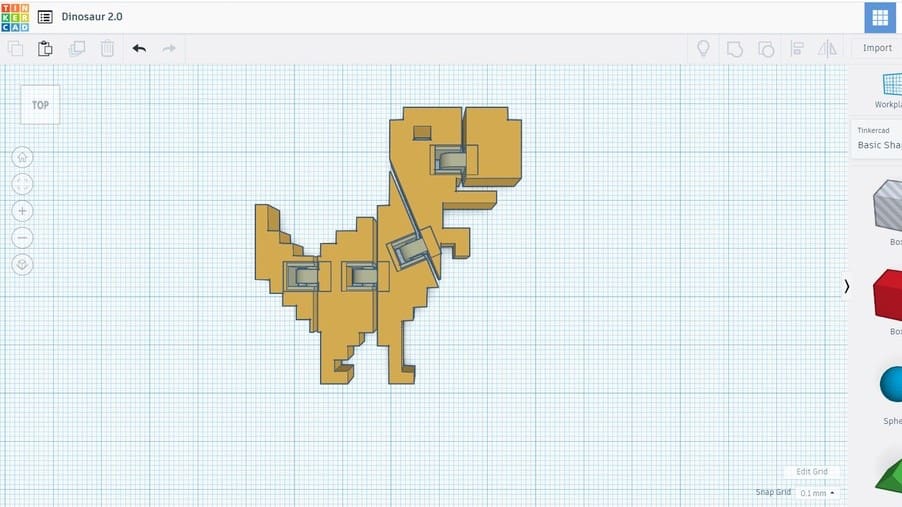
Tinkercad
Computer-aided design (CAD) software is the standard toolkit used in industrial design, whether for cars, houses, or products. With so many to choose from, including Tinkercad, it’s difficult to pin down which is the best to use to create 3D photographs.
One thing CAD programs have in common is the Extrude tool, which takes a 2D drawing and makes it a 3D image by increasing the height. Depending on the user’s skill, this tool can be used to create a 3D model, with some tweaking.
Tinkercad is one particularly accessible CAD program that’s browser-based and very easy to get started with. For a simple task like extruding an image to an STL, it’s the perfect tool; you’ll just need to convert your photo to an SVG first so that Tinkercad can read it.
- Difficulty: Low
- Output formats: STL, OBJ
- Cost: Free
- Supported platforms: Any (online)
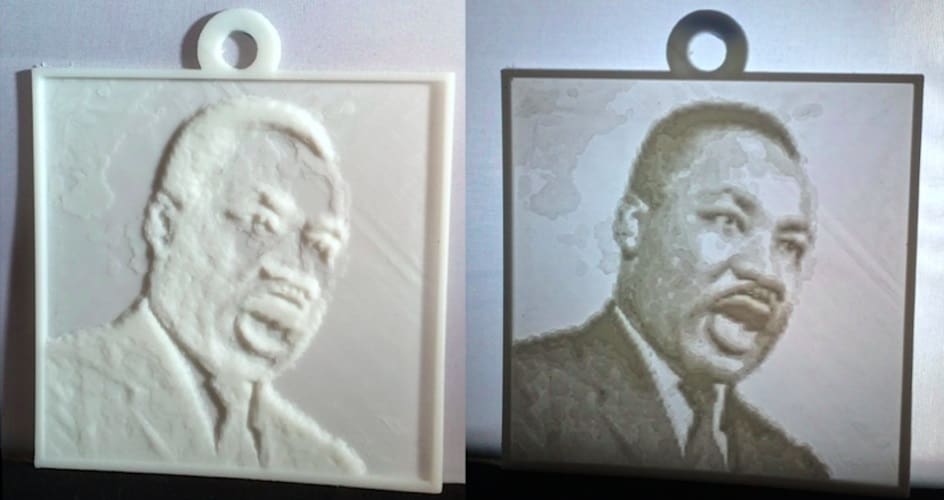
Lithophanes
Lithophanes are 3D photographs in the truest sense. They work on the same principle as film negatives: The more material is layered onto a spot in the photo, the darker that spot will be when light passes through the negative. To simplify the process, here are a few programs to consider.
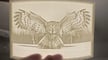
Image to Lithophane
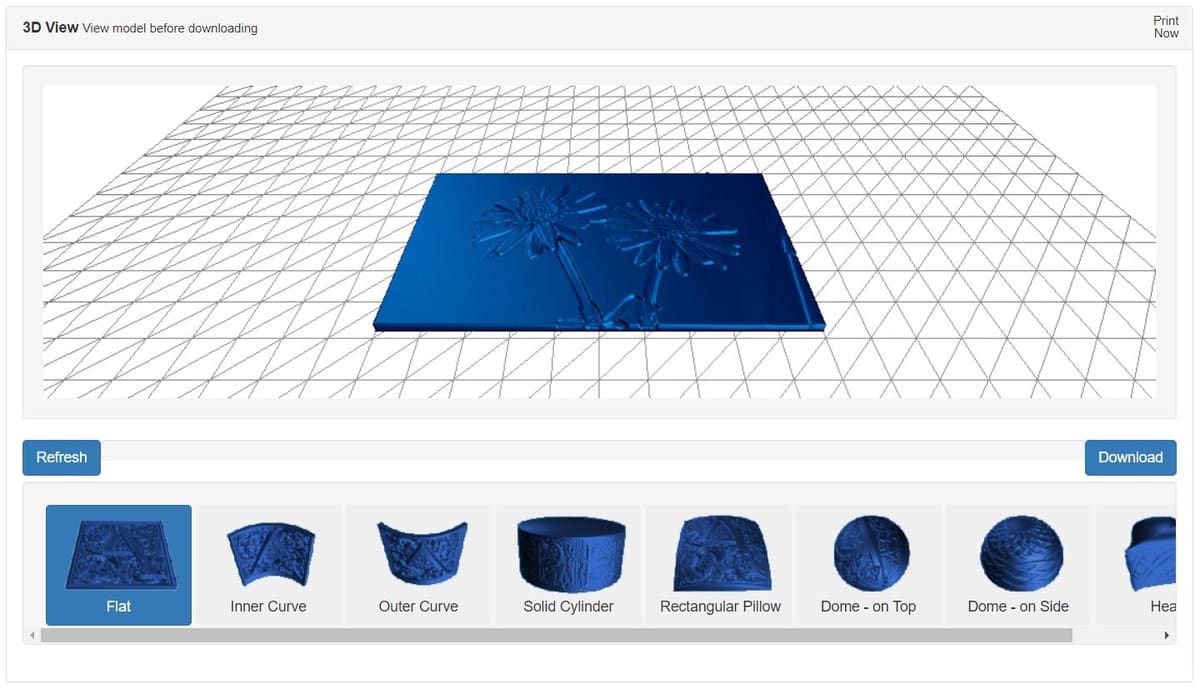
Image to Lithophane is one of the list’s easiest programs to use. Simply upload your photo, pick the desired shape (including dome, half dome, and heart), and download your new lithophane, all for free! There are also customization options tucked away at the top of the screen.
- Difficulty: Low
- Output format: STL
- Cost: Free
- Supported platforms: Any (online)
ItsLitho
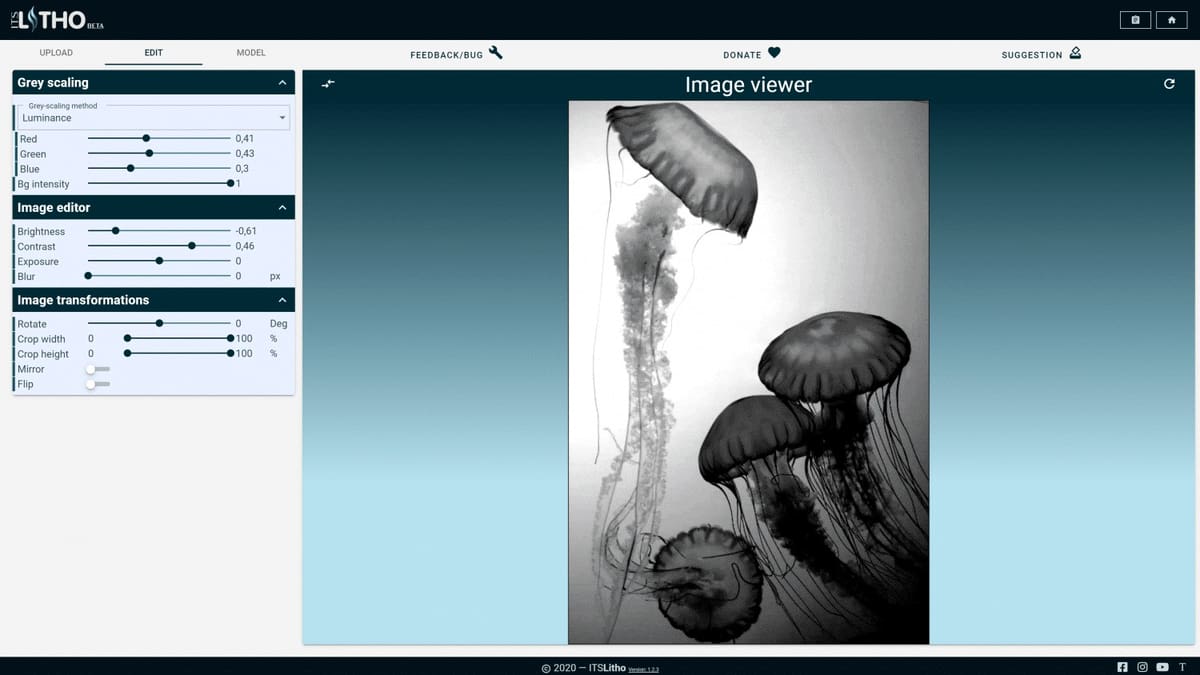
Probably the most robust lithophane program on this list, ItsLitho is a fully-fledged ecosystem, with tutorials, a lithophane maker, and even a storefront that sells PLA and 3D printers.
A great feature of ItsLitho is the variety of options you have to create the exact print you want. You can flip the image you import into the program, adjust light intensity, and even preview differently colored materials to know exactly what you’re getting before you hit “print”. You can create an account to keep track of your lithophanes so you don’t lose all your hard work.
- Difficulty: Medium
- Output format: STL
- Cost: Free
- Supported platforms: Any (online)
Cura
Cura is a slicer, a program that translates 3D models into code that 3D printers can read as printing instructions. While it’s not a lithophane program specifically, it has the ability to create them quite easily. Simply load the JPG that you wish to print into Cura, and a dialog box will pop up. Leave most of the settings at their default values, ensuring that “Darker is Higher” is selected, and dial the Smoothing bar to the left, as smoothing can blur the image.
Once the file is loaded onto the build plate with the above options, set the infill to 100%. This allows the light to shine through without distracting infill pattern artifacts, like lines or squares. After that, simply hit “Slice” and load it onto your printer.
- Difficulty: Medium
- Output format: G-code
- Cost: Free
- Supported platforms: Windows, MacOS, Linux
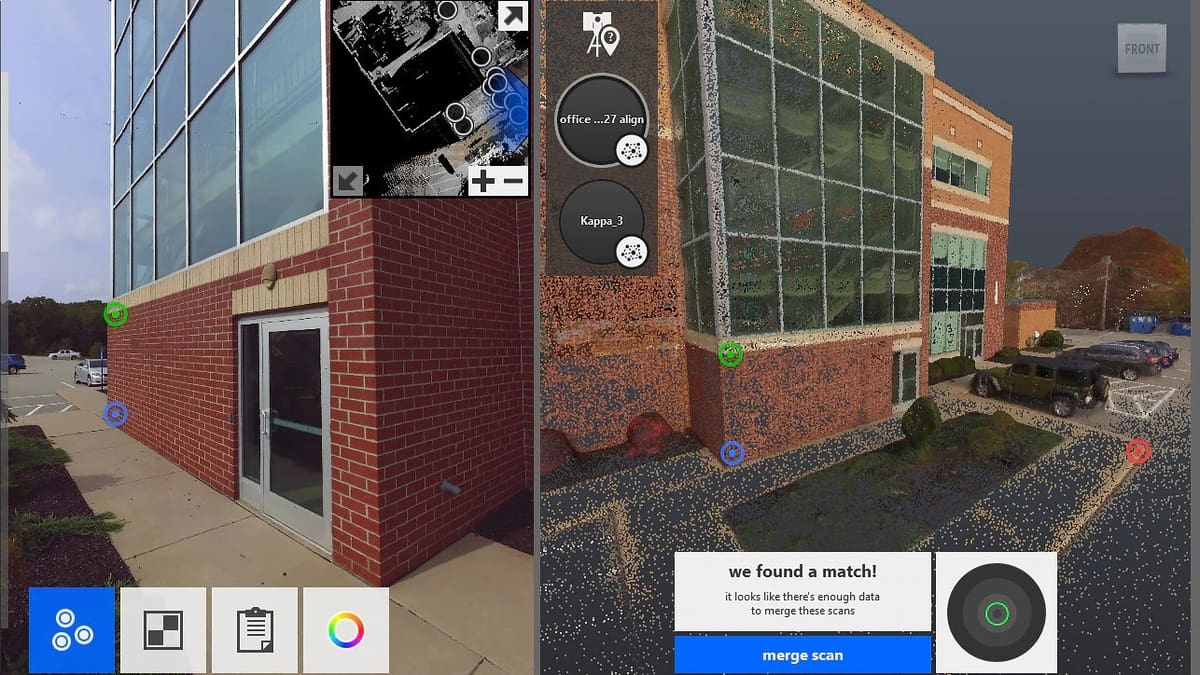
Photogrammetry
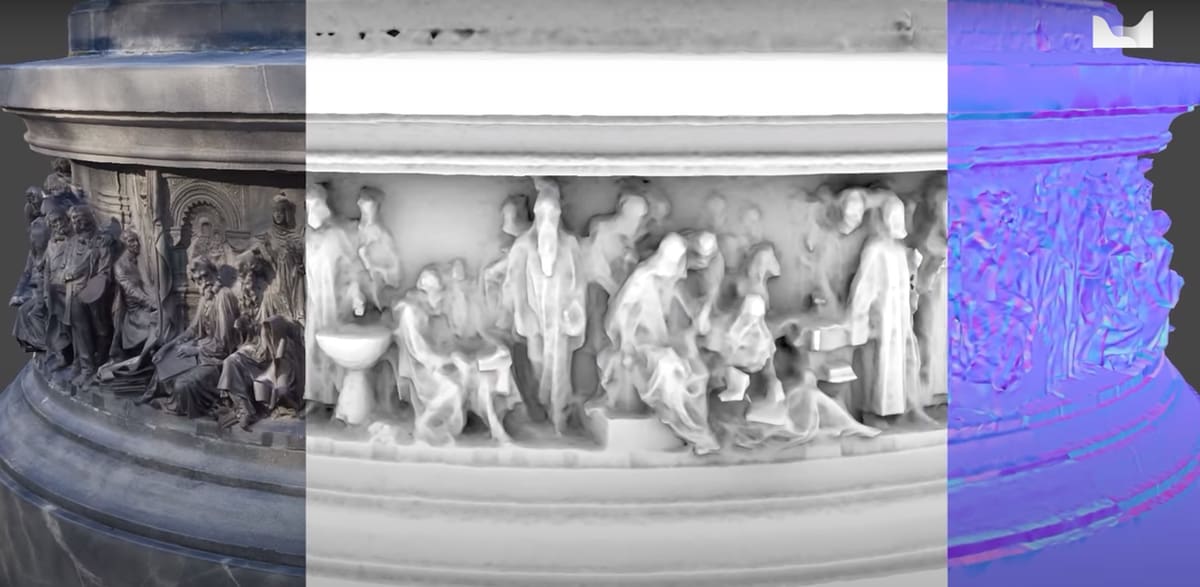
While the first part of this article has dealt with renders made from single photographs, there’s another technique that provides much higher-quality results: photogrammetry. This process merges together multiple images taken from different angles to create a whole 3D model. Photogrammetry is so powerful that it’s beginning to bridge the gap between picture conversion and 3D scanning.
While a professional DSLR camera is still probably best for this kind of work, a host of smartphone apps have come to market to take advantage of the leap in camera quality found on the latest iPhones and Androids. That being said, there are a few programs that leverage desktop processing power for results, though they can be pricey.
Recap Pro
From Autodesk, the same people who make AutoCAD, comes Recap Pro, a cloud-based subscription service. Like the other options on this list, it compiles a number of photos taken to create a fully immersive 3D model, though specifically for use with drones. At around $54 per month or $440 for a year’s subscription, it’s a solid middle-of-the-road option, also with a free trial.
- Difficulty: High
- Output format: OBJ
- Cost: ~$54/month, ~$440/year, or ~$1,320 every 3 years; free trial available
- Supported platform: Windows
RealityScan
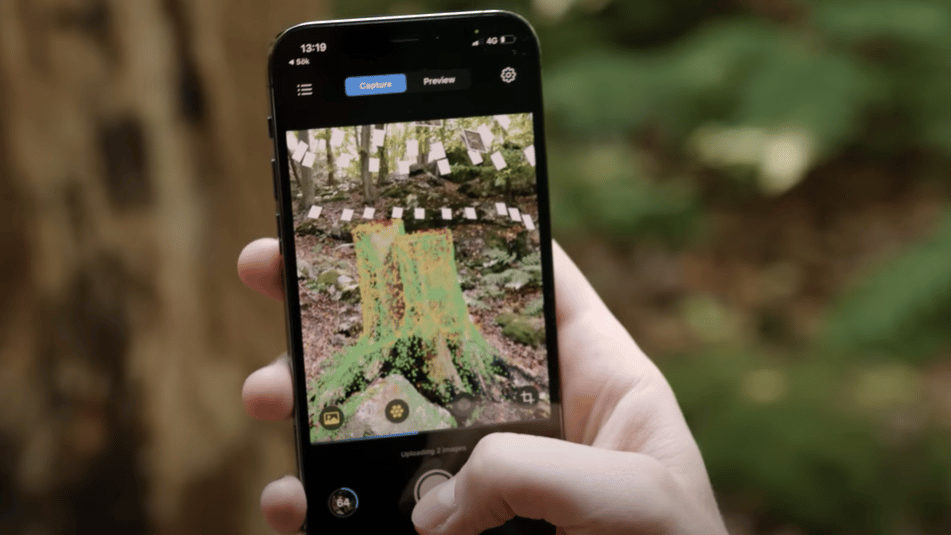
RealityScan is a mobile app that allows you to use your phone or tablet to scan any object and create a high-definition 3D render. The app has you take photos of your object from a variety of angles, offering clear instructions to make this process as simple as possible. It uses these photos to reconstruct the object in digital form. The quality of your render will be determined by the quality of your images, so good lighting and an up-to-date smartphone are recommended for best results.
To export your model, you will need a Sketchfab account. RealityScan uploads all of its models privately to Sketchfab. While the app is free to download, the number of renders you can create and export will ultimately depend on your specific Sketchfab plan. The Basic plan is free, while the Pro plan costs $15 annually and the Premium plan costs $79 per year.
- Difficulty: Medium
- Output format: FBX, USDZ, GLB/glTF
- Cost: Free (with Sketchfab account)
- Supported platform: iOS 16 or higher, Android 7 or higher
Metashape
Agisoft’s Metashape has a couple of paid options. The Standard Edition can process data from multiple cameras at once and render them into 3D models or stitch together panoramic shots, among other possibilities. The Professional Edition has more options, such as accurately measuring terrain features and distances, even from satellite imagery.
The Standard Edition costs less than $200 for a one-off license (with free updates), while for the Professional Edition, you’ll have to shell out around $3,500. Both start with a 30-day free trial.
- Difficulty: Medium
- Output format: OBJ
- Cost: ~$180 (Standard) or ~$3,500 (Professional); free trial available
- Supported platform: Windows
License: The text of "Image to 3D Model: How to Create a 3D Model from Photos" by All3DP is licensed under a Creative Commons Attribution 4.0 International License.
CERTAIN CONTENT THAT APPEARS ON THIS SITE COMES FROM AMAZON. THIS CONTENT IS PROVIDED ‘AS IS’ AND IS SUBJECT TO CHANGE OR REMOVAL AT ANY TIME.