Snapmaker U1, Reviewed: Make Haste, Not Waste
Rating

Zero-waste multicolor printing is the new frontier, and Snapmaker is getting ahead with this “simple” toolchanger that punches above its price point.
A spectacularly caught hail Mary in 3D printer form, the Snapmaker U1 and its insanely successful Kickstarter campaign brought Snapmaker back from the brink. To generate that much interest and attention, the printer has to be good, right? Right!?
After weeks, bordering on months of chucking every project, request, and spurious, 3D printable thought at the Snapmaker U1, we’re convinced this printer delivers on its promise of high speed, low waste color printing. It is, for now, the budget solution to wasteful single-nozzle multicolor printing, and while every manufacturer scrambles to service this specific demand, the U1 is, for the most part, ready.
At a Glance:
- Temperatures: 300°C | 100°C
- Size: 584 x 499 x 730 mm
- Build volume: 270 x 270 x 270 mm
- Weight: 18.2 kg
- Print bed: Double-sided PEI, textured
- Key features: 4x filament printing, fast tool changes, filament autoloader, steel nozzles
The printing performance is solid enough to leave us in no doubt about its worth as a daily driver for your general purpose multicolor printing.
That being said, that low price point may come back to bite us later; I can’t help but feel the printer’s finish is plasticky in a “cheap” way. It is a step down from Snapmaker’s previous printers and their solid, hefty, all-metal constructions. This feeling didn’t get better when the power cable provided in the box was defective and required us to source a replacement. We know early design tweaks have already been implemented to stave off reports of the print head cable attachment chewing up the plastic around it, so the usual caution of this being an early-life product and no product really launching “finished” should apply here.
Of course, the U1 is cheaper than Snapmaker’s older machines. Ironically, it’s also a massively better 3D printer than any of those were, too.
The Tech
I’m sure for many, the Snapmaker U1 is a dream printer, smiting the issue of excessive multicolor purging waste with little loss in performance.
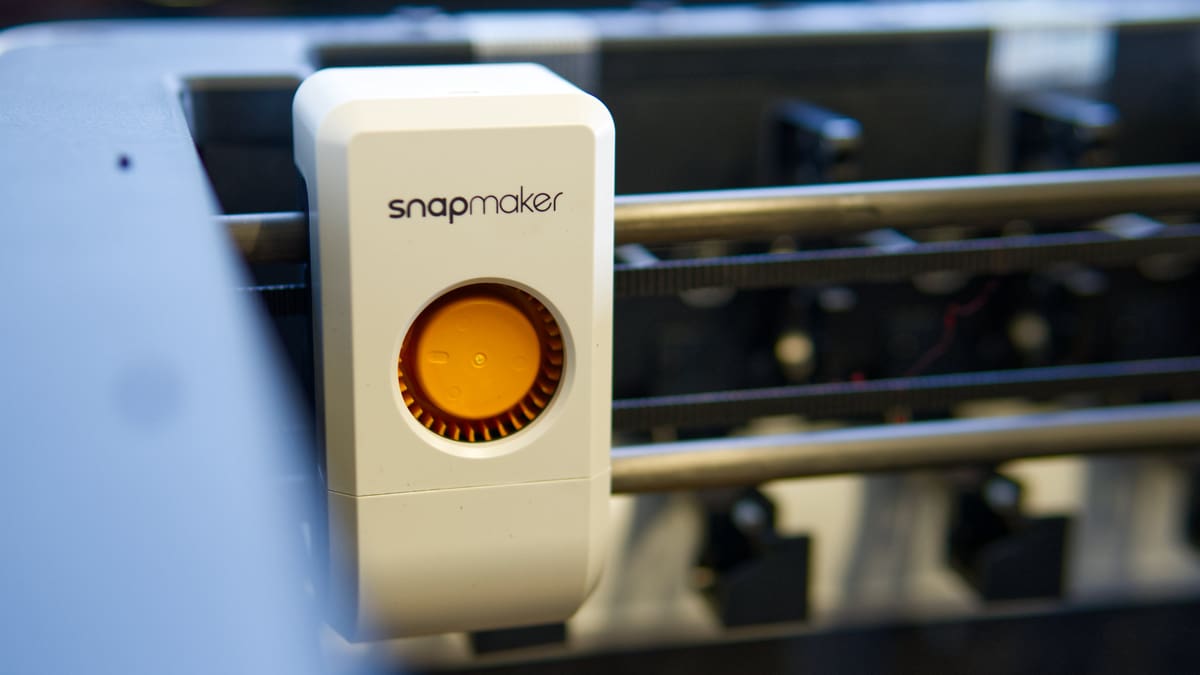
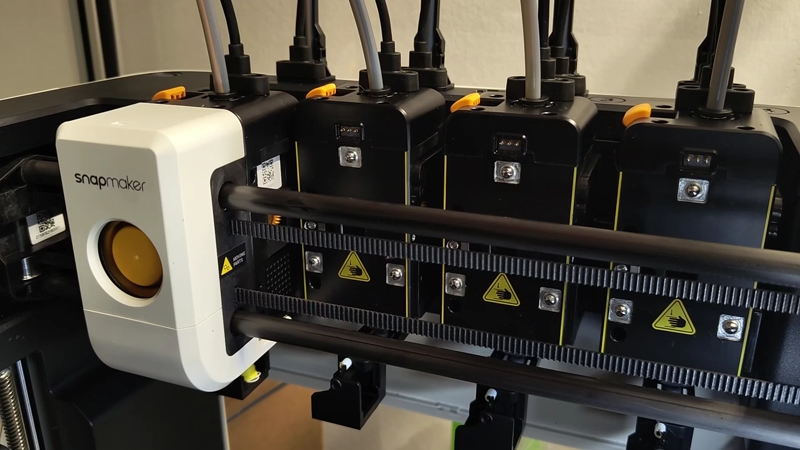
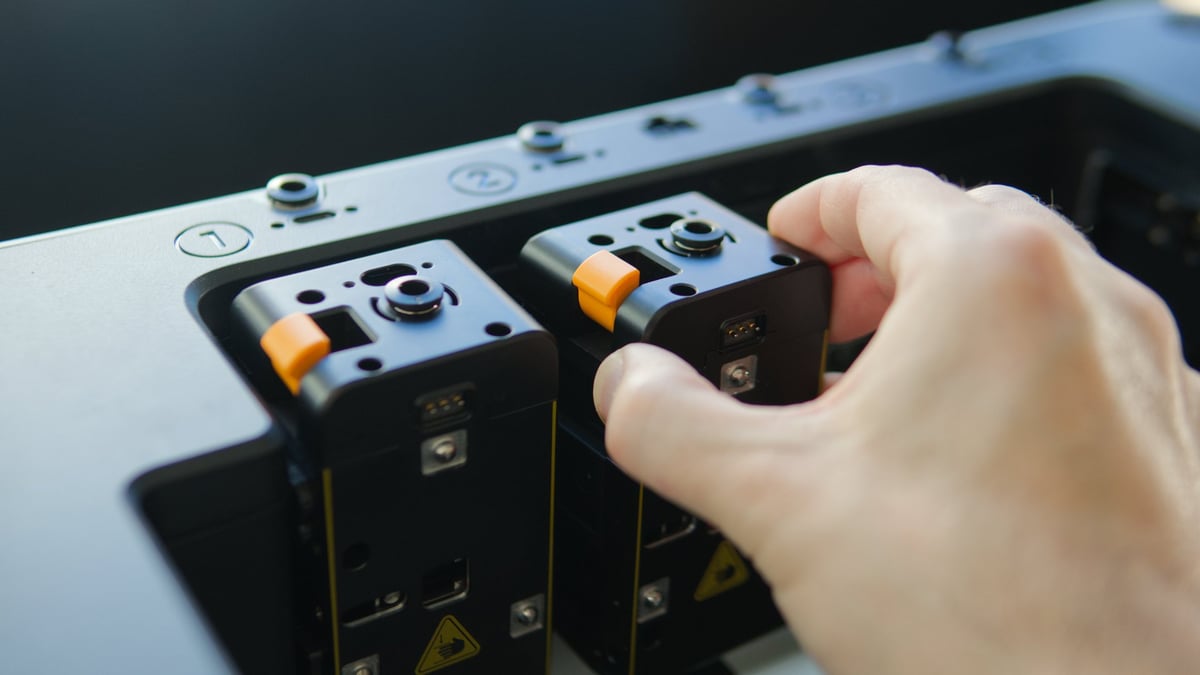
Your $849 of pre-order money – set to rise to an MRRP of $999 around March when preorders begin shipping – gets you four-filament printing, accomplished through four independent toolheads that sit parked at the rear of the build volume. A toolhead carriage that integrates the print cooling fans picks up and parks the tools as required.
Despite the printer’s “cheapness”, it is an thoughtfully designed machine that’s efficient on space and parts. Side-mounted spoolholders mean all your interactions with the printer happen from the front.
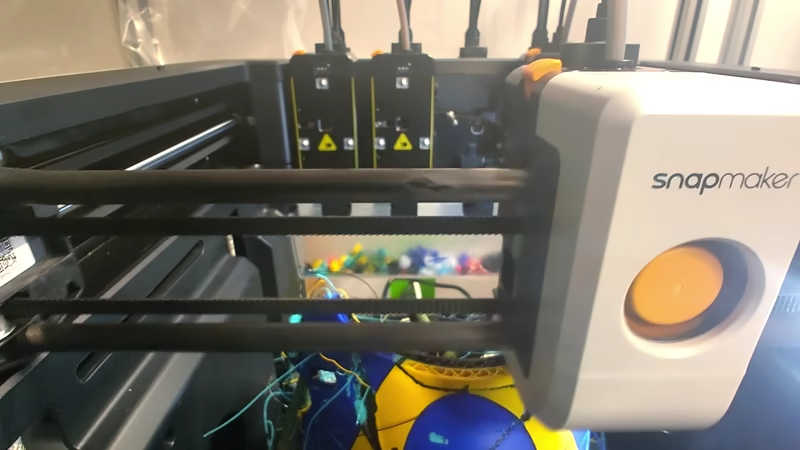
It took time to get used to the U1 and its tool changes. The docks are so tightly packed it’s impressive to see the machine operate in such a narrow space. That being said, the occasional tool pickup failure stopped prints in their tracks early on, but never anything that couldn’t be fixed by simply placing the toolhead back on its dock and trying again.
These issues happened early on, more or less disappearing after a day or two of use. Perhaps there’s a “breaking in” phase. It’s, ultimately, a remarkable thing that a device at this price point can reliably pick up and park toolheads like it does.
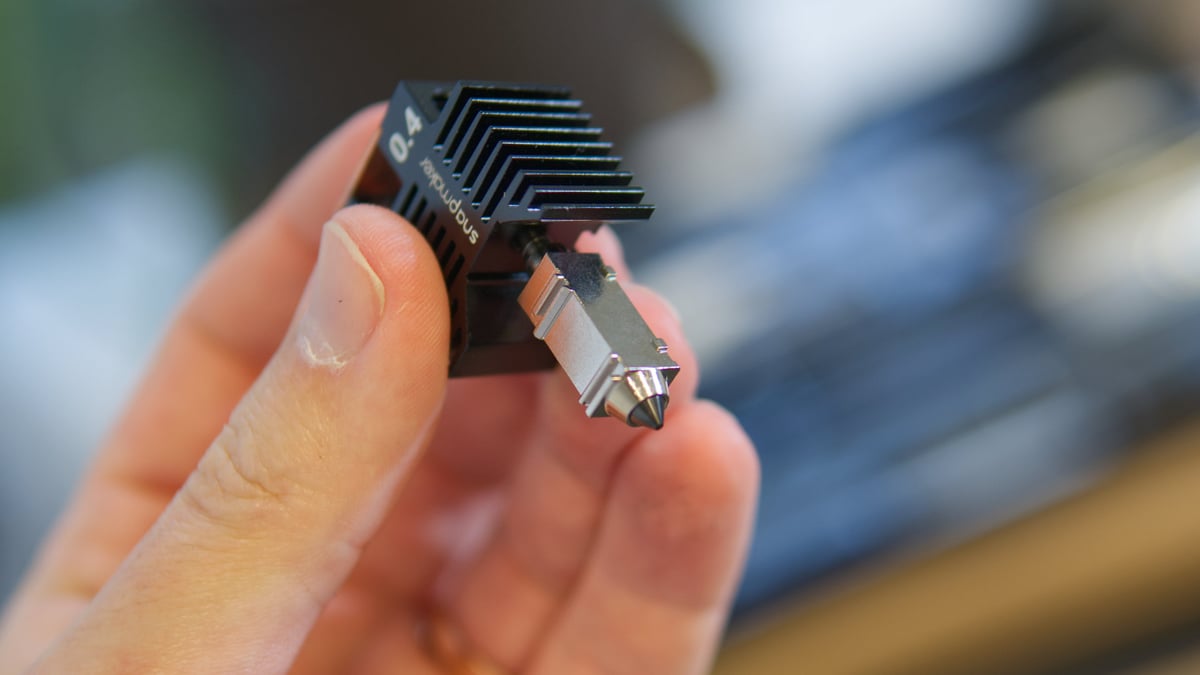
Each toolhead uses hot ends with integrated nozzles. Note that they are not quick-swappable, meaning switching them out requires powering the printer down, whipping out a hex key and unplugging some cables. Alternate hot end sizes and types weren’t available to us at the time of testing, so I can’t comment on the printer’s abilities with different size nozzles. It’s not currently possible to mix nozzle sizes.
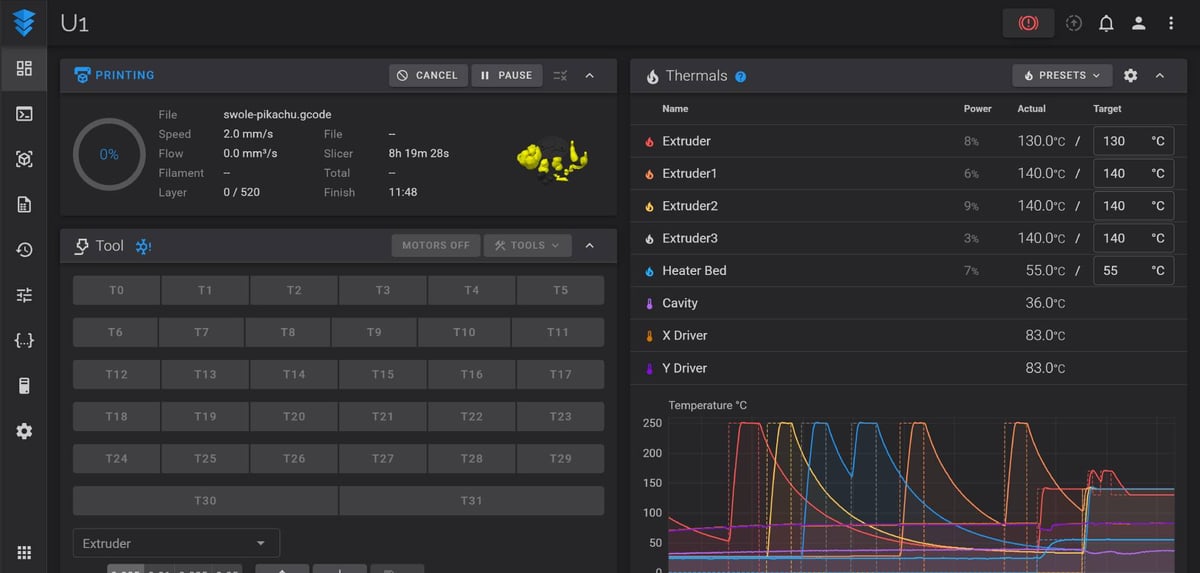
Snapmaker uses Klipper as the basis for its firmware. The printer’s UI meets the reality of using a toolchanger well. For example, you can load and unload multiple spools at once, because why shouldn’t you be able to? It’s logical. You can’t do that on the Prusa XL.
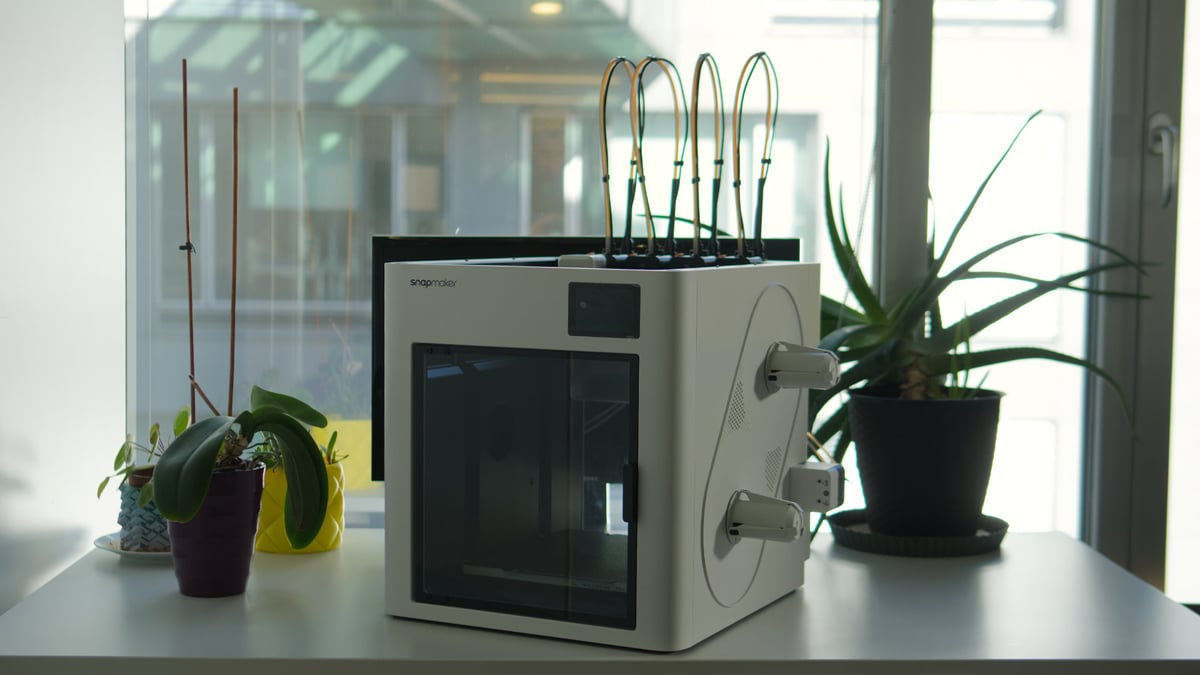
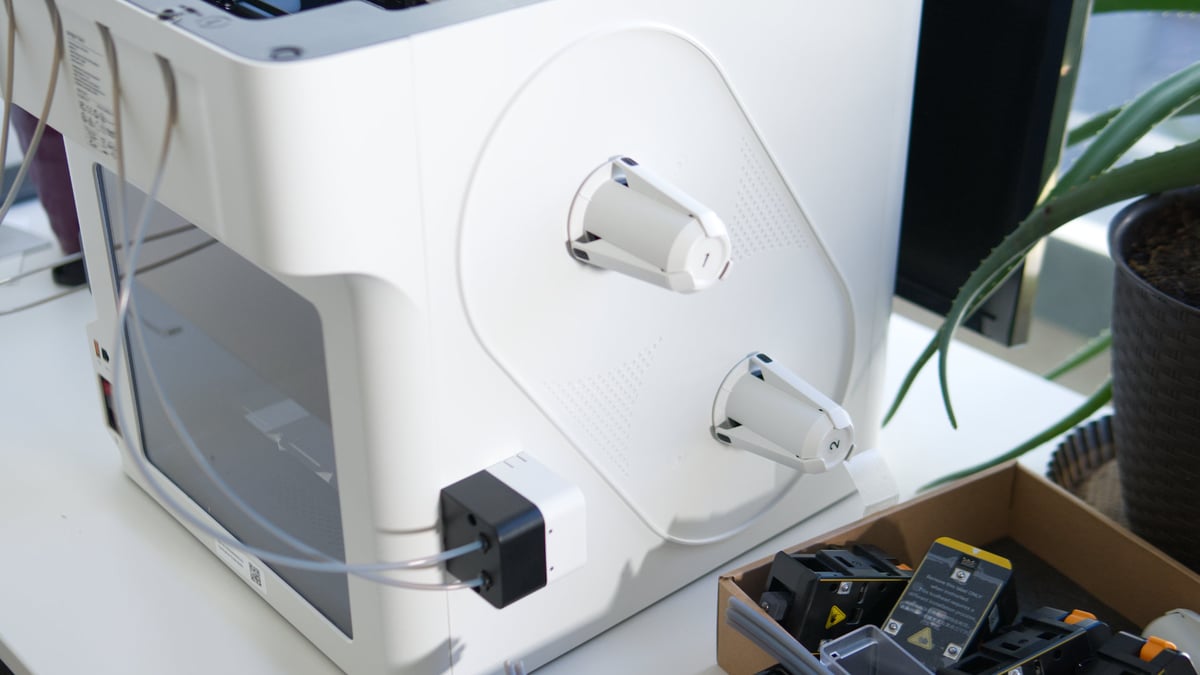
Part of this trick is enhanced by the one feature the U1 has that few other “open spool” printers have: an autoloader. Actually, it has two. Sitting either side of the printer to feed two of the printer’s four spools, the U1’s autoloaders are squeaky, scratchy, cheap sounding pass-throughs that will grab the filament for you and push it on through the long tube to the print head. They sound like they could break at any moment, but so far they haven’t skipped a beat.
It’s a thoughtful inclusion that elevates the Snapmaker U1 beyond simply the budget toolchanger shtick to a thoughtful, user-friendly colour printer. Better still the part is not so deeply integrated that if one did break, as I’m sure one day they will, you can pull it off the printer and replace it.
Snapmaker has committed to release its software open source, in full respect to the open source work it has built the printer around. It has committed to doing so around the printer’s full launch in Spring 2026.
The U1 can hold four spools of filament which sit on freely spinning drums that snap onto the printers case. You feel the low cost here – two full spools flex the plastic case of the printer, and the spring-loaded clips on the drums can be knocked free if you’re not careful or working in close quarters around the printer. Not all spool sizes sit snugly, either – I expect this will be one aspect ripe for 3D printed modification.
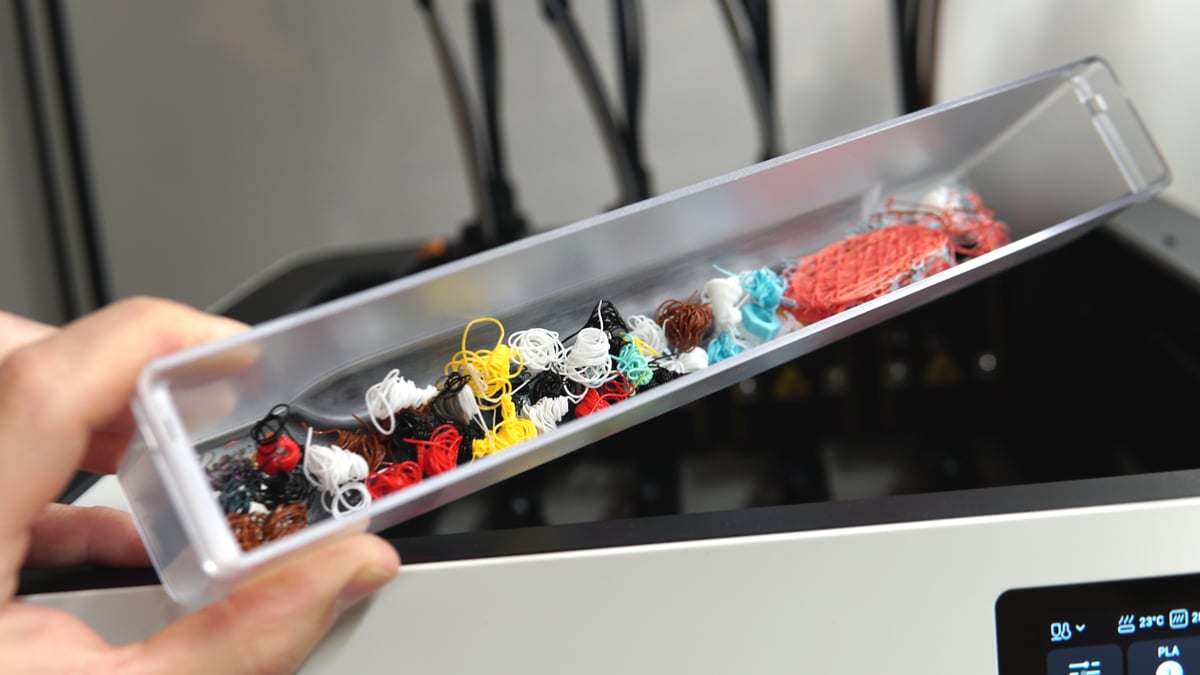
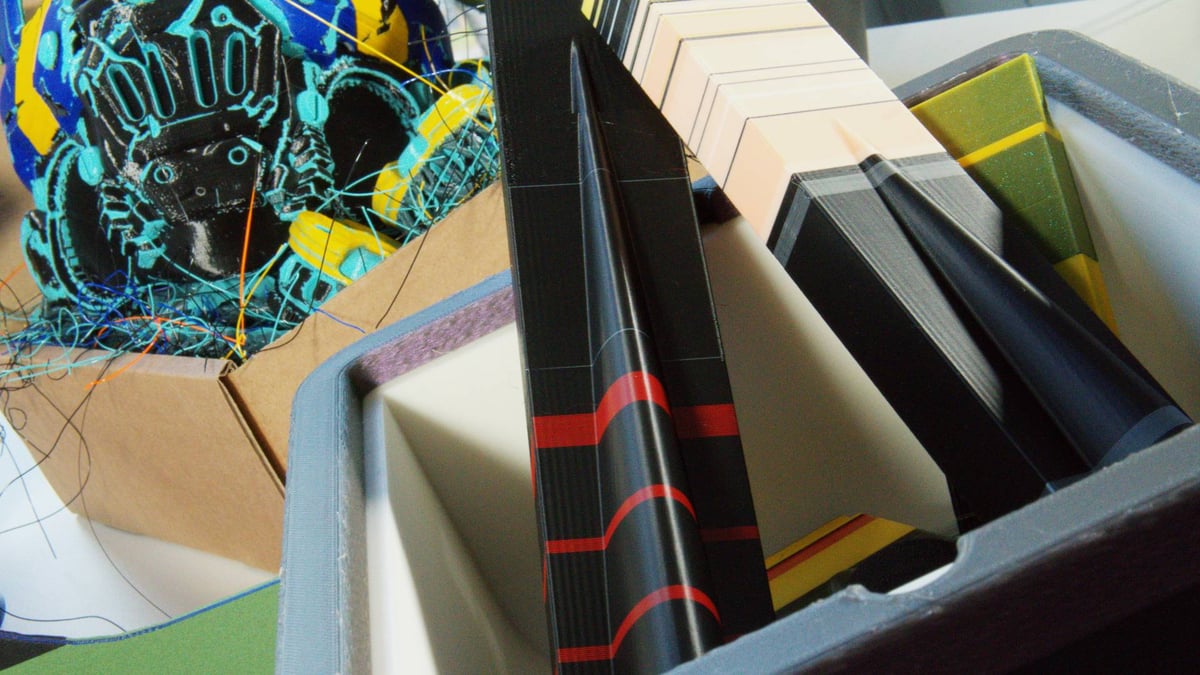
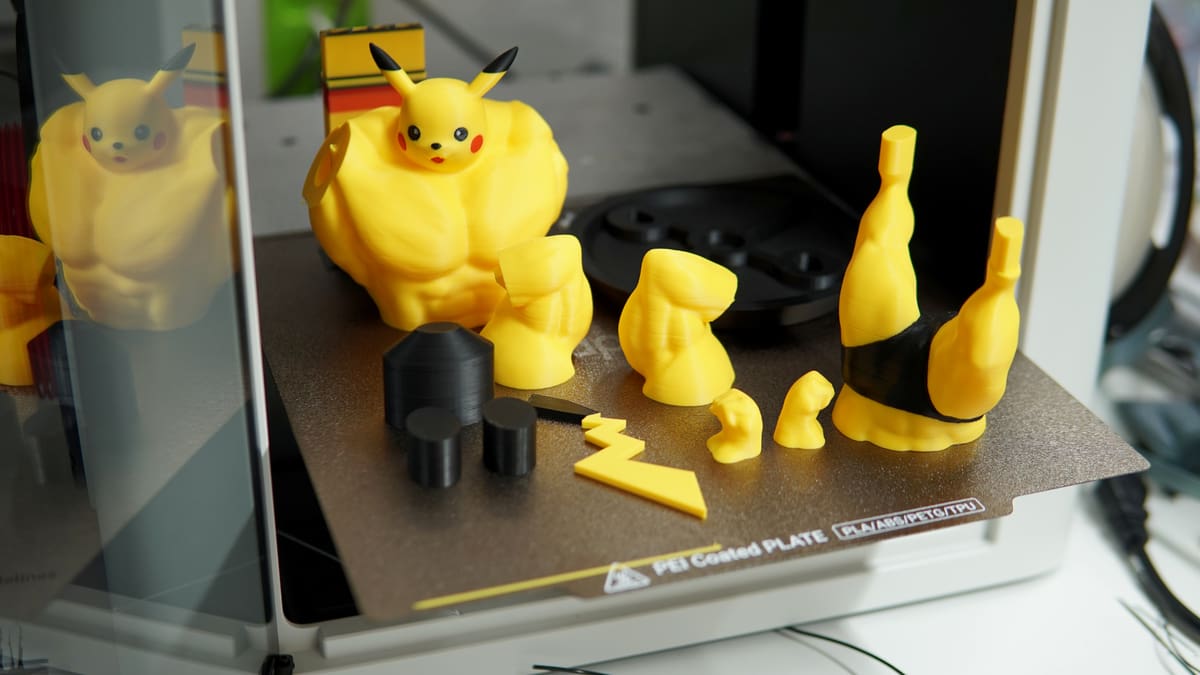
Other thoughtful touches extend to the purge bucket, which sits beneath the toolhead rack. At filament change and flow calibration, the U1’s toolheads will purge a little to prepare them for printing. Rather than dumping them out of the back of the printer, they collect together in a bucket that can be whisked out for emptying every now and then. Thoughtful.
By default the U1 is only partially enclosed, with plastic sides and transparent door and rear panel giving the printer a pretty unique look that further stands it apart from the crowd. This could impact on material performance if you aim for the upper end of warp-prone materials, of course. Though a bucket lid will be available ($149) that incorporates chamber temperature control and air filtration.
Snapmaker rates the U1 for multi-material use, meaning combinations of materials are open to you, including firmer TPUs, PVA and other materials. The limitation is, largely, getting the filament to the extruder in the printhead.
The autoloader will automatically advance the filament, but particularly noodly filaments have the potential to buckle and wiggle, particularly inside the large-gauge filament guide tubes the U1 uses. To its credit, the filament pathing appears to be pretty generous and designed around being able to take a janky end of filament and still get it to the hot end.
I have run gnarly, chewed up ends of filament through the autoloader (deliberately – not because I’m lazy, I swear) and the U1 happily gobbled it up and fed it through for printing. I do not know if it was intentional on Snapmaker’s part to make a generously forgiving filament feed path, but they have one here.
The Printing
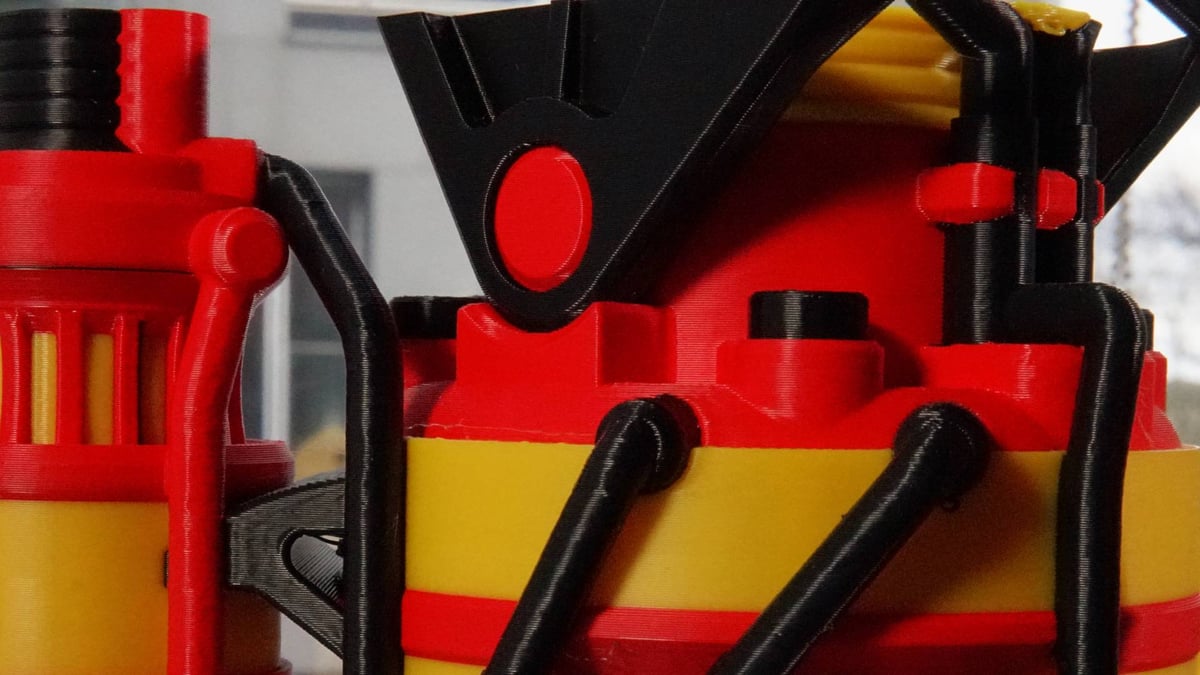
The Snapmaker U1 sounds like a dream so far, doesn’t it? I think the U1’s massive advantage right now is that it drops a reliable solution to the biggest issue of multicolor printing in your lap. That it’s a pleasure to operate, just works, and for barely much more money than the rest, sums up to an impressive package.
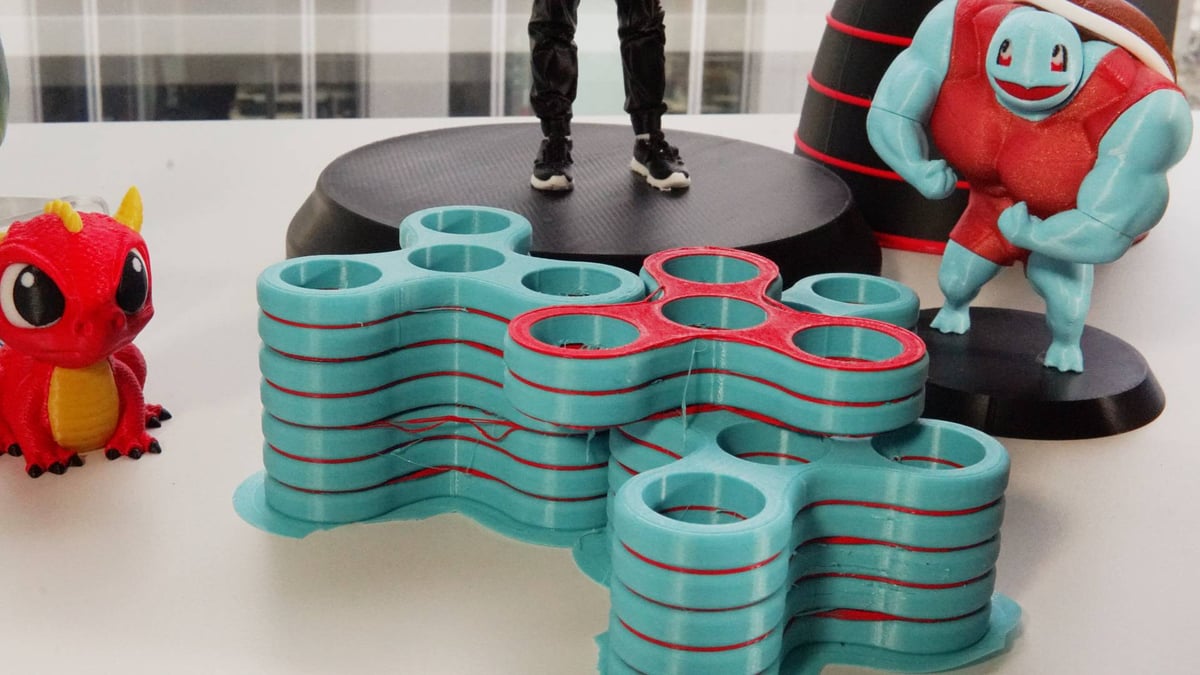
Don’t sleep on its multi-material capability, though. The filament pathing is generous enough to accommodate flexibles and brittle fiber-filled filaments, too, letting you combine up to four materials types in a print, not just colors.
We typically test a mix of the manufacturer-provided materials with their profiles, plus “generic” material profiles for the glut of random filaments we have in the lab.
Of course, we’re clear about the fact that these things can be tuned, settings changed, et cetera. The Snapmaker U1’s baseline print quality, while good, for the most of our testing suffered with some motion-based layer inconsistency issues.
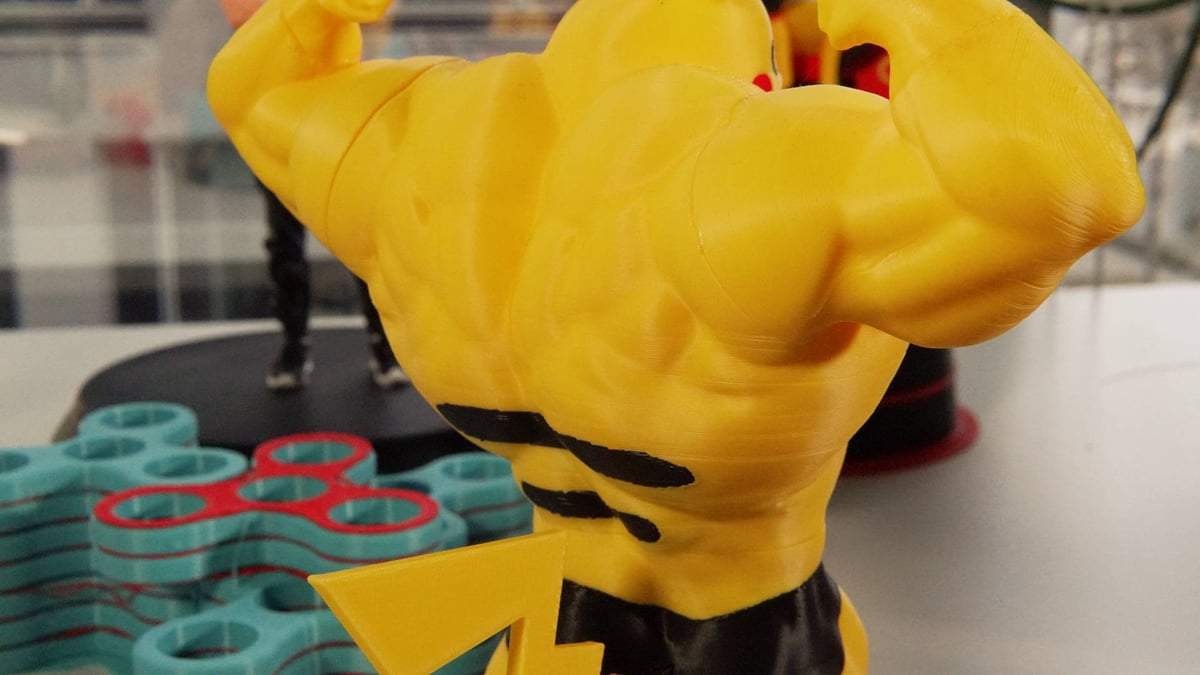
We can see the print bed moving a lot to maintain a level layer, and frequent rerunning of the bed leveling routine seem to be necessary to keep a good squish for first layers. It stands to reason that issues should creep in from there. A firmware update late in January seemed to fix the layer inconsistency issue, which was great to see.
Are such things a deal-breaker? No. I don’t think anyone is interested in the Snapmaker U1 because they necessarily expect the prints to beat out something like the H-series from Bambu Lab. You are interested in the U1 because it banishes mid-print purge poop to the dustbin of history and it achieves this spectacularly.
Not needing to purge each nozzle at filament change because each filament has its own nozzle is exactly the convenience you would expect it to be. Across our printing, comparing from time to time against competing systems such as the Bambu Lab P2S and Creality K2 Pro, the Snapmaker U1 consistently trumps them both for print speed and material wastage.
These benefits are not exaggerated. A nozzle- or toolchanging system will simply beat a single nozzle system in every single comparison; swapping the tools instead of withdrawing the filament, to feed a different one and then purge the nozzle for the next clean layer is quicker, and necessitates less waste. Fact.
We can’t put a fixed number on how much better it is – Snapmaker says up to 5x, but the efficiency doesn’t scale linearly. Your mileage will vary. The only other printers on the market that offer that kind of efficiency cost multiples of the U1, with the closest in terms of design being the Prusa XL ($3,899 for five toolheads). Ironically, the U1 bests it for sheer convenience of use when it comes to actually interacting with the printer, like loading filaments. The Bambu Lab H2C ($2,399 for seven active nozzles) looms large as the only current alternative, which costs more, can do more, albeit at the marginal sacrifice of nozzle change speed. It’s also shipping right now, which, at the time of writing, the new orders of the U1 won’t be for some time still.
For preparing prints, Snapmaker has turned to the popular community-run Orca Slicer as the basis for its slicing software. Anyone making the jump from Bambu Studio, PrusaSlicer, or, well, Orca Slicer itself, will feel at home in Snapmaker Orca.
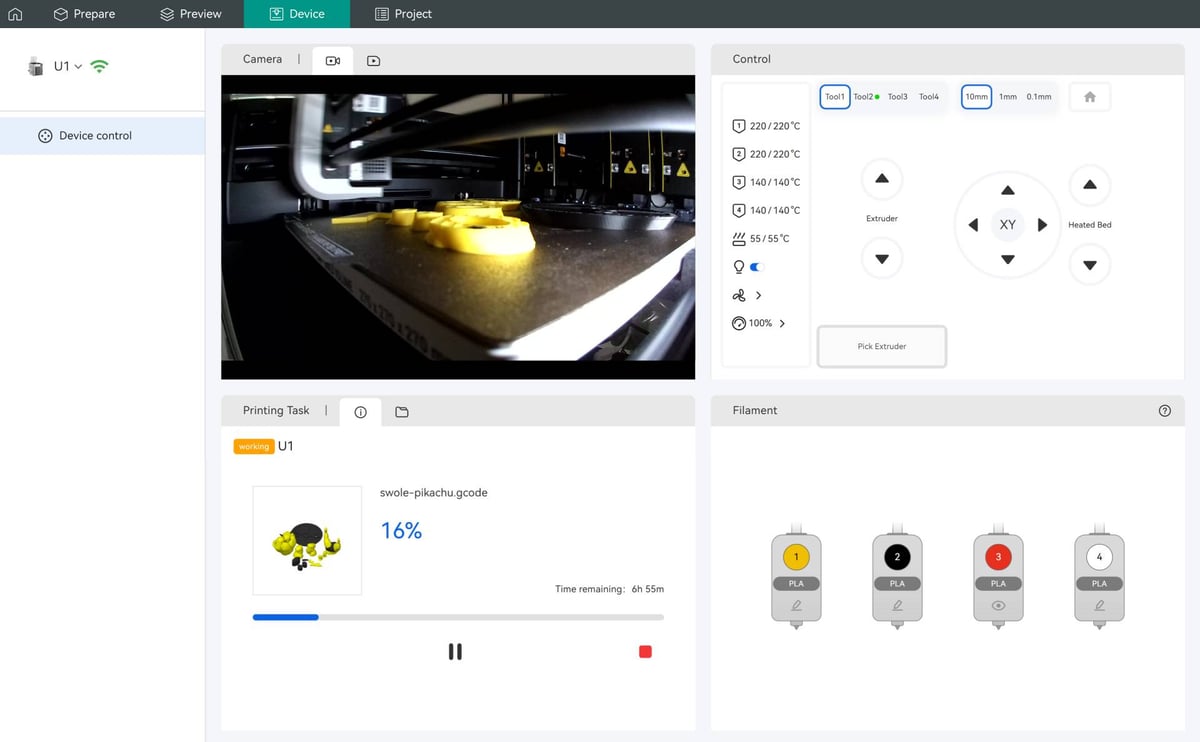
The device management page offers basic control over the machine, as well as direct access to the U1’s storage, camera based fanciness like timelapse recording and, as of an update pushed to the machine late in our testing, “AI” spaghetti monitoring which. From our limited contact with it, it works.
The camera feed isn’t a smooth video, but is reasonably crisp. It’s certainly enough to check on prints.
Logging in to a Snapmaker account is required to connect and bind the printer to your profile. There’s a LAN mode too, letting you take the printer off the internet and restrict it to your local network. You can also forego all that and shuttle prints to the printer via USB (not provided).
The expected app is present, too. Available on Android and iOS, the Snapmaker app gives you an at-a-glance view on the connected U1, provided you have the printer bound to your account. At the time of writing, the behaves a little unpredictably, asking you to log in even when you technically already are. You can use single sign-on (Google, Meta, or GitHub) to register into Snapmaker’s ecosystem here, which is convenient and keeps things a little more secure.
Helpfully, you can dive into video tutorials for maintaining the machine and replacing components – it’s quicker than navigating the company’s website, even if the information is just opening in an in-app pseudo-browser. A support ticket system is present, too, letting you keep tabs on issues and your history of interaction with the company about your machines.
Is It Worth It?
Of course it is. If you’re not prepared to shell out for the Bambu Lab H2C or wait for (and then also shell out for) the Prusa Core One+ INDX, then the Snapmaker U1 is your only option for this kind of multi-material efficiency right now. And at around half the price of those systems, it more than delivers, achieving its core promise of cutting the waste of multicolor printing and then some.
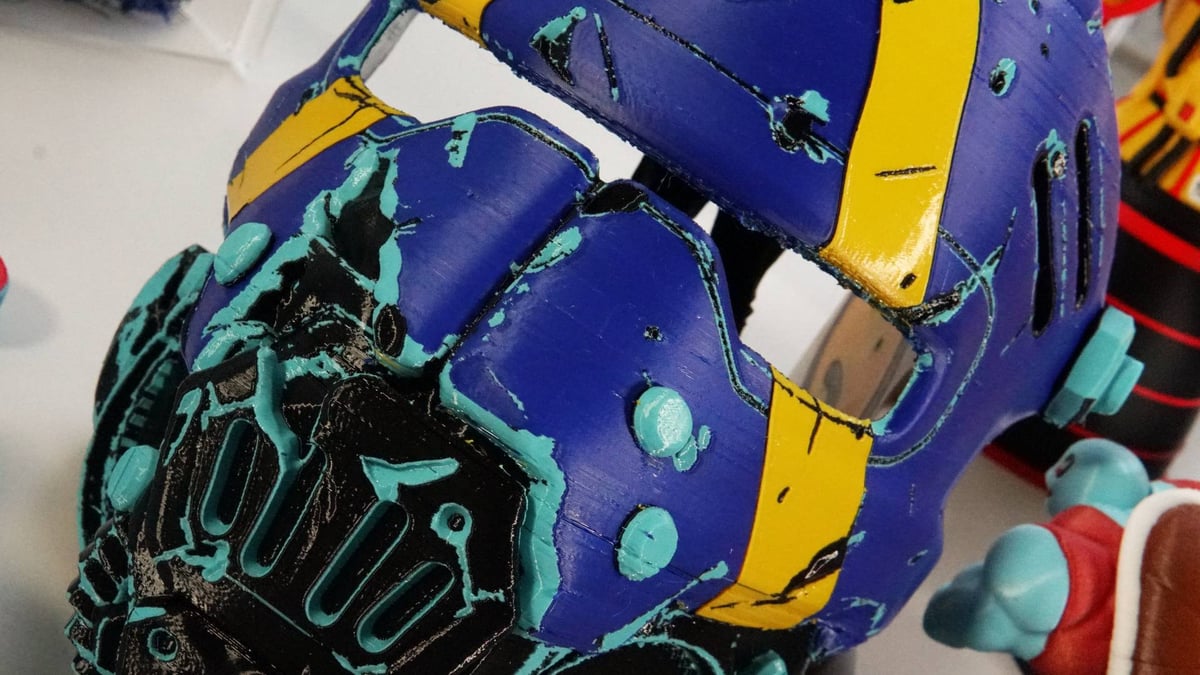
It’s pleasant to use with enough thoughtful touches to make you appreciate it as a daily driver over other printers you may have standing next to it. The build volume is ample enough to tackle larger projects like face masks and helmets (the gold standard of “is my printer big enough?”), and the count of four filaments for active use in a job tracks with the “basic” level of capability set out by AMS-style multi-material units.
The hard cap on usable filaments might be a dealbreaker for hardcore color printerers. Other brands do let you go to much higher total filaments counts, but at the cost of additional hardware and waste when printing. The general print quality from our testing seemed okay enough, but is still evolving.
Snapmaker will improve it through updates. We’ve experienced this first-hand during our time with the U1. And even if they didn’t, they hand you the keys with the “advanced mode”.
Snapmaker isn’t new to the game, despite how fresh the U1 feels. Once third parties jump in and start making nozzles and other accessories for it (dare we say it, but toolheads?) things will really get interesting. The ball is in Snapmaker’s court to make the most of this momentum, because I can guarantee that beyond what’s publicly known, the other brands that operate in the U1’s price point are making moves on their own toolchangers.
License: The text of "Snapmaker U1, Reviewed: Make Haste, Not Waste" by All3DP is licensed under a Creative Commons Attribution 4.0 International License.
CERTAIN CONTENT THAT APPEARS ON THIS SITE COMES FROM AMAZON. THIS CONTENT IS PROVIDED ‘AS IS’ AND IS SUBJECT TO CHANGE OR REMOVAL AT ANY TIME.