You’ve Been Calculating 3D Printing Costs All Wrong, A New Study Found a Better Way

Learn how to accurately price each print job, whether for a hobby or a business, to finally understand your true profitability.
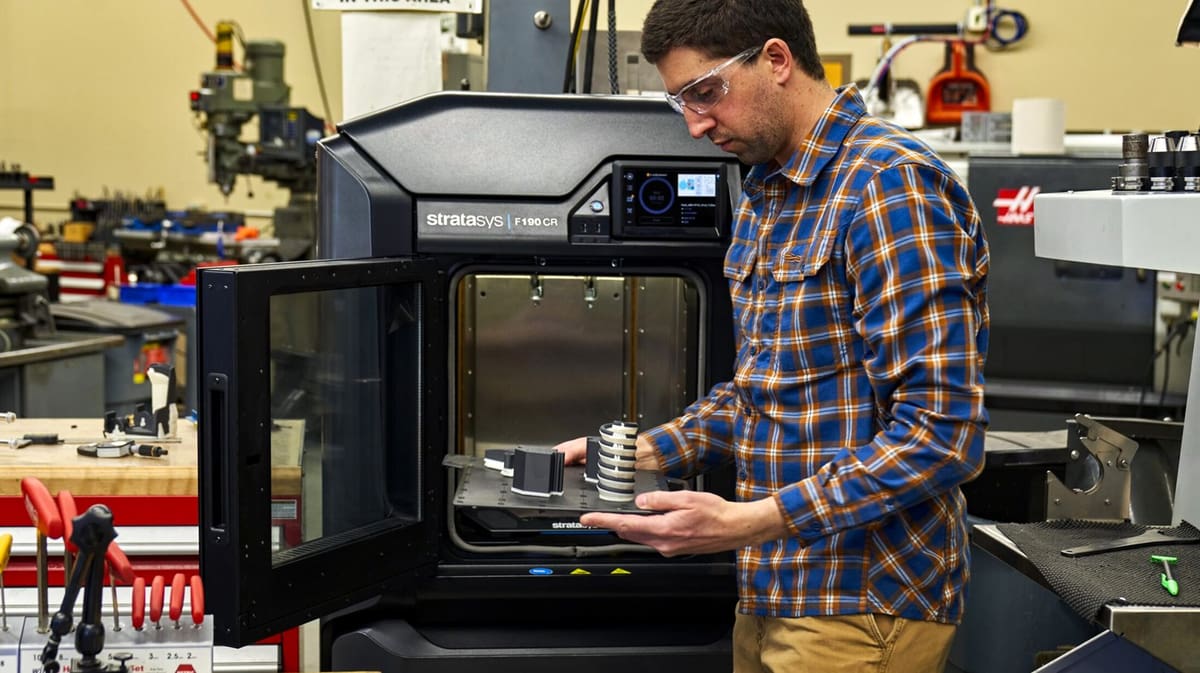
Pricing 3D prints on guesswork is a hidden threat that eats away at profits and wastes money on your hobby. Too many makers fly blind, never really knowing the true cost of their passion projects or under-quoting jobs for clients. For businesses, the impact of accurate costing extends to higher-level strategic decisions, for example, when evaluating whether to produce a part using FDM or an alternative method like CNC machining.
Now, a new study details a more accurate way to calculate spend per part. It offers a clear framework to give small businesses a true understanding of their profitability and helps hobbyists get an accurate view of their spending, down to the last gram of filament.
The study, “Refined Cost Calculation Framework for FDM Parts” by Bálint Leon Seregi and Péter Ficzere, proposes a method that separates the total cost of a manufactured part into five distinct, quantifiable categories. This structure serves as a foundational blueprint for any business seeking to understand and control its operational costs.
What’s Different About This Costing Method?
The most critical change from common practice is in Step 4, where nozzle wear is calculated based on the volume of material used, not just print time. The authors argue this volume-based approach is superior for several key reasons. It reflects physical reality noting that nozzle wear occurs almost exclusively when filament is being extruded, not during the “travel” moves when the print head is repositioning. A time-based calculation doesn’t distinguish between these actions and is therefore a less precise measure of actual wear. This avoids overestimating costs for jobs with long print times but low material usage (like complex, detailed parts) and underestimate costs for jobs with short print times but high material usage (like large, dense parts).
The authors claim their cost calculation method is also better than conventional approaches because it separates tooling costs from general machine costs. Unlike models that bundle all machine-related expenses together, this framework treats tooling— specifically the nozzle and build sheet — as a distinct cost category. This allows the cost of these consumables to be “considered more accurately,” the report says.
Are you Overestimating or Underestimating Costs
The authors’ central argument is that with current or standard time-based methods, businesses are sometimes overestimating and sometimes underestimating their costs, leading to what they call “systematic errors in part cost prediction.”
The key finding of the research is that whether a business over- or underestimates its costs depends entirely on the nature of the print job. The authors identify the “material extrusion rate” (the volume of material printed per hour), as the main indicator of which error will occur.
Here is the breakdown of their presumption: Makers are overestimating costs for jobs with a low material extrusion rate. This happens with parts that have complex geometries, fine details, or thin walls, which require the printer to move slowly and make many non-extruding “travel” moves. The print time is long, but the actual volume of material used (and thus the real nozzle wear) is low. A standard time-based model incorrectly assigns a high cost to these jobs because of the long duration.
Makers are underestimating costs for jobs with a high material extrusion rate. This occurs with large, dense parts that are printed quickly with thick layers. The print time is short, but a massive volume of material is forced through the nozzle, causing intense wear. A standard time-based model sees the short print time and incorrectly assigns a low cost, completely missing the high-wear reality of the job.
In essence, the authors presume that the standard method is fundamentally flawed because it uses the wrong metric (time) to measure wear. This flaw doesn’t just create random inaccuracies; it creates a predictable bias that causes businesses to misprice jobs at both ends of the spectrum.
So, let’s take a look at how the study’s authors propose you calculate costs.
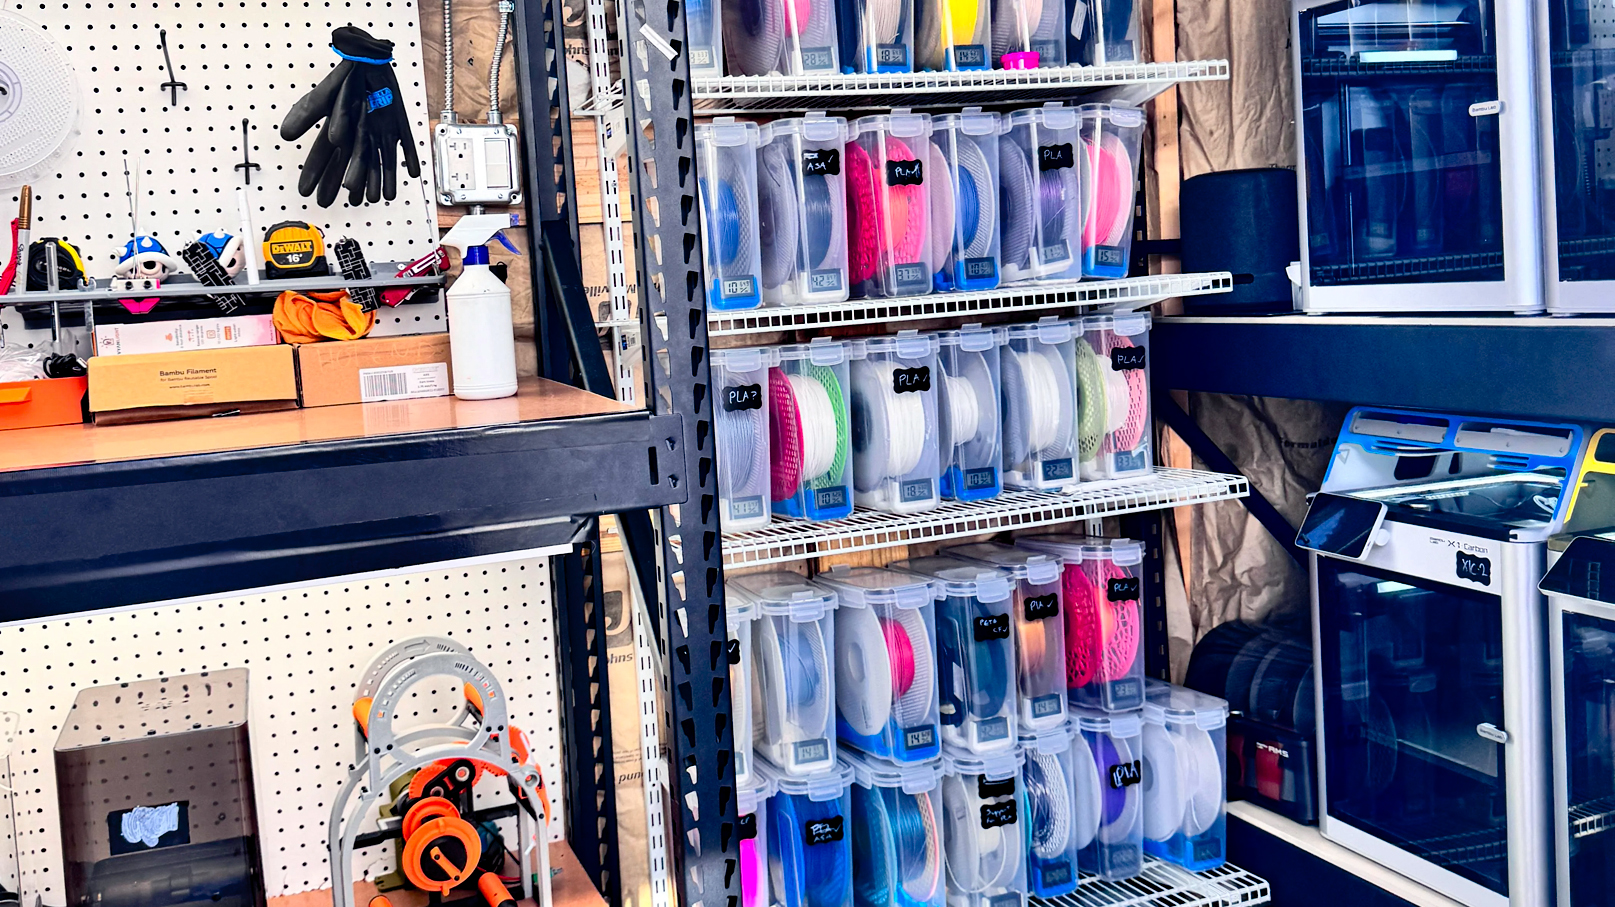
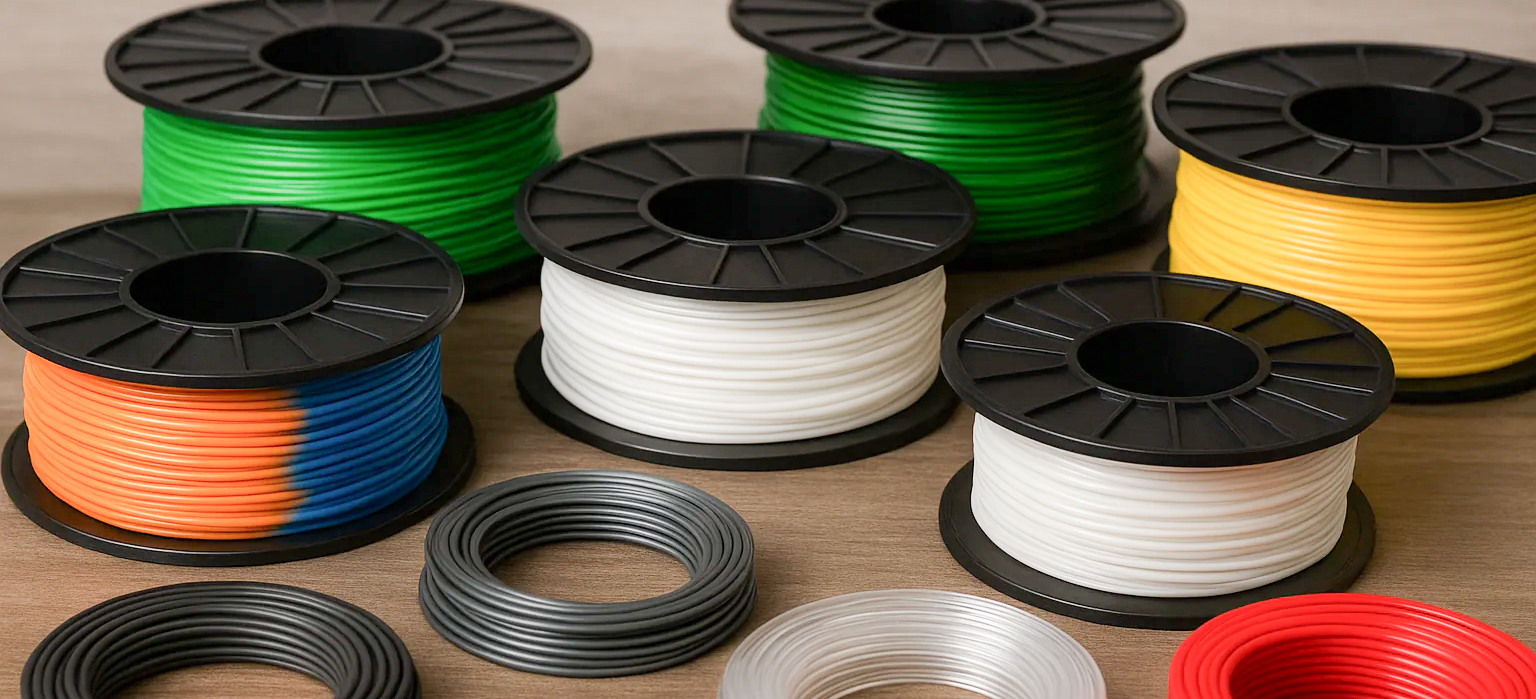
Step 1: Calculate Material Costs
This is the most straightforward cost component. Your slicing software provides the necessary data after preparing a model for printing.
What you need:
- Volume of model material (e.g., in cm³) from your slicer.
- Volume of support material (e.g., in cm³) from your slicer.
- Your cost for one unit of model material (e.g., $/cm³).
- Your cost for one unit of support material (e.g., $/cm³).
Calculation:
- (Model Material Volume × Cost per unit) + (Support Material Volume × Cost per unit) = Total Material Cost
Step 2: Calculate Support Removal Costs (If Using a Solvent)
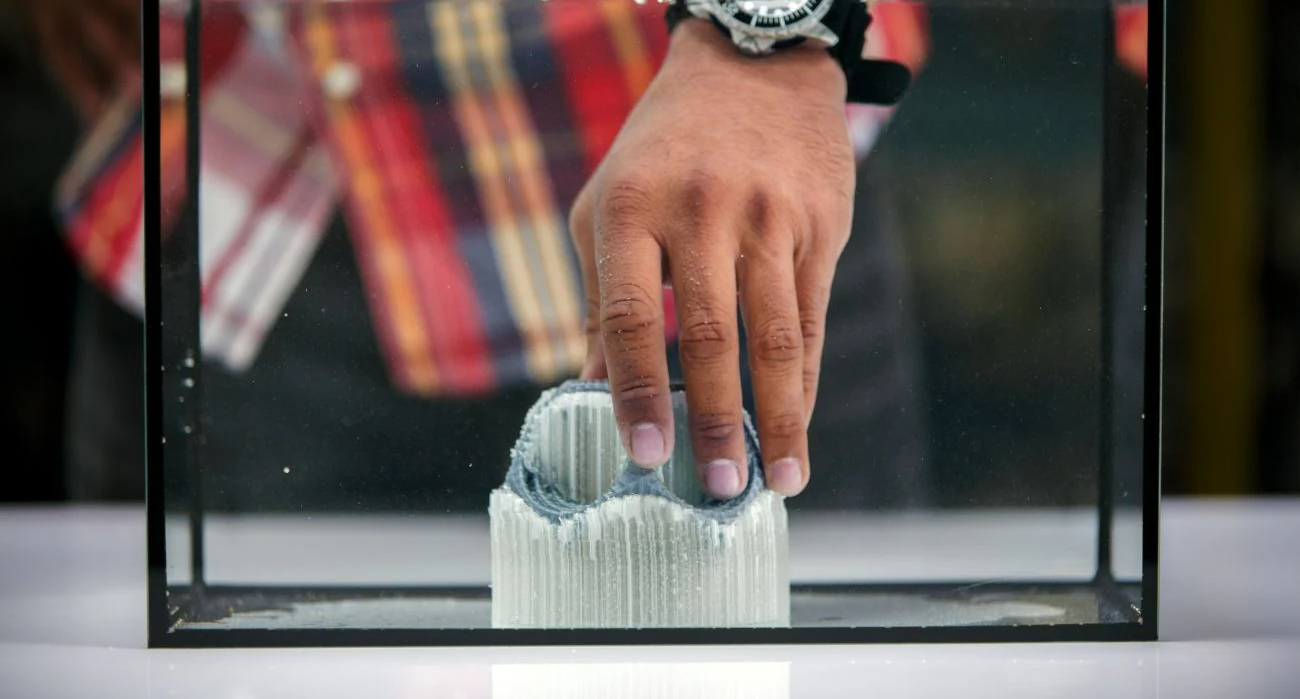
This step applies only if you use a chemical bath to dissolve support material. If you remove supports manually, that time is captured in Step 5 (Labor Costs).
What you need:
- Volume of support material to be dissolved.
- Specific price of your solvent.
- Time the part spends in the heated tank.
- Energy consumption of the tank and your price of electricity.
Calculation:
- (Support Volume × Solvent Price) + (Dissolving Time × Tank Energy Use × Electricity Price) = Support Removal Cost
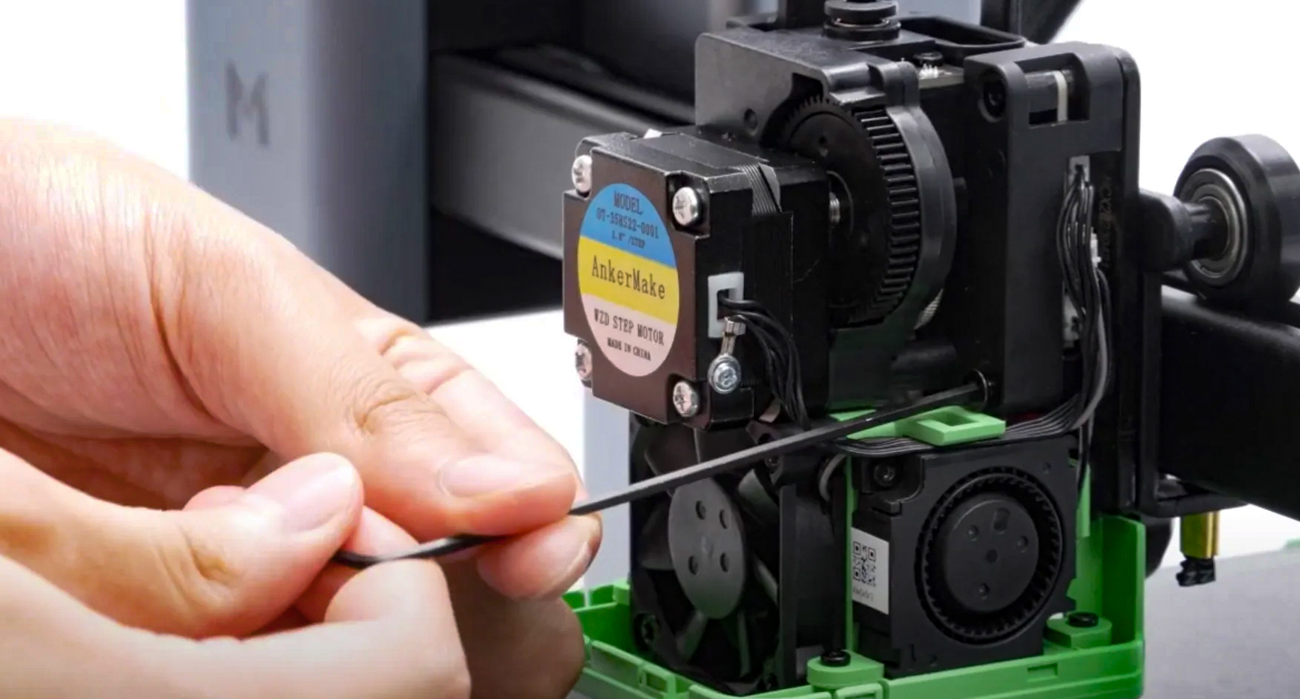
Step 3: Calculate Machine Operation Costs

This covers the time-based cost of running the printer itself, including depreciation, maintenance, and energy.
What you need:
- Total print time from your slicer.
- An hourly rate for machine depreciation and maintenance.
- The printer’s average energy consumption and your electricity price.
Calculation:
- (Hourly Depreciation + Hourly Maintenance + Machine Energy Cost) × Total Print Time = Machine Operation Cost
Step 4: Calculate Tooling Costs
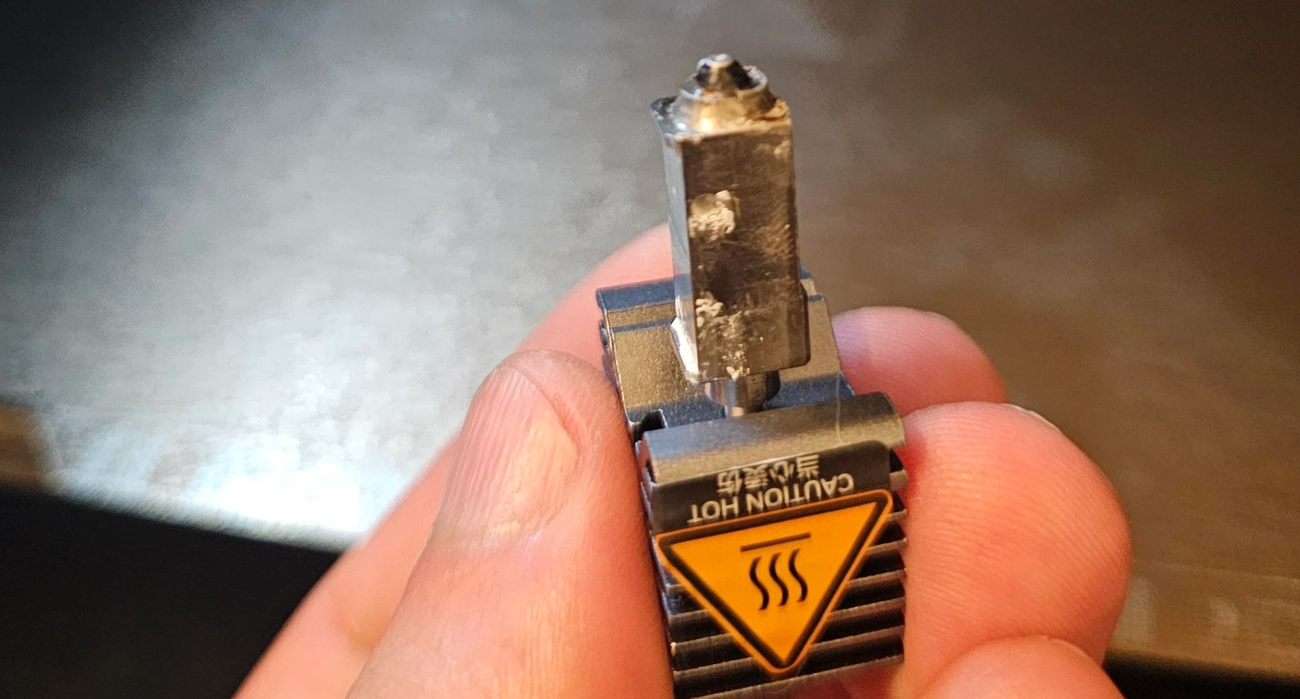
This is the most important update to traditional cost models. Instead of assuming your nozzle wears down based on how long a print takes, this method correctly ties wear to the amount of material that passes through it.
What you need:
- The purchase price of your model and support nozzles.
- The volumetric lifespan of each nozzle (the total volume of material, in cm³, the manufacturer states it can extrude before needing replacement). If not provided, this must be determined by tracking usage over time.
- The volume of model and support material for the job (from your slicer).
- The prorated cost of a build sheet for a single job.
Calculation:
- Find the wear cost per cm³ for each nozzle:
Model Nozzle Price / Model Nozzle Volumetric Lifespan = Cost per cm³ for Model Nozzle
Support Nozzle Price / Support Nozzle Volumetric Lifespan = Cost per cm³ for Support Nozzle - Calculate the job-specific nozzle cost:
(Cost per cm³ for Model Nozzle × Model Material Volume) + (Cost per cm³ for Support Nozzle × Support Material Volume) + Prorated Build Sheet Cost = Total Tooling Cost
Step 5: Calculate Labor Costs
This accounts for any hands-on time required from an operator.
What you need:
- Time spent on machine setup and print preparation.
- Time spent on manual post-processing (including manual support removal).
- The operator’s hourly wage.
Calculation:
(Setup Time + Post-Processing Time) × Hourly Wage = Total Labor Cost
Although many tools exist, from standalone calculators like Prusa Calculator and Omni Calculator to integrated platforms like AutoQuote3D, they tend to focus on the more straightforward cost components. They typically account for material costs based on weight or volume, and labor and machine costs based on time. However, none appear to prominently advertise the dynamic, volume-based tooling wear model as described in the research. Chances are, if this research proves out, you’ll see new algorithms in your favorite automated cost calculators.
You May Also Like:


License: The text of "You’ve Been Calculating 3D Printing Costs All Wrong, A New Study Found a Better Way" by All3DP Pro is licensed under a Creative Commons Attribution 4.0 International License.