ZBrush vs Blender: The Differences

It's ZBrush vs. Blender: a showdown of two great options for 3D modeling software. Read on to find out which one is better for your needs.
A Brush with Modeling
ZBrush and Blender are both 3D modeling programs that are especially popular among hobbyists, independent artists, and freelancers. In some aspects, they operate on similar principles, especially regarding sculpting functionalities, but they’re different at their cores.
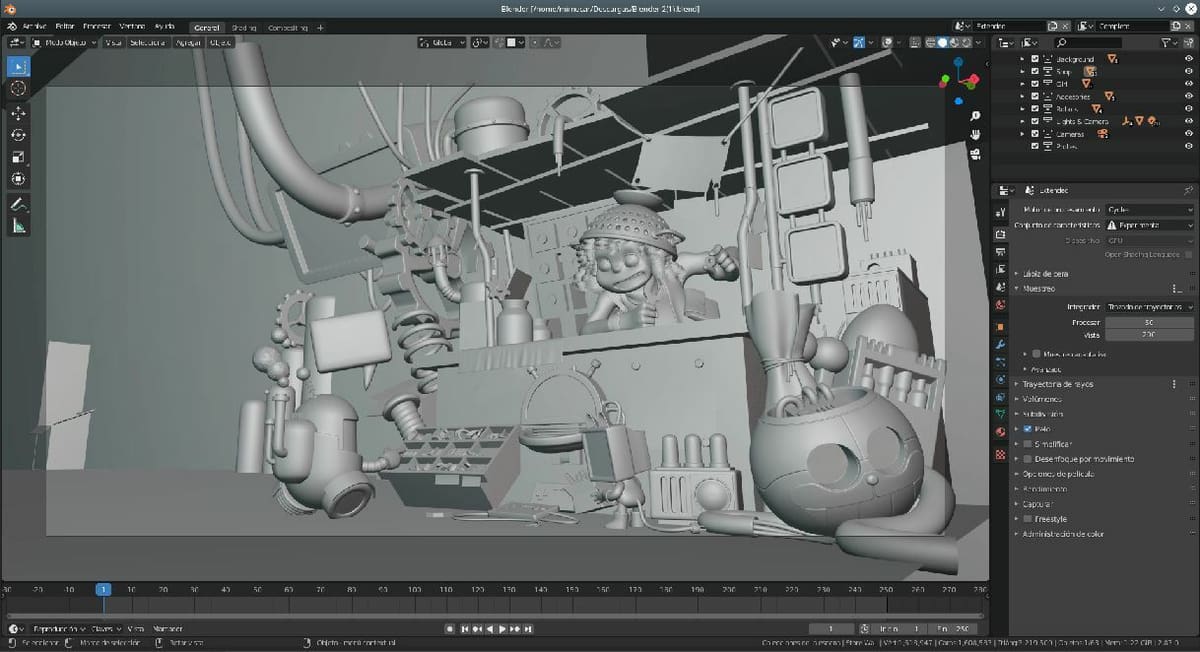
Blender is an open-source program that has tools for modeling, sculpting, rigging, animating, storyboarding, and concept art. These different features are arranged into “Workspaces”, which make the transition from one to another easy. Blender’s main uses are modeling and animating, and it’s typically used by indie video game developers and artists.
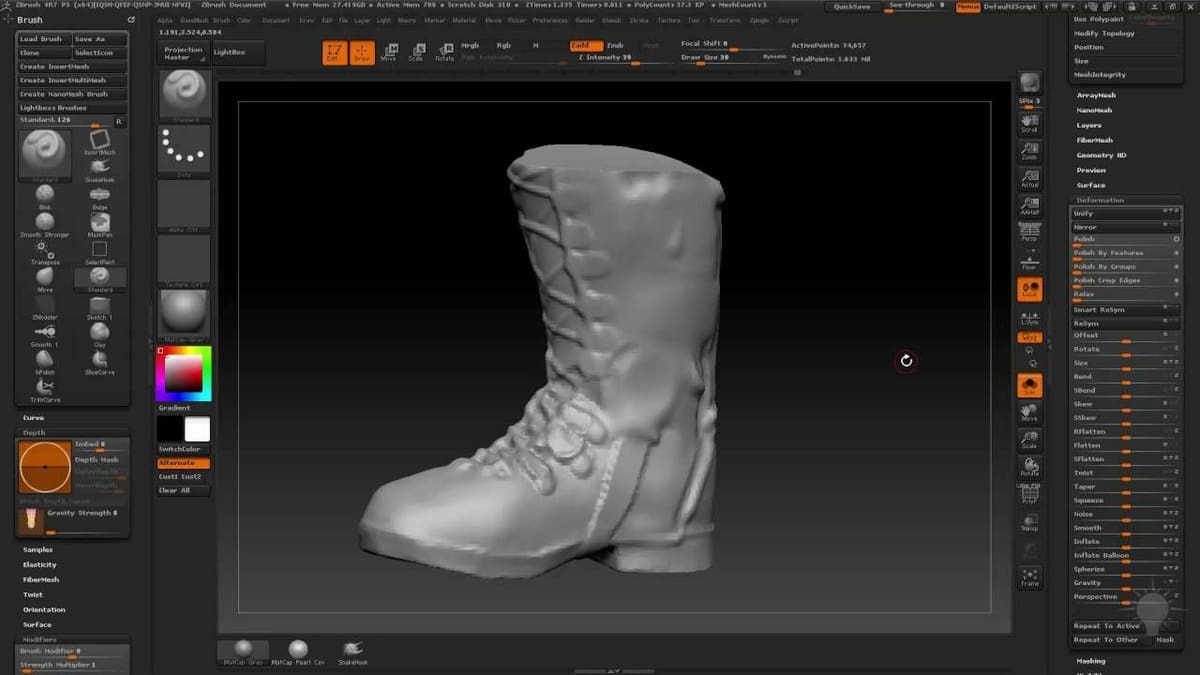
ZBrush is a 3D modeling program from Pixologic whose core technique is (not surprisingly) sculpting. In fact, it’s one of the most popular programs when it comes to 3D sculpting. Digital sculpting is a modeling method that tries to replicate the real thing: It starts with a ball of “clay”, and using brushes, you can pinch it, smooth it, divide it, and so on. It’s mainly used for character creation and organic modeling.
In this article, we’ll compare these two programs’ pricing, system requirements, main features, and the applications where they’re most commonly used. Let’s take a deeper look.
Prices & Licensing
Before we get into more about these programs, let’s get one thing out of the way: cost.
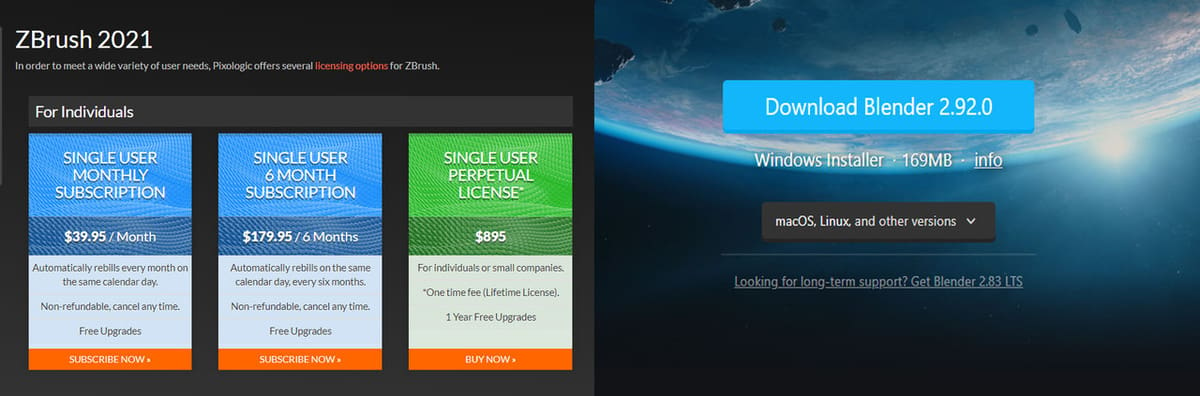
Blender is free and open source, licensed under the GNU General Public License. This means you’re free to use it for any purpose and any work produced using Blender belongs completely to its creator.
ZBrush, on the other hand, is paid software, as it’s intended more for professionals. It costs $895 for a lifetime purchase or $179.95 every 6 months. They also have an educational license, but it isn’t sold directly by Pixologic, rather, you have to contact one of their approved retailers or your education center.
If you like what ZBrush offers but aren’t ready to commit, there’s a free trial. Additionally, Pixologic offers a cheaper option with fewer features called ZBrushCore (which has 32 brushes compared to the 300+ in ZBrush, for example) or the free, even more pared-down ZBrushCoreMini. You can always start with ZBrushCoreMini and scale up, depending on your skills and needs.
System Requirements
Both programs work with graphics, meshes, and operations, so files can become quite heavy. For this reason, it’s recommended to have a solid computer, with extra free space and even a good graphics card if you can afford it.
ZBrush
An advantage of ZBrush is that it can work with just a CPU, meaning you don’t need a GPU or graphics card. Having one will make your computer way faster, but ZBrush will work fine without one.
- Operating system: 64-bit edition of Windows Vista or newer; version 10.11 or newer of Mac OSX; it doesn’t work on Linux
- RAM: Minimum of 4 GB is required; 6 GB or more is recommended
- Hard drive: Minimum 8 GB of free space
Blender
- Operating system: 64- bit Windows 7 or newer; Mac OSX 10.13 or newer; available for Linux
- RAM: Minimum of 4 GB RAM is required; 16 GB is recommended
- Graphics card: At least 1 GB of RAM
Features & Functions: ZBrush
General Features
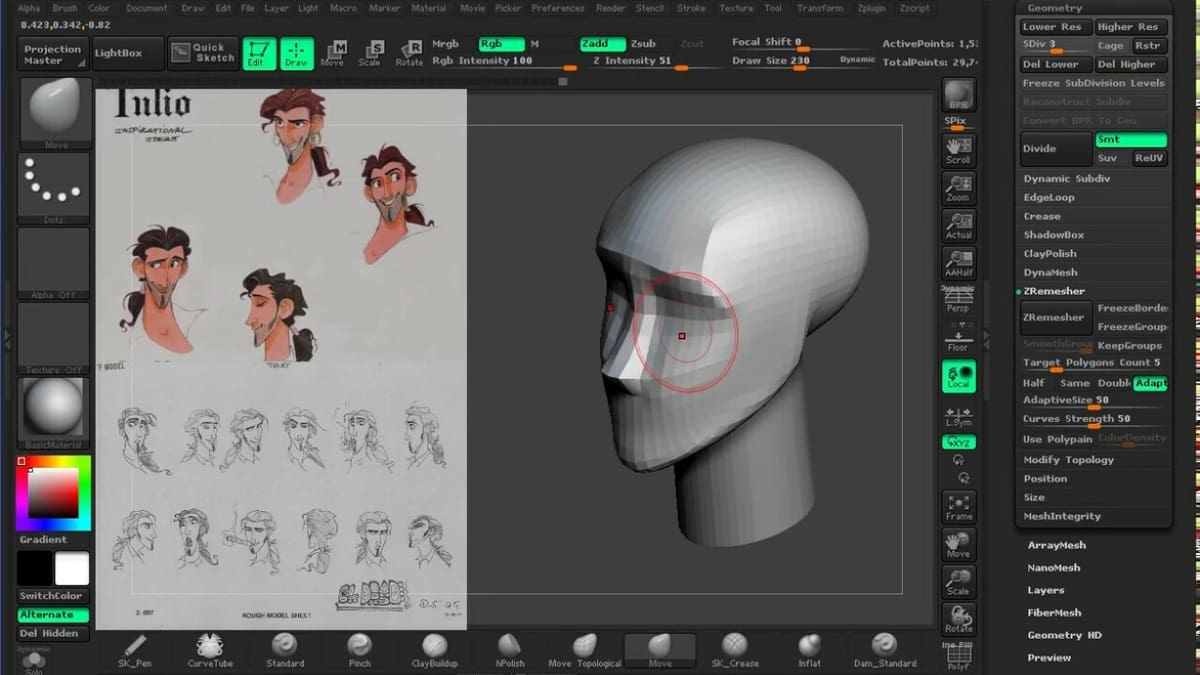
ZBrush’s main purpose is sculpting, but it has many more functions, like paint and texture paint, as well as rendering capabilities. When you start modeling in ZBrush, you start with a base shape which is typically a ball, but it can be changed to many other prefab shapes including basic human poses.
Additionally, ZBrush has tools to help make the sculpting process easier, like symmetry, which applies what’s done to one side of the model to the other.
Note: As ZBrush is usually used with a drawing pen and tablet, the pressure applied to your pen is how you changing the intensity.
Brushes
ZBrush bases its work on a combination of brushes and geometrical technical aspects for adding detail. After all, the ability to make very intricate models is the main attraction of ZBrush.
As the brushes are the primary work tool of this software, we’ll explain a little more about the main brushes:
- Standard is the brush that’s selected as the default when you first enter ZBrush. It can push material outward or inward, on a relatively small scale.
- Move makes larger-scale changes by moving around big chunks of clay.
- Clay is true to its name – it adds clay in strips, so it must be done slowly, in many clicks. If you hold down your mouse button (or pen) and move it around, it’ll increase the length of the clay, but not the amount.
- Clay BuildUp is more of an advanced brush because it requires more control. It also adds clay, but by holding down the mouse button (or pen). If not controlled properly, it can result in ugly spikes in your mesh.
- Dam Standard is used for adding details like wrinkles as it makes clean lines in the clay. As a reference, it would be like using a toothpick to add details in actual clay.
Advanced Settings
Aside from changing between the brushes, ZBrush also uses modifiers to change their functionality. For example, in the standard brush, you can switch between pinching or inflating using modifiers.
There are more advanced settings you can toggle that affect how your brush works, like Zadd or Zsub, which change whether you add or subtract clay. There’s also draw size, which controls the size of the brush, and will alter whether your actions affect a bigger or smaller part of your model.
Regarding the geometry, you can change the quality of a model in ZBrush by increasing the number of polygons in the mesh. This is done as the drawing progresses, as you start with larger brushes and move to smaller ones when adding details. As such, you can add a great amount of detail to your models, to the point of even being able to add pores on the skin.
Features & Functions: Blender
As mentioned previously, Blender is divided into workspaces that each have a specific function. We’ll quickly go through the most-used ones.
Modeling
Modeling is the main method of creating 3D objects in Blender. It refers to working with polygons and meshes, moving them around and rescaling them until you have the desired shape. Default objects like spheres, planes, or cylinders can be added via the add menu and then modified or combined as needed.
In modeling mode, there are many settings you can adjust to have an easier time working. For example, you can change between seeing your model as a solid object or a mesh as well as using modifiers to cut, extrude, increase mesh size, and so on.
Sculpting
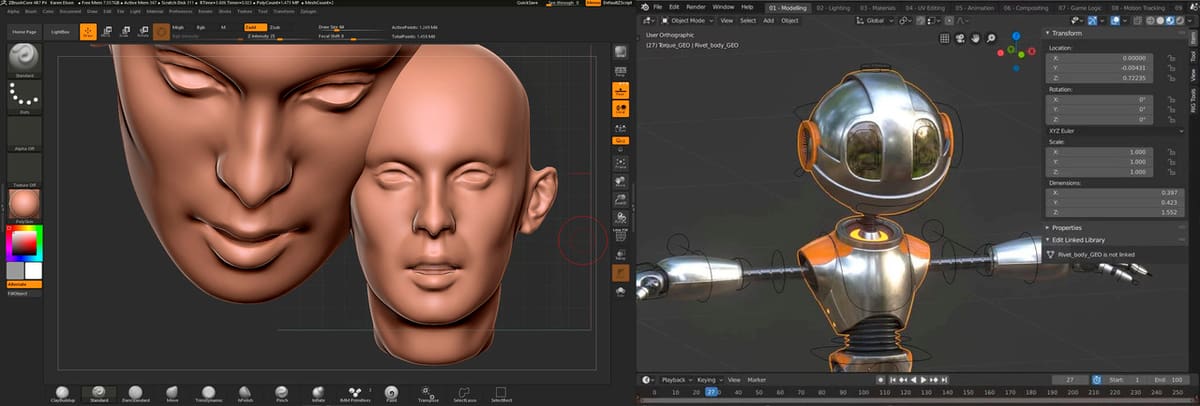
The sculpting environment works with the same principle as ZBrush: You start with a ball of clay and you can shape it using brushes. You could also start working in the modeling workspace and, at a certain point, switch over to sculpting to add details. Though this is a nice advantage of working in Blender, ZBrush has many more brushes available.
Animation
Beyond just creating a model, Blender also has very complete capabilities for rigging and animating characters and other objects. It has tools for motion tracking, adding sounds synchronized with movement, and more. You can also animate the background around a character.
Simulation
Simulation refers to the animation of particles like fluids (water, smoke, etc.) or any other flowing body (dust, fire, etc.). Animating these things from scratch would be almost impossible and too much work. Instead, Blender comes with scripted simulations for these types of 3D models, where you just have to indicate parameters like bounds, directions, and speed. Then, Blender uses that information to make the simulations behave as you want.
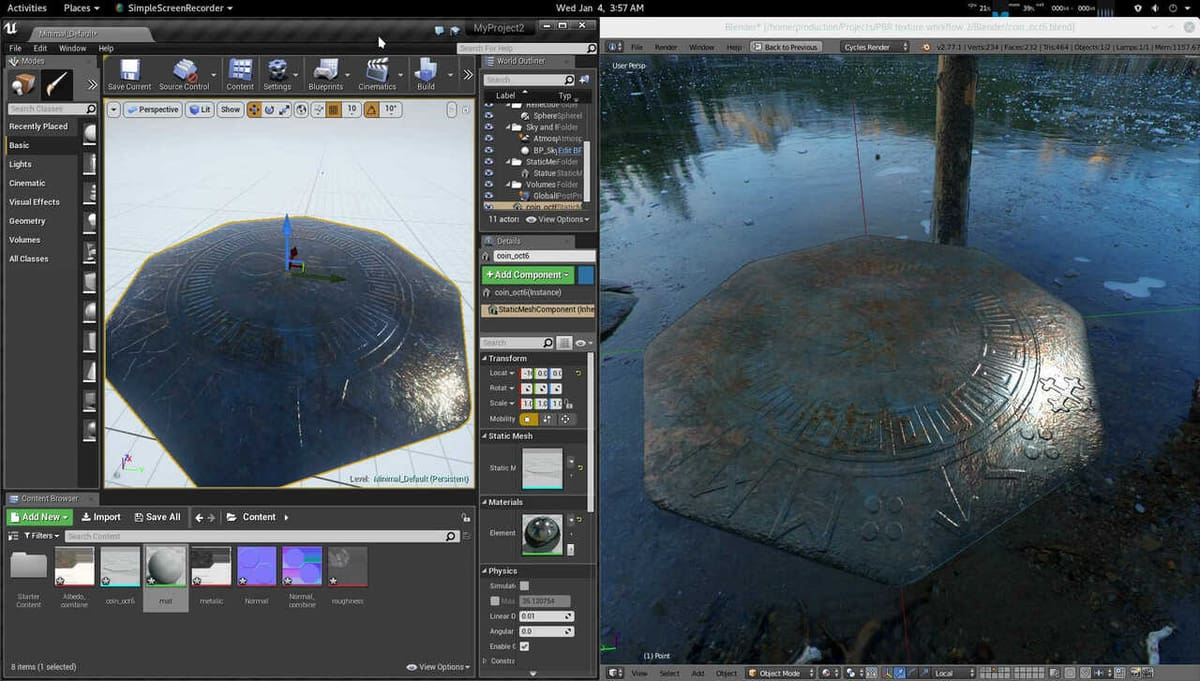
Render
Blender has two rendering motors: Eevee and Cycles. You can even add third-party renderers, although the built-in ones should work just fine. For a complete rendered piece, Blender lets you add properties and details such as materials. Materials can affect how your model reflects light, colors, light sources (ranging from focused or dispersing shadows), and even a background if you need it.
User Experience
Both modeling programs have steep learning curves. To be able to handle them on an expert level you’ll need many hours of practice. If you come from a background of modeling but are used to other software, Blender will be easy to understand. If you’ve never done computer modeling before, ZBrush is easier to start with. In fact, ZBrush praises itself for making the transition from traditional to digital very easy.
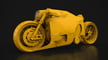
Additionally, either can be used to create models to be 3D printed.
ZBrush
The core of ZBrush is artistic work, as it’s virtual sculpting. As such, it’s very important to get a feel of what you’re modeling, almost as if you were modeling with real clay. That’s why ZBrush is usually used with an art tablet and pen.
ZBrush is very beginner-friendly, and even if you don’t know how to switch tools or anything, you’ll be able to create something with the standard brush only. Also, since the work mode of ZBrush is based on using various brushes to model clay, the main learning point is how the different brushes work and what settings are available to create what you want.
Most ZBrush users come from an art background and they love the program because it gives them artistic freedom without having to focus too much on technical aspects. As you might imagine, there are extra advantages to digital sculpting that don’t exist with real clay, like the option to undo or the ability to zoom in for adding extra details.
Blender
In contrast to ZBrush, Blender is based on modeling, and the foundation of modeling is geometry (working with meshes, loops, and polygons). To put it another way, it’s inherently more technical; you’re applying features and functions. For this reason, Blender is typically used with a mouse.
Blender has a more straightforward workflow than ZBrush. In ZBrush, how you create your model (sculpture) depends greatly on what shape you want it to take, and you go back and forth a lot in correcting things you’ve done or adding more detail. Meanwhile, in Blender you’re adding objects, deforming them, adding modifiers, and so on. Even though it does depend on the model, the workflow is generally the same for each project in Blender.
That said, Blender does have a steeper learning curve than ZBrush because it can do a lot more than just modeling. Even within modeling, it can handle much more than organic modeling, and it has a lot of tools. You can use the tabs on the top part of the window to switch workspaces, and each workspace has a different set of tools.
Even though Blender is a bit of a steep learning curve, it’s more beginner-friendly than complex modeling software like Maya. In addition to this, once you’ve learned the program well, the process will be almost the same every time you want to create or animate something.
Uses Cases & Applications

Both ZBrush and Blender are used for 3D modeling, although ZBrush is used more for character creation and conception, while Blender has the added functionality of handling animation.
ZBrush
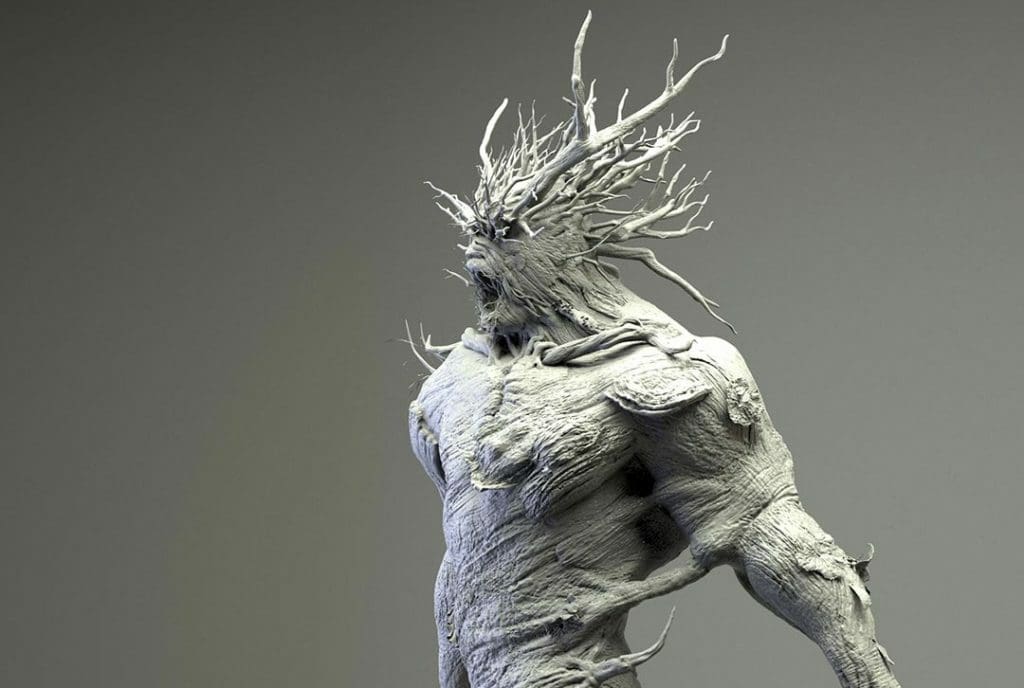
- Realistic character modeling: Whether it’s humans, animals, monsters, or sci-fi characters, ZBrush can be used to create compelling characters. For example, check out this model of Venom, the character from Marvel, done by Damien Lam. It’s a good example of a detailed and textured model, complete with its scale-like wrinkles and leathery skin.
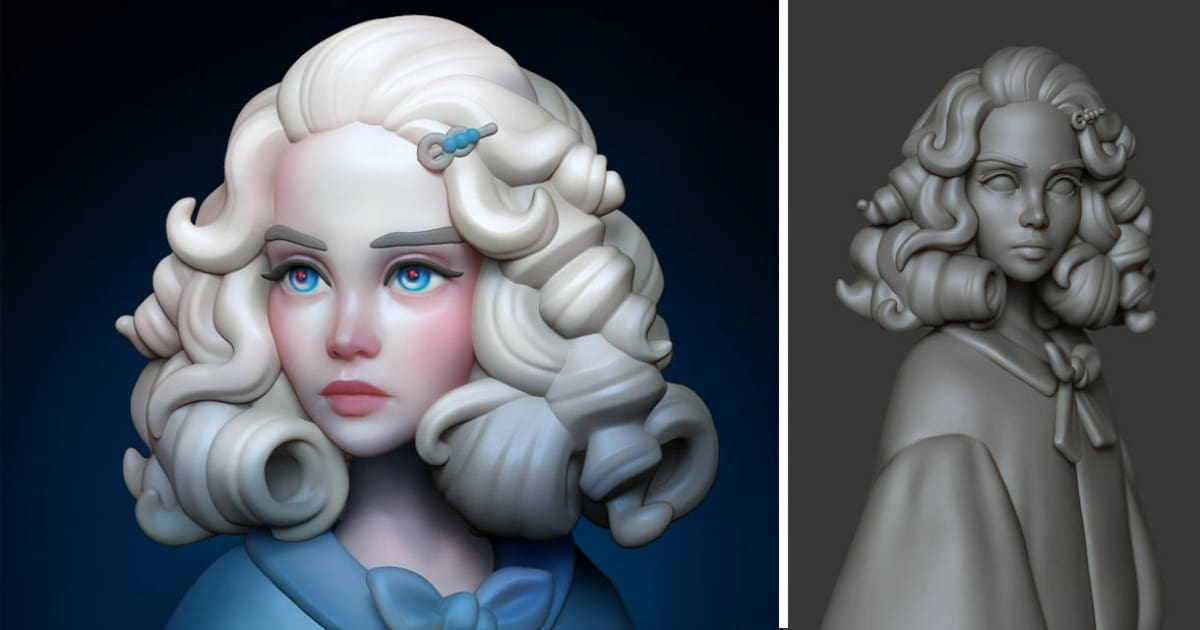
- Cartoon character modeling: While ZBrush can be used to create life-like creations, it can also be used for less detailed and more cartoonish-looking characters like this Viking by Manarts.
Blender
- 3D animation: Blender is popularly used for animation by independent studios, hobbyists, and amateurs, like the charming short “Casper” by Kavin Arulnambi.
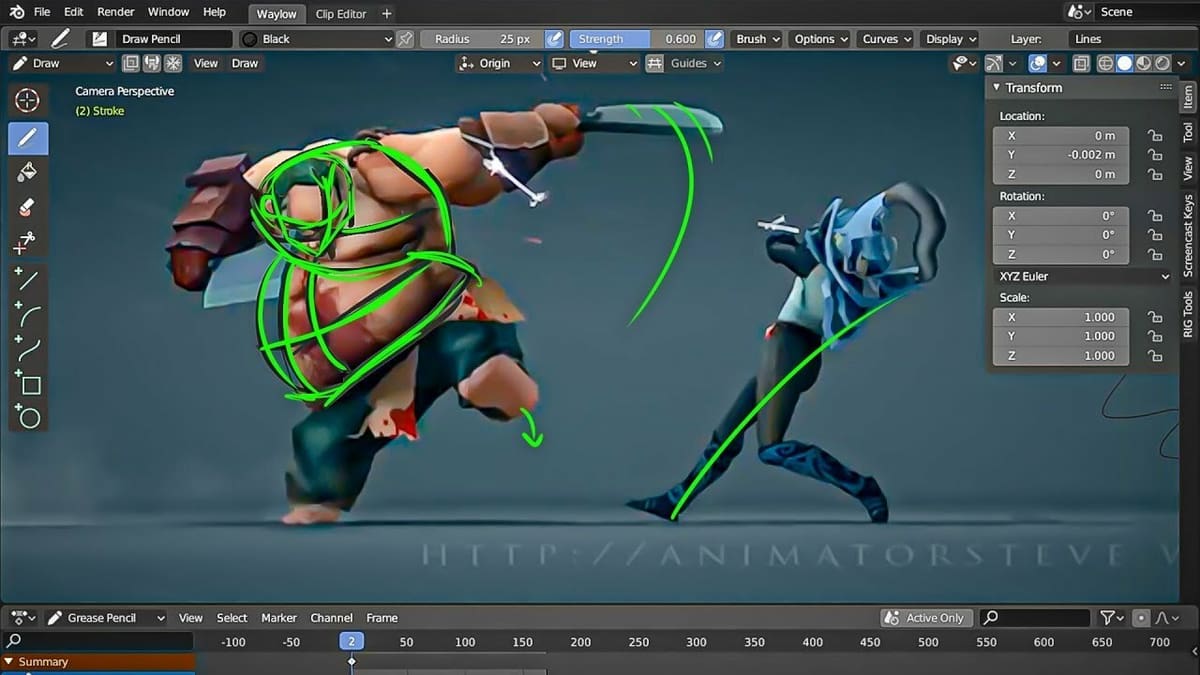
- 2D animation: Blender is also used for 2D animation, especially because of a very popular tool called Grease Pencil that allows drawing 2-dimensional art in a 3-dimensional space. This is the case in “Adventure” by Daniel Martinez Lara.
- Modeling: It’s also used for 3D modeling and renders, whether for set design like in this Fantasy Elven house, videogame props like this Magic portal, or hard surface modeling like a knife.
Community & Company Support
ZBrush
There’s an abundance of YouTube tutorials made by the community. Specifically, there’s a channel called FlippedNormals by experienced ZBrush users, where they teach many aspects of the program, from overviews to specific projects to specialized sections and tools.
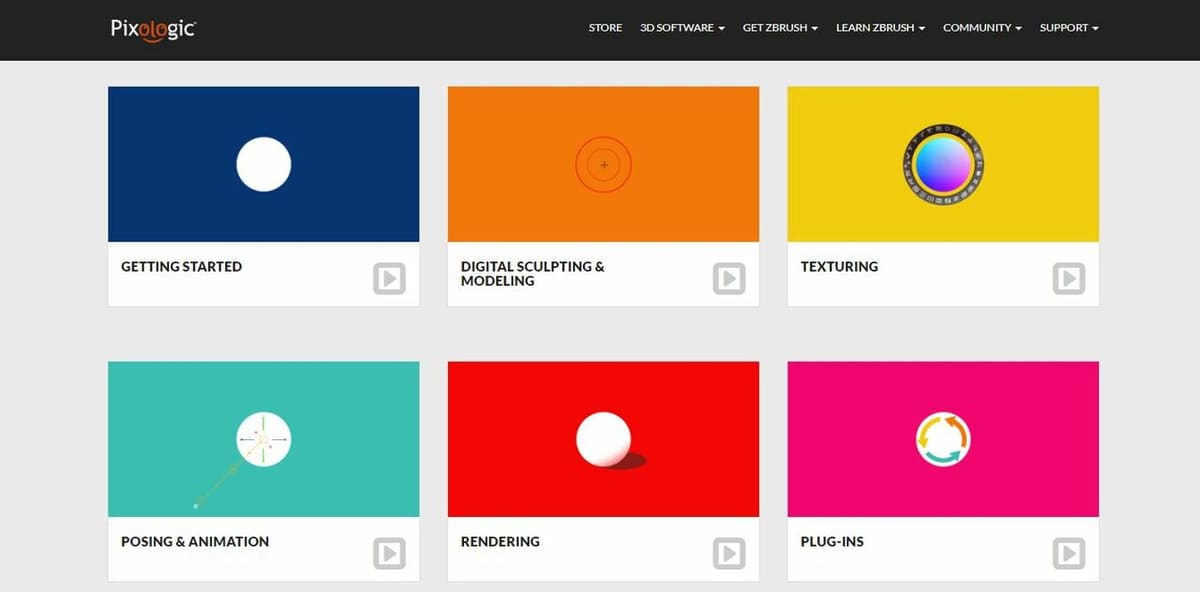
Additionally, there’s official community support in the Learn section of the Pixologic website. They even offer free “Zclassroom” training.
Blender
Blender has an official support section, where you can find documentation, support about installation, and a fair number of tutorials. There’s also Blender Market where you can find tutorials developed by the community. Lastly, as always, there’s a lot of helpful tutorials available on YouTube.
Final Thoughts
Now that we know all about these two 3D modeling programs, which one should you use? Not surprisingly, that depends on your budget and what you want to do.
Blender has a wide set of tools and functionalities and it’s free. You can use it for modeling, animating, rendering, 2D animation, and even video editing, all without having to pay. While you’ll need some time to learn how to use it, there’s not a lot of reasons not to try.
However, if you wish to become a professional digital sculptor or character creator, ZBrush is likely the better choice, since it has specialized functions, great precision, and is an industry-standard. Additionally, if you come from a background of traditional sculpting, ZBrush would make the transition into digital easier. If you aren’t ready to pay for it, you can always try the free trial or go with the pared-down options of ZBrushCore (paid) or ZBrushCoreMini (free).
Happy creating!
Lead image source: Michael Pavlovich via YouTube
License: The text of "ZBrush vs Blender: The Differences" by All3DP is licensed under a Creative Commons Attribution 4.0 International License.